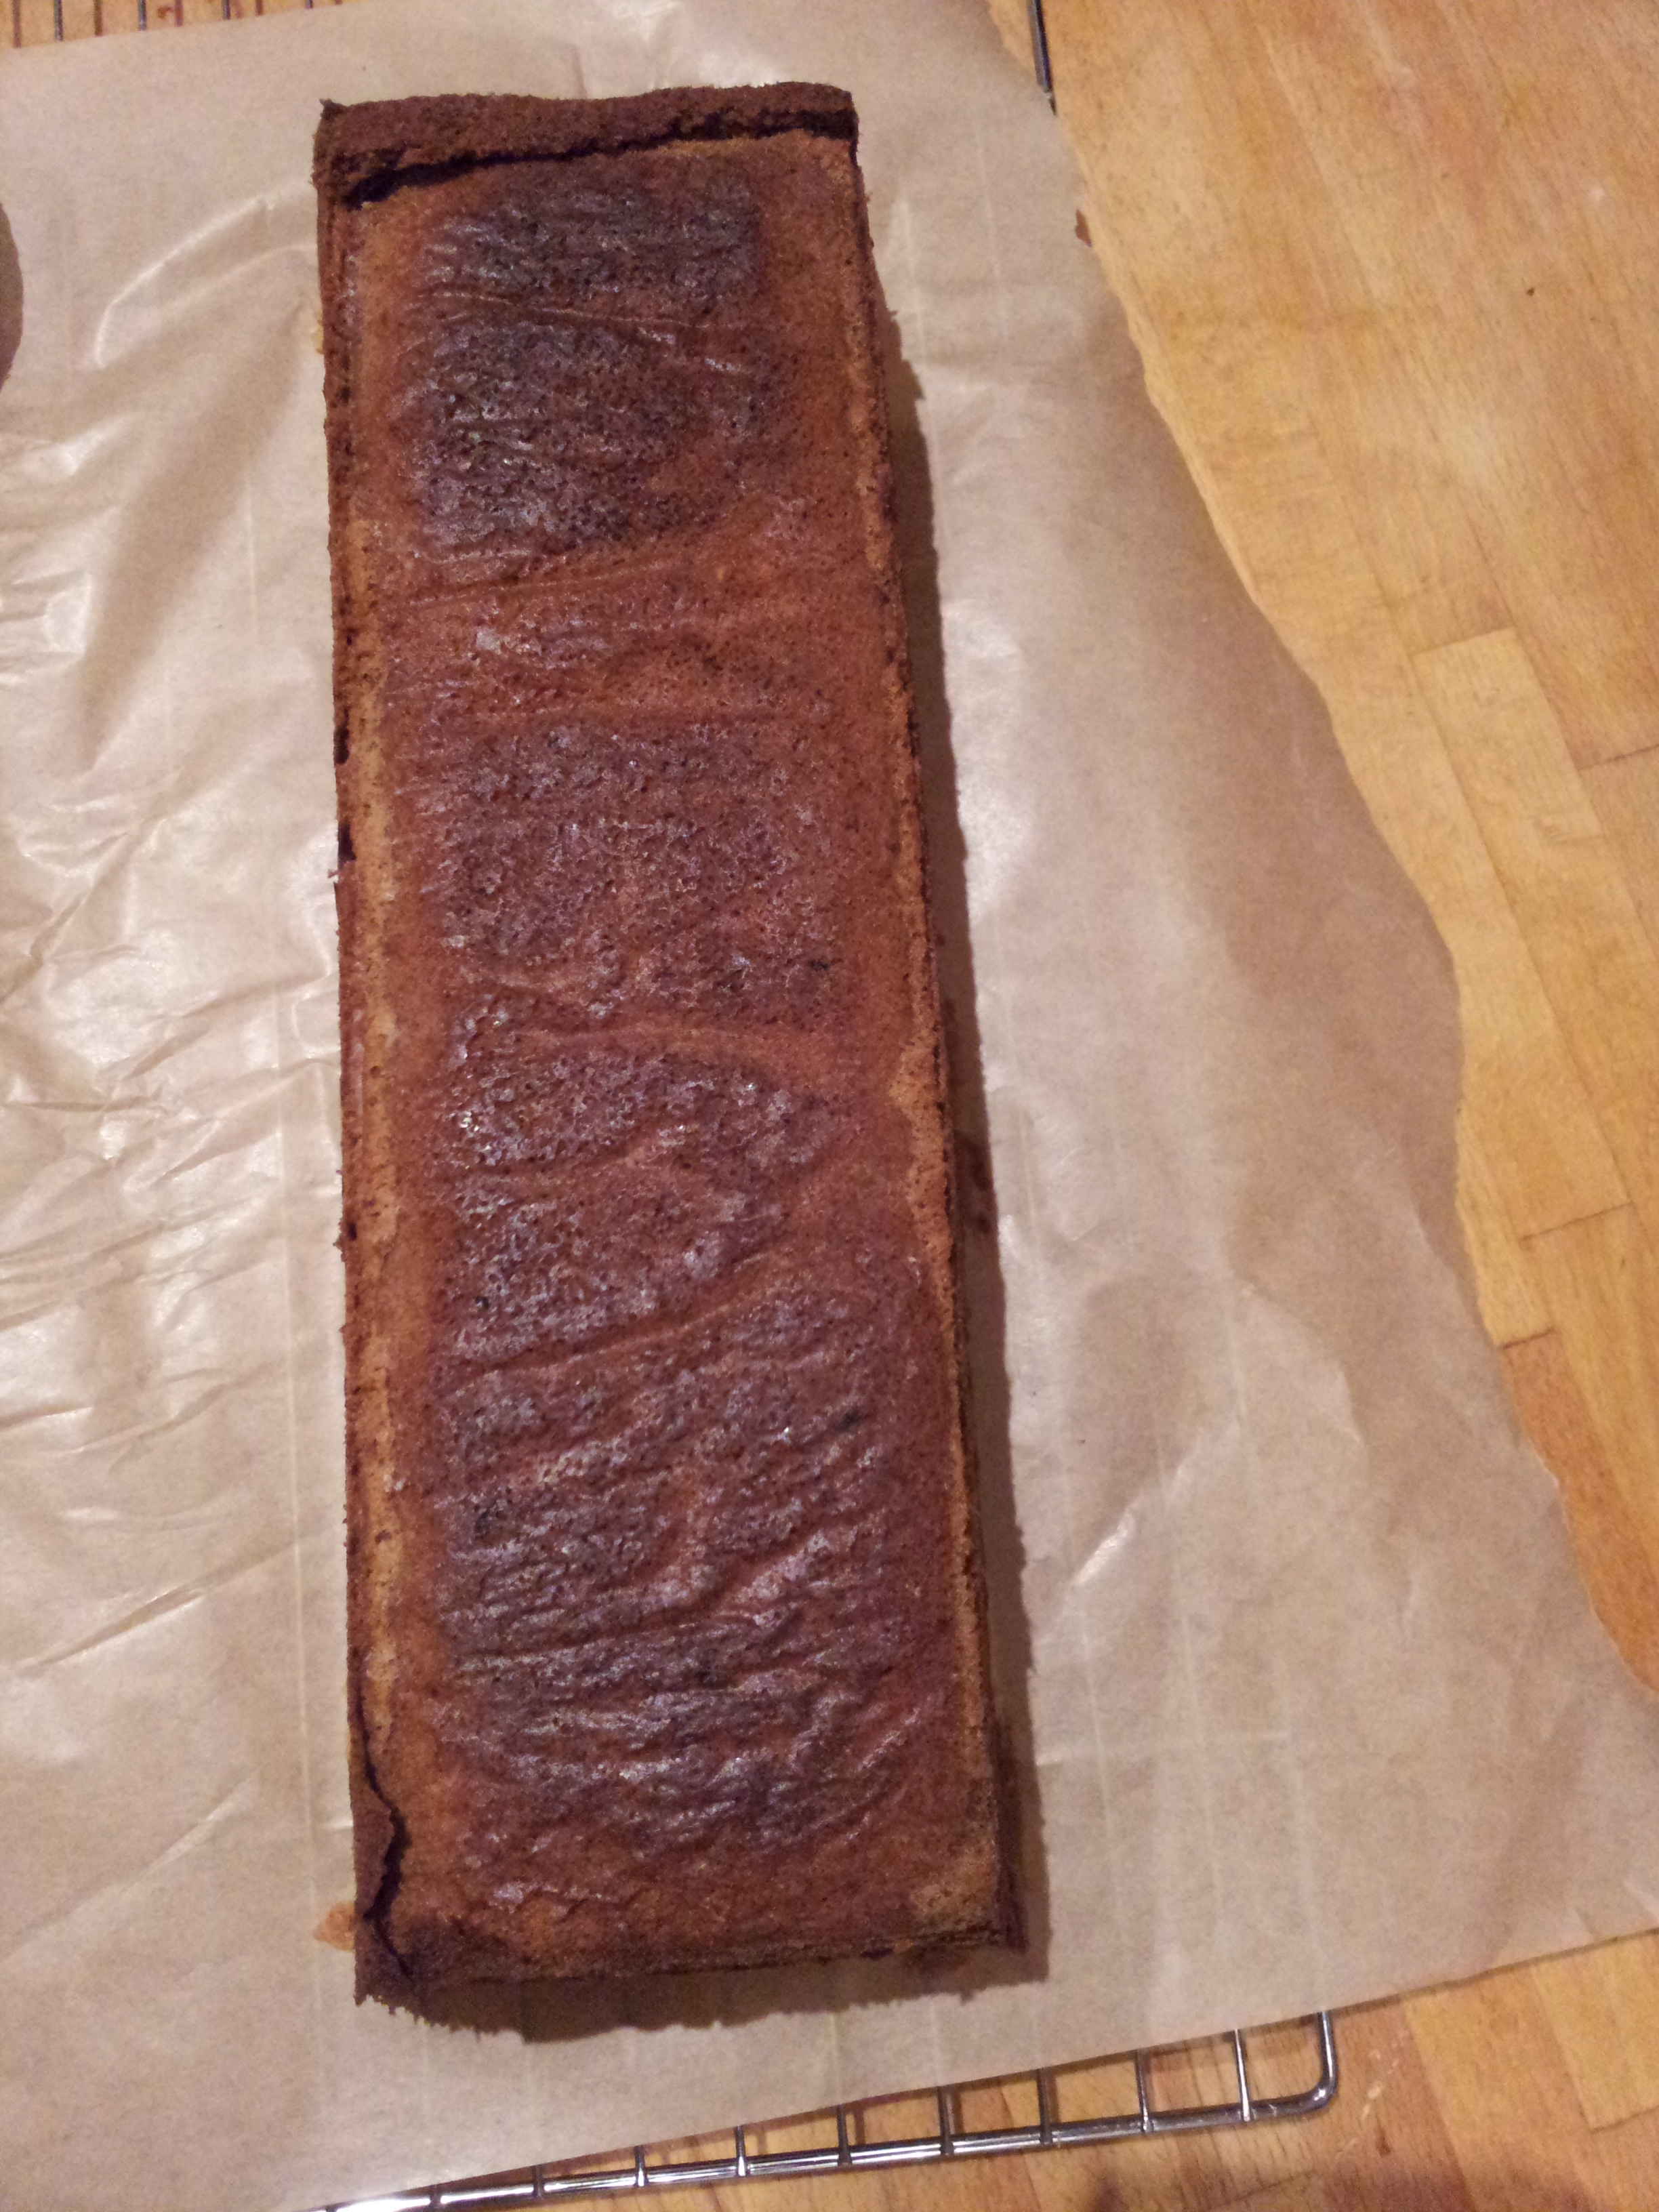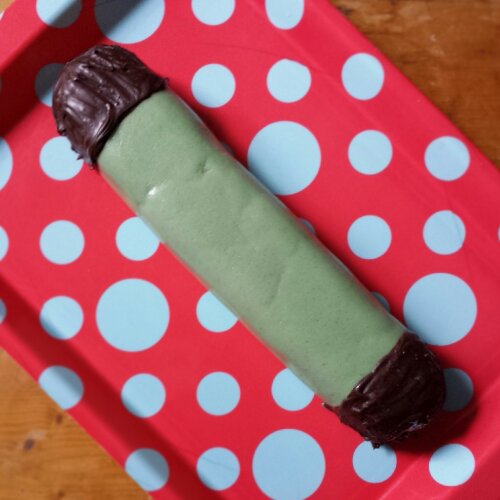
too long for a normal plate – the giant punschelle
The Prince family love marzipan. In every shape, form and colour. There is a a rather well known Swedish shop that sells these amazing little green marzipan rolls called Punschrulle and everytime I go I stock up, mainly on food ignoring all the other homeware options.

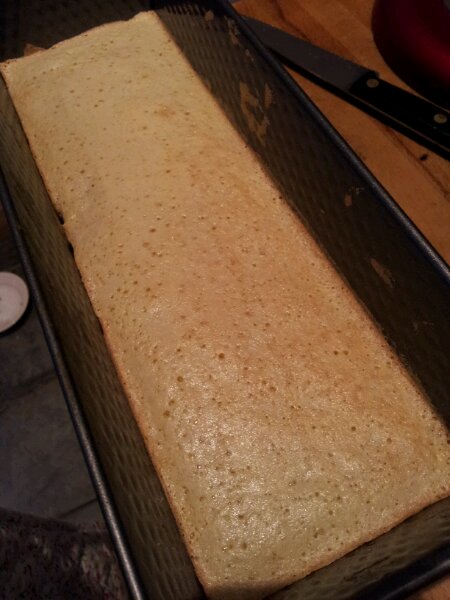
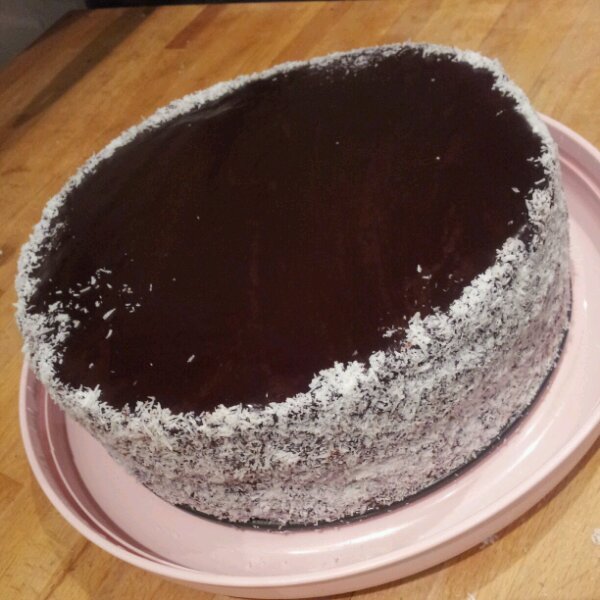
A slice of giant Punschrulle cake
I have been looking for a recipe for Punschrulle or Punsch-rolls forever and was unable to find one that reflected the ingredients described on the back of the packet. The key ingredient was always missing, oats! So in the end I made up my own recipe and tasted it along the way to make sure I had got it as close to the original as possible.

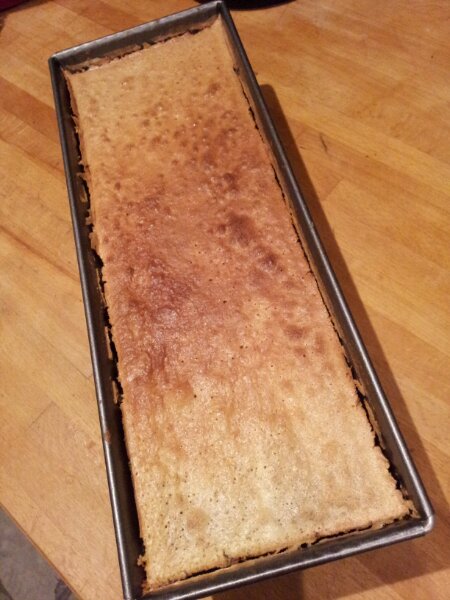
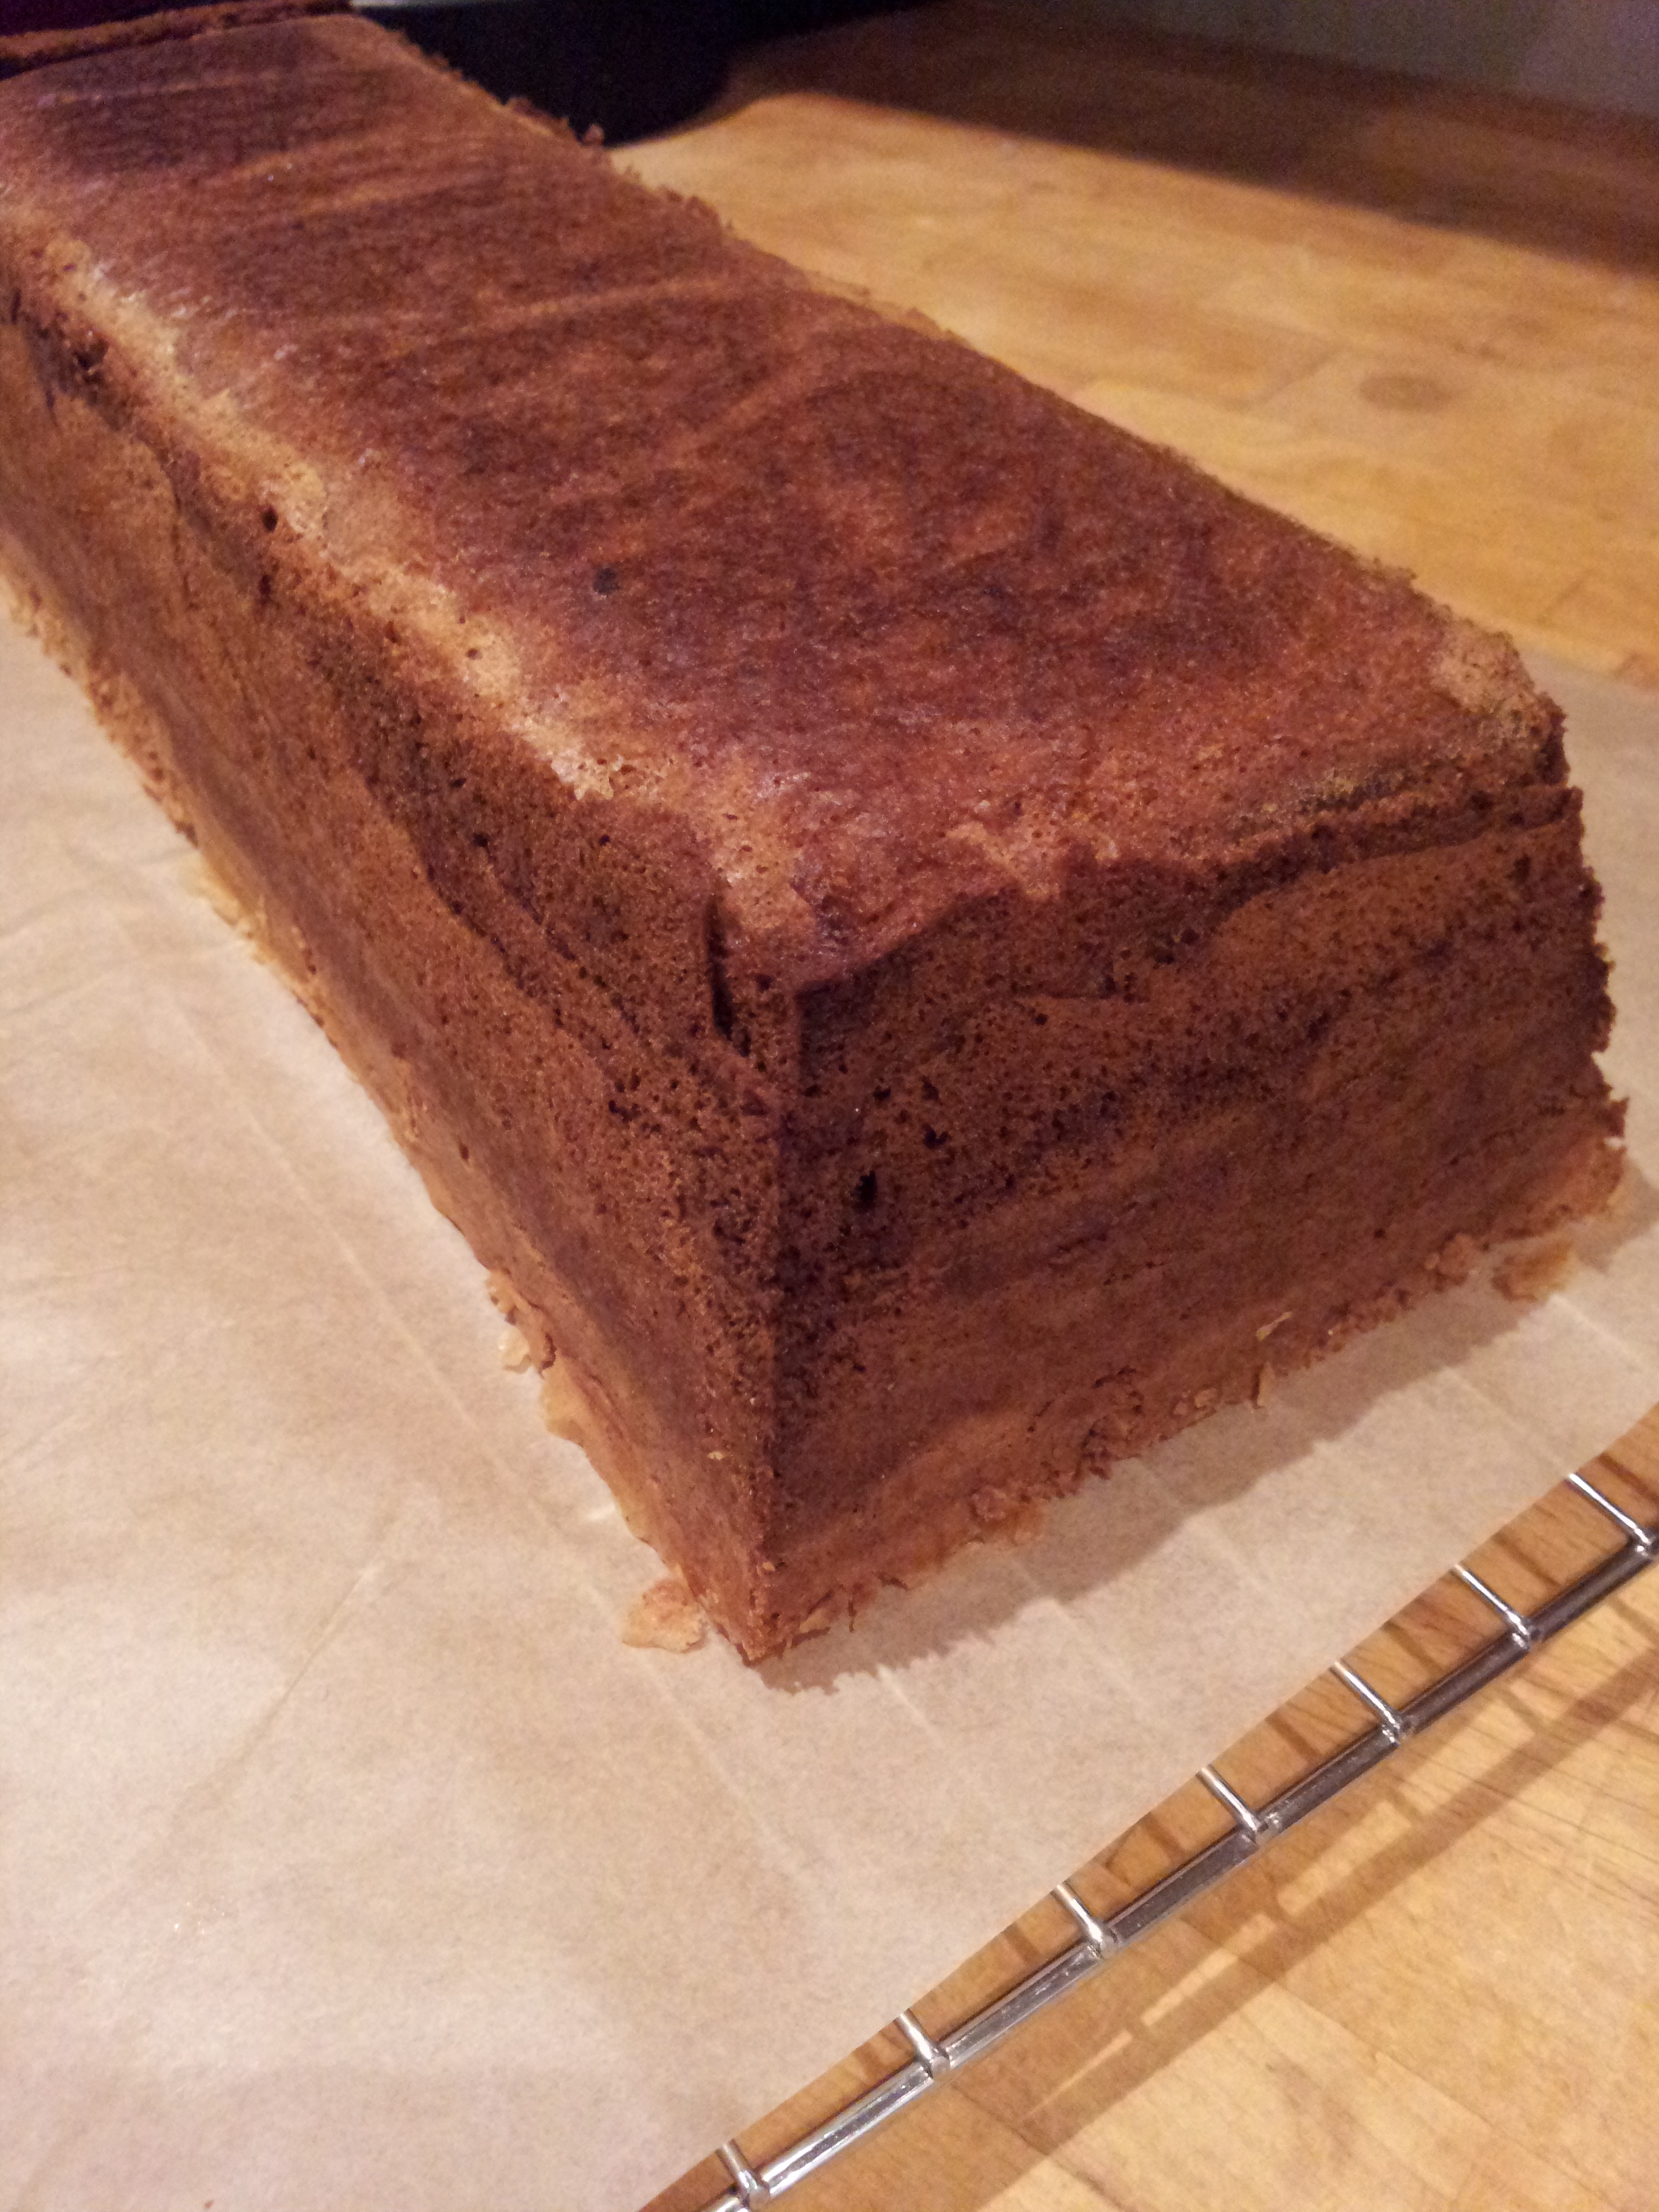
A birds eye view of a giant Punschrulle cake
The Punschrulle is also known as dammsugare which in English means rather oddly, “vacuum cleaner”. I think this is related to it’s tube like appearance, like a vacuum cleaner’s hose perhaps? But also because this cake gives you the opportunity to use up leftover cakes and cookies, hoovering up the crumbs from yesterday’s baking. What an efficient little cake this is.

6 Earl Grey Cupcakes just begging to be beaten up
I was lucky to have 6 earl grey cupcakes waiting patiently to be eaten in my freezer from a rather large baking frenzy I had whipped myself into. now was there time to shine. I defrosted the 6 cupcakes and blended them in my kitchenaid (using the beater attachment) to a fine crumb. You could also use a hand blender or food processor if you wish. I simply couldn’t be bothered to unpack my food processor so used the kitchen aid, which does a pretty good job of beating things to a fine crumb, particularly if you break it up a little by hand first.
cake crumbs
Chocolate and marzipan are my favourite combination. I could merrily eat a block dipped in dark chocolate all to myself, but tried to resist as far as possible. Punschrulle rolls are filled with a rich chocolatey, oaty cake. Further investigation also indicates that they are a rather boozy cake too, with punsch liquor. However I wanted to make a child friendly recipe, not get my little nephew hammered, so I omitted the booze from my recipe. But feel free to whack a bit in if you prefer your cakes alcoholic. I’m not entirely sure where you purchase punsch liquor from in the UK, but I think brandy , vodka or rum would be a good substitute!

The classic storecupboard essential- digestive biscuits
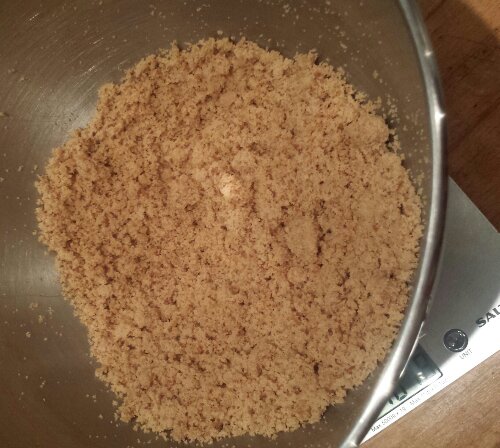
Sieving cocoa powder and sugar into the mix I realsied that I needed something more to bulk the cake crumbs up and balance out the cocoa powder. Rooting around in my cupboards I found some digestive biscuits which were perfect for this purpose. Again I crumbled them into the mixer bowl by hand and let the mixer do the work for me.

Chuck in the rest of the cocoa powder and sugar
I was worried that the oats would be a bit too large in this mixture so introduced my hand (stick blender) to blitz the mixture to a much finer crumb. As this cake is uncooked, the oats needed a little time to soften in the mixture, you want texture to the cake, but not to make your friends feel like they have oats stuck in their throat.

Beat in the butter
It’s such a simple cake to make, having completed the baking when I made the cupcakes a few months ago. All that’s left to do is to rub in the butter and shape the mixture into a roll! I wanted to make my punschrulle for my sisters birthday and envisaged a giant punschrulle roll, rather than making individual rolls.

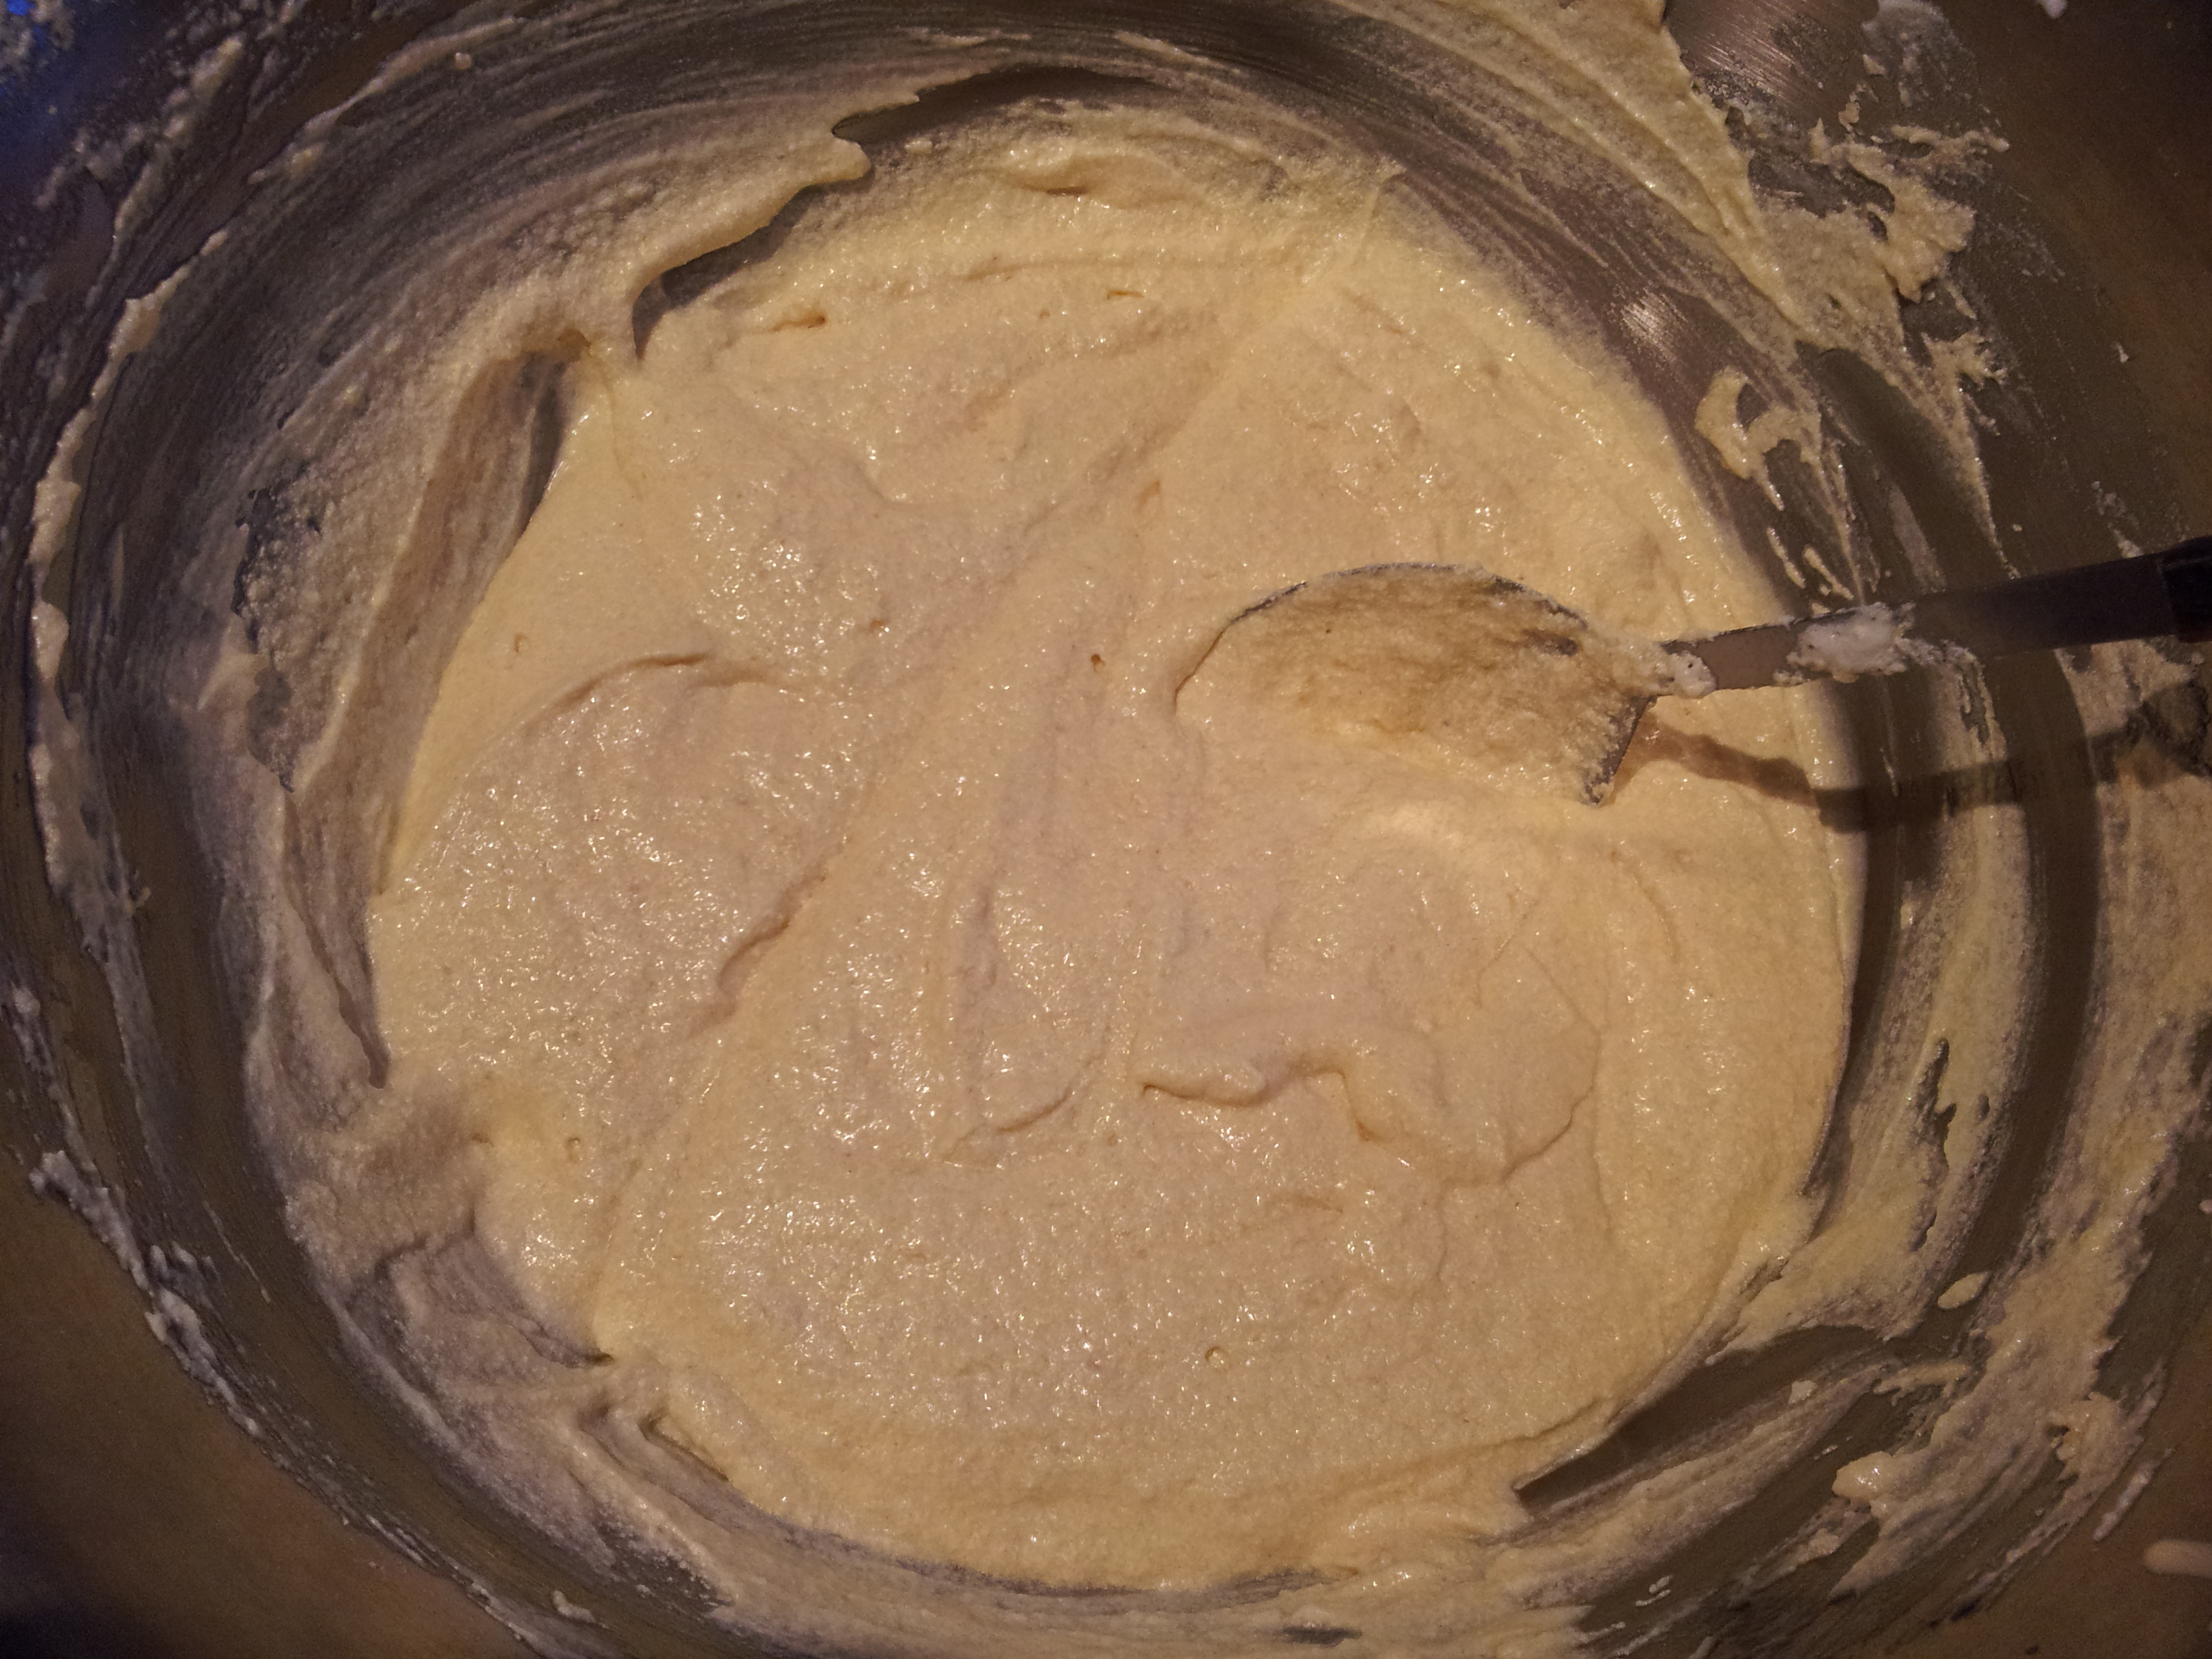
Beat the mixture together until it sticks in one nice chocolatey lump
I used cling film to roll the mixture up and flatten at the ends, whilst smoothing the top.

Plonk your buttery cake crumb lump onto some clingfilm and roll
Sealing the ends of the cling film, the roll can then be transferred easily to the fridge to set, while you get busy colouring the marzipan and rolling it out.
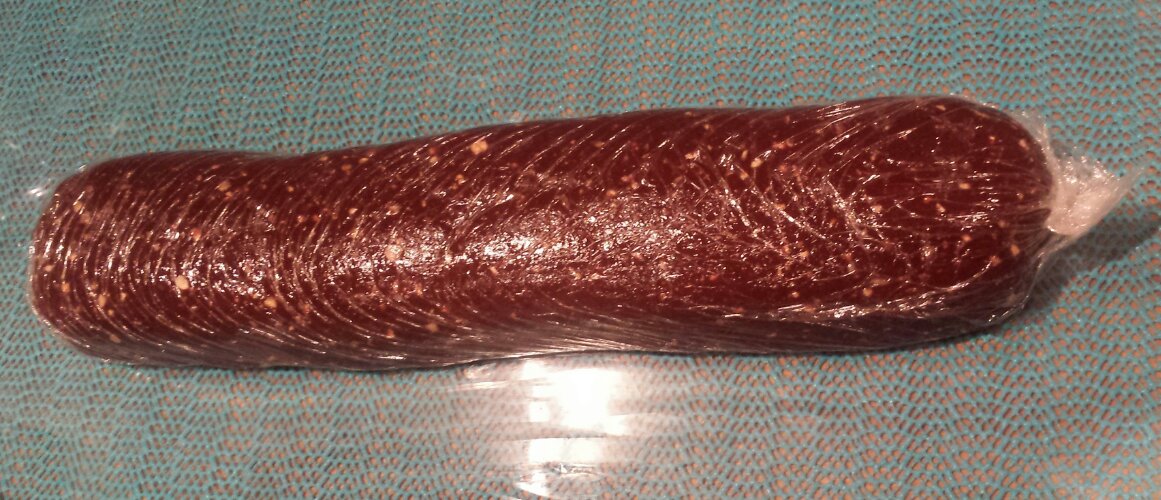
a cling film wrapped chocolate sausage
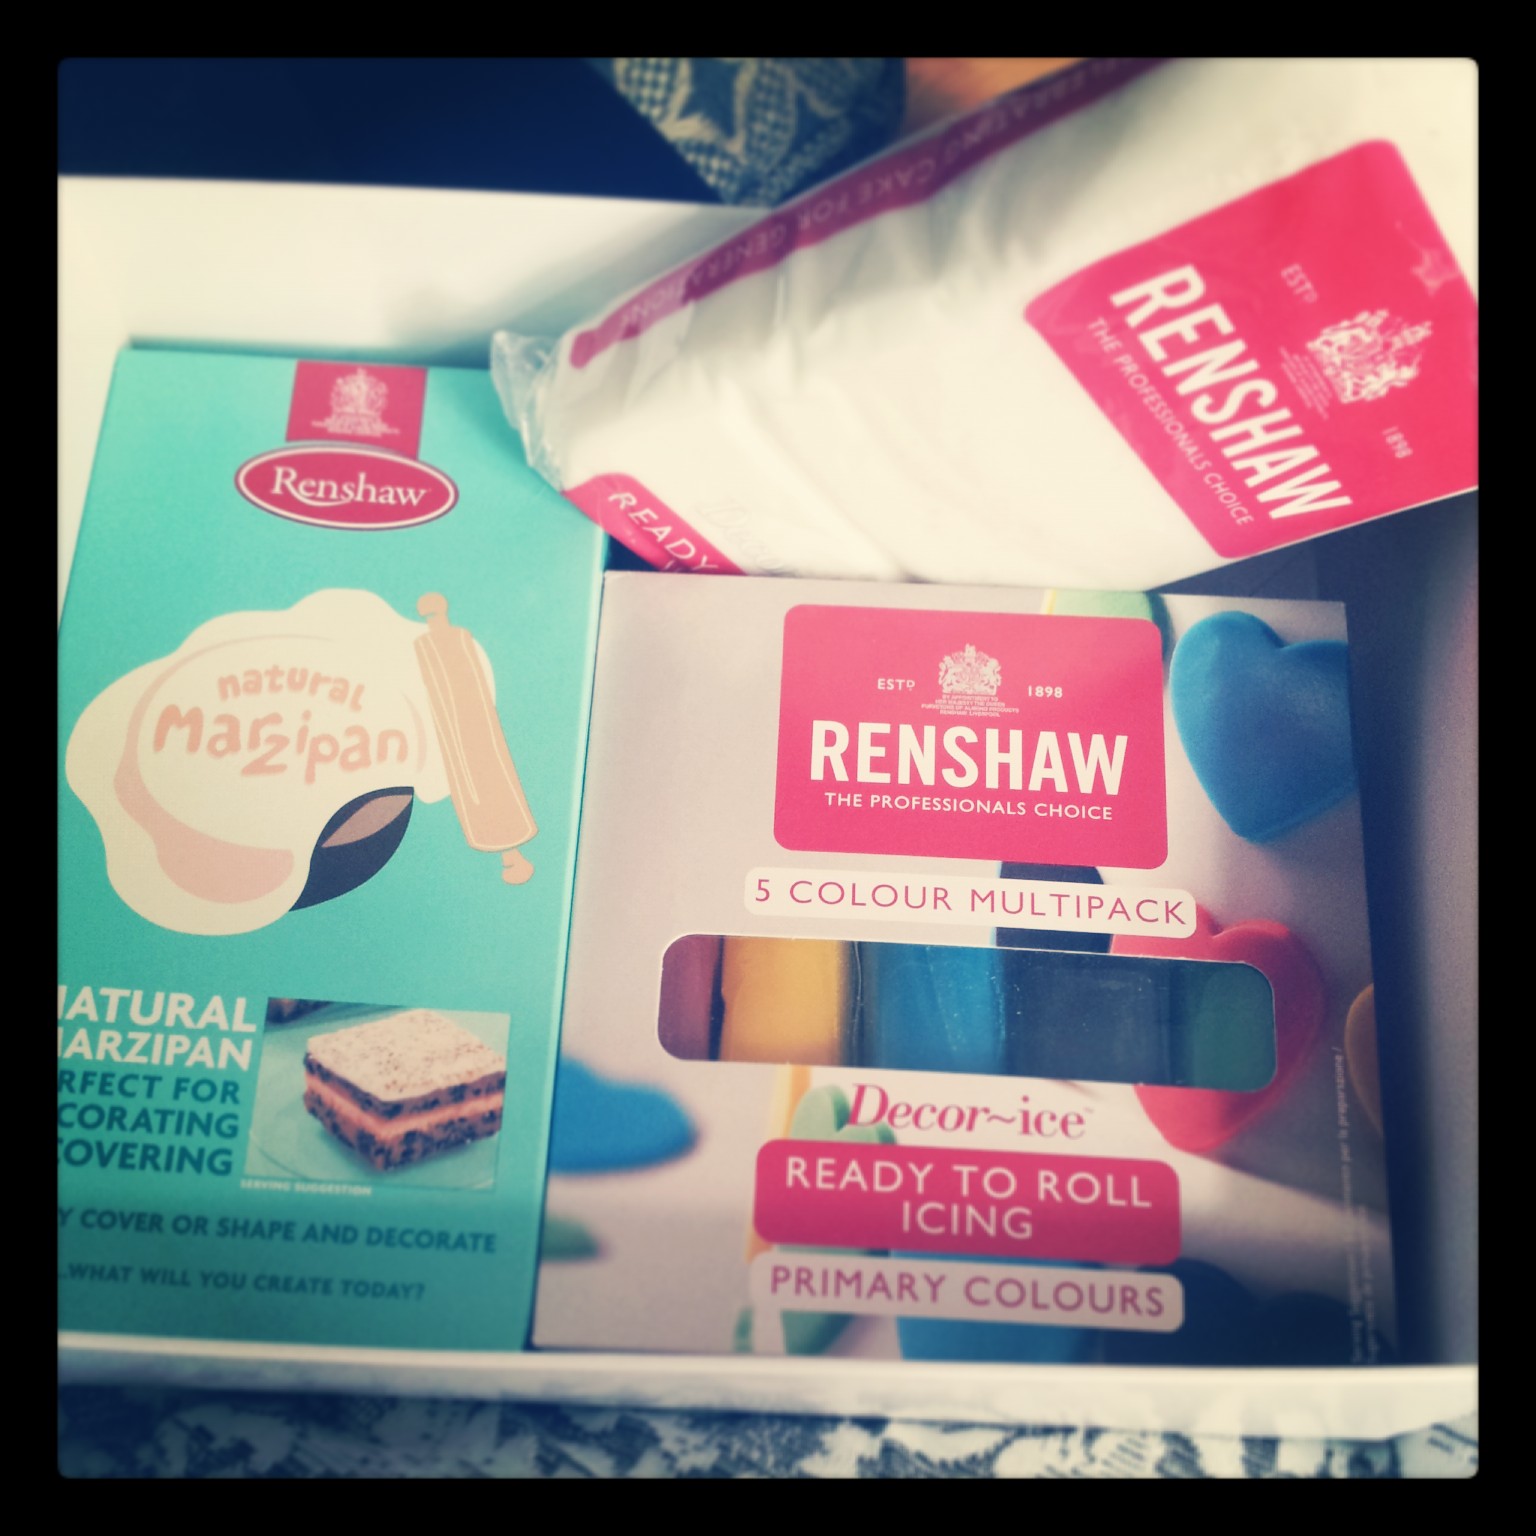
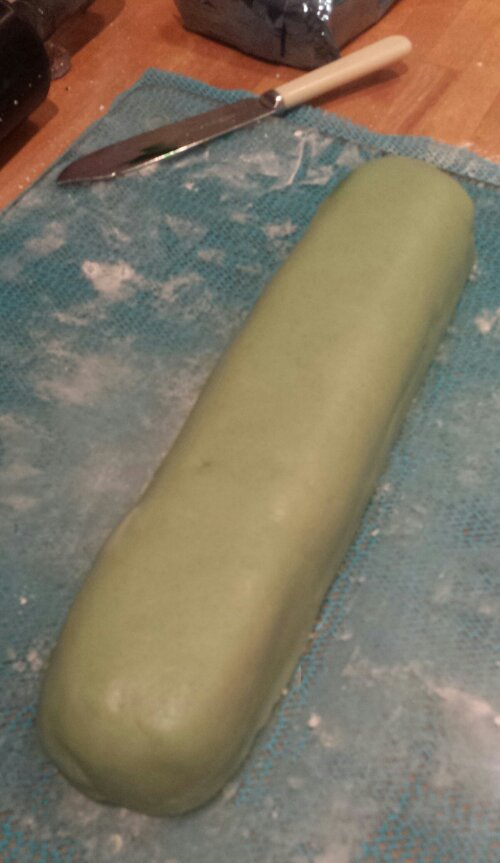
Traditionally Punschrulle rolls are bright green and each end is dipped in dark chocolate. I used a little green gel food colouring and kneaded it thoroughly into the marzipan. dousing the worksurface in icing sugar stops the marzipan sticking and means you can roll it out into a thin rectangle, just enough to cover the entire cake.
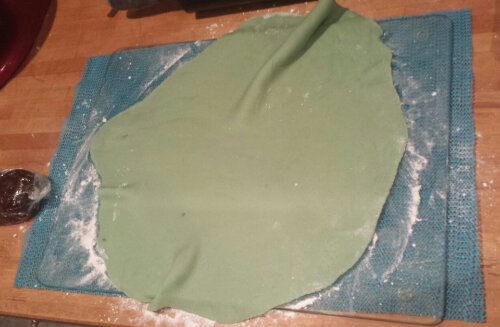
Turn your marzipan green and roll out
Making sure the marzipan was loose enough to remove it from the worksurface, (The last thing you want is to realise half way through icing you cake is that the marzipan is welded on to the worksurface.)

Chocolate Sausage ready to be wrapped in marzipan
I plonked the roll face down (the smooth side which is to be the top of the cake) face down on to the marzipan and folded the marzipan over to envelope the cake fully. Strategically folding the marzipan to hide the join underneath the cake and tuck the folds along the edges underneath.

Wrap up and tuck in the edges
Whilst the bottom of the cake is facing upwards, I melted a bar of dark chocolate in the microwave, reserving one third of the chocolate and stirring every 30 seconds to avoid it burning. Once the chocolate is melted pour in the final third of the chocolate and stir until fully melted. This helps to reduce the temperature of the chocolate and temper it, so it retains a glossy finish and doesn’t look like a sweaty mess when you’re finished.
One chocolate cake sausage encased in marzipan
I smeared melted chocolate all over the bottom of the cake in a thin layer and allowed it to set. This means each slice has a layer of chocolate, not just the lucky people who get the end pieces! It also helps to lift the cake when you need to move it later on…
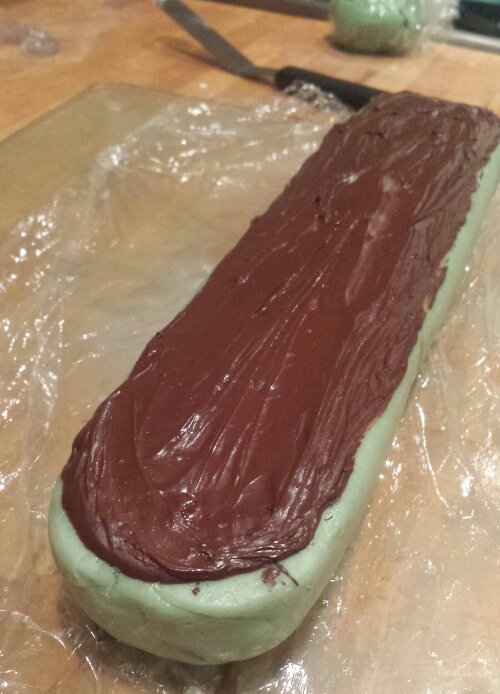
Smear melted chocolate all over the bottom of the roll
Once the bottom layer of chocolate has set fully, turn the cake face up and paint the ends of the cake with a thick layer of chocolate. Et voila, you have created a giant Punschrulle cake!

Paint each end with melted chocolate
Now this is when I realised that you have to be a member of my family to think this cake looks pretty. On a giant scale, the Punschrulle looks a bit odd… but it tastes great! (Even if I do say so myself.) I don’t own a plate or chopping board long enough to house such an enormous cake, so I had to resort to using a colourful serving tray.
too long for a normal plate – the giant Punschrulle
The addition of a giant candleabra birthday candle gave the cake somewhat of an eccentric finish. What Giant Punschrulle cake would be complete without a birthday candleabra? This cake didn’t last long in our house. Despite it’s chocolatey richness, it’s very moreish and disappears very quickly when served with a hot cup of tea. I could easily eat 2 slices in one sitting. The crunch of the dark chocolate is there with every bite, balancing out the marzipan and dense oaty filling. It’s a great way to use up any leftover cakes and biscuits in your house, so it’s a rather economical and unusual birthday cake. If you want to see how the individual Punschrulle rolls should look, have a pop over to www.nearof.com for a review of the cakes I based my recipe on.
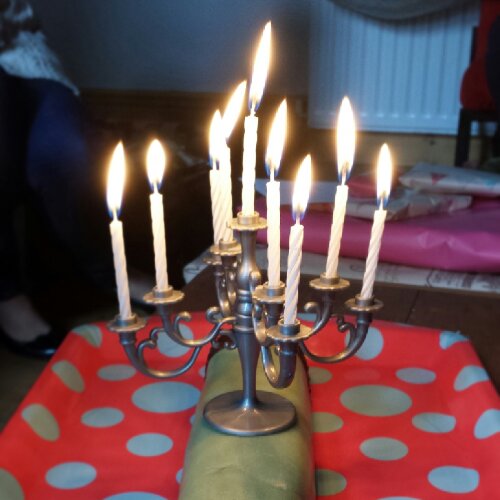
What giant prunschelle cake would be complete without a birthday candleabra?
Happy Birthday to my wonderful sister! Here’s a interesting interpretation of the Punschrulle cake just for you!

Giant Punschrulle Cake
Things that I used to make my Giant Punschrulle Cake
- 6 cupcakes (you could use whatever cake crumbs you have available, chocolate or vannila would probably work best)
- 10 digestive biscuits (plain biscuits again work well in this cake, rich teas, shortbread or digestives would be good)
- Sugar
- Butter
- Vanilla
Icing
- 300g marzipan
- green food colouring
- icing sugar (for dusting the board)
Chocolate
- 100g dark chocolate


")