

Huge and Fluffy Pandan Cake
Searching for a suitably exotic and challenging recipe I remembered a wonderful recipe I was given by a fellow cake clubber. Her family recipe for Pandan Cake. Not to be confused with Panda cake. Although a Panda Pandan Cake would be immense.

The Great Reveal! (Probably not the best photo that I could have got of the delicate Pandan Chiffon Cake but it shows how brightly coloured it is on the inside!)
Pandan is a traditional flavouring used in South East Asia. (You might find Pandan Cake in Indonesia, Malaysia and Singapore.) It comes from the leaves of the Pandan plant. It is also used to help flavour dishes such as jasmine sticky rice. If you can get a hold of some Pandan leaves you can make your own extract by boiling the leaves in a small amount of water. Pandan cake is usually green because of the chlorophyll from the leaves but as the leaves aren’t readily available everywhere most Pandan essences contain some bright food colouring to help recreate the glorious green sponge at home.

Gloriously Green Pandan Essence and Pandan infused Glutinous Rice flour
In search for Pandan paste I found Pandan essence and Pandanus Glutinous Rice flour which contained the elusive Pandan extract. As rice flour behaves in a slightly different way to normal plain flour I had to modify my recipe to accommodate the changes. You don’t have to use the green flour if you can’t find it. You can use self raising or plain. But if you prefer gluten free go for rice flour. Glutinous rice flour (despite it’s name) is gluten free. The glutinous bit means the rice belongs to the sticky rice family.

The Pandan Chiffon Cake in amongst the stunning array of Clandestine Cakes
Now upon extra research I realised that this is a chiffon cake. Those Great British Bake off fans will remember this as one of the technical challenges that was a bit tricky to bake! And considering my oven’s unpredictability this may not be the best choice to bake for our first Clandestine Cake Club gathering of 2014. But I do like a challenge!

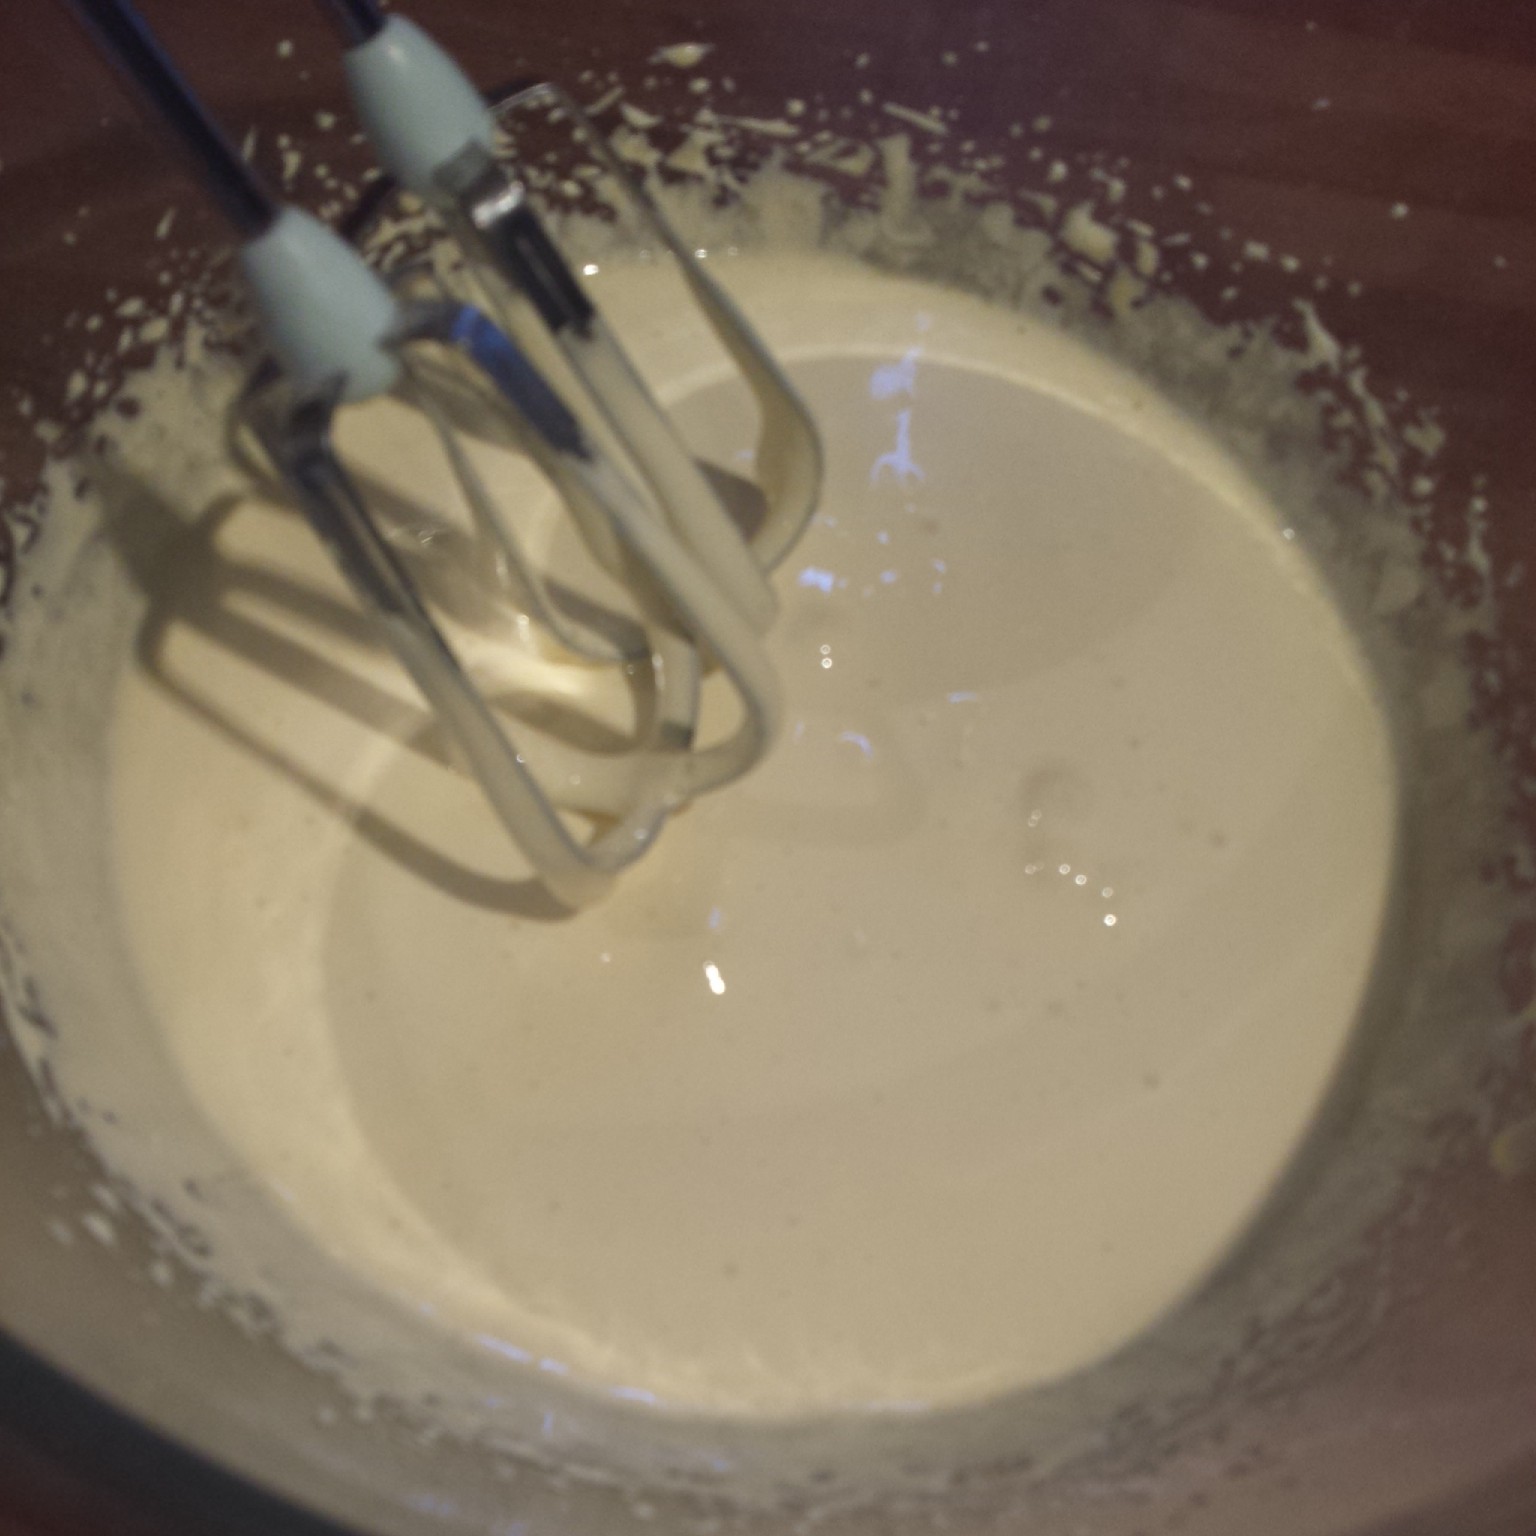
Whisk 8 eggs yolks with the sugar
This has a lot of eggs in it so you will need 2 big bowls but doesn’t take as long to make as you might think. (Only if you stop to take photos along the way does this take a long time! ). Whisk 8 egg yolks with 100g of sugar until light and fluffy
Whisk in the coconut milk and oil
Whisk in the coconut milk along with the pandan essence/paste/extract. If you’re worried it’s not going to be green enough add a dot of green food colouring gel. It will soon become a frothy fluid batter with a green tinge to it.

Adding the fluorescent Pandan Essence
Sift in the flour ( whatever type you prefer) along with the baking powder and bicarbonate of soda. If using self raising flour you will not need as much raising agent. Whisk a third of the flour into the batter followed by a third of the oil. Repeat until it’s all combined.

Whisking in the glutinous rice flour – How bright is the batter!
Whisk the egg whites until frothy. Then gradually add 100g of sugar and continue to whisk on high until stiff peaks form.

Whisk the egg whites (adding the sugar gradually) until stiff peaks are formed
Fold a dollop of egg whites into the green batter to loosen the mix and then carefully fold the egg whites in to preserve the air in the mix and help the cake rise evenly.

Carefully fold in the egg whites – Love how green the batter is!
As uncomfortable as this seems (it screams against all baking experience) pour the mix into a NON GREASED tube pan (looks like a flat topped Bundt tin). Apparently chiffon cakes need to cool upside down and grip the sides of the tin so they slowly slide out of the tin as they cool. If removed straight away the cake will concertina up and end up as a dense pancake. Greasing the tin would make the cake slip out too quickly so try not to grease it

Chiffon batter ready to bake in it’s un greased tube pan
Now with all that wonderful air in the cake the sponge springs up magnificently in the oven almost escaping the tin. With the hole in the middle the cake will cook quicker and more evenly which can only be a bonus in my oven.

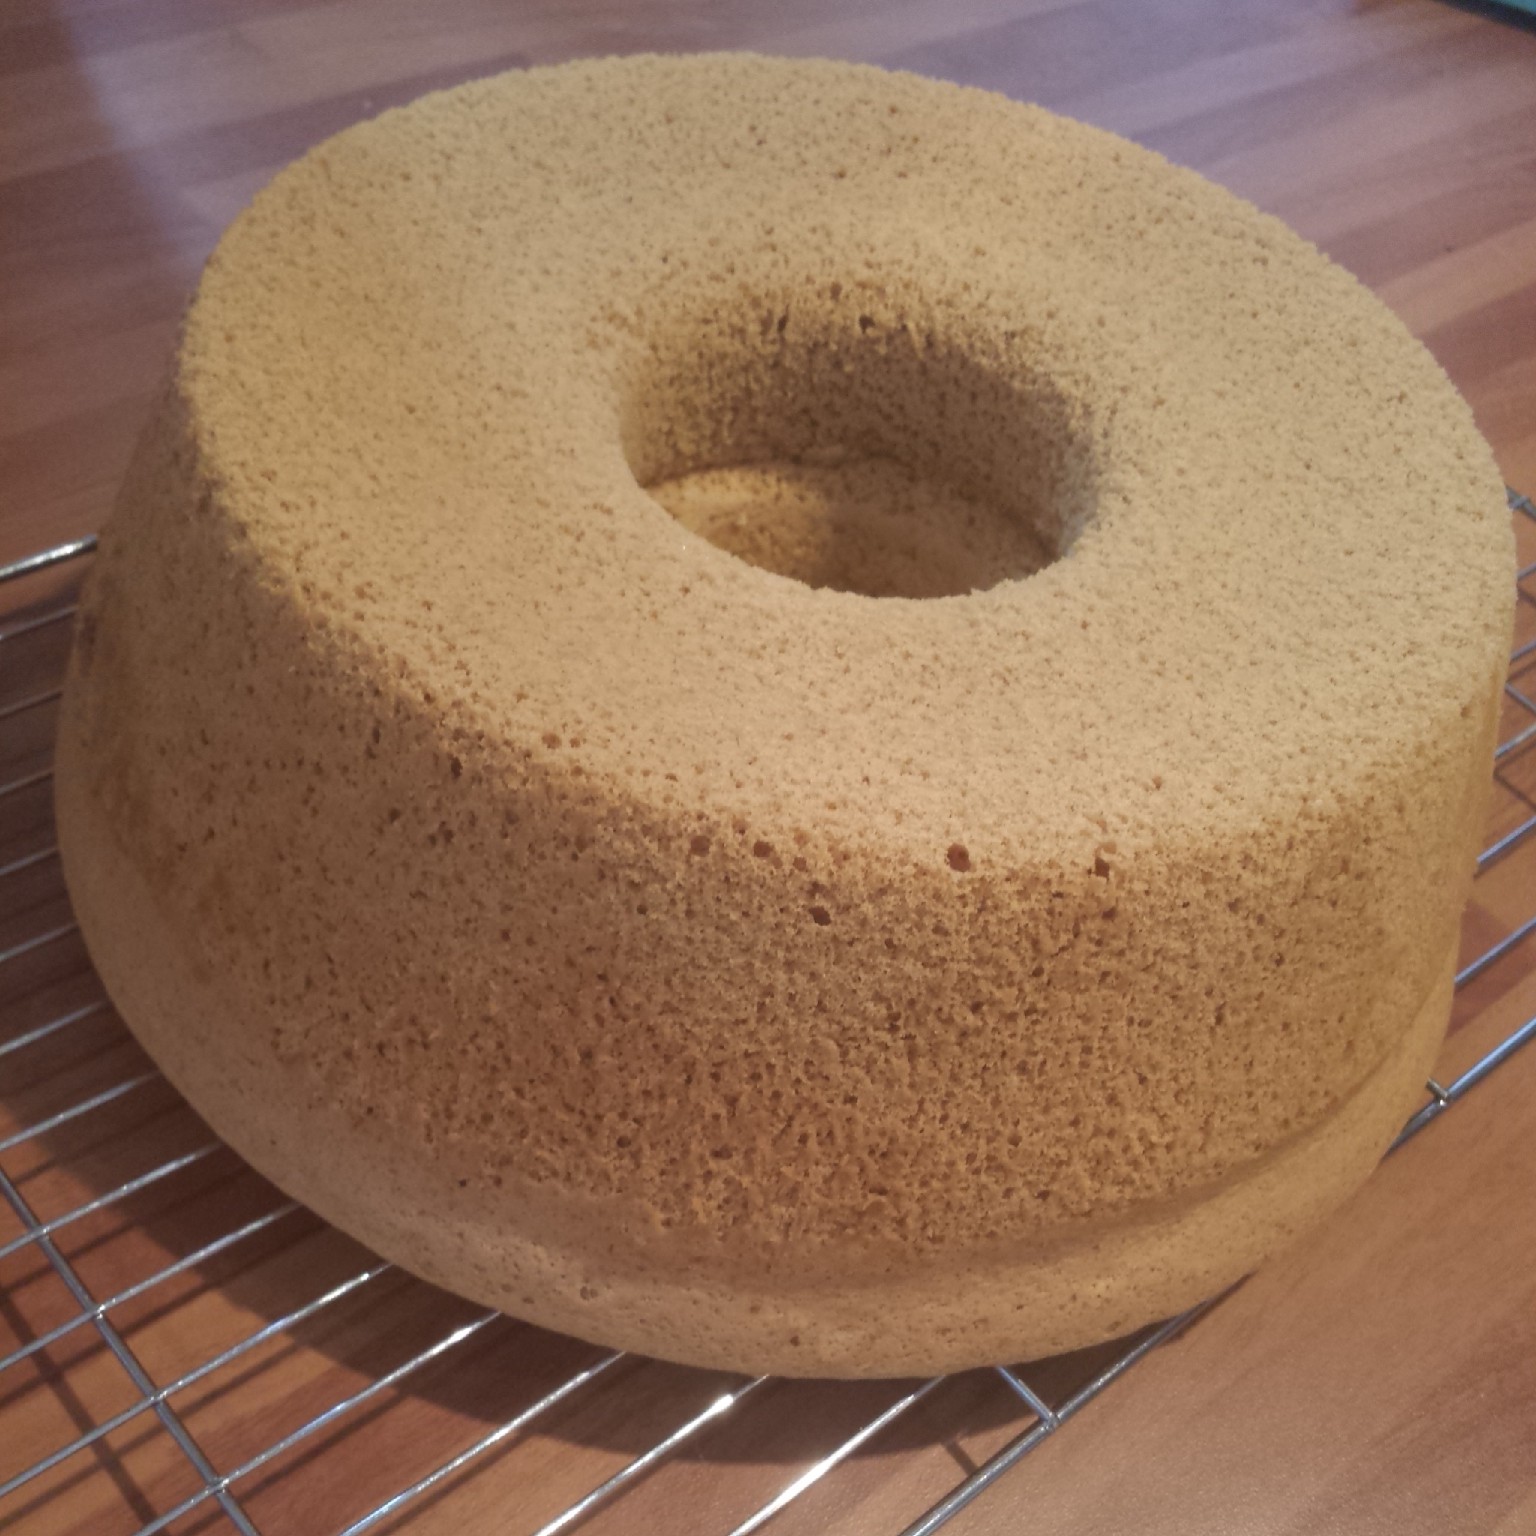
The enormous Pandan Chiffon Cake!
You will need to keep an eye on the cake to make sure it doesn’t burn. Bake it for 50 mins at 160 degrees c ( fan) but if it is cooked through sooner take it out (or leave it longer if it needs it.) I made the mistake of sticking cocktail sticks into the cake too often to check that it was cooked. This meant I deflated the cake slighty. Also pausing to mess around taking photos of the cake meant that I didn’t invert the cake tin quick enough and to my horror saw the cake sag down inside the tin. You can see on the cooled cake that it has a little ridge around the bottom of the cake (a bit like a muffin top over spilling someone’s jeans). Note to self: check it’s cooked and tip the tin upside down immediately when taking it out of the oven!
Despite it’s slightly saggy ridge the Pandan Chiffon Cake was amazing!
Once the cake cooled completely I found that it didn’t slide out of the tin as easily as I had hoped, as the cake was clinging on a little too tightly to the tin. I coaxed it gently out of the tin using a sharp knife and running it around the edge of the tin, allowing gravity to do the rest of the job. This meant that the cake didn’t have a shiny finish to it, but I think this is how it’s supposed to look.

The Magnificent Pandan Chiffon Cake
What a magnificent cake the Pandan Chiffon Cake is! It is extremely light and soft to the touch, more like a tasty pillow than a cake. I’ve never eaten a cake that actually melted in my mouth before until now. It’s moist and airy and keeps for at least 3 days after baking it. (That’s as long as I managed to save my final piece until.) It’s worth slicing the cake with the sharpest knife that you have to preserve it’s shape as much as possible as it is very delicate. (I may have been a tad heavy handed when slicing it up as I squished it slightly.)

A slightly squashed slice of Pandan Chiffon Cake
Pandan is an unusual flavour. It perfumes the air whilst managing to taste both sweet and savoury at the same time. It’s similar to Green Tea (Matcha) cakes but like nothing else that I’ve ever tasted before. I will surely be baking this again. It really doesn’t take as long as you might think, perhaps 30 minutes to prepare and as it doesn’t need any dressing up, you don’t need to spend time decorating the cake. Icing would be overkill. It’s a deceptive cake. It looks rather plain and boring from the outside, but that first slice releases the pandan perfume and the glorious green chiffon . It’s a much more complex and interesting cake than you might initially think. If you’re going to attempt an exotic cake I can’t recommend the Pandan Chiffon Cake enough!
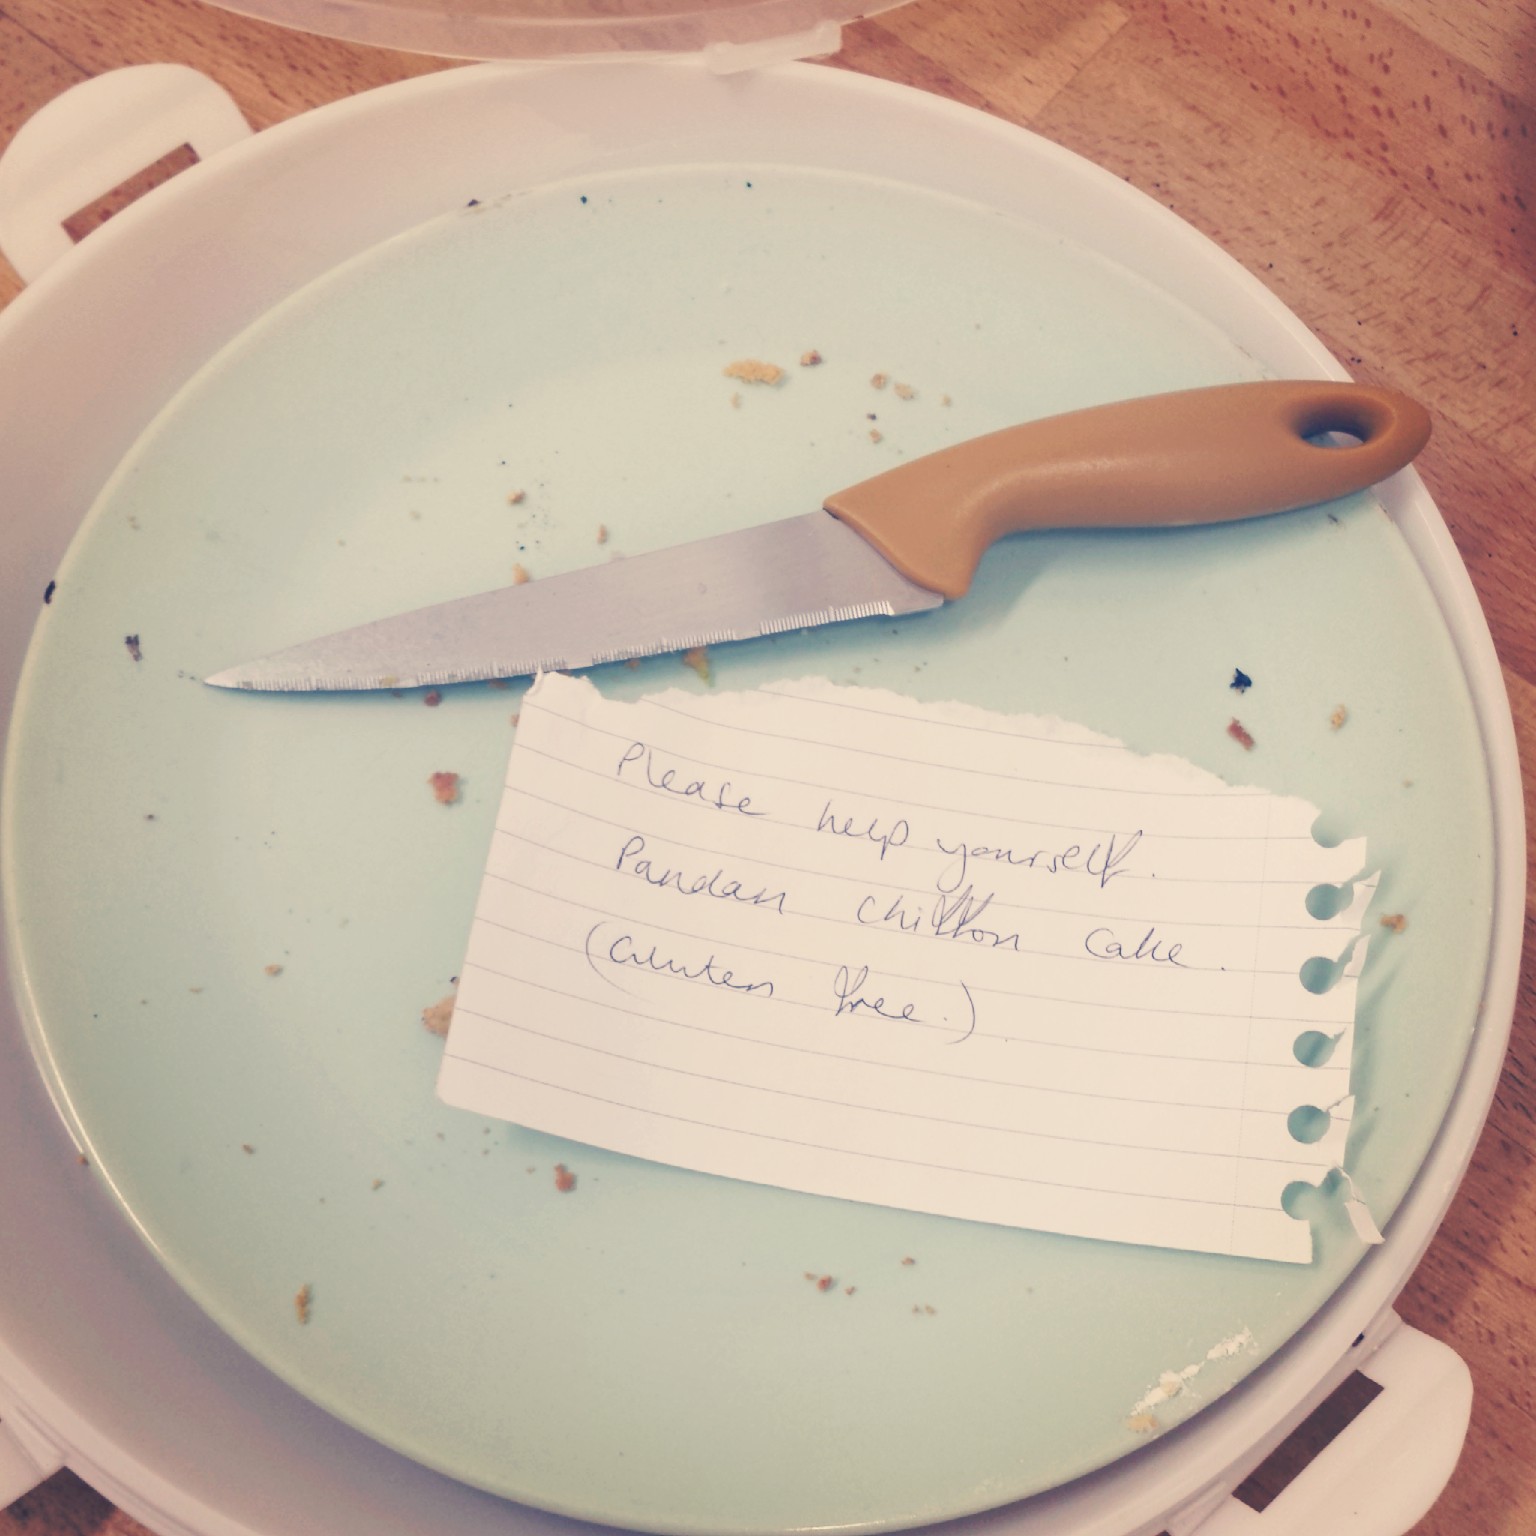
An empty plate speaks for itself! – The Pandan Chiffon Cake disappeared very quickly
Things I used to make my Pandan Chiffon Cake
Batter
- 8 egg yolks
- 100g sugar
- 140ml coconut milk
- 1/4 cup olive oil
- 170g pandan flavoured glutinous rice flour (you can use plain rice flour if you prefer)
- 3 tsp pandan essence (1tsp paste)
- 3 1/2 tsp baking powder
- 2 tsp bicarbonate of soda
- (Green food colouring if you wish)
Egg whites
- 8 egg whites
- 100g sugar
- 1/2 tsp cream of tartar
Method
- Whisk the eggs yolks with the sugar until light and fluffy
- Whisk in the coconut milk, pandan essence (and a splash of green food colouring if you would like it extra bright)
- Sift the bicarbonate of soda and baking powder and flour together
- Whisk in a third of the flour mixture followed by a third of the oil until it’s all incorporated
- In a separate bowl beat the egg whites until frothy, then gradually add the sugar and cream of tartar
- Beat until the eggs whites are they reach stiff peaks
- Fold the egg whites into the batter gently
- Pour into a non greased tube pan
- Bake at 160 degrees c fan for 50 minutes
- When fully cooked invert the tin immediately over a cooling rack and allow the cake to slide gently out of the tin as it cools
- Slice with a very sharp knife and store in an airtight container


 the marzipan snowman lost his head on the way too!")


")


