

Buttercup Babycakes
It’s no secret I’m not the best sugar crafter or cake decorator. I’m still finding my feet when it comes to making pretty cakes. I’m more at home pouring loads of ganache over a cake and hoping for the best. So why on earth did I decide to attempt to cover a bundt cake with fondant icing you may wonder?! I’m always up for a challenge and this really was a test of my cake decorating abilities.
")
A recent cake experiment My Giant Chocolate Truffle Cake – I won the Church Chocolate Cake Competition (for taste, not presentation!)
I was invited to participate in Renshaws Baking Competition. The challenge? To bake and decorate a cake fit for the next heir to the throne, to welcome Baby Windsor into the world. My initial idea was to make a 3D crown, hence the bundt cake. however it seems my imagination is far more advanced than my sugarcrafting skills.

Lavender Bundt Baking
What flavour cake do you bake for the royals? Well, I know Kate enjoyed a few Lavender shortbreads during her pregnancy, so a Lavender Madeira Bundt Cake I baked. Hoping that she hasn’t since developed an aversion to lavender. Not that Kate’s ever going to actually eat this cake, but you know it’s the thought that counts.

Roll roll roll your fondant gently off the table
One of the reasons I don’t venture into sugarcraft very often is that there isn’t a lot of space in my kitchen. Attempting to roll my crown out meant there was a bit of droppage on the floor. I rolled the fondant as thin as I could manage in one rectangular piece.

Pizza cutter at the ready – crown creating
I don’t own any proper sugar crafting knives so wielding the pizza cutter I attempted to fashion some crown shapes. Cutting triangles out of the fondant.

Hoping the sugar crown sets safely with a tin foil support
Once I had my basic crown shape I gently lifted it onto a cling film covered bundt tin. and held the pointy ends in place with a crumpled horseshoes of tin foil. Unfortunately the bundt tin then needed to have a cake baked into it, so it all went to hell. The crown ended up as a crumpled mess, so I made another. This crown snapped after it dried. Admitting defeat I returned to the drawing board.

jam up the bundt
To help spur on my creativity I decided to apply a layer of marzipan to the lavender bundt. Applying a liberal coating of apricot jam to make it all stick.

A lovely layer of marzipan
Bundts are not usually iced in this way and I can now see why. Pouring a whole lot of chocolate over a bundt is a much easier option. This traditional style of icing is best suited to a more circular cake with flat edges, like with my wedding cake. Anyway who said I had to be traditional! Undeterred I threw a thin layer of marizpan over the bundt and poked a hole in the marzipan, coaxing it into the inner ring and under the moulded edges of the cake.

Marzipaned bundt
Surprisingly the marzipan worked exceedingly well. I filled in a few gaps with some extra bits of marzipan as no one will know about the messy joins. If you won’t tell I won’t either. AND only a small bit of the extra marzipan fell into my mouth whilst rolling this out, honest. (Did I mention that I have a marzipan obsession?? It is manna from the heavens!)

Smooth fondant finish
The most tricky bit is trying to get a thin layer of smooth white fondant icing to cover the bundt. The Renshaw white fondant is really lovely to work with, so soft and smooth, but I had to add a lot of icing sugar to stop it sticking to the worksurface so I could lift it all up in one go over the rolling pin. I didn’t have the courage to pop a hole in the middle of the white icing once I eventually got it on to the cake. I couldn’t have faced more rolling after it took me a good few goes to get it the right size to fit the cake. It took a bit of manoeuvring in my little kitchen to get it to work but once in place it worked a treat! Using the palm of my hand I smoothed the fondant and buffed it to a nice sheen so a hint of the moulding of the bundt can be seen through the icing.

Terrible crown attempt number 2.
In a bid to create a royal crown for my baby cake I cracked open a pack of yellow fondant. I clearly had to give up on my crown idea, as this looked more like a wonky chimney. A new approach was needed.

I give up on the crowns let’s make flowers instead!
And that approach is always flowers! I have a few sugar craft tools in my kitchen, most of which tend to be flowers or stars. The yellow sugar paste was really easy to handle. As it was so soft it didn’t really require any kneading to make it more pliable. It was good to go straight from the packet. As we don’t know if the baby is a girl or a boy (yet) I chose the gender neutral buttercup yellow.

whack a load of flowers all over the bundt
I whacked a whole load of yellow buttercups randomly all over the bundt straight from the cutter. As the white fondant and the yellow sugar paste were still moist no edible glue was needed to hold the flowers in place. You could add some for extra security if you like, but the fondants bonded instantly and let me crack on with cutting as many flowers as possible.

Just when you’re think you’re done… keep going
Just when I started to think I was almost finished, I kept on cutting flowers and piling them up in the centre of the bundt to create a bouquet of buttercups fit for the Duchess.

Spray liberally with sparkle and stud each daisy with a pearl
I realised that my bundt was starting to resemble a 1970s swimming cap. I was going for a vintage look but no one wants to eat a swimming cap, especially not Kate Middleton and Wills. The flowers required a lift. Spray on silver lustre is always my go to when cakes need a little something extra. It’s my pièce de résistance. And yet it still wasn’t enough. Back to my cupboard and I discovered a pot of edible pink pearls. Terrific! I studded the still supple yellow fondant flowers with a pearl in the centre. This (in my opinion) makes all the difference.
Birds eye bundt view – Welcome to the World Baby Windsor
Pushing the pearls carefully into the centre of each flower added variance to the flowers, giving a more natural look and lifting the petals slightly from the cake. The added pressure also encouraged the bond between the fondants to help hold the flowers on to the cake.

I love a bit of lavender in my baking, you can probably tell from all of the other cakes I’ve made. Lavender keeps coming back. Infusing caster sugar with lavender is so easy to do and gives you a naturally wonderful flavour that enhances any cake, shortbread, meringue, Madeleine or cupcake that takes your fancy. It’s subtle floral scent perfumes the house and soothes the soul (and tummy). A nice hunk of lavender Madeira cake is best served with a strong cup of proper tea. The marzipan and fondant gives you an extra flavour dimension and sweetness. That sugar boost a new mammy needs. Welcome to the World Baby Windsor.

Build me up Buttercup – Baby Bundt Cake
Things that I used to make this Baby Bundt Cake
- 115g Self Raising Flour
- 115g Plain Flour
- 175g Margarine
- 175g Lavender infused sugar
- 3 eggs
- splash of milk
- 500g Renshaw white fondant icing
- 500g Natural Marzipan
- 40g yellow sugar paste
- Beat sugar and butter together until light and fluffy
- Beat eggs in, one at a time until fully incorporated
- Fold in the flours
- Fold in enough milk to get a good dropping consitency
- Pour into a bundt tin and smooth down, filling all of the gaps
- Bake for 50 minutes at 170 degrees C
- Cool
- Coat with apricot jam
- Apply a layer of marzipan
- Apply a layer of fondant icing
- Apply flowers, lustre and pearls!
- Present to your new parent friends.

Buttercup Bouquet
Thank you to Renshaw for sending me this lovely box of icing and marzipan. I loved getting creative with the icing and it’s really easy to work with. I shall have to practice my cake decorating skills more often! Now who needs a celebration cake??
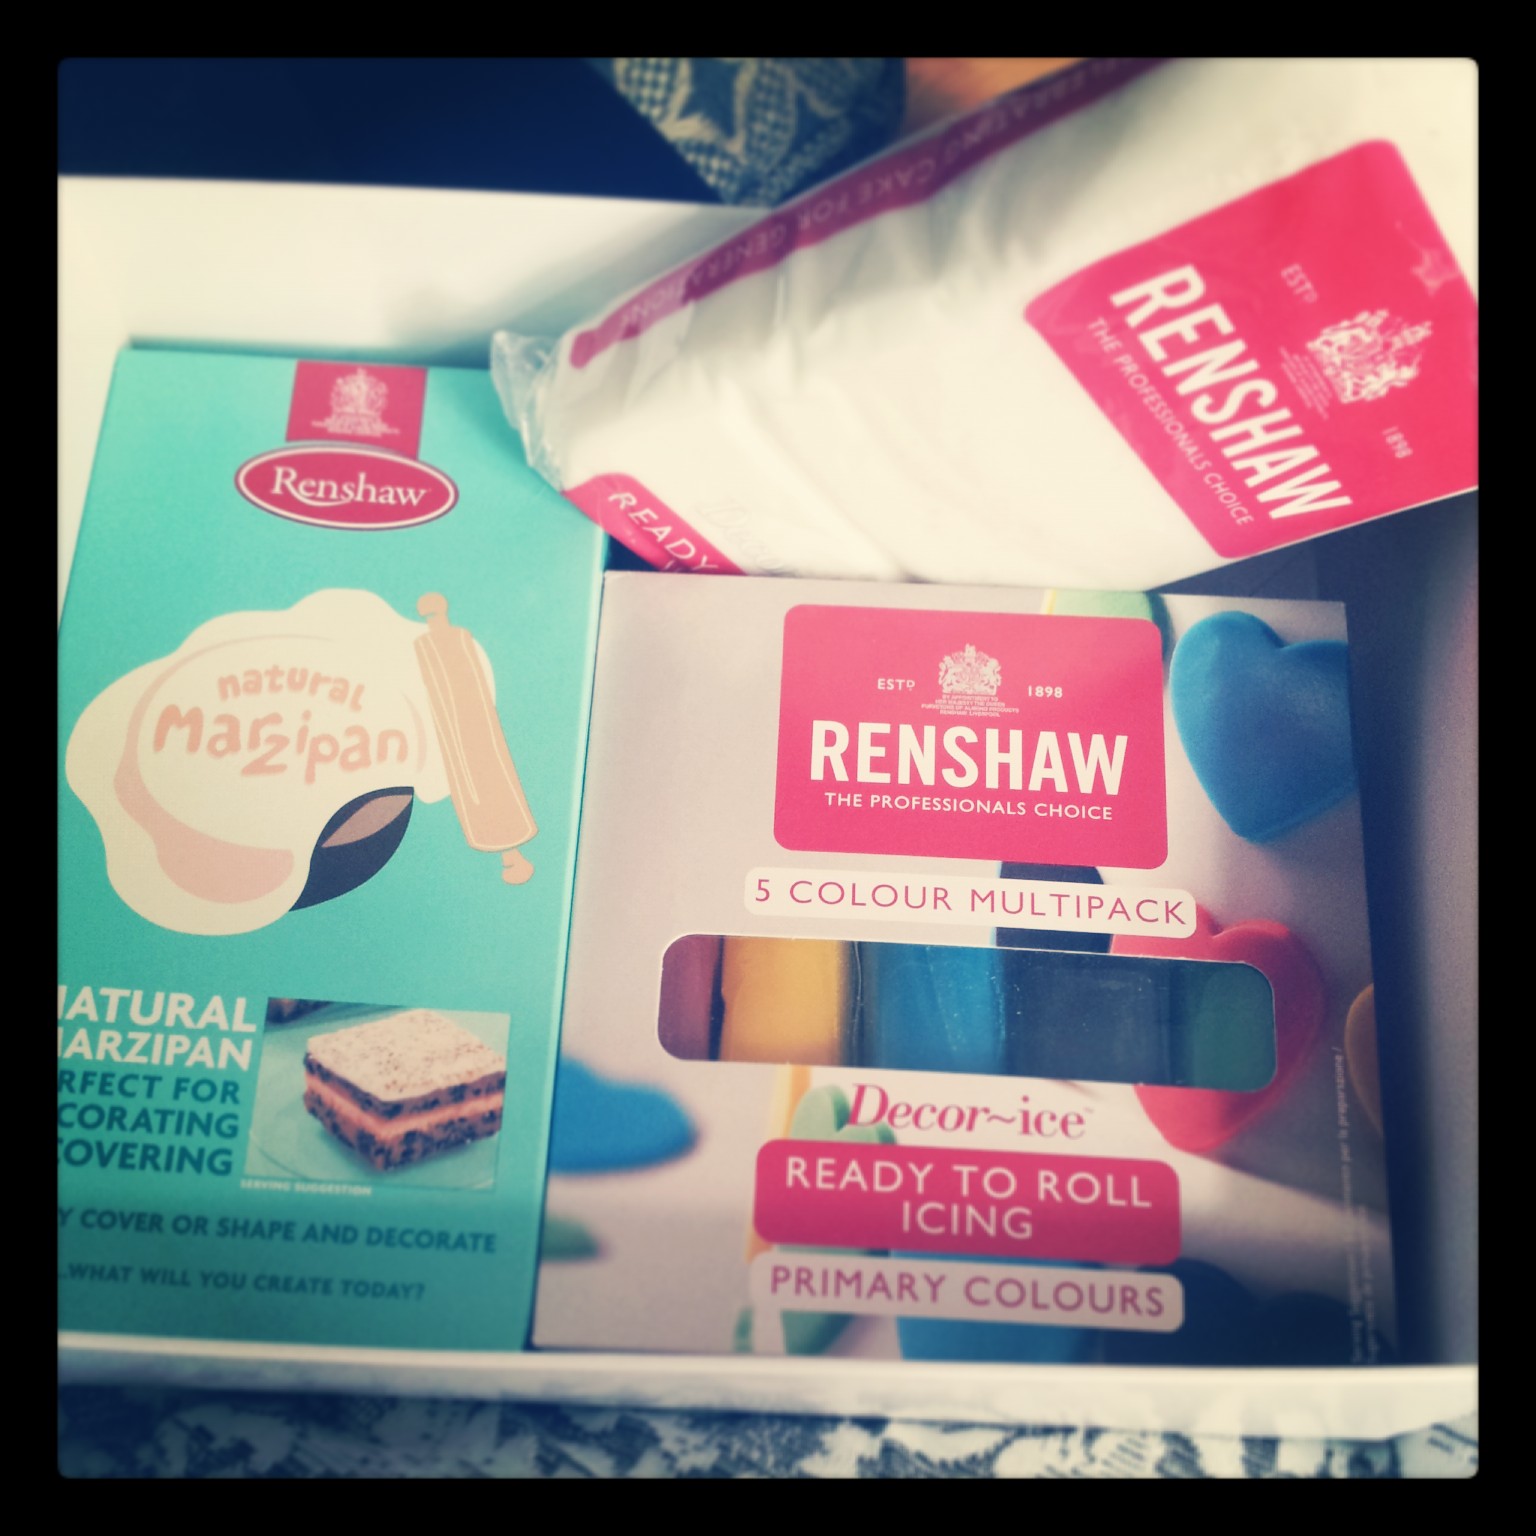
My box of Renshaw Icing Goodies
If you’d like to see the other entries in the Royal baby cake competiton head on over to www.renshawbaking.com


