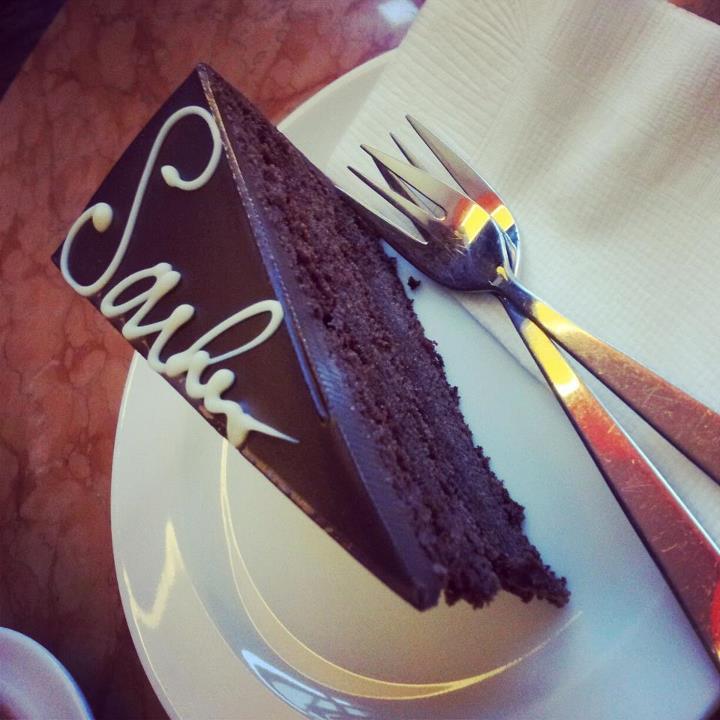
Not one that I made earlier unfortunately but this is one hell of a triple layer Sachertorte that I ate in Berlin
What’s more indulgent and luxurious than a Sachertorte? Surely a triple layer Sachertorte beats them all hands down. Why have merely one layer when you can have three? The Berliners had the best idea and yes I stole it, nay, lovingly recreated it at home for my friend Adam’s 30th birthday present.
")
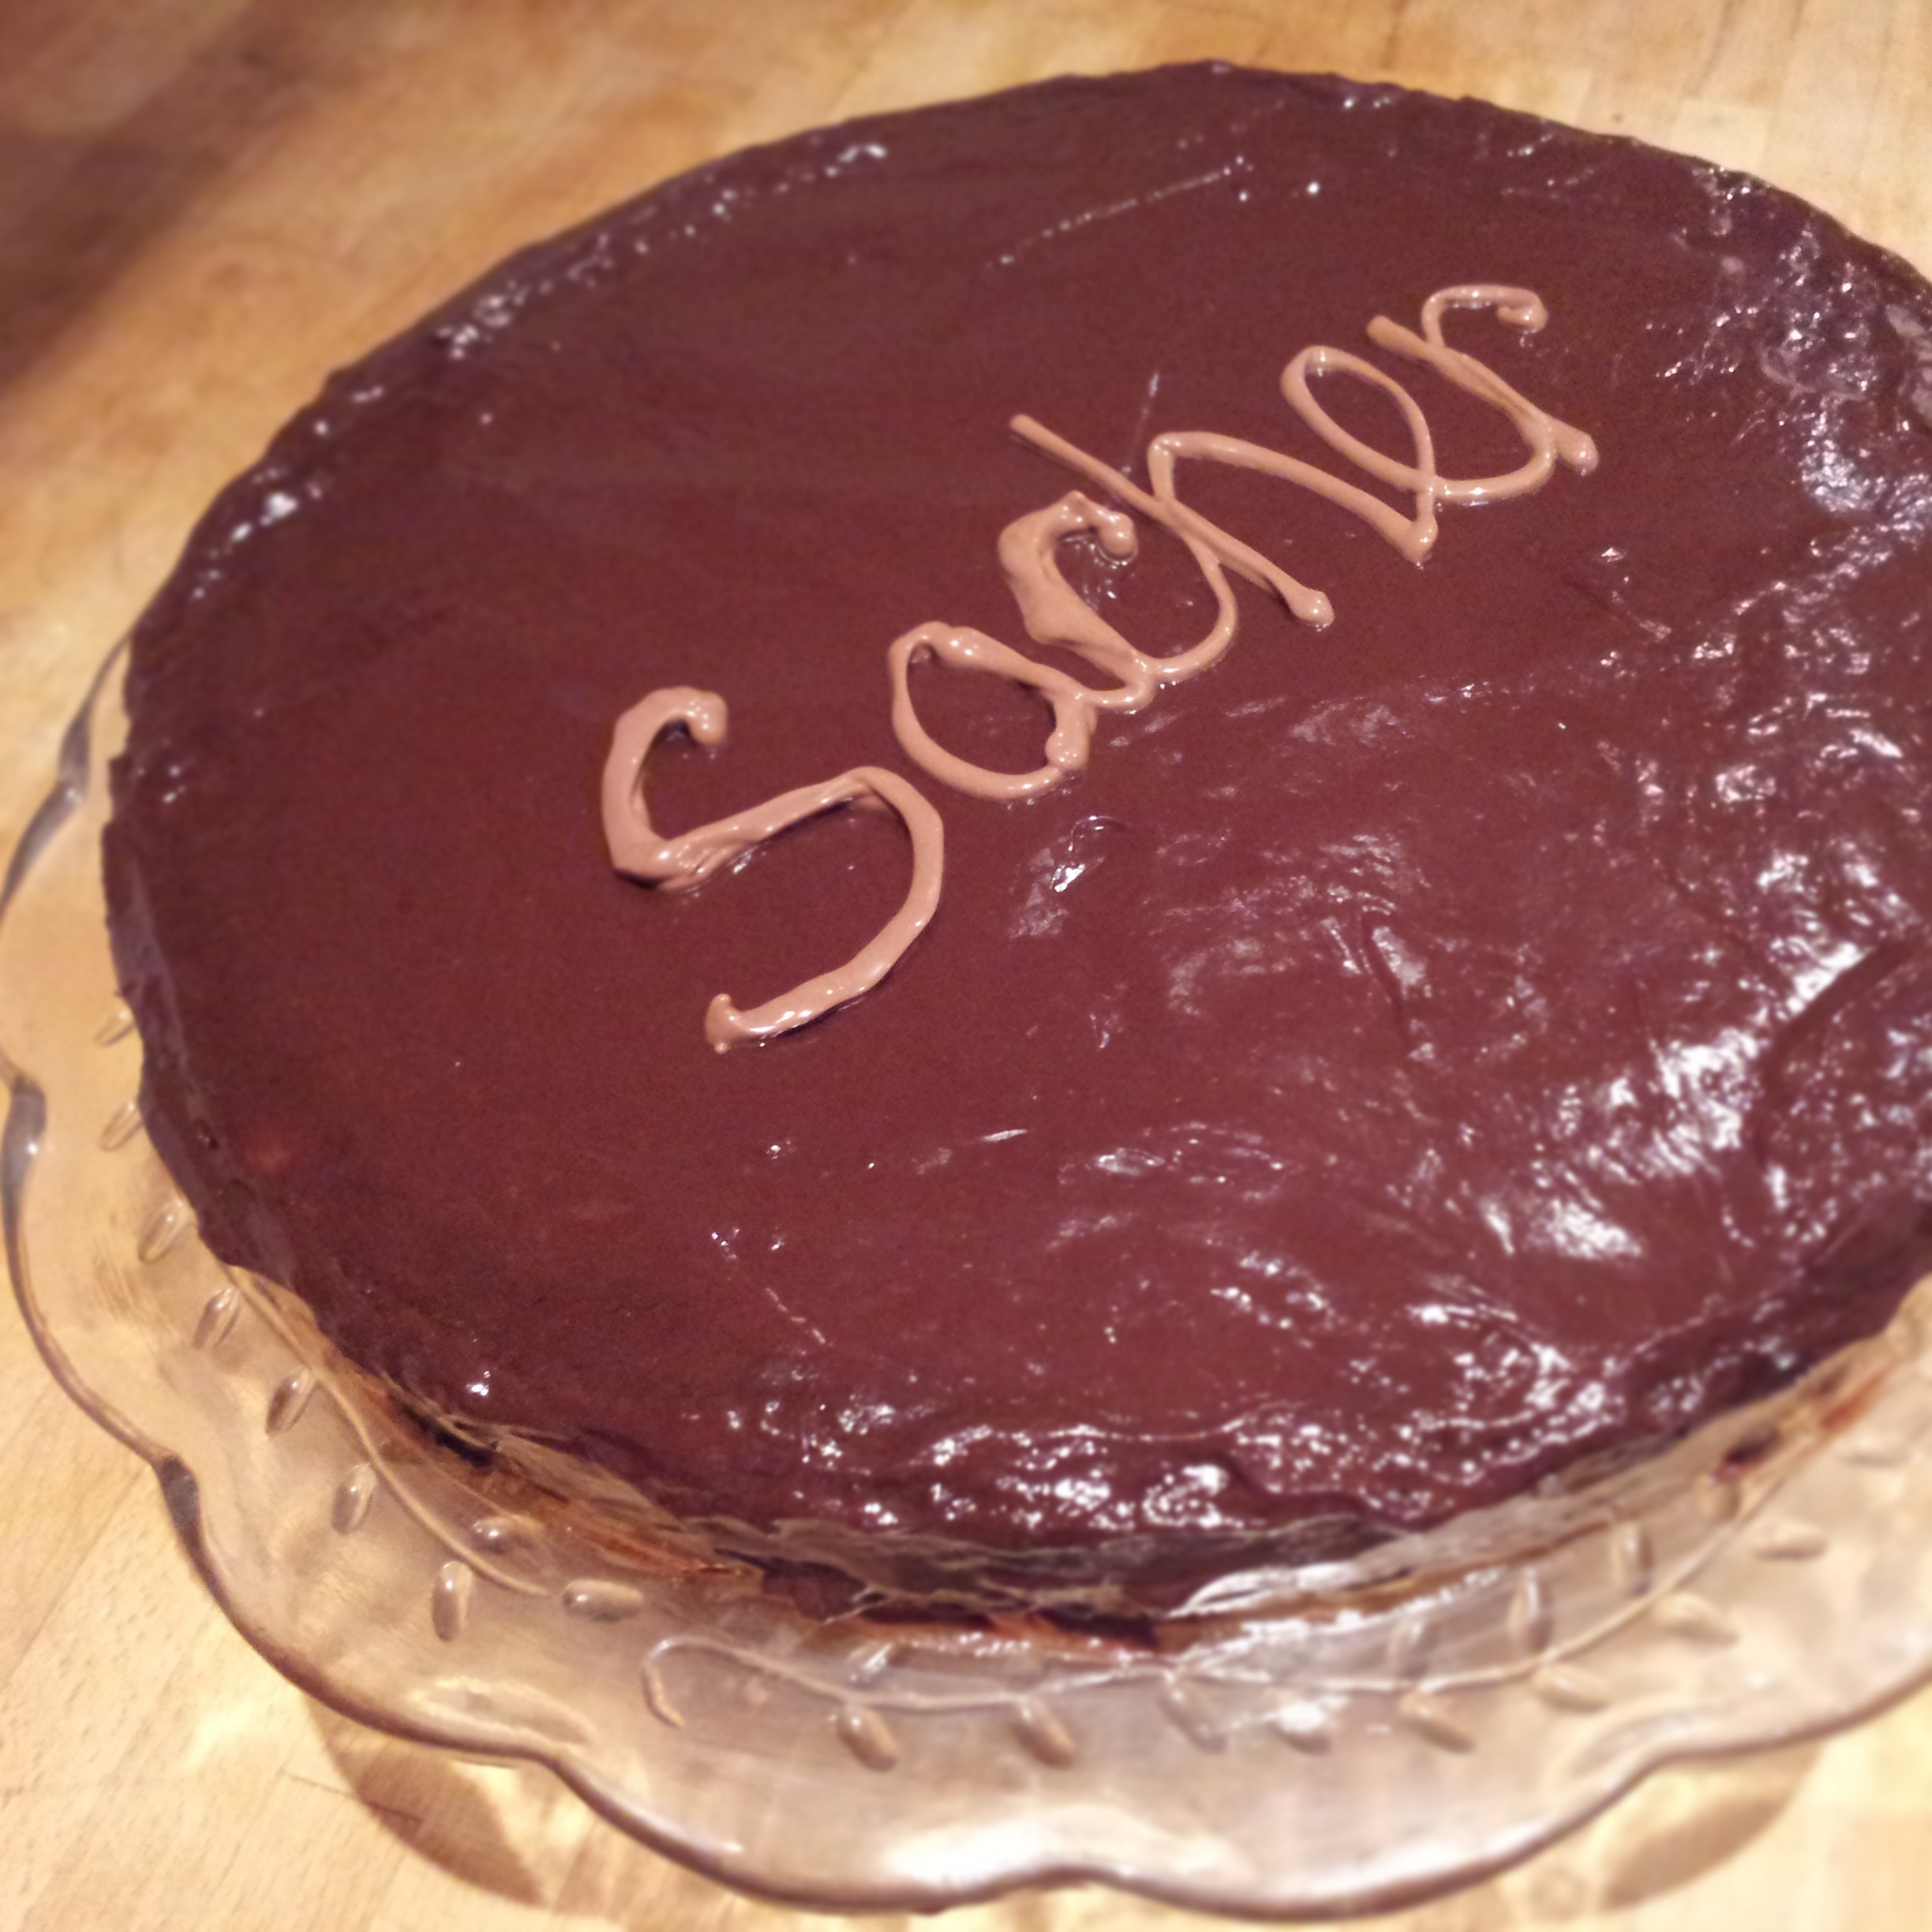
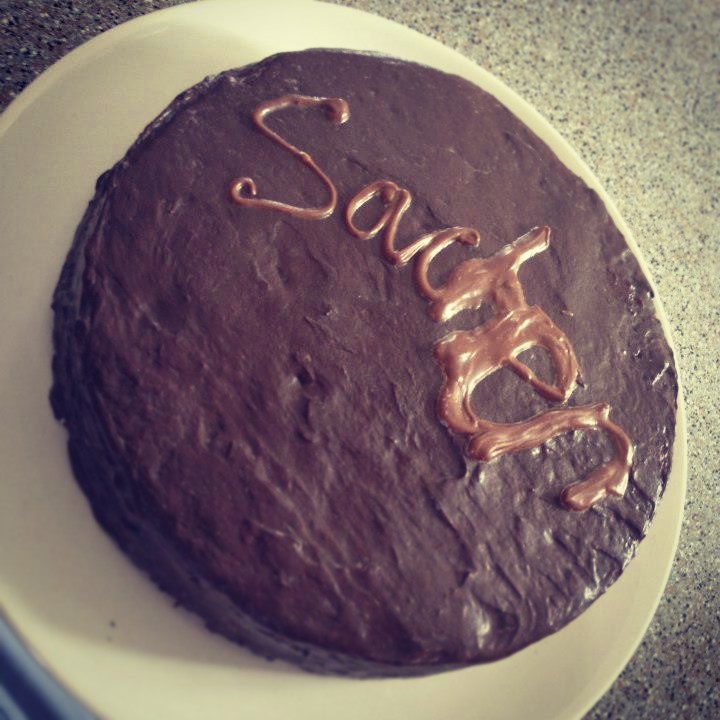
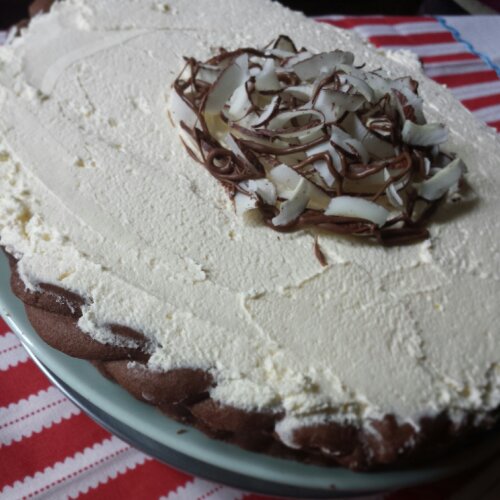
Oh dear it’s all gone a bit wrong, but here’s my SacHER torte. Check out that glossy ganache (and ignore my terrible chocolate icing skills…)
Sachertorte was invented in Vienna, Austria and although I’m still yet to visit the country I thoroughly enjoy it’s food. One of my very first around the world in 80 bakes, bakes was indeed a 4 foot pastry monster, also known as the Viennesse Apple Strudel.

After all of that I had to make myself a one too … just one layer to see if I could get it right… shhh don’t tell anyone
A very rich and dense chocolate cake, two layers of Sachertorte are usually sandwiched together with apricot jam and chocolate ganache. But for this extra special version I made 3! Well it is a special birthday after all and I had been promising Adam a triple layer Sachertorte for sometime.

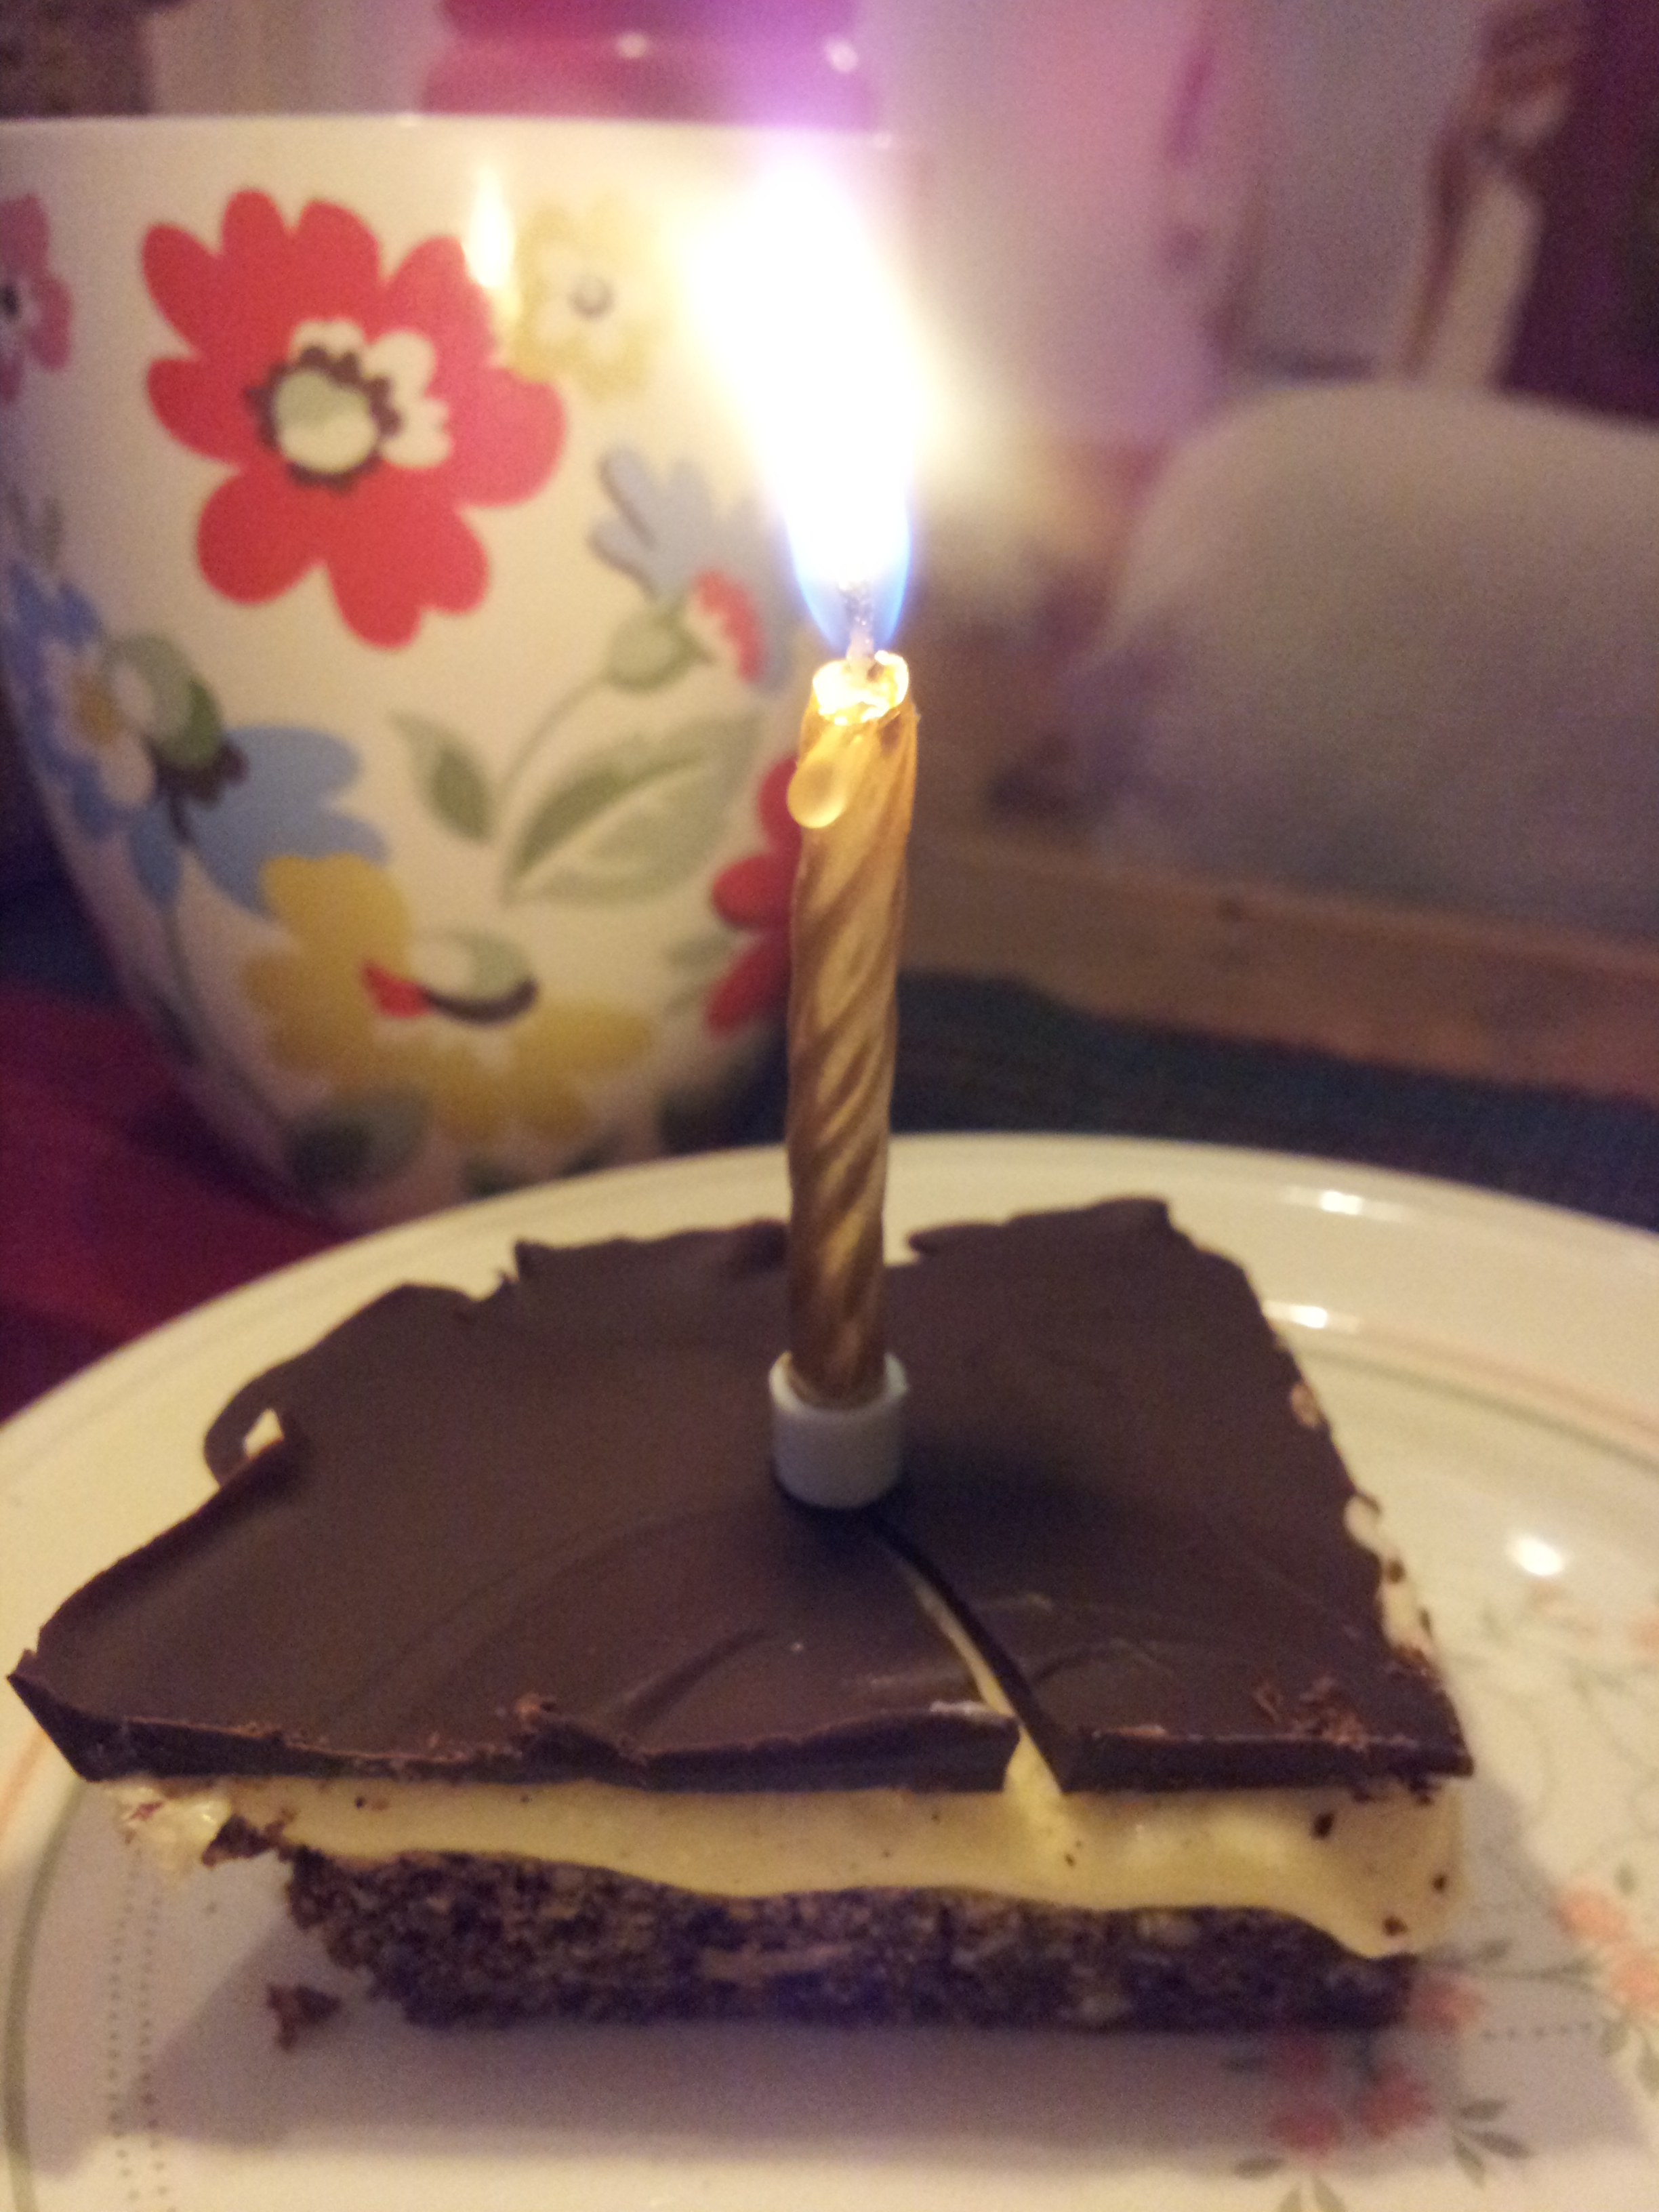
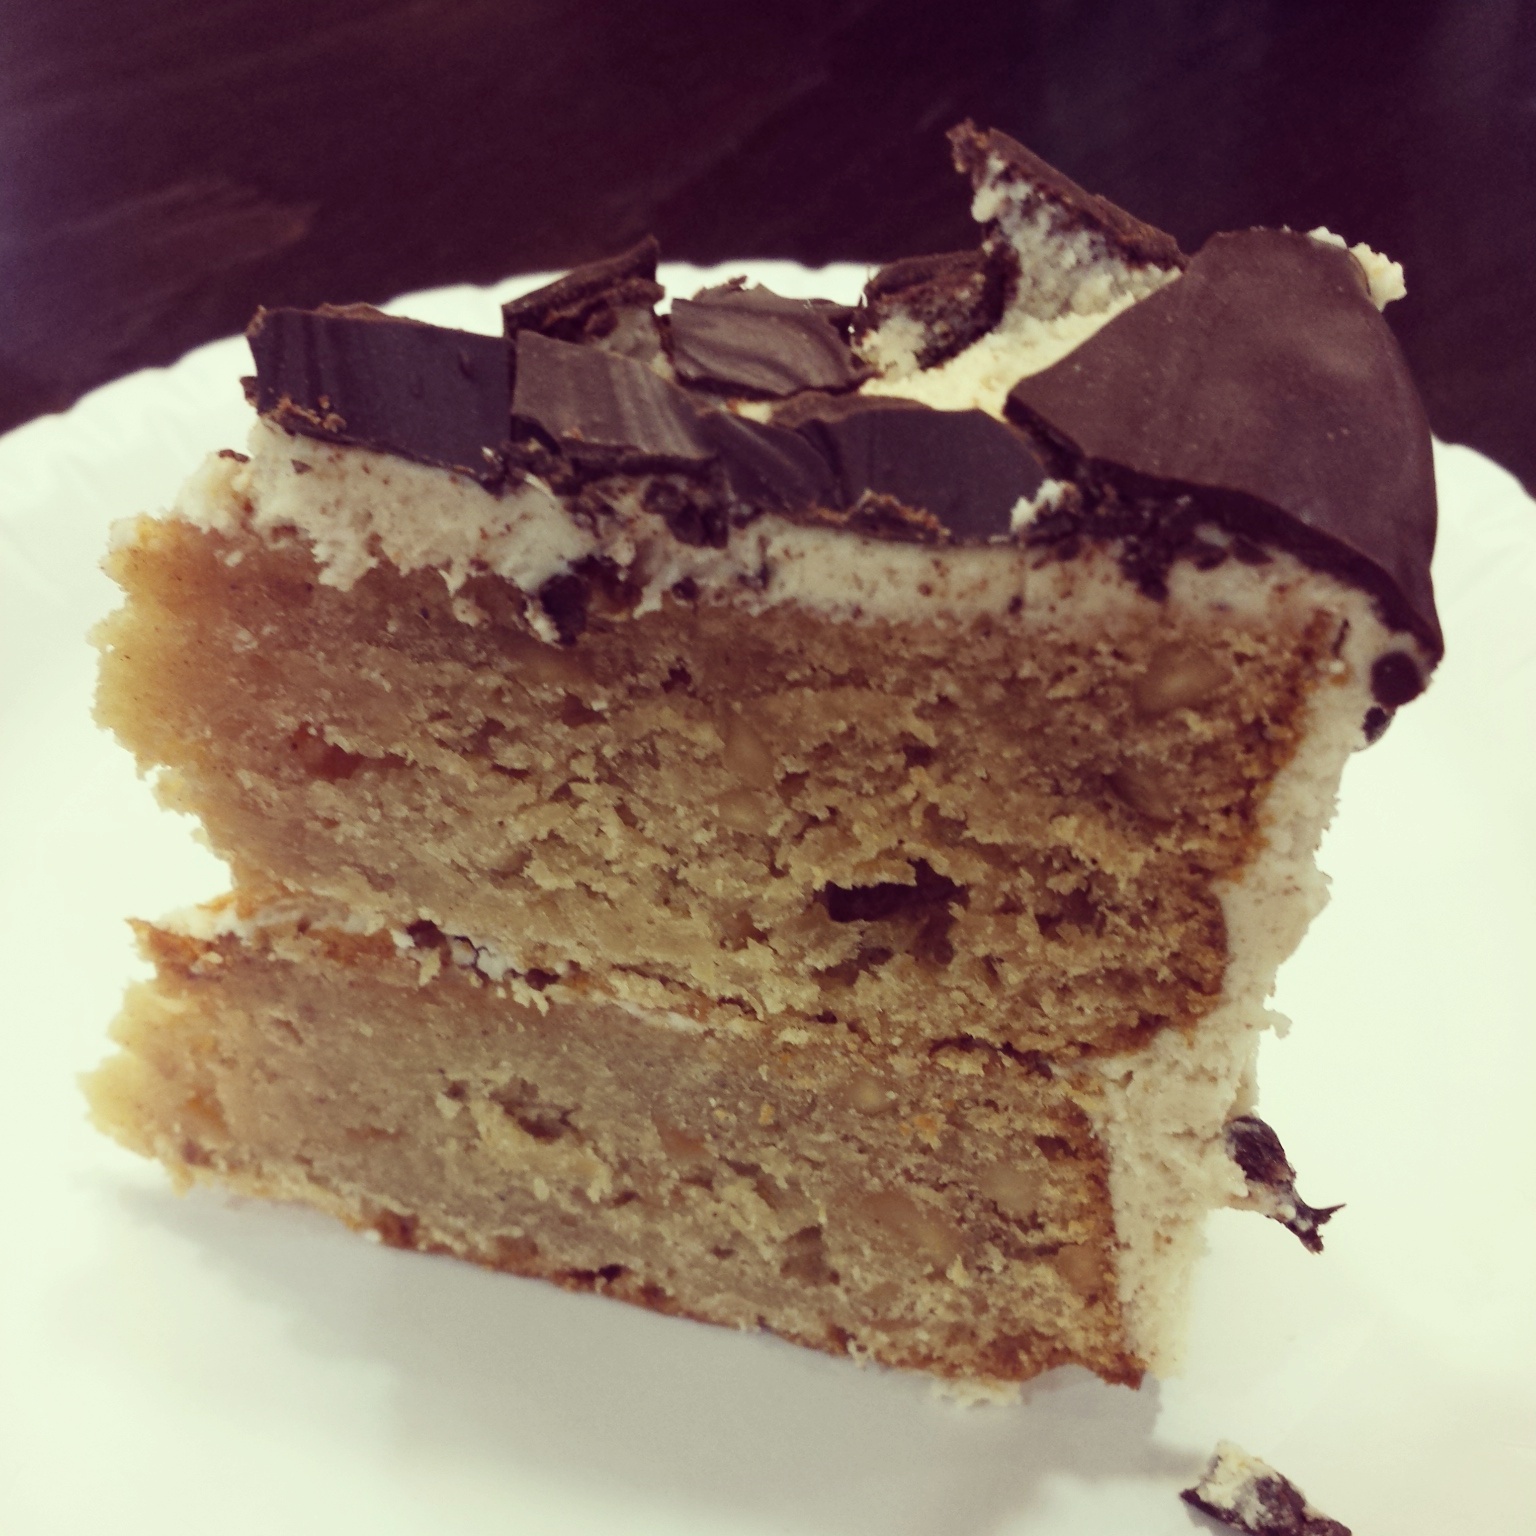
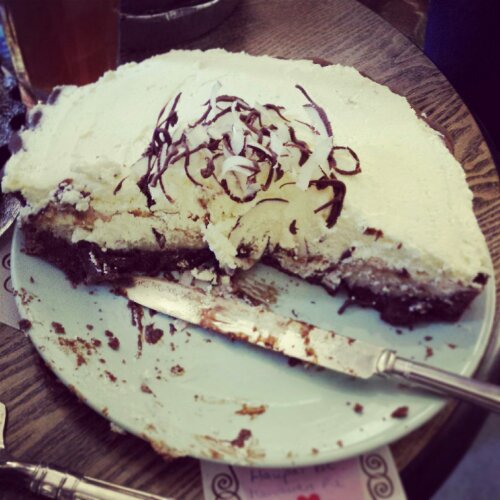
Here’s a slice of my second attempt at Sachertorte (Just the one layer) but beautifully rich and moist!
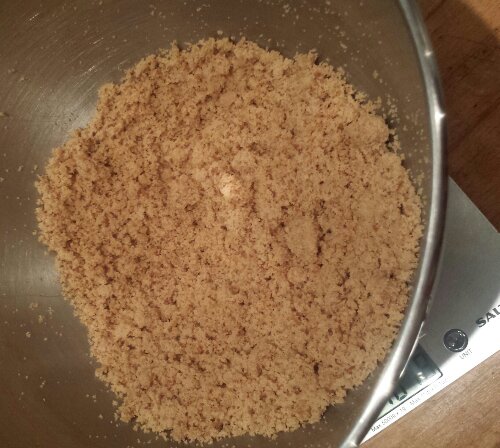
It’s an almost flourless sponge, made mainly from almonds, so it can cope with a bit of handling (or slicing into more layers). It also benefits from a heavy layer of ganache to retain moisture in the sponge.

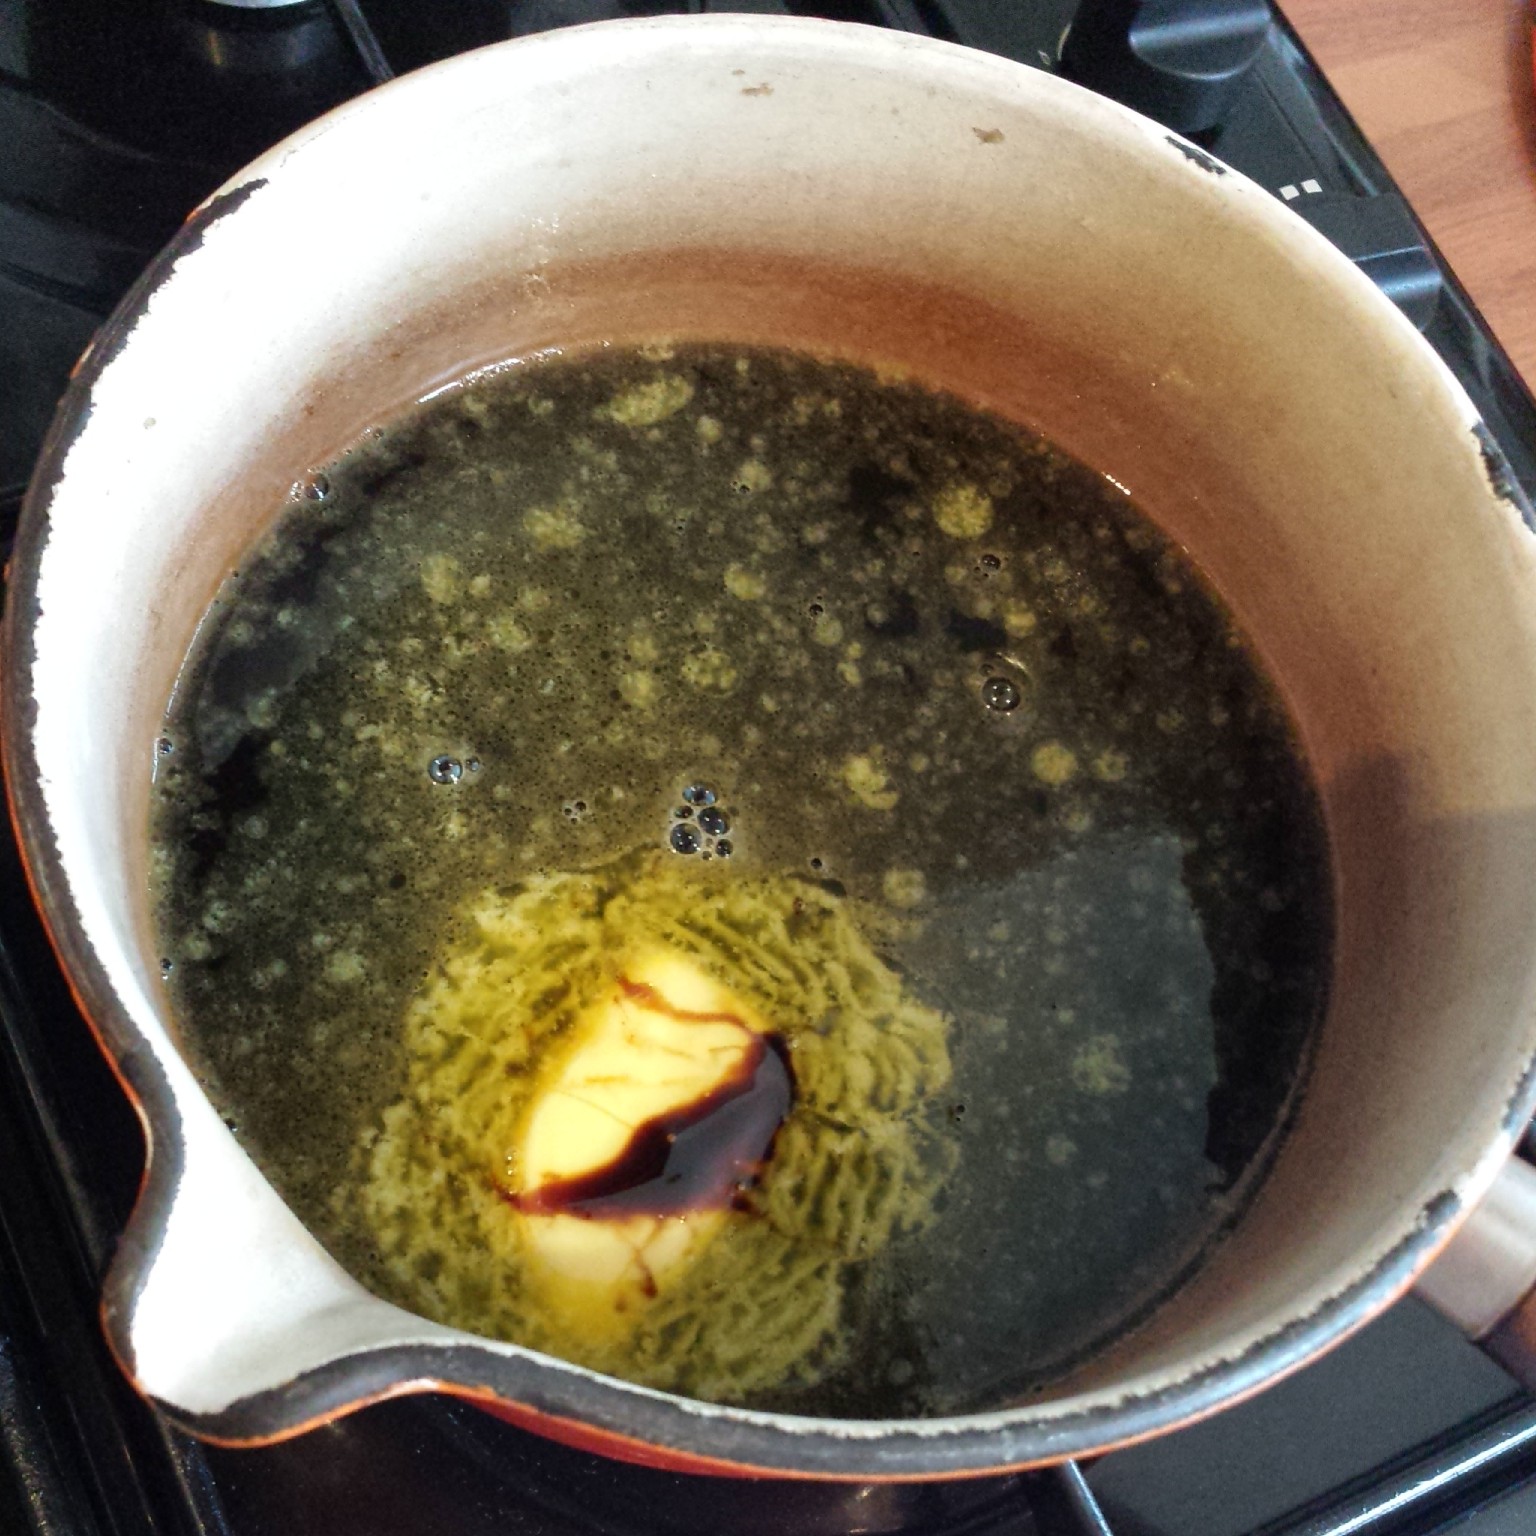
Melt the chocolate
There’s a lot of real chocolate in this cake, so it’s as chocolately as it’s ever going to get, rather than just adding cocoa powder. This is the real deal. Using a bain marie is the best way to melt chocolate (in my opinion) without burning it. Melt the chocolate gently with a bowl suspended over a pan of boiling water.

Beat together the sugar and butter
Once the chocolate is melted, leave it to cool slightly whilst you beat together the butter and sugar until it’s light and fluffy.
The slightly cooled chocolate can then be beaten into the melted chocolate along with the vanilla extract.

Beat in the chocolate
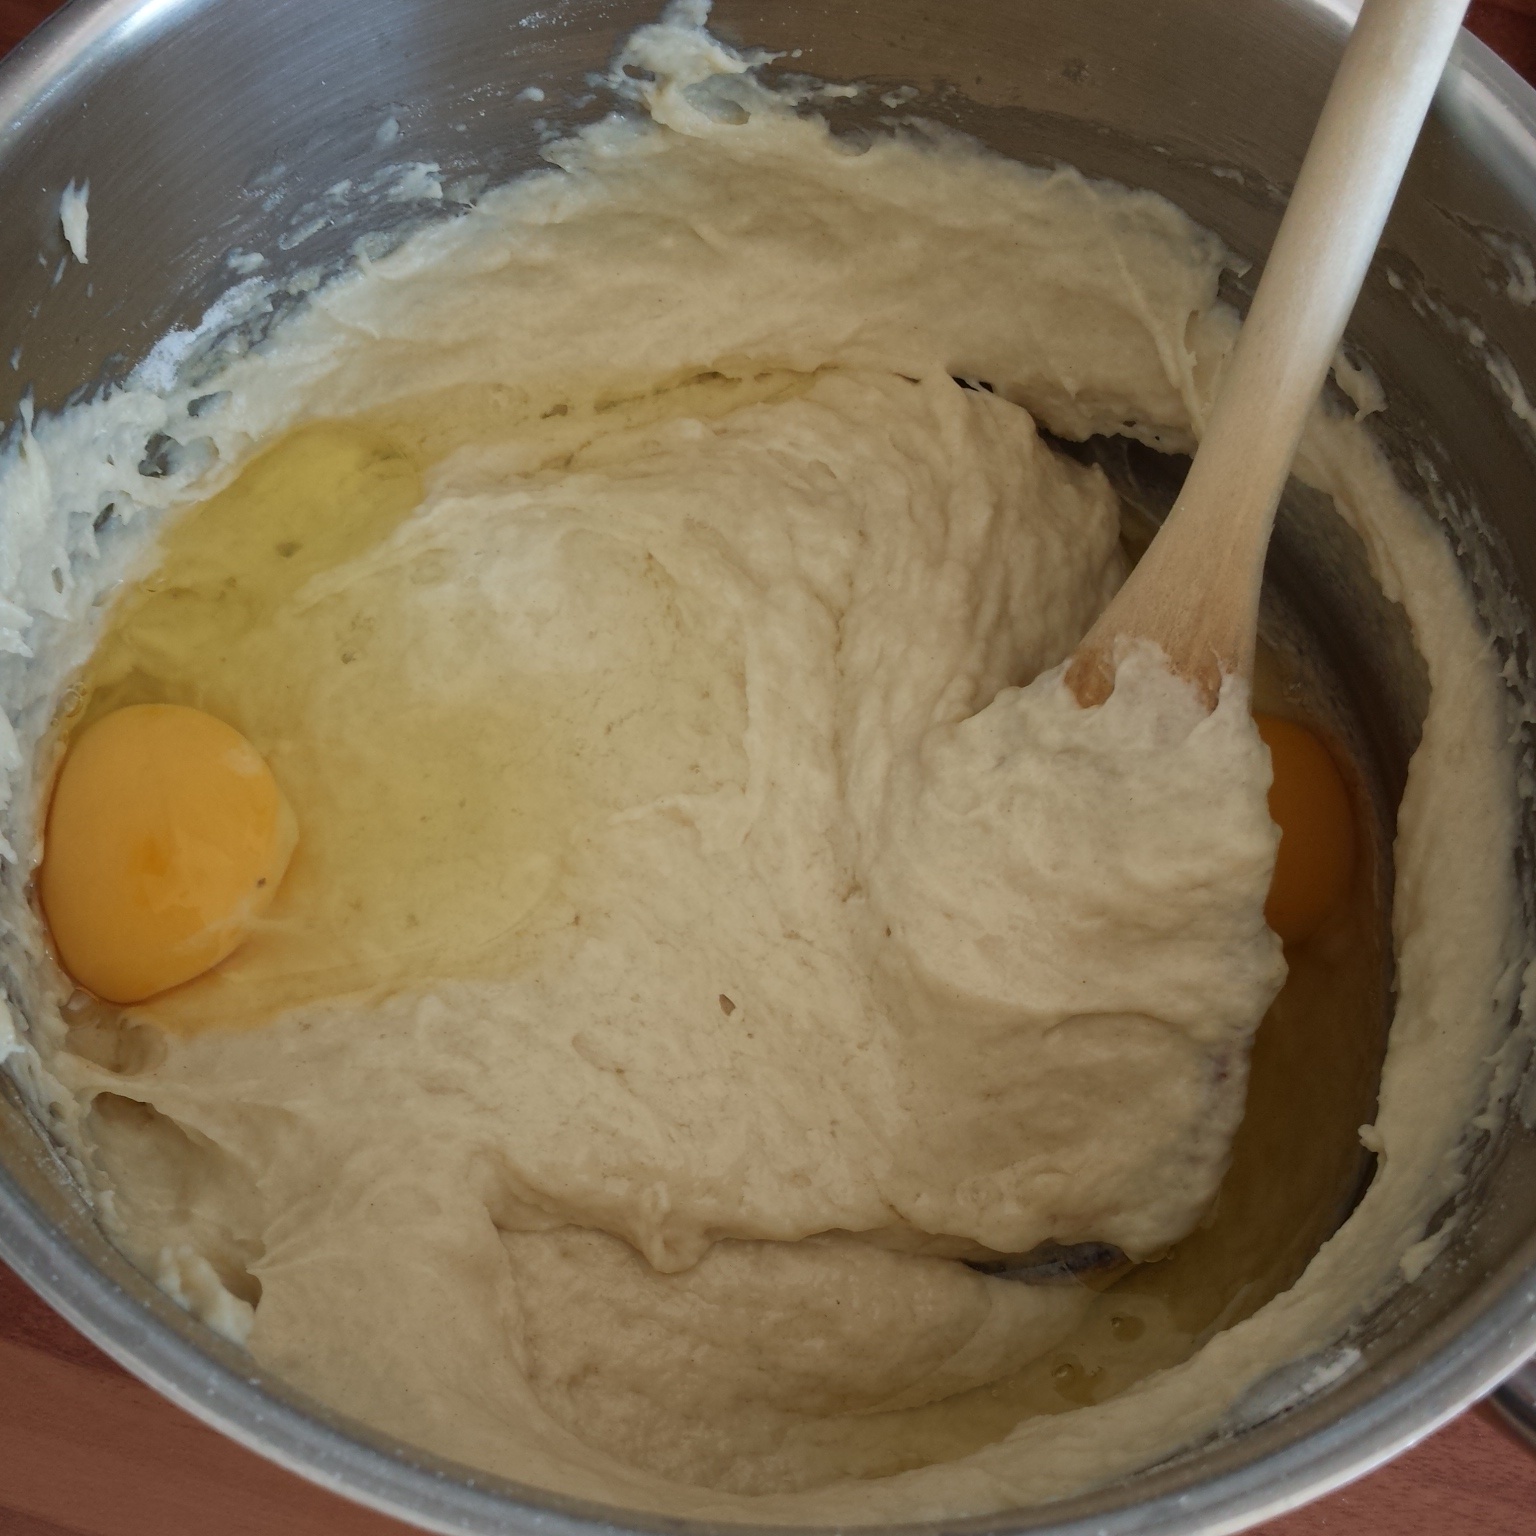
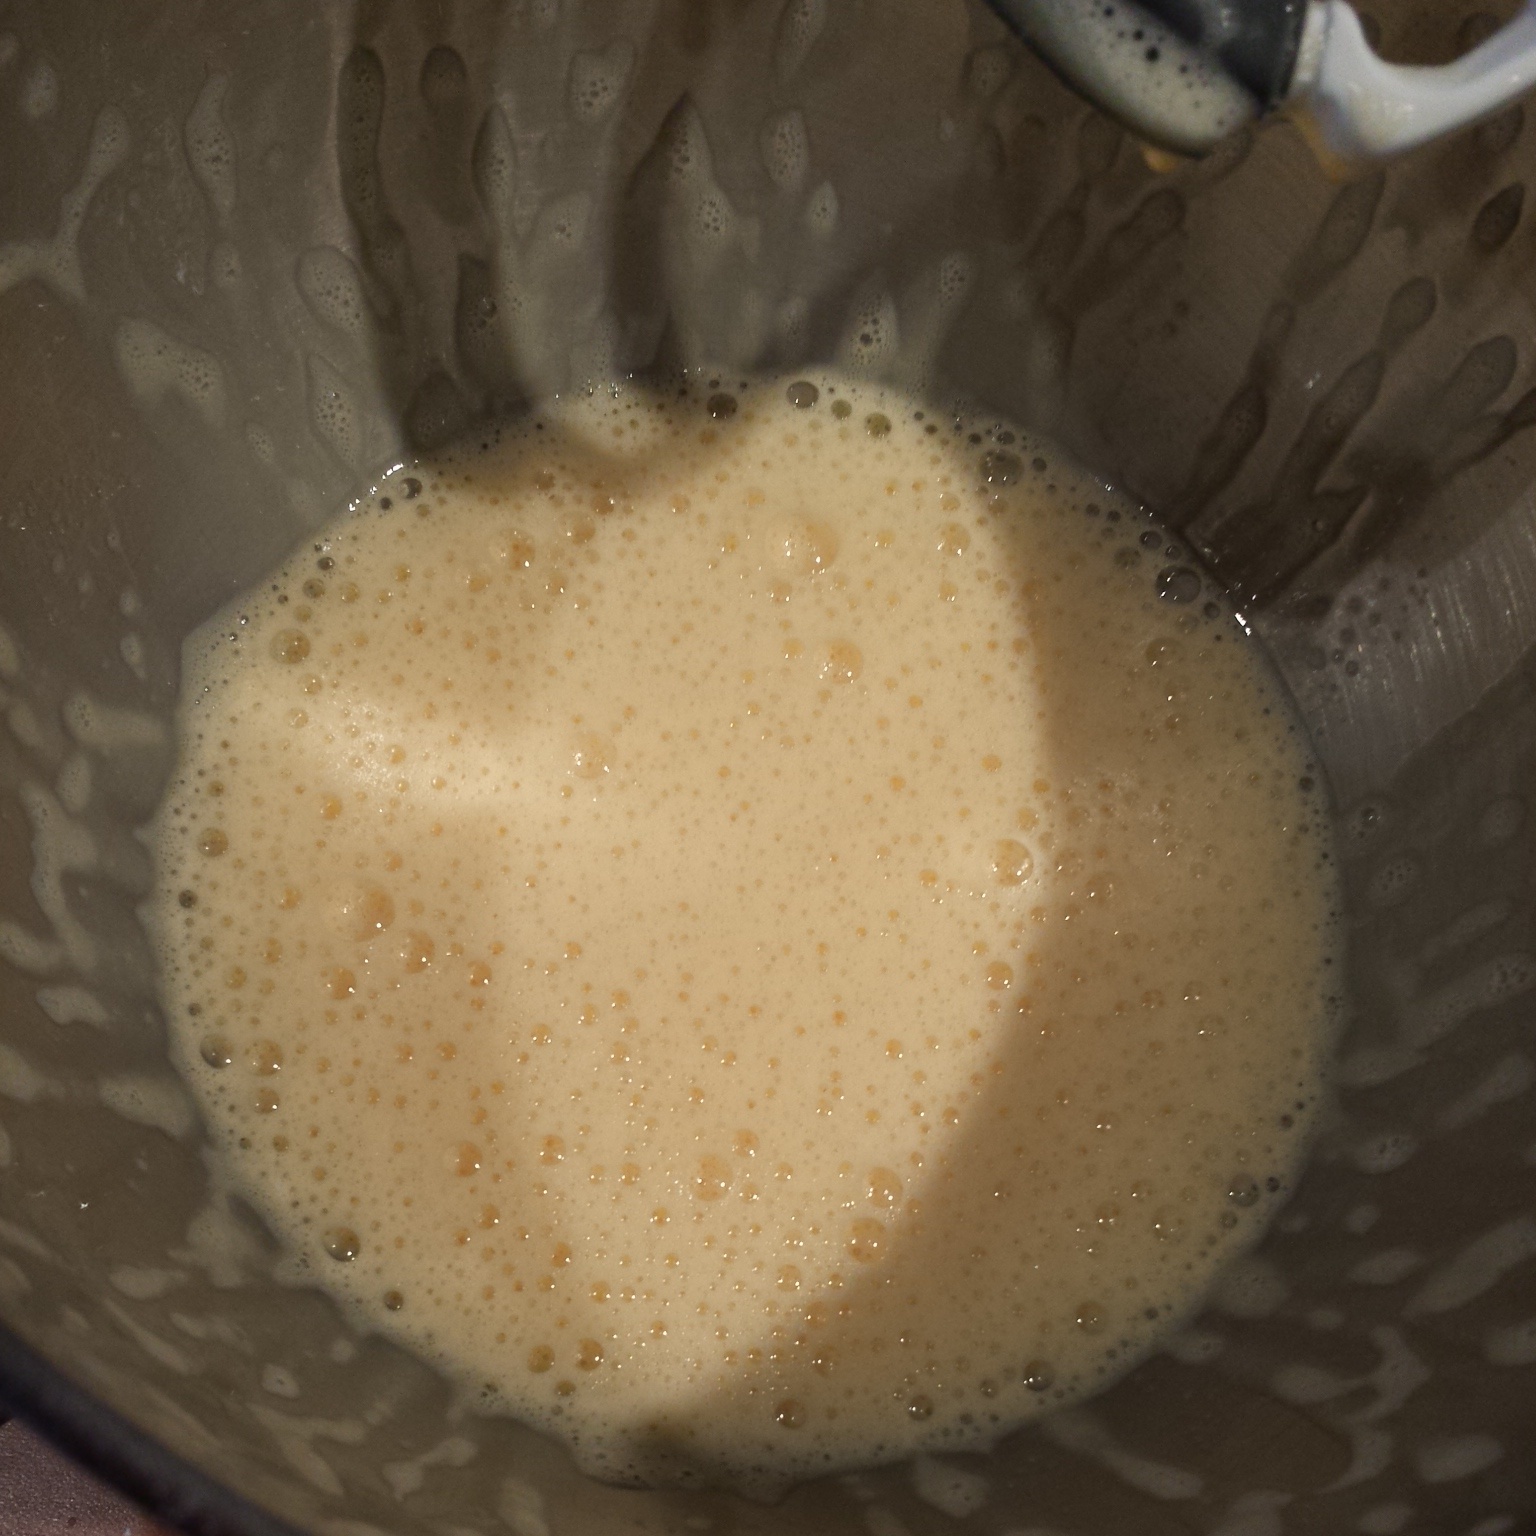
Then whisk in the egg yolks one by one until the mixture is nice and thick.

Beat in the eggs
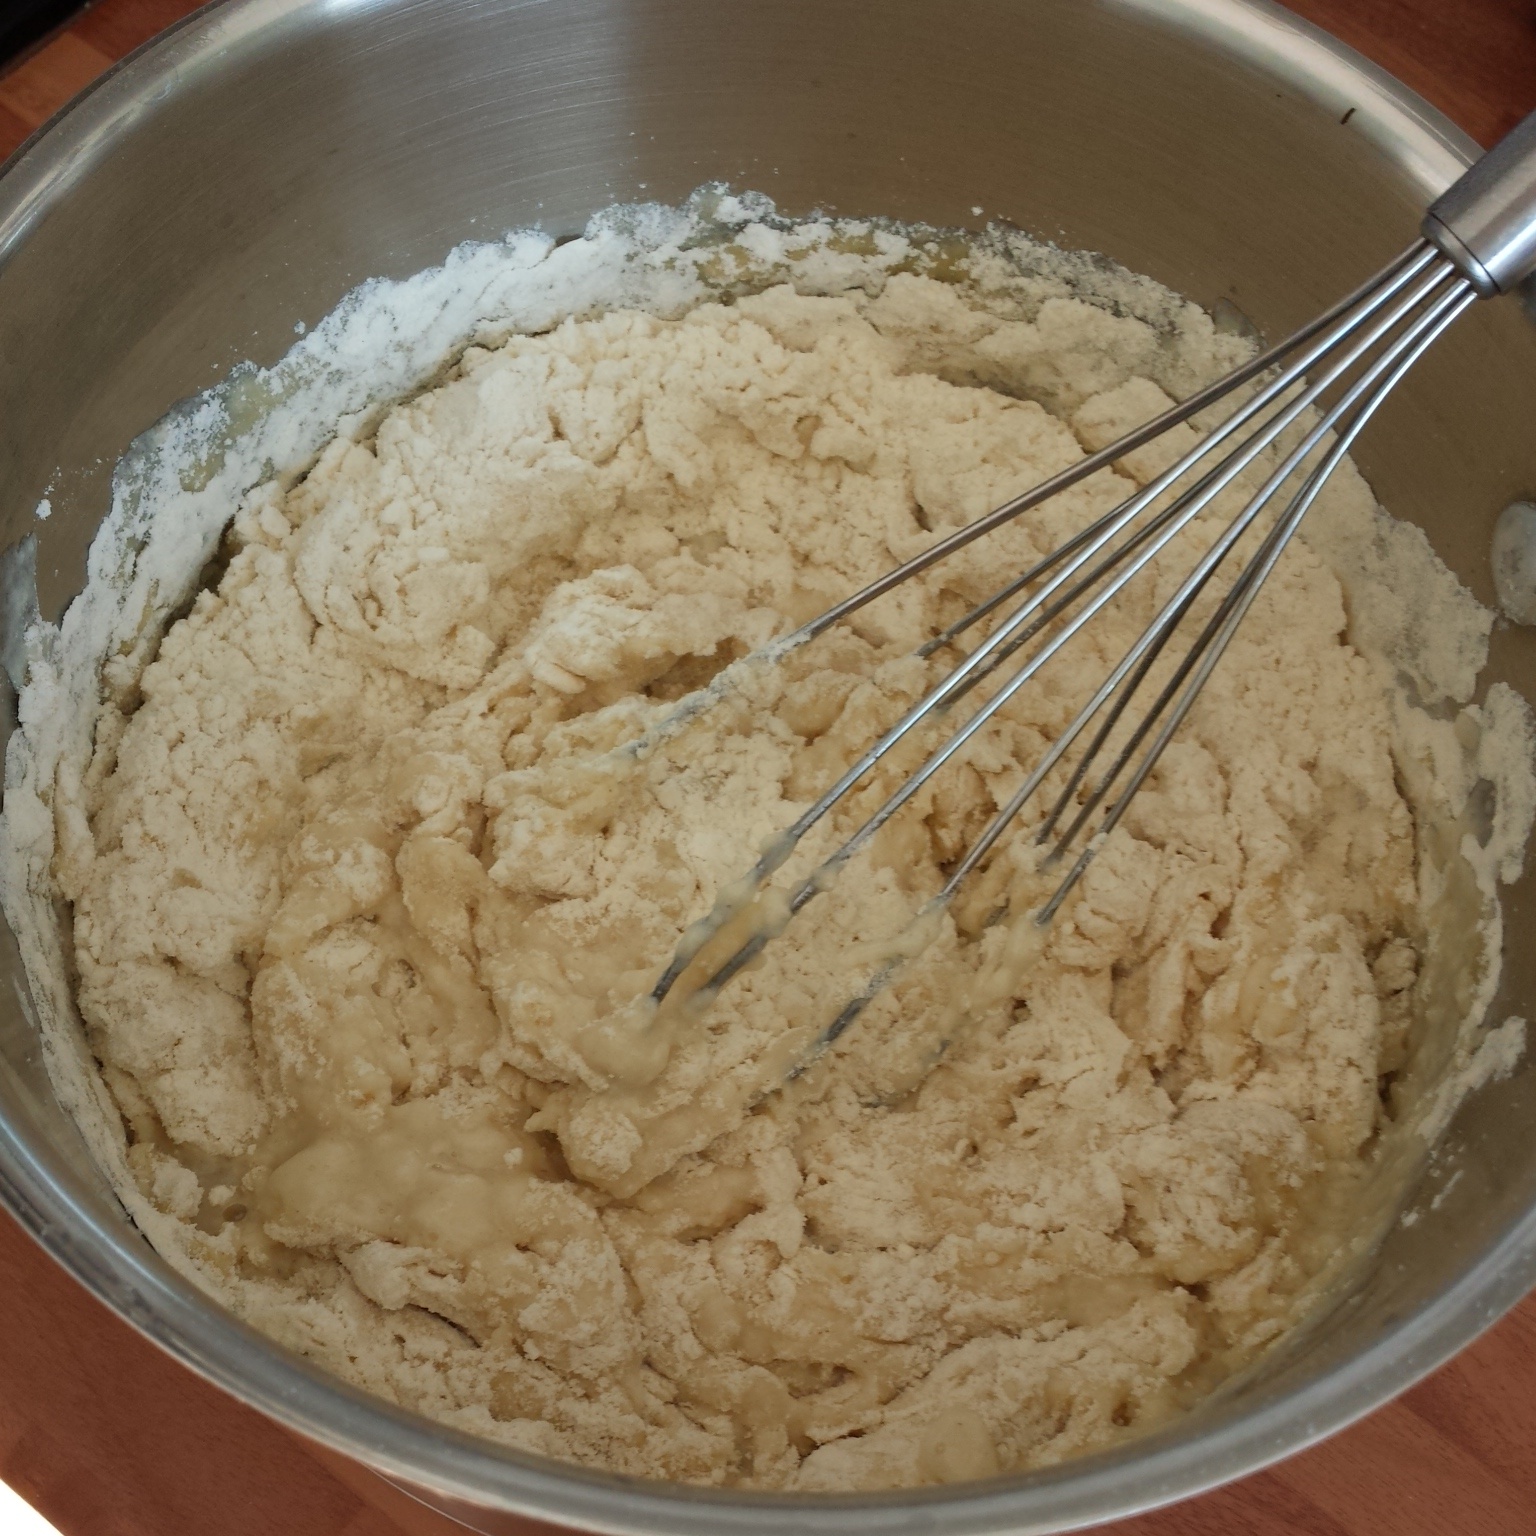
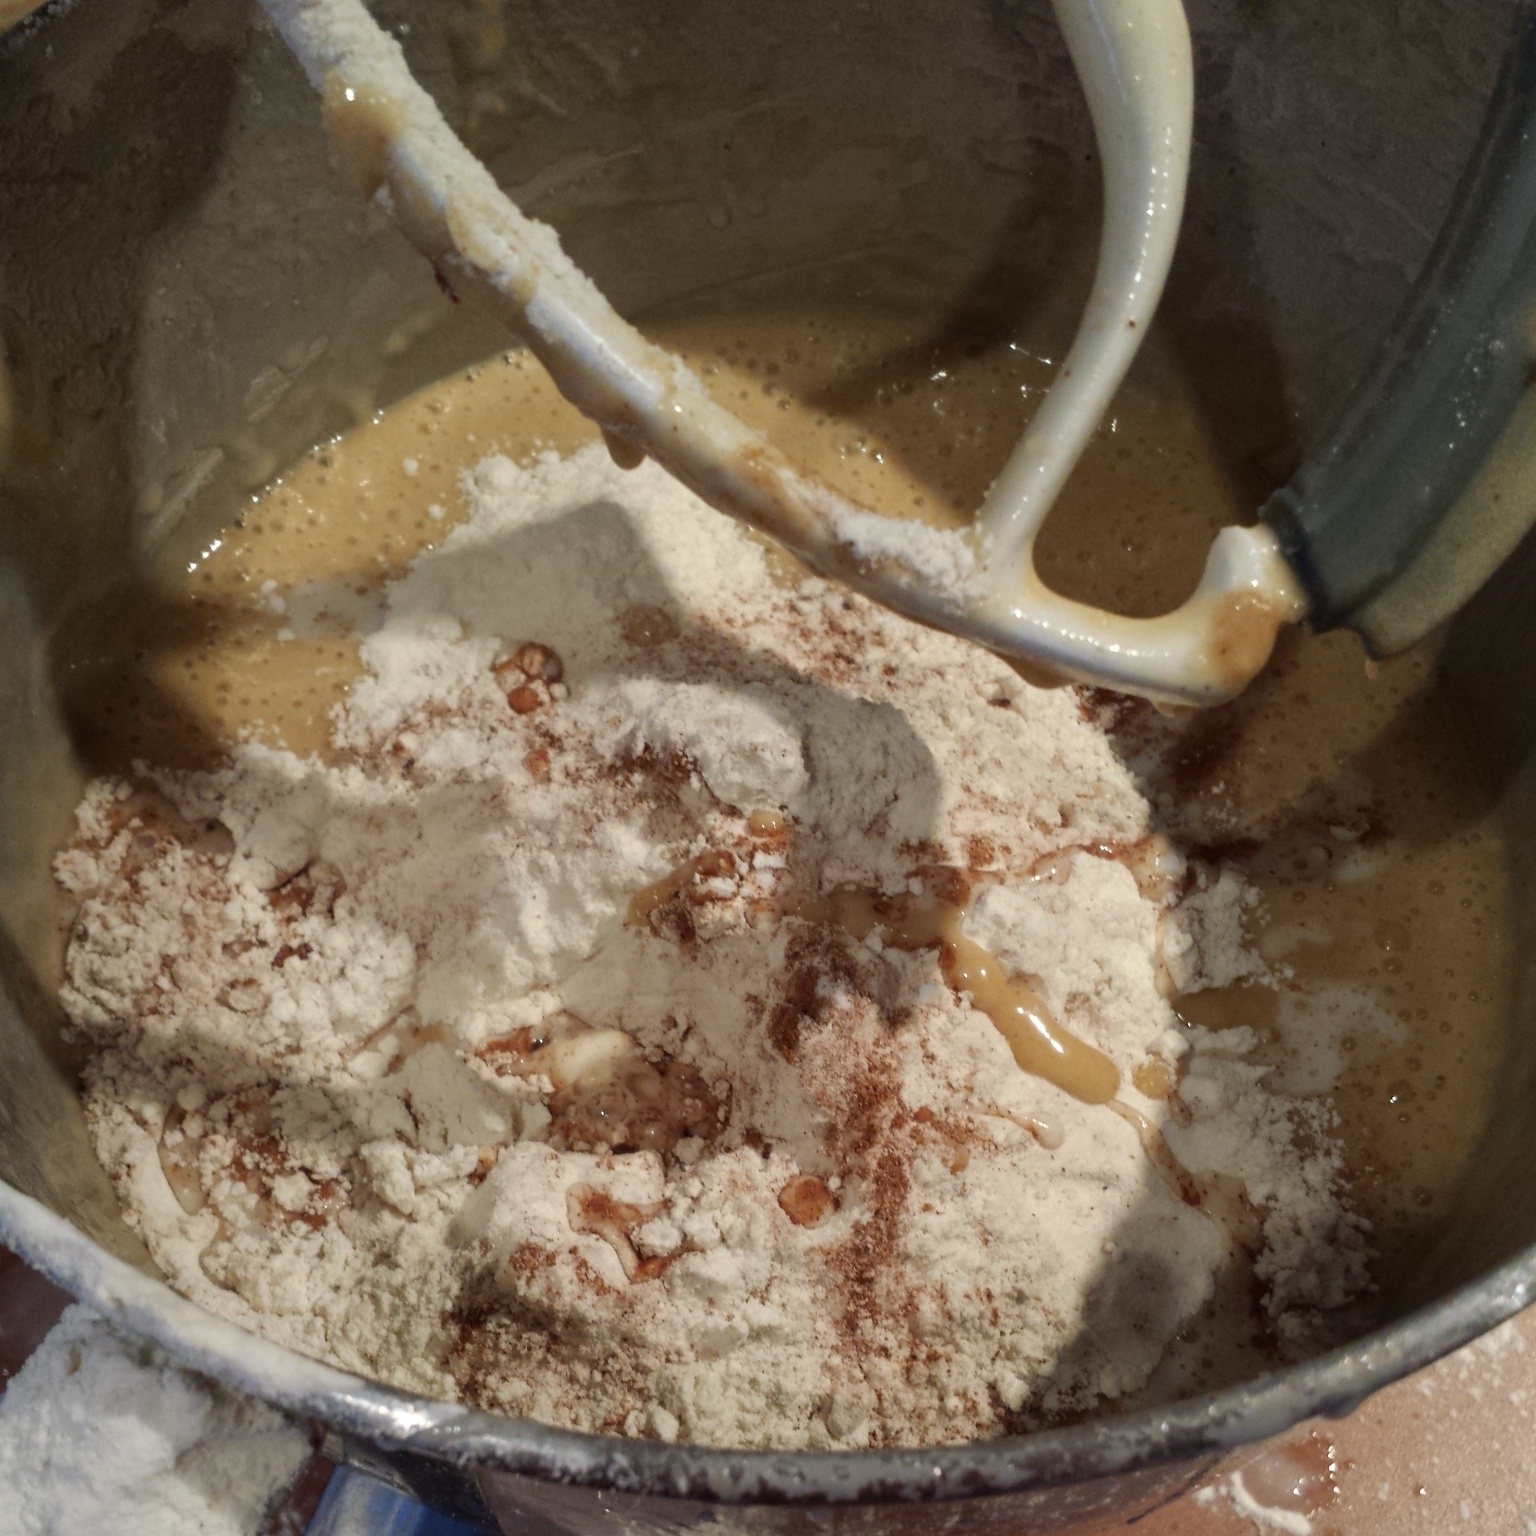
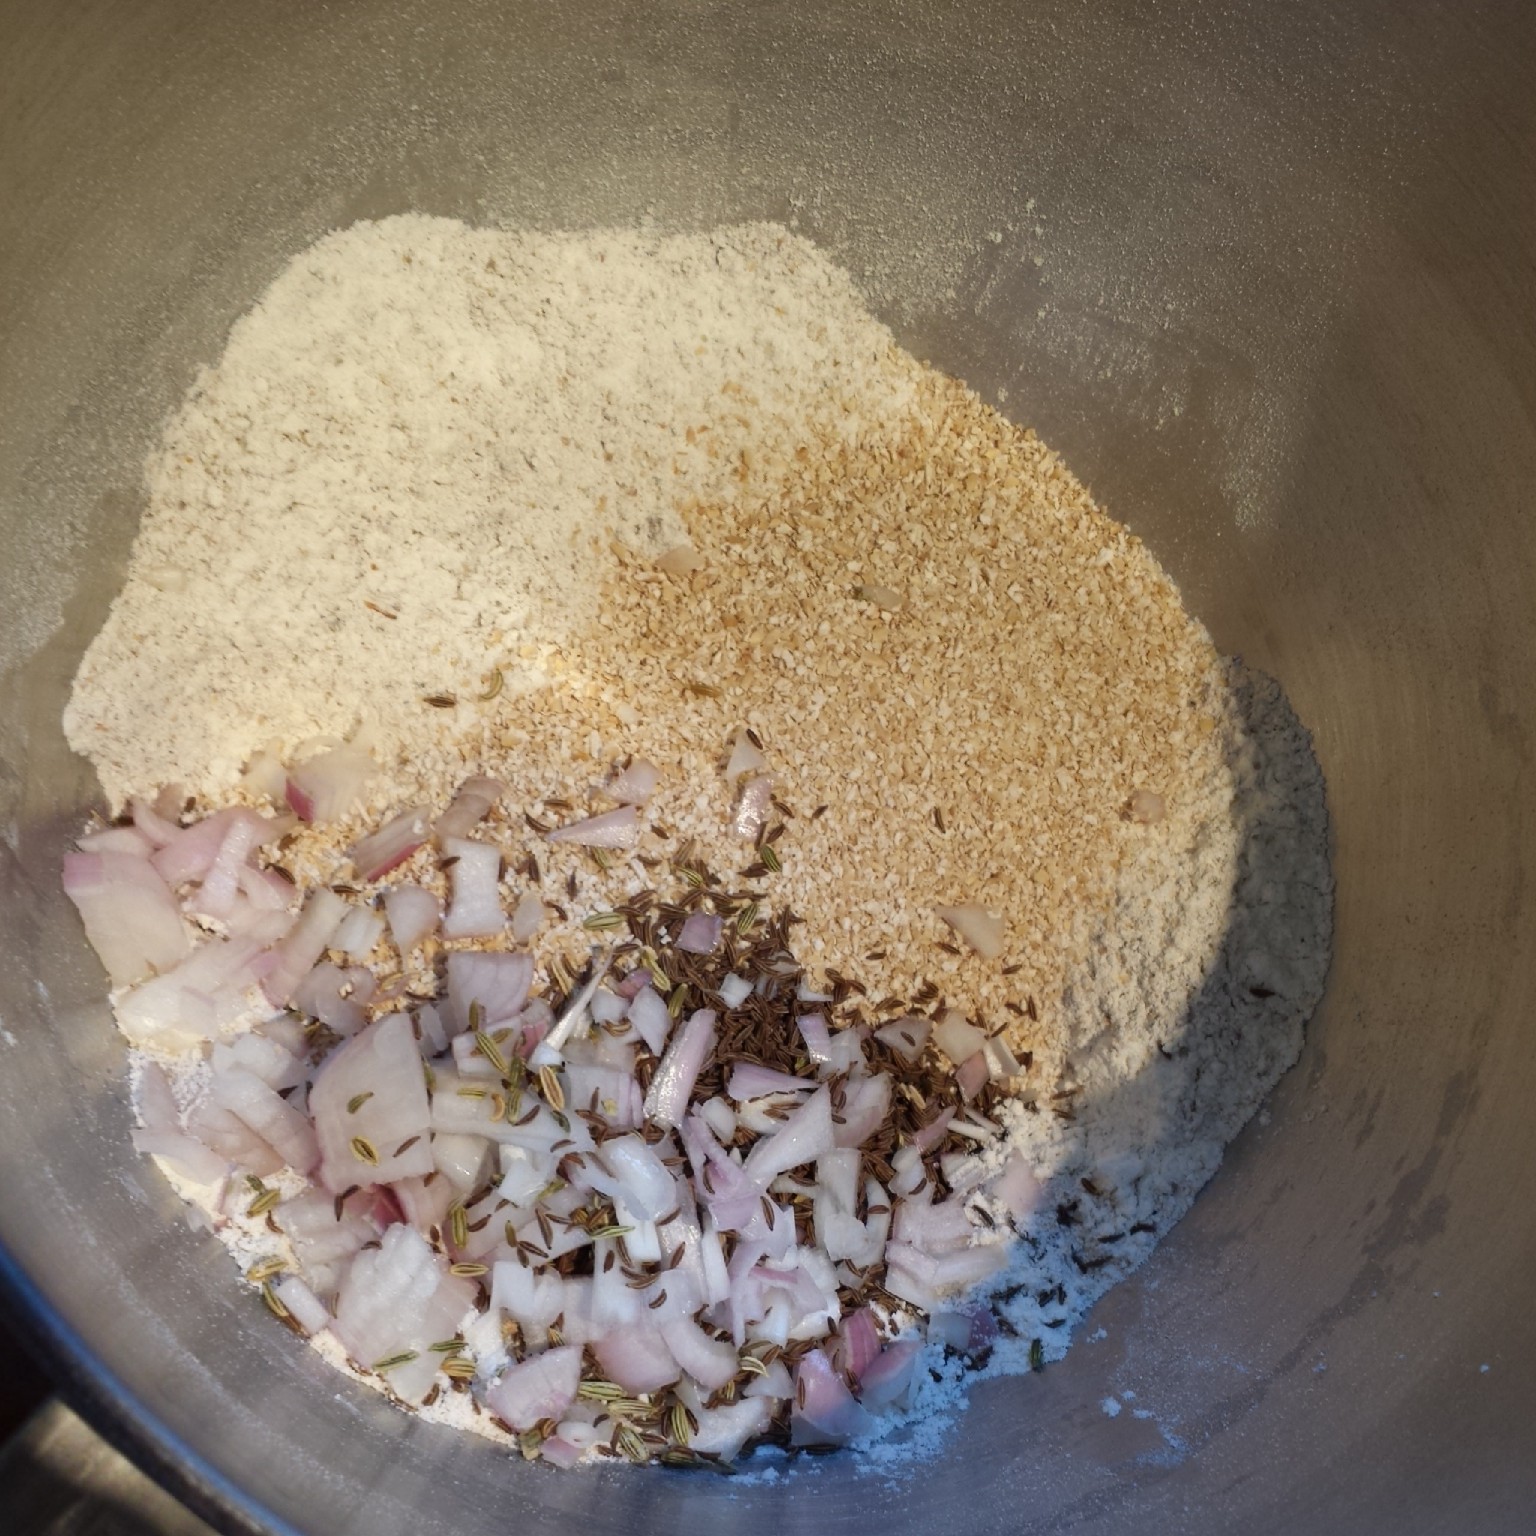
The ground almonds and flour can then be introduced and folded into the chocolatey egg yolk mix.

Whisk egg whites
If like me you have a stand mixer you can do a little cheat here. I used my hand held electric whisk to the egg whites to a fluffy state whilst I set my Kitchenaid to task whisking mix the chocolate and egg yolks together in a separate bowl. This helped to save a bit of time and energy on my part. Don’t worry if you don’t have a stand mixer however you could easily whisk your egg whites after you’ve finished the egg yolk mix.
The egg whites need to be whisked to incorporate as much air into them as possible as this cake doesn’t have any other raising agent to help it do the job. The whites should be whisked for about 2-3 mins at a slow speed until frothy and bubbly. Then increase the speed to high and continue to whisk for about 4-5 minutes, until the whites are stiff but not dry.

Fold the chocolate mix into the egg whites
Add a good dollop of the chocolate egg yolk mix to the egg whites and fold in gently to help loosen the mixture up. Then carefully spoon the rest of the chocolate mix into the egg whites and fold in, very gently ,to preserve as much air as possible in the mixture.

Pour into the tin
Once it’s all combined (and there’s no tell tale spots of egg whites floating about) the batter is good to go. Carefully pour the batter, (holding the bowl as close to the tin as possible so you don’t knock any of the air out of the mixture) into a greased and lined 9 inch round tin and smooth the surface down with a spatula, making sure there’s no holes or lumps. Bake the cake in the centre of your preheated oven at 180 degrees C for 40-45 minutes.

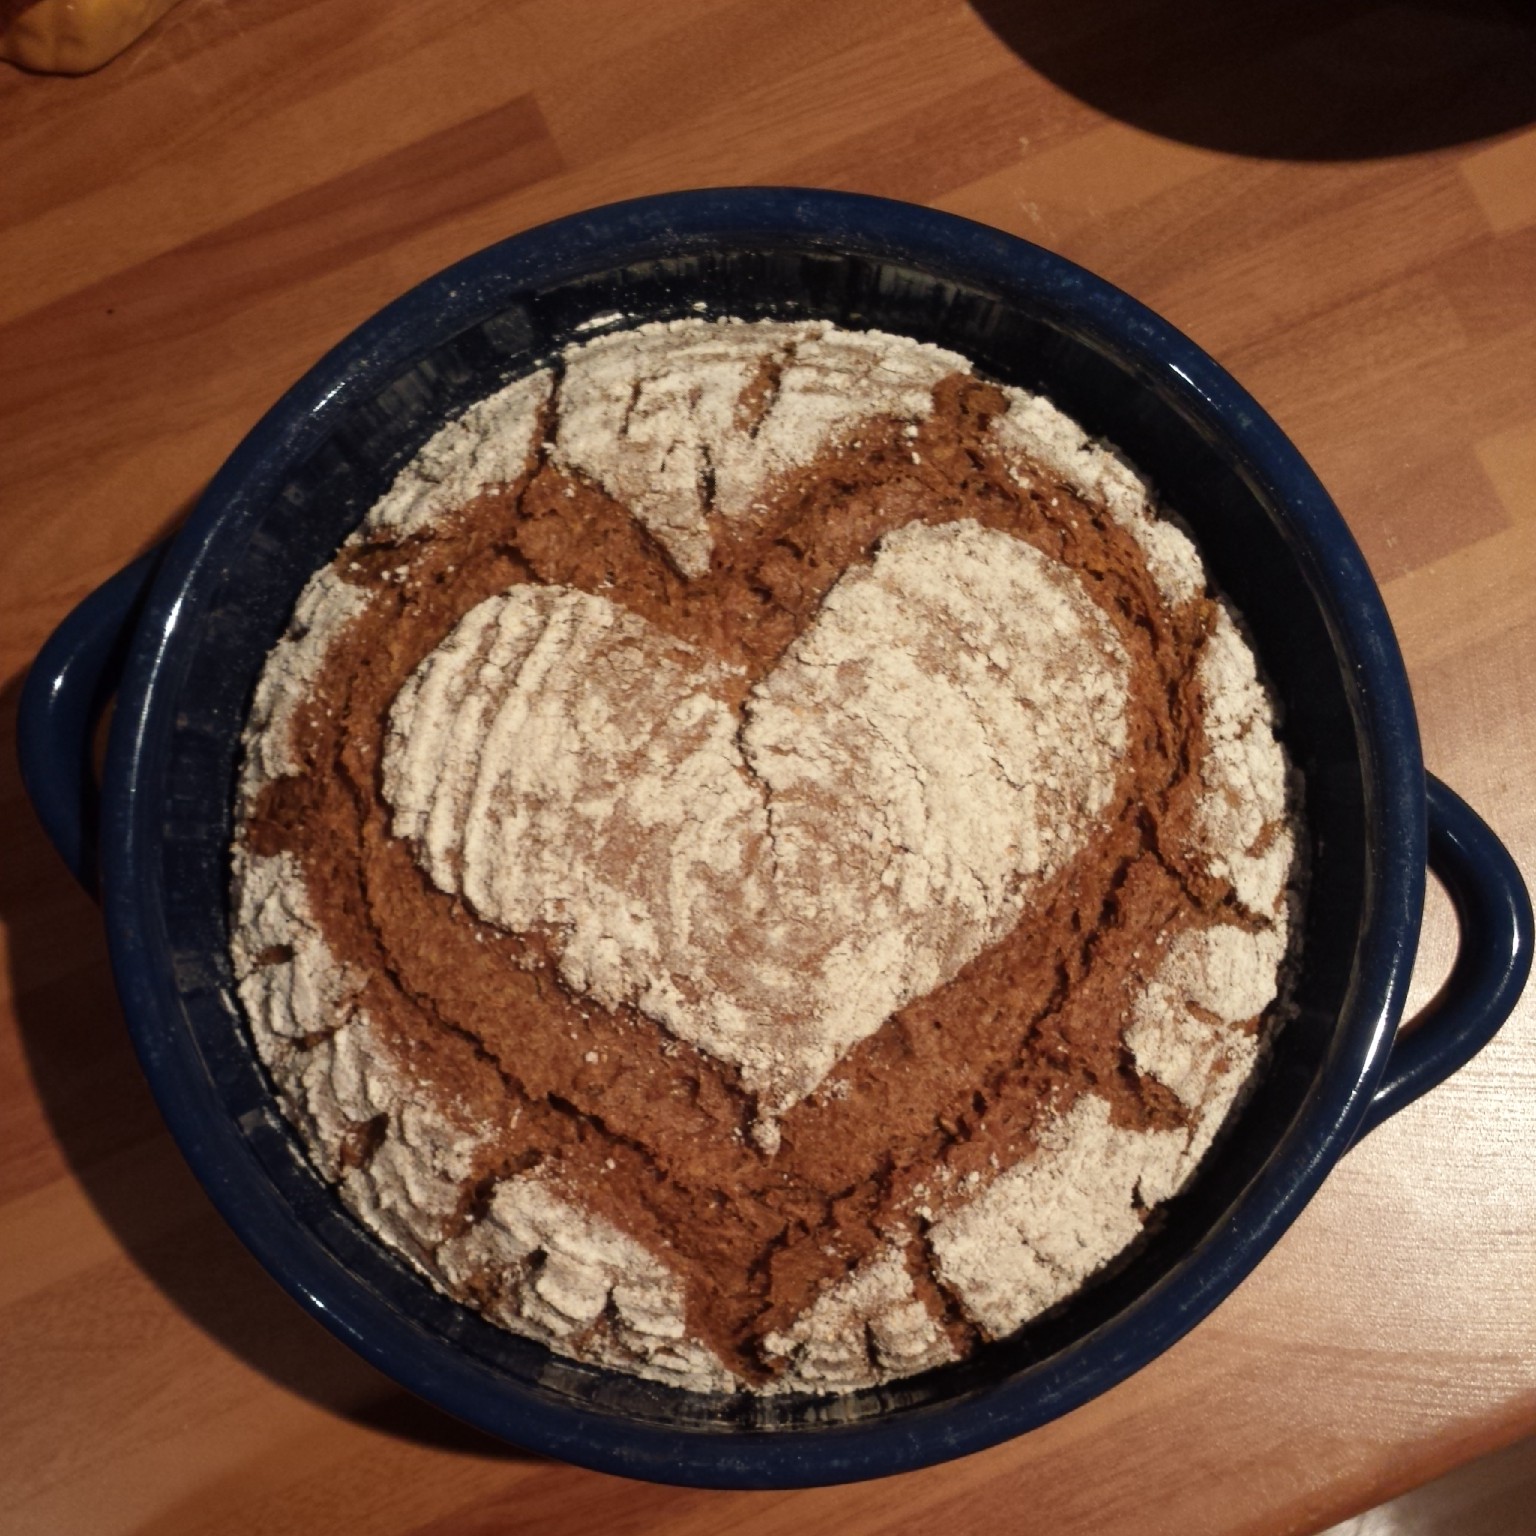
Baked Sachertorte
Once the cake is thoroughly cooked, you can tell this as a cocktail stick when inserted will come out clean, the cake will shrink back from the sides of the tin slightly and when pressed in the centre the cake will spring back. Leave it to cool in the tin slightly and then tip it out onto a wire cooling rack.
You may remember the Sachertorte from the Great British Bake Off technical challenge in series 2. Mary Berry insisted that you had to use the top of the cake so it had to be as flat as can be. I’m not that strict so I use the lovely flat bottom of the cake as my smooth top, although either end of the cake would be fine to use, as it was in fact rather flat.

Sliced in 3 layers
The cake really needs to be entirely cold before you take a knife to it. I’ve learnt this lesson the hard way and broken many a cake cutting into it while it’s still warm too eager to start the layering process. It always ends in tears and much smaller cake than I envisioned. So patience my friend and a really sharp knife.
I find it easier to swivel the cake round and hold the knife in the same place to (attempt) to get an even slice. I find it easier to cut the top layer off first and work my way down. Using a palette knife to support the cake to carefully lift each layer off and pile them up on a plate.

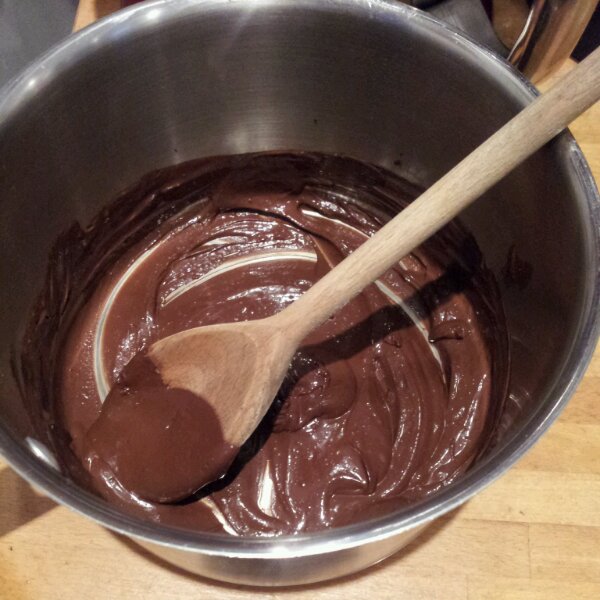
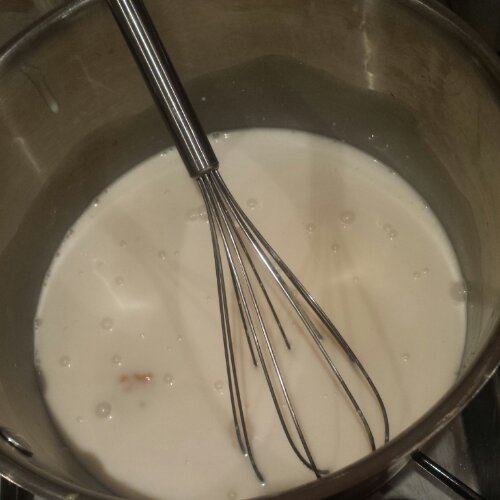
Ganache Mixing
While your slicing up your cake into 3 layers, pop the cream in a pan and heat it to almost boiling point. Take it off the heat and add two thirds of the the broken dark chocolate. Keep stirring the ganache until the chocolate is fully melted and add the final third of the chocolate. Continue to stir until it’s glossy and smooth.

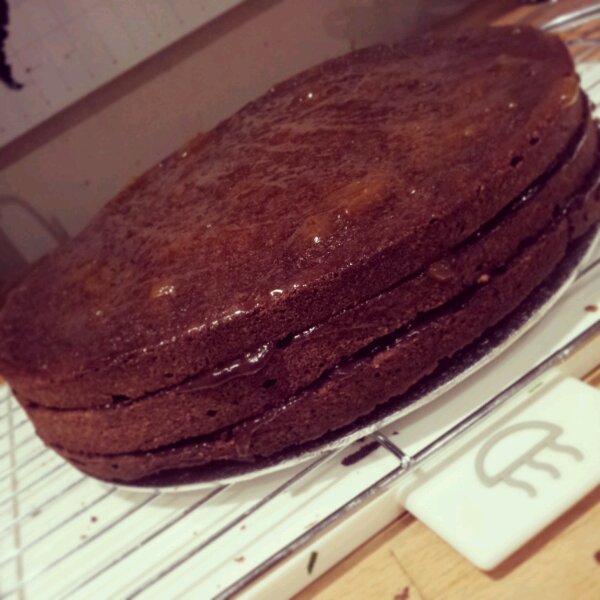
First layer all jammed up
As this was a birthday present I bought a cake board to pile the cake onto. I sterilised the board with a little orange brandy, to get the party started. Taking the bottom layer (which technically was the top of the cake previously when it was baking in the tin…confusing?) I sat the sponge on top of a splodge of warm apricot jam on the cake board to hold it in place. The jam must be heated to make it extra runny and also to sterilise it, as you want your cake to keep well. 40 seconds in the microwave should do it, but don’t boil the jam!

Ganache Layer
Smear a generous coating of warm apricot jam onto the sponge, to act as a barrier against the ganache so it doesn’t seep too far into the sponge. Then add a nice layer of ganache and plop the next sponge layer on top. Repeat for the next 2 layers.

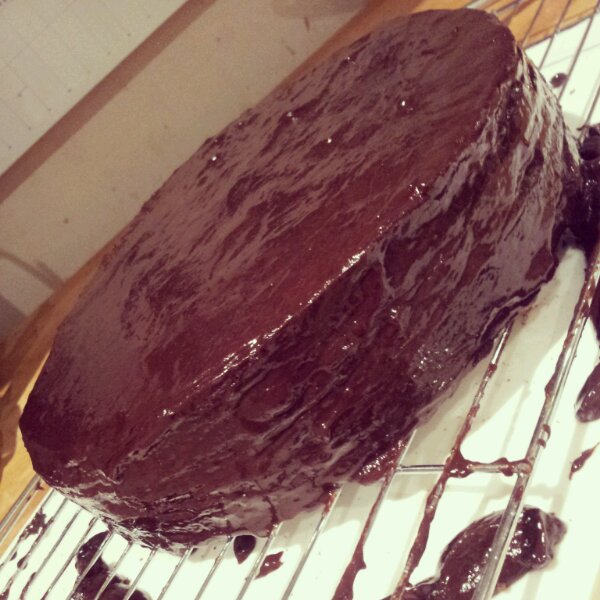
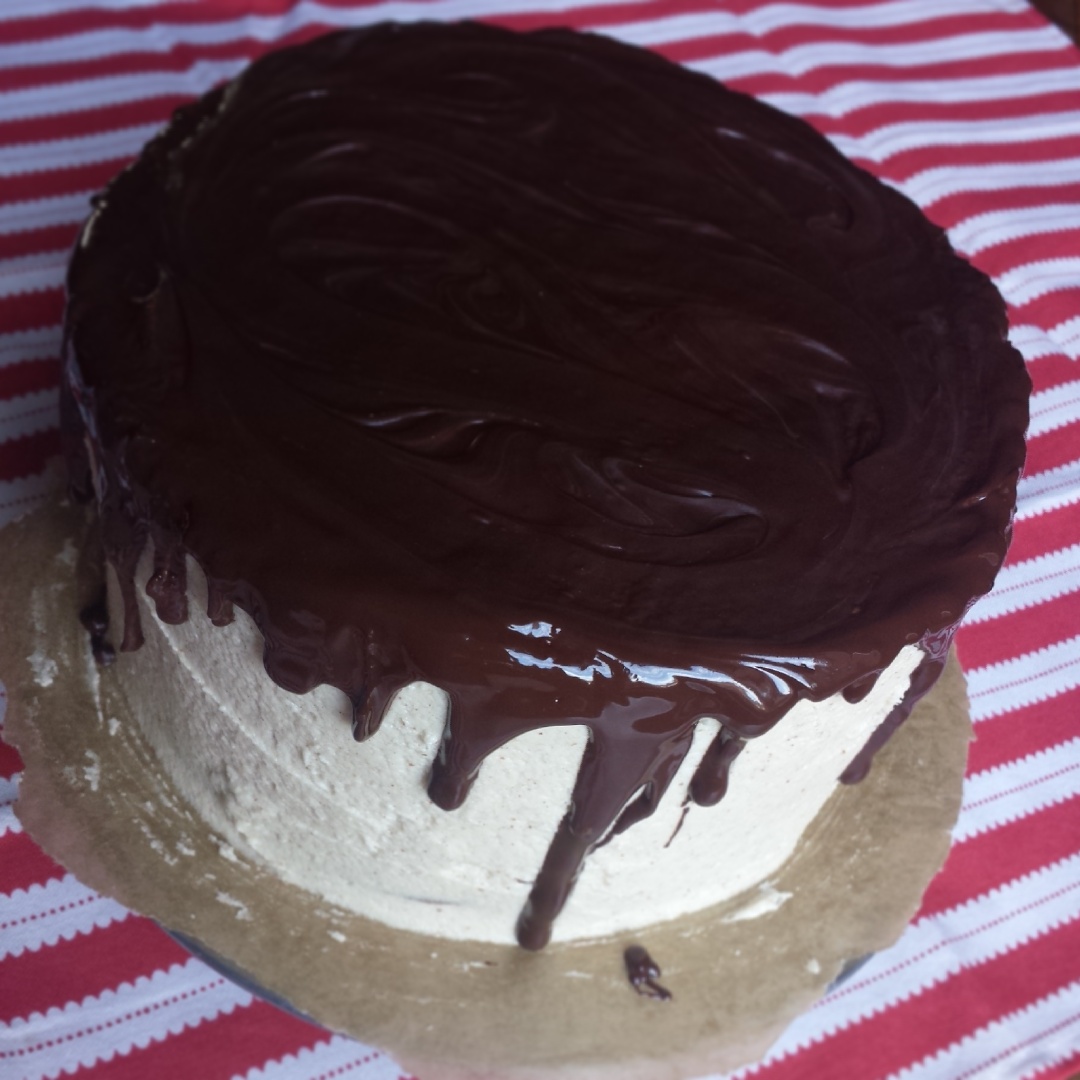
Glazed and stacked triple layer sachertorte
The final layer will need to be neat and tidy so pour the ganache all over the top of the cake and using a palette knife and gravity encourage the ganache to run down the side of the cake. You may need to even things up a little, holding the palette knife vertically and pressing it gently into the side of your cake, run the knife around the side of the cake to straighten up the edges.

Hairdryer at the ready
The ganache may start to set before you want it to, so keep a hairdryer to hand (yes a hairdryer- I haven’t lost my mind honest) to heat the ganache a little and allow you to continue to work with it. You can always tip the cake slightly to let the ganache flow around the top of the cake.

Ganached and glossy
Undoubtedly you will get ganache everywhere at this point, on your face, in your hair, up your arms and all over the kitchen, but that’s part of the fun. Keep some paper towels close by to mop up any spillages and to wipe excess chocolate off your palette knife. You’re also going to need a damp paper towel (or 10) to wipe the excess ganache off the cake board. Apparently it’s a really clever idea to put pieces of greaseproof paper under the sponge to catch the ganache which can then be disposed of later on. Or if your cake board is entirely flush to the cake (like mine), you could pop it on a wire cooling rack and let the ganache drip onto a plate underneath, ready to be used again, or eaten with a spoon (I’ll let you decide).

Sack the chef
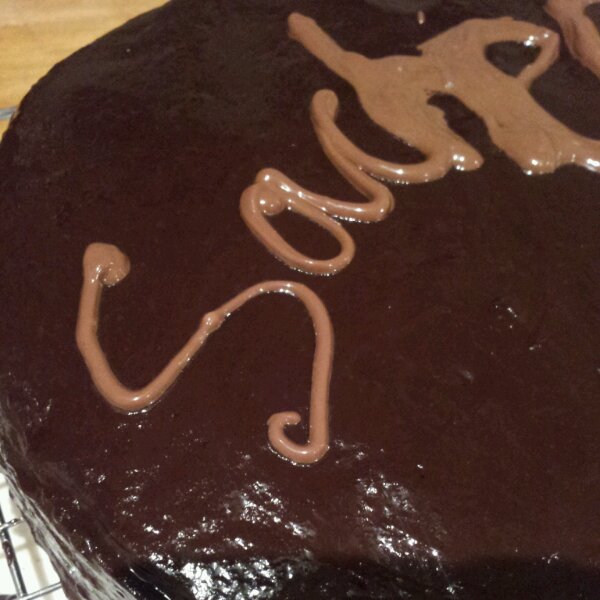
The pièce de résistance. The chocolate ‘Sacher’ signature. The name of this wonderful cakes creator. You need milk chocolate to contrast against the dark ganache, melted and in a piping bag. Or like me you may use a sandwich bag with the tip snipped off. You only have one attempt at this, unless you fancy re – ganaching your entire cake, so no pressure. I made a right hash of it (sorry Adam) as my piping/sandwich bag exploded half way through dripping unslightly chocolate onto the cake which then had to be incorporated into the signature.

Sack the Chef. Check out my very neat s – a and c
Well my signature is certainly distinctive. But on a positive note the ganache is extremely glossy and mostly smooth. Perhaps I should have stopped while I was ahead… Please note how nice and neat the ‘S’ ‘a’ and ‘c’ are. Maybe it’s a subliminal message to myself SacHER!
Triple Layer Sachertorte! Happy Birthday Adam!
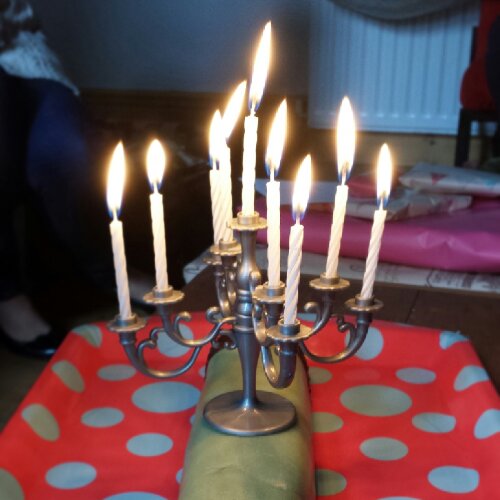
Anyways I’m sure your chocolate handwriting skills will far surpass mine. I’m assured that it tasted lovely despite how rustic it actually appeared… I boxed it up and delivered it complete with sparkler candles to wish Adam a very happy 30th Birthday!

Cake delivery!
I wanted to try making a traditional one layer Sachertorte just to make sure I could definitely do it right, second time round and definitely not because I’m a greedy guts. I absolutely love this cake. It’s a moist sponge and improves (as most cakes do) when left for a day or two to cut it.
I did another one… just one layer to see if I could get it right… shhh don’t tell anyone
I must admit that home made was actually more moist than the shop bought cake we sampled in Berlin. The apricot jam infuses the chocolate with a gorgeous fruity flavour, balancing out the slightly bitter dark chocolate ganache with the sweetness of the jam. The ganache is smooth and luxurious and means the sponge keeps really well.
Here’s a slice of my second attempt at Sachertorte (Just the one layer) but beautifully rich and moist!
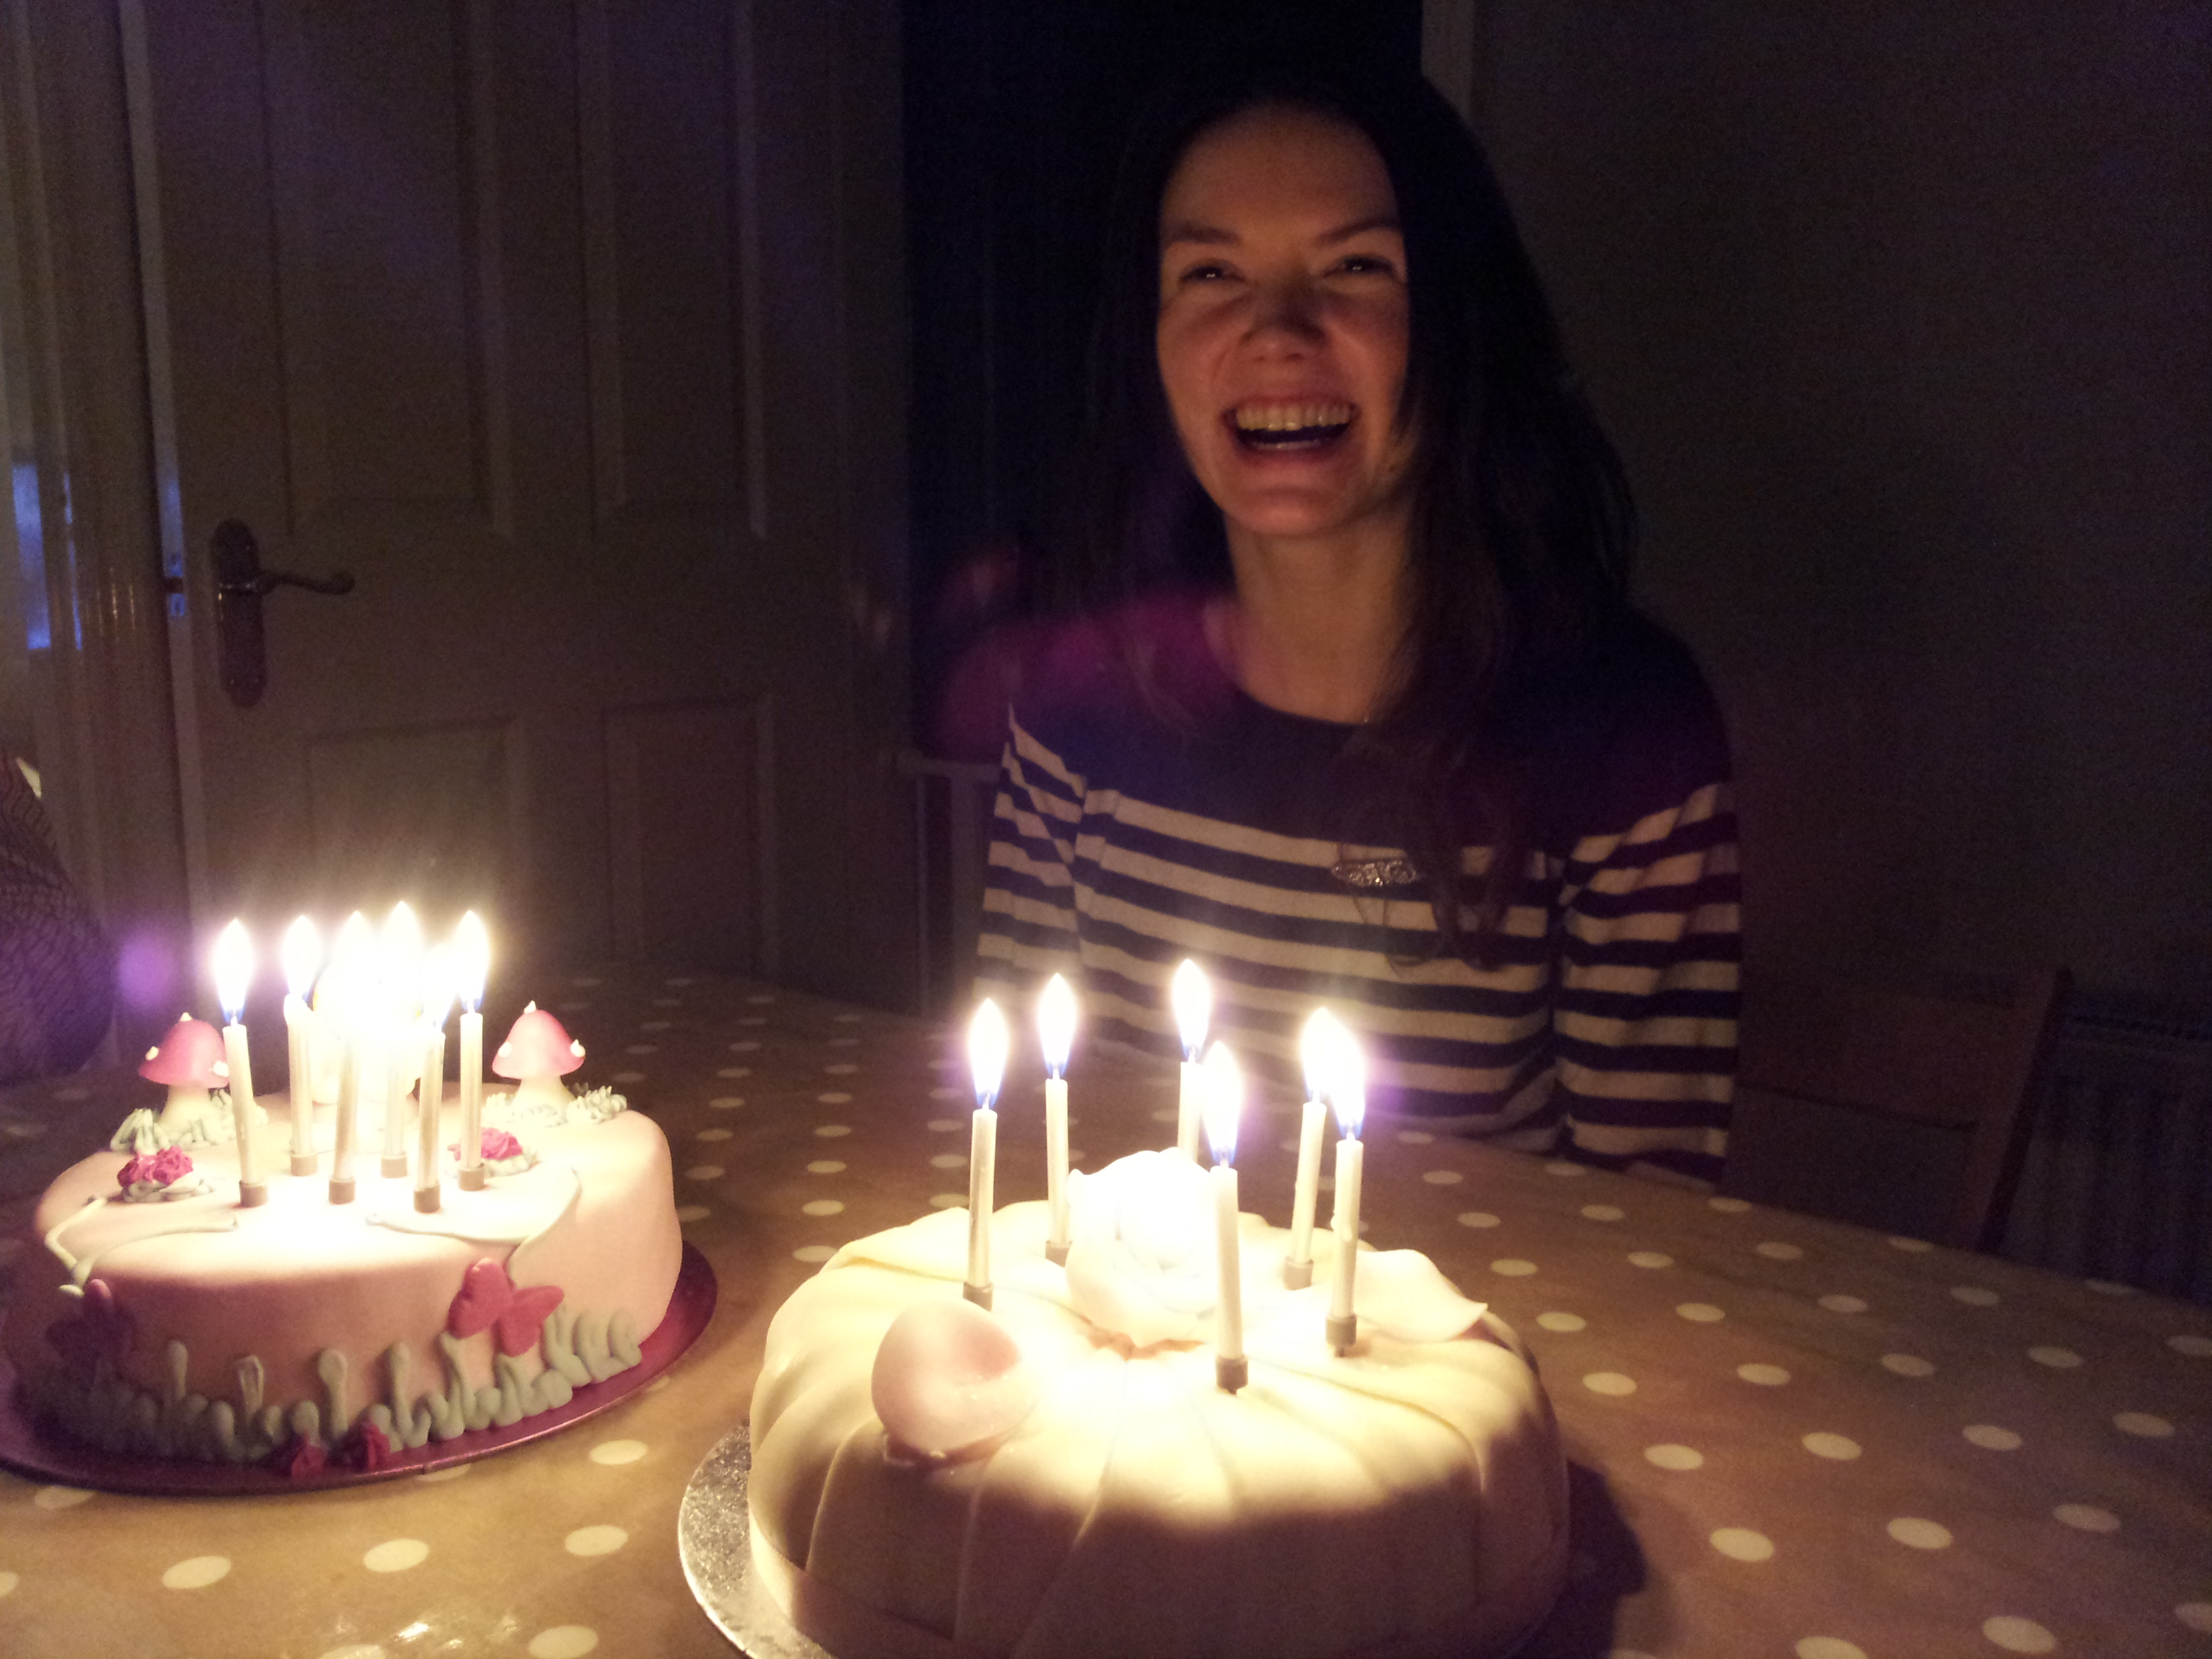
One thing to note, if you store your cake in the fridge your ganache will lose it’s shine so it’s best to keep it at room temperature if you want to see it glisten in the birthday candle light. It’s a classic celebration cake that will be loved by everyone.
Things that I used to make my Triple Layered Sachertorte
The Cake
Preheat the oven to 180 degrees C
One greased and lined 9 inch round tin
- 140g dark chocolate (at least 70% cocoa solids)
- 140g butter
- 115g caster sugar
- ½ tsp vanilla extract
- 5 eggs
- 85g ground almonds
- 55g plain flour
Bake for 40 minutes at 180 degrees C
The Ganache
- 140g plain chocolate
- 200ml double cream
The Filling
- One jar of apricot jam, heated
The Writing
- 25g melted milk chocolate


")