
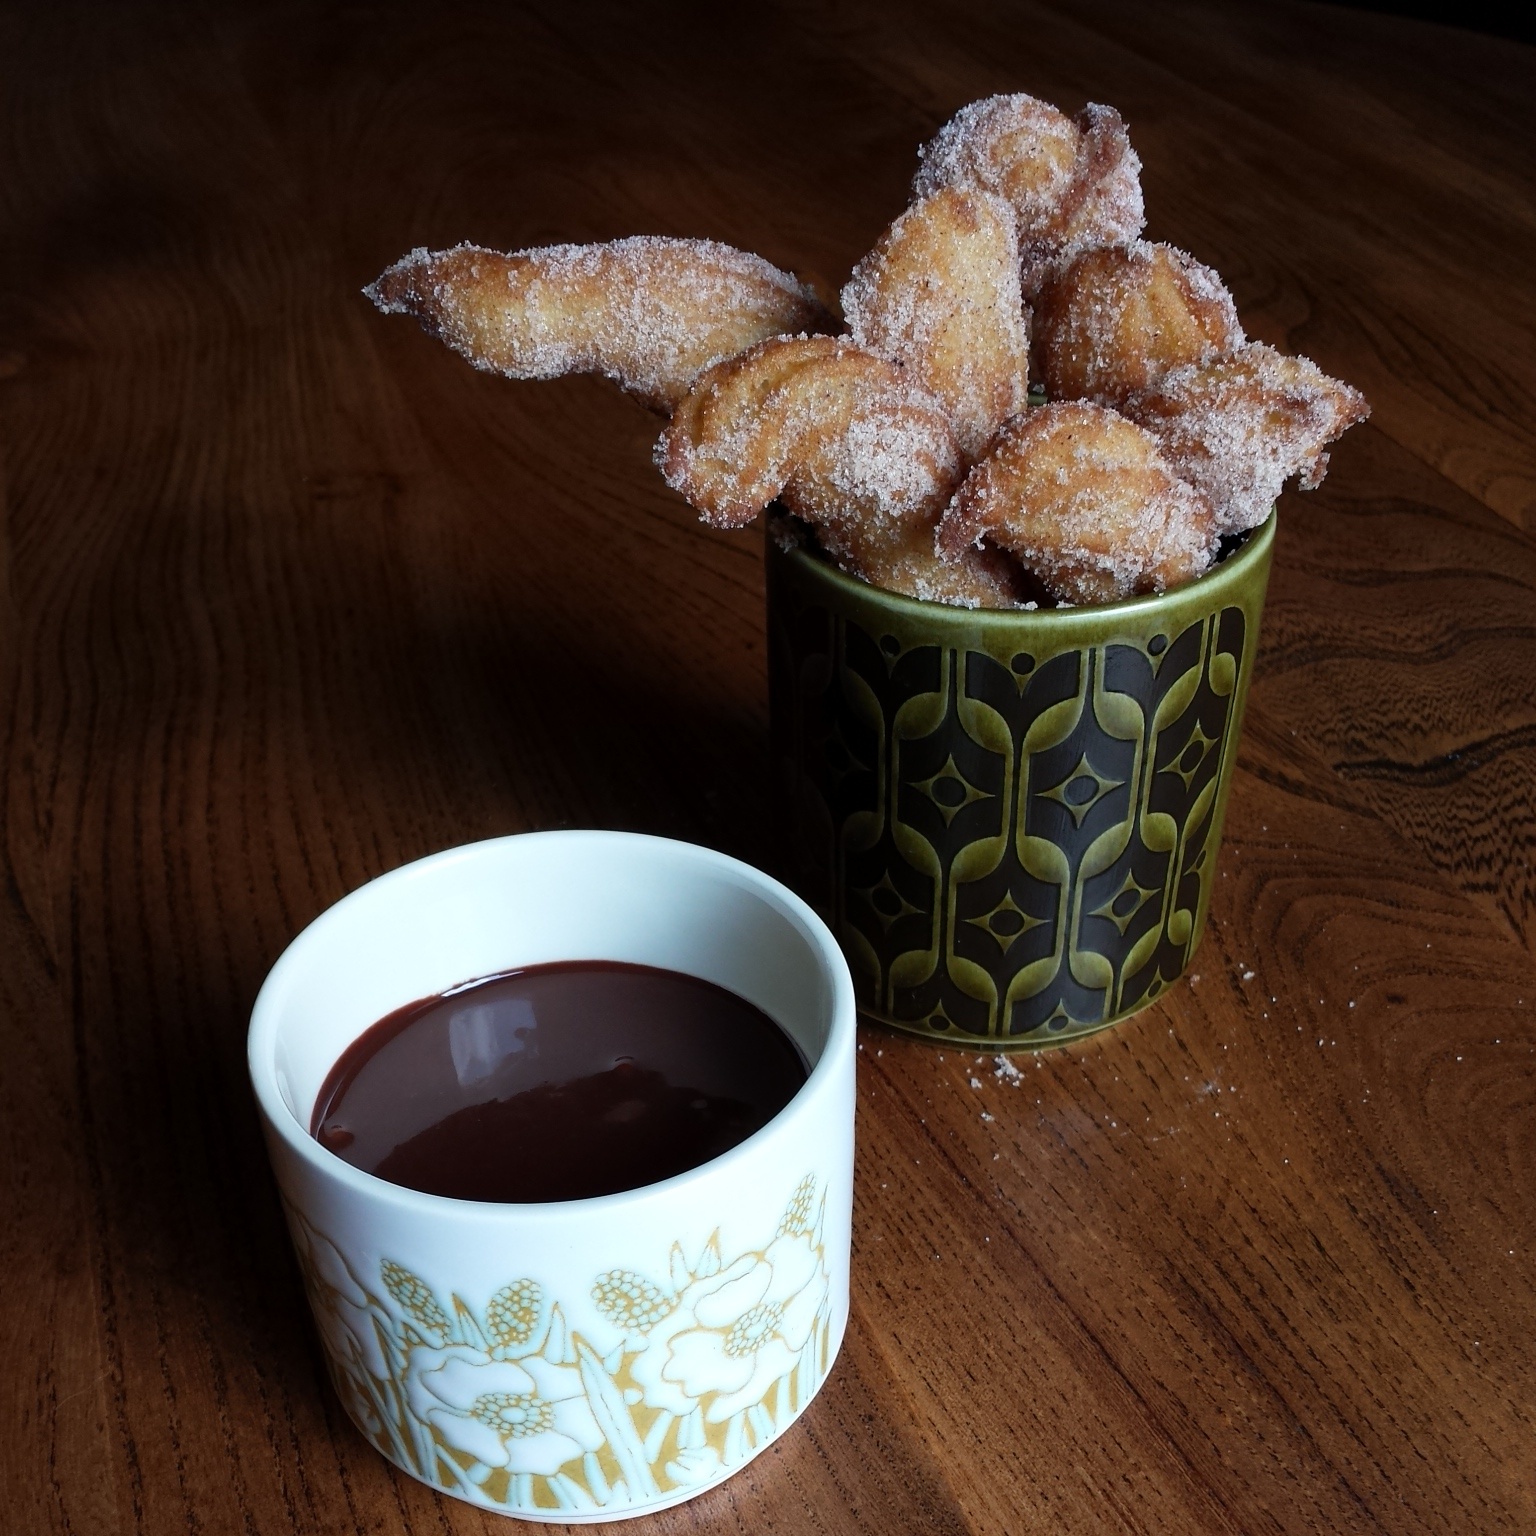
Curly Churros
Considering how many small fires I’ve started in my kitchen recently I surprised myself by not inflicting any further injuries whilst venturing into deep fat frying for the first time. Churros have been on my got-to-bake list forever.
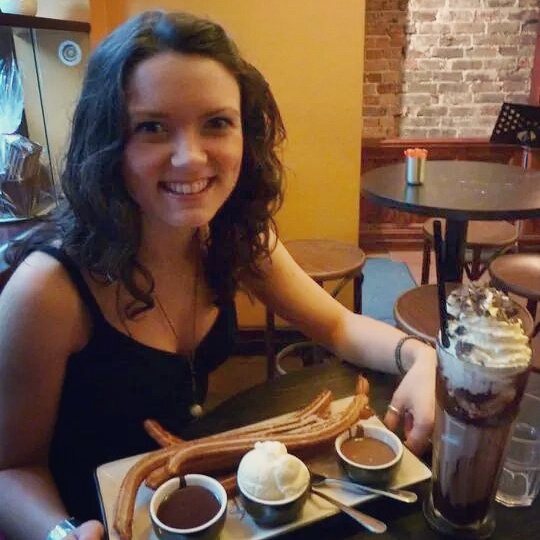
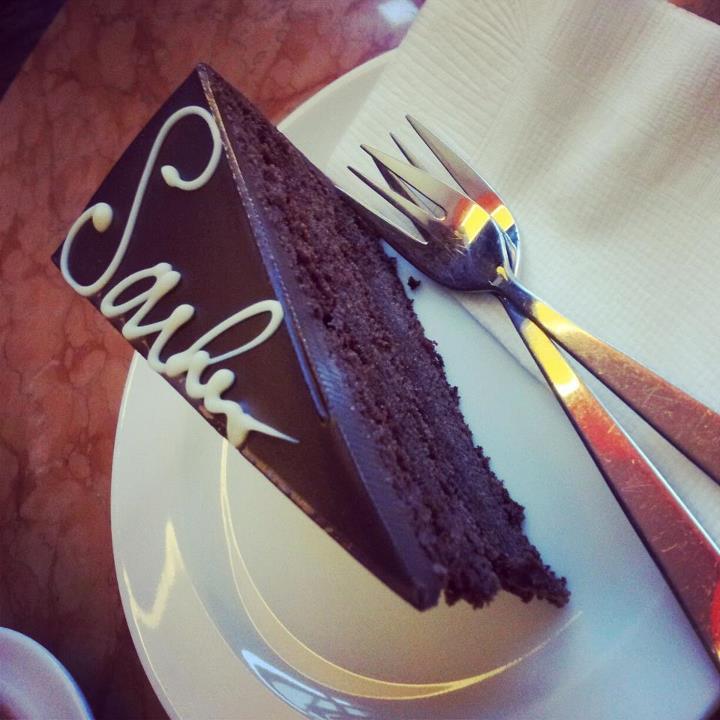
Going all in at San Churros, Sydney. (left to right) Churros, dark chocolate dipping sauce, vanilla ice cream, milk chocolate dipping sauce AND a giant chocolate milkshake, just for good measure. (I ate the lot!)
I first tried Churros in Sydney in the bohemian district of Glebe. San Churros is a late night chocolate cafe offering half a metre long cinnamon sprinkled churros, thick hot chocolate and ice cream. AMAZING. Newcastle needs one of these.
Dippy churros
Churros are traditionally Spanish but also very popular in Mexico usually dipped in liquid chocolate for good measure. You could also add some chilli to your chocolate (or chocolate to your churros – substitute some flour for cocoa powder) if you want an extra kick.

Glossy chocolatey churros
The process for making churros batter is very similar to profiteroles. Heat the water, butter and sugar in a pan until the butter melts.

Heat the water butter and sugar in a pan
Take the pan off the heat and using a wooden spoon beat in the flour and salt until it comes together into a thick lump.
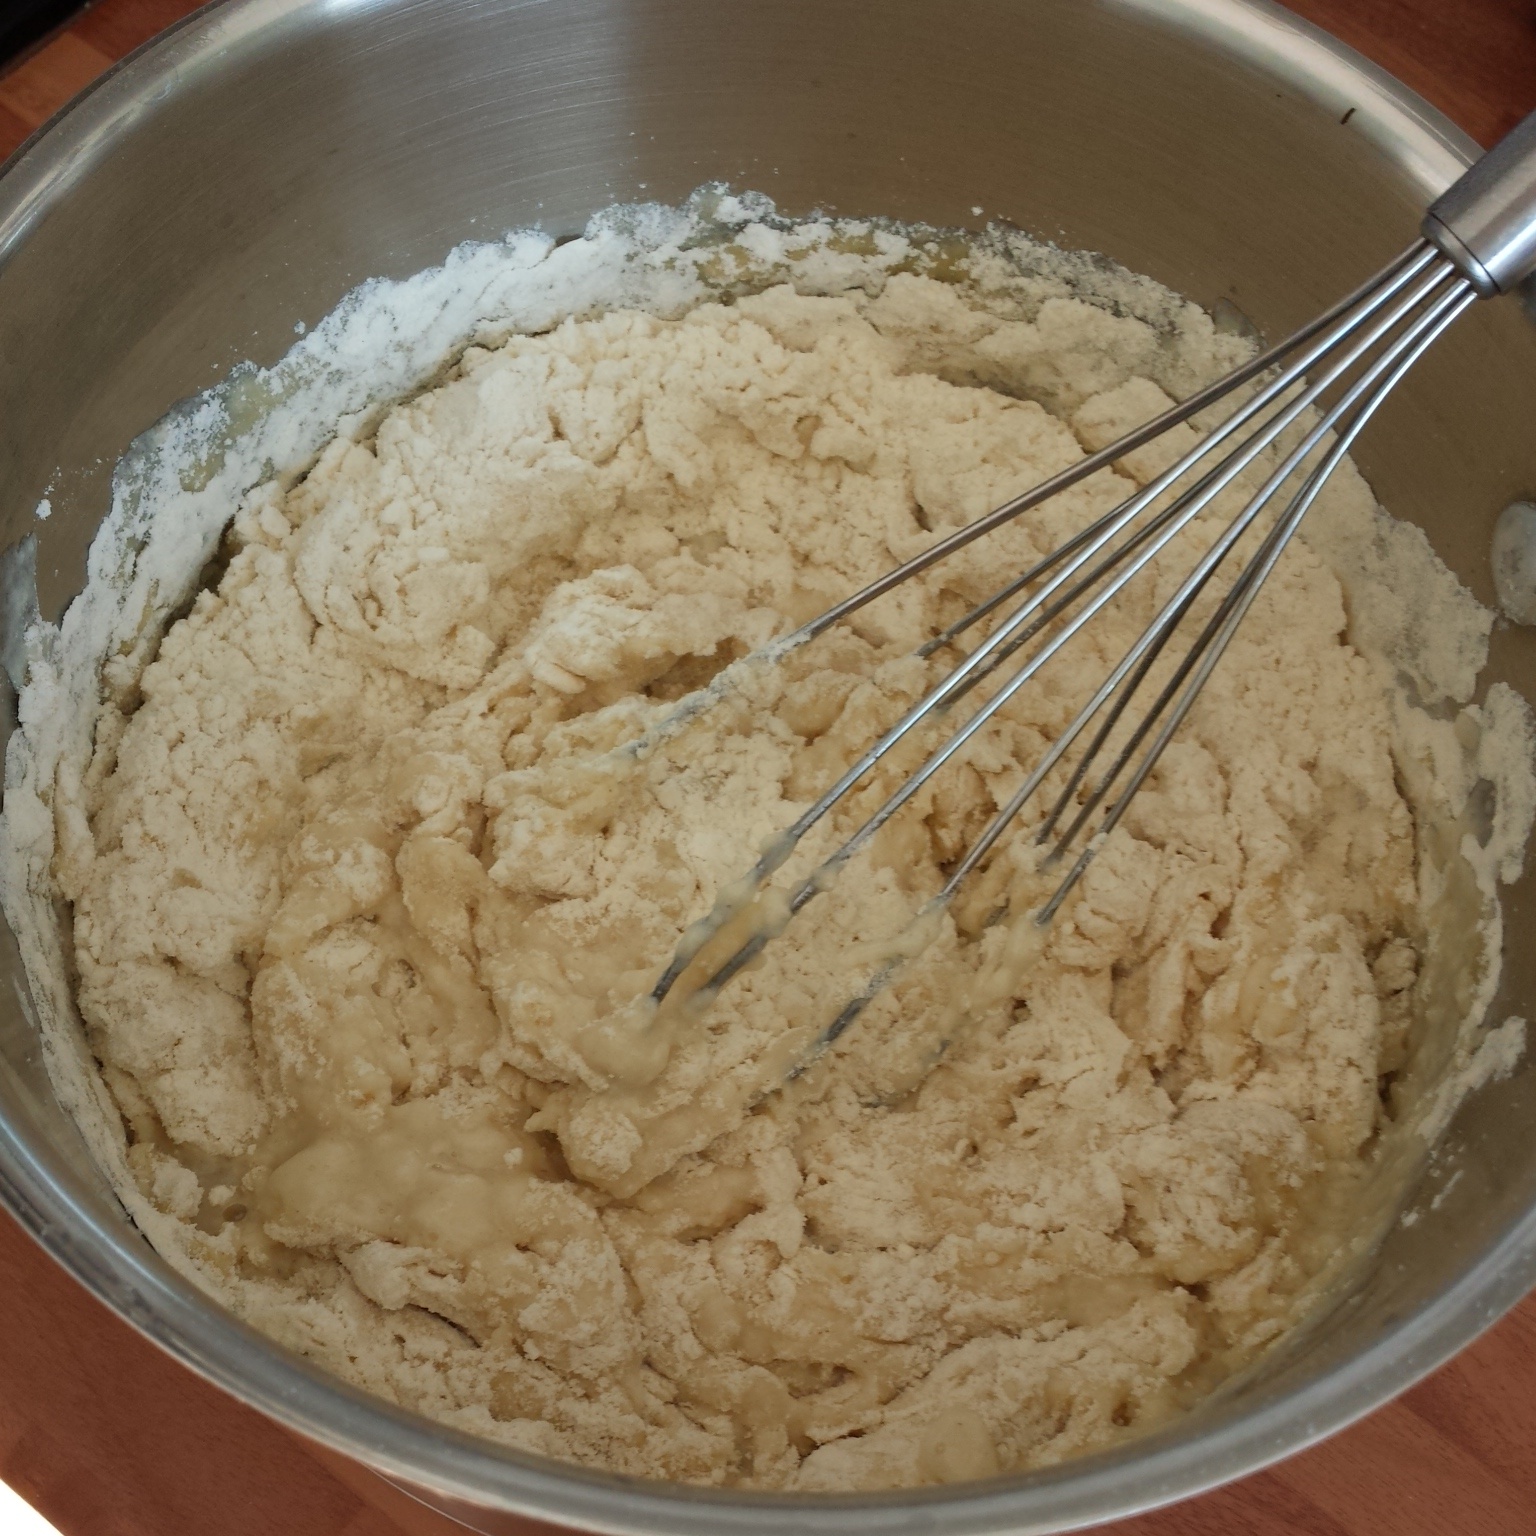
Beat in the dry ingredients – best not use a whisk opt for a wooden spoon…
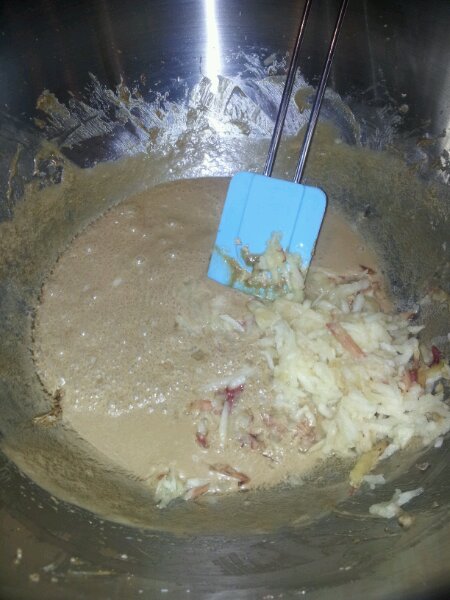
Then beat in the eggs one by one until it’s a smooth and shiny batter.
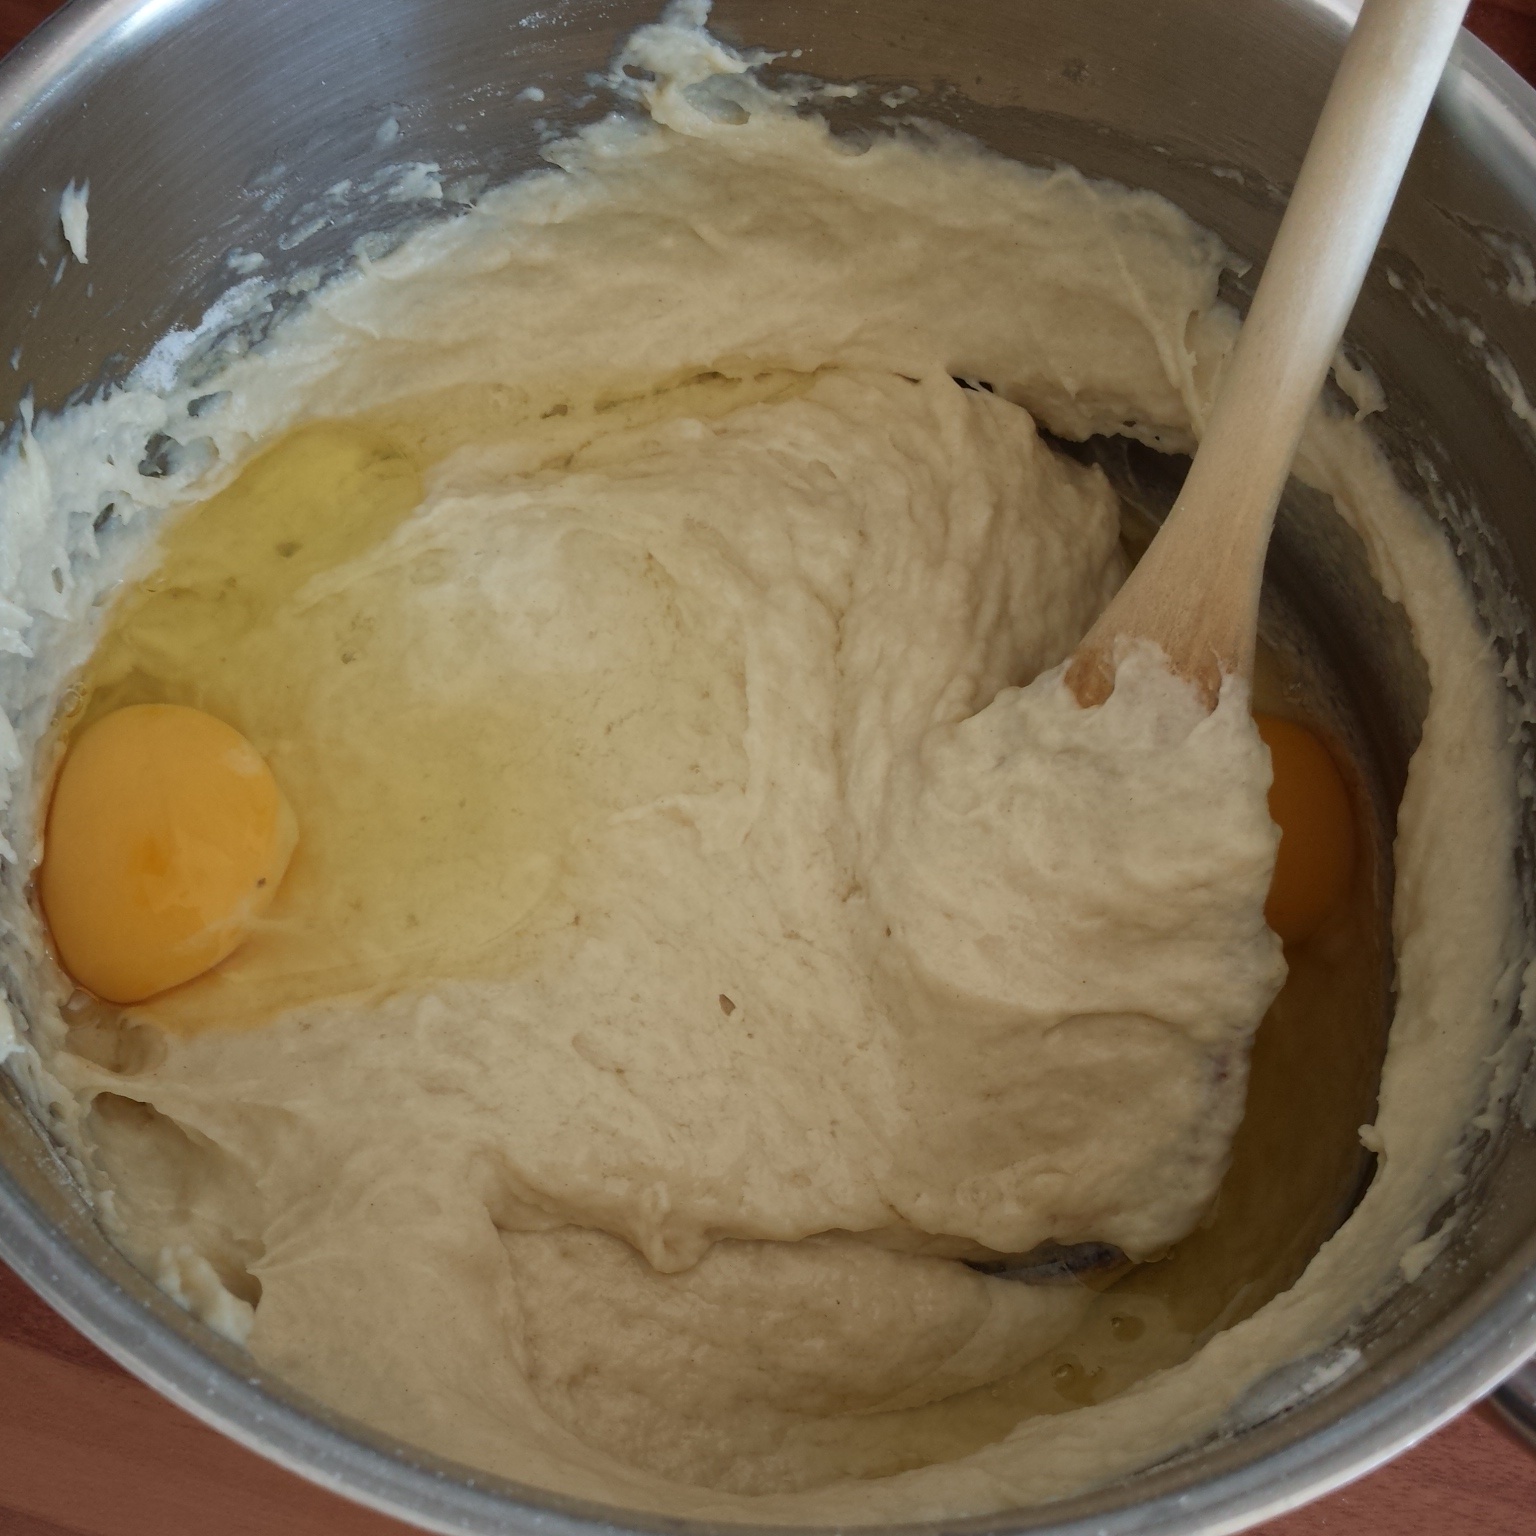
Beat in the eggs – wooden spoon is a much better option
This is quite a precise process so it’s worth setting up your workstation to make it as stress free as possible.
- Keep a damp tea towel to hand to wipe your hands when you’re covered in batter.
- Line a plate with kitchen paper and keep it close to add more layers when needed to drain the churros on.
- Fill a shallow and wide dish with cinnamon sand to roll your churros in whilst they’re still hot.

Roll the churros in cinnamon sugar whilst hot
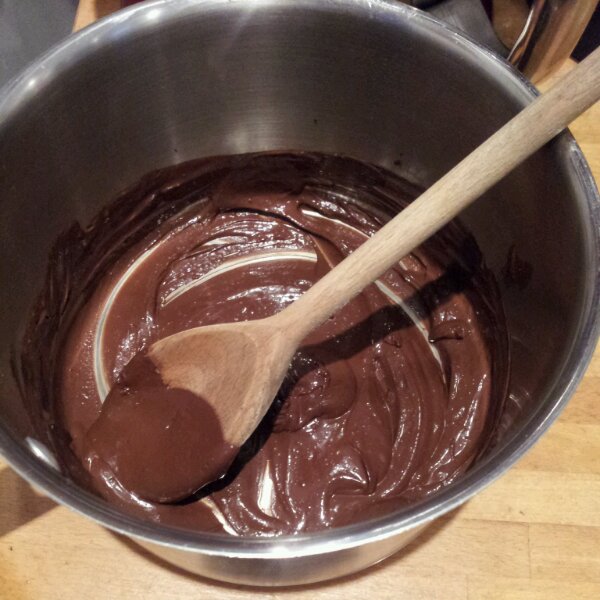
To prepare the chocolate dipping sauce, heat the water and milk in a pan until approaching boiling and point. Take it off the heat add half of the chocolate. Stir until melted. Then stir in the remaining chocolate until smooth and shiny. Pour your chocolate soup into a pot ready for dipping.

Chocolate dipping sauce
Heat the vegetable oil in a deep pot about 400ml in a 8 inch round stock pot will give you about 2 inches of oil to fry the churros in. Make sure the oil is hot enough before piping your churros in. Just pop a blog of batter in and if it sizzles you’re good to go. You will need a slotted spoon to turn the churros with and to scoop them out when they’re cooked.
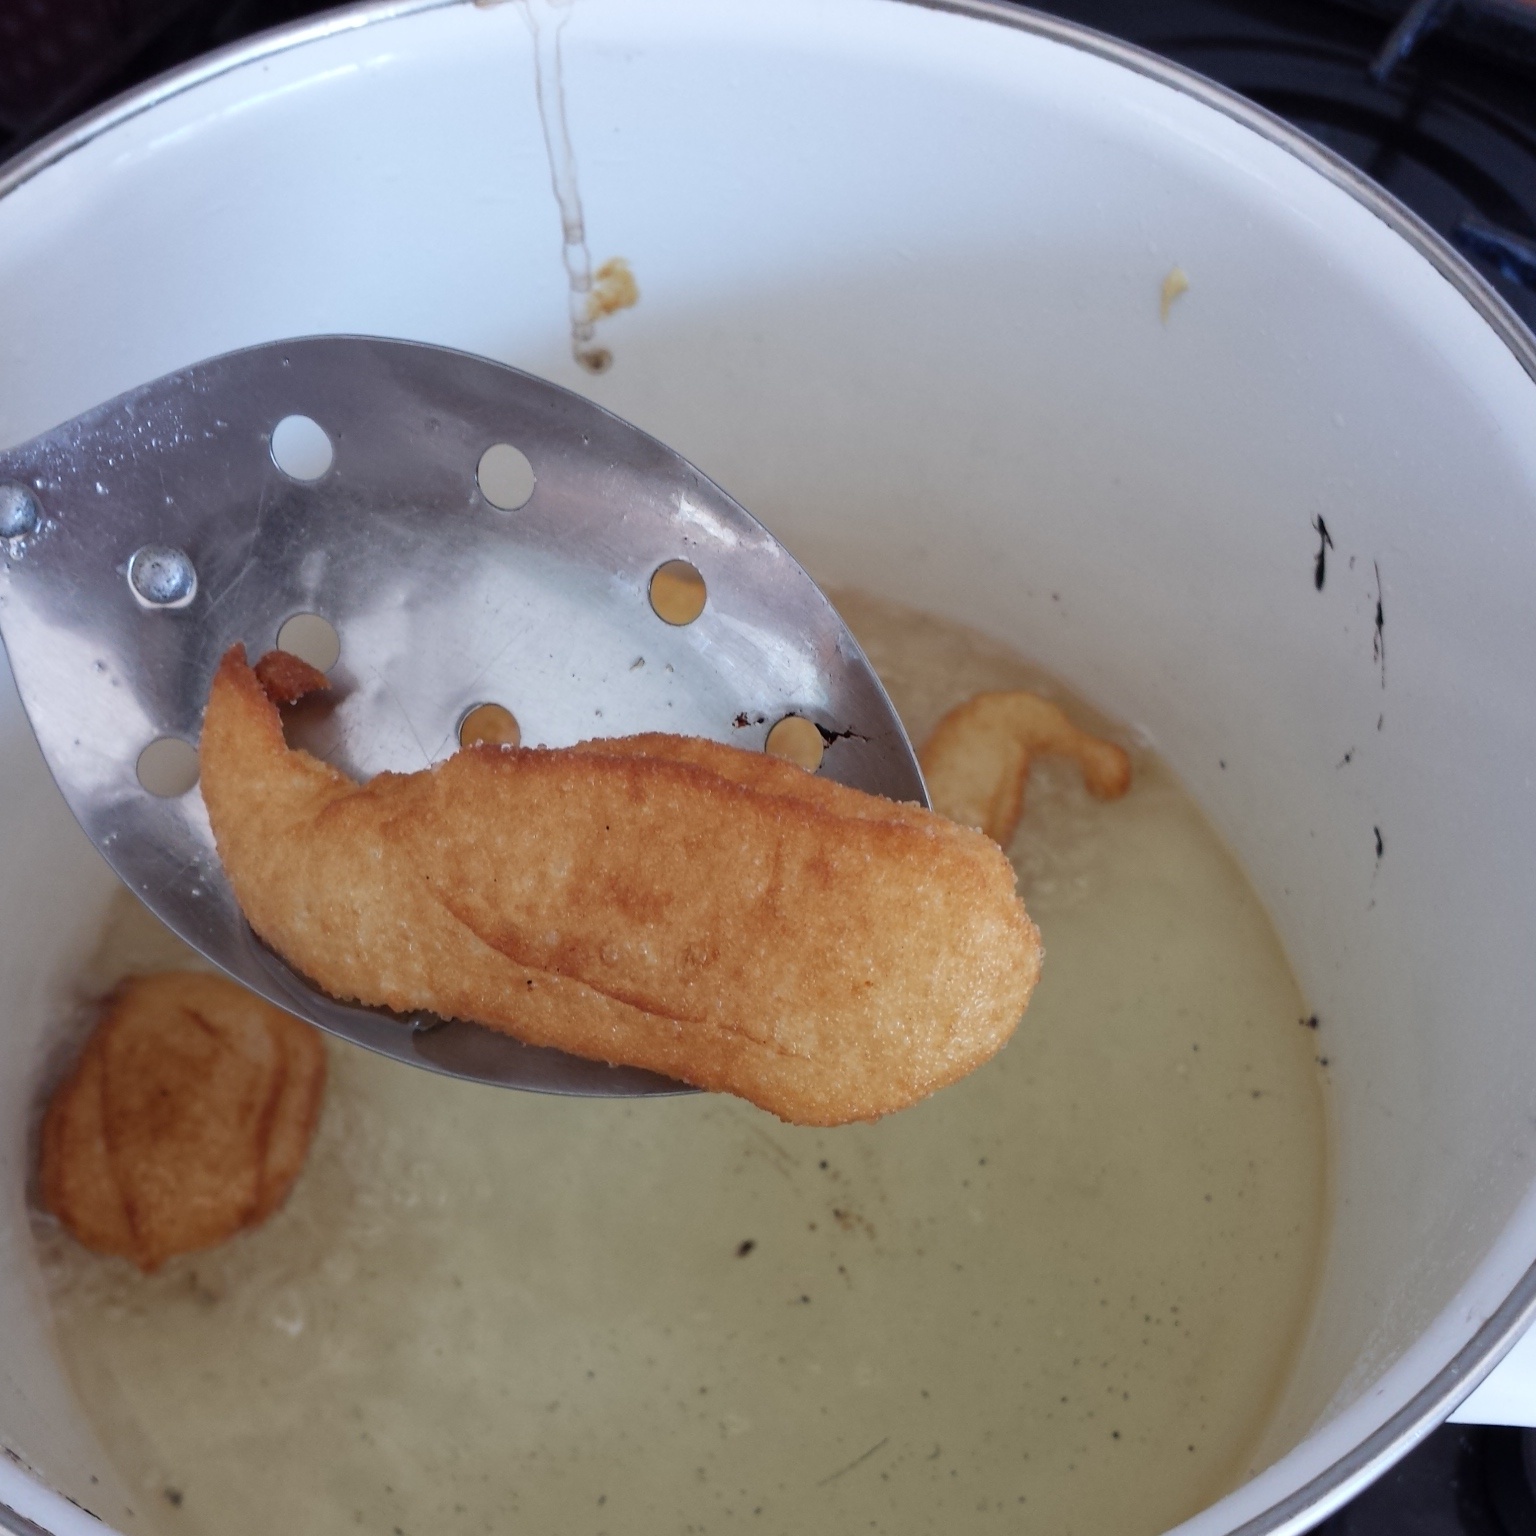
Use a slotted spoon to scoop the churros out of the boiling hot oil
Although the batter is thick it should be free flowing. Scoop it into a piping bag with a star shaped tip. Don’t overfill the bag as it becomes really unwieldly (gushing batter from both ends). You need as much control as possible when piping into boiling hot oil as you really don’t want to get splashed.

Scoop the batter into a piping bag. Stand your bag up in a tall cup
I’ve watched street food vendors preparing churros and they have special batter dispensers that cut off the flow and deposit long sticks of churros into a deep vat of molten oil. Great method but probably not something that you’ve got in your kitchen at home. TV Chefs have also demonstrated perfectly straight churros. Nigella piped hers into boiling oil using scissors to cut the flow from the bag. She made short churros. Jamie Oliver made a firm dough and rolled his churros and then fried them. My batter was very liquid and difficult to control so I mostly ended up with it all over my hands and in my hair but I did manage to get some of it into the pot.

Multi tasking with an upturned piping bag to stop the batter spilling all over the place and flipping the sizzling churros with the other hand
My lack of precision and being covered in batter meant I piped rather curly churros into the pan which instantly puffed up into curious shapes. The batter has a mind of its own and using a shallow round pot does have some limitations. Despite their irregular appearance they’re pretty damn tasty.
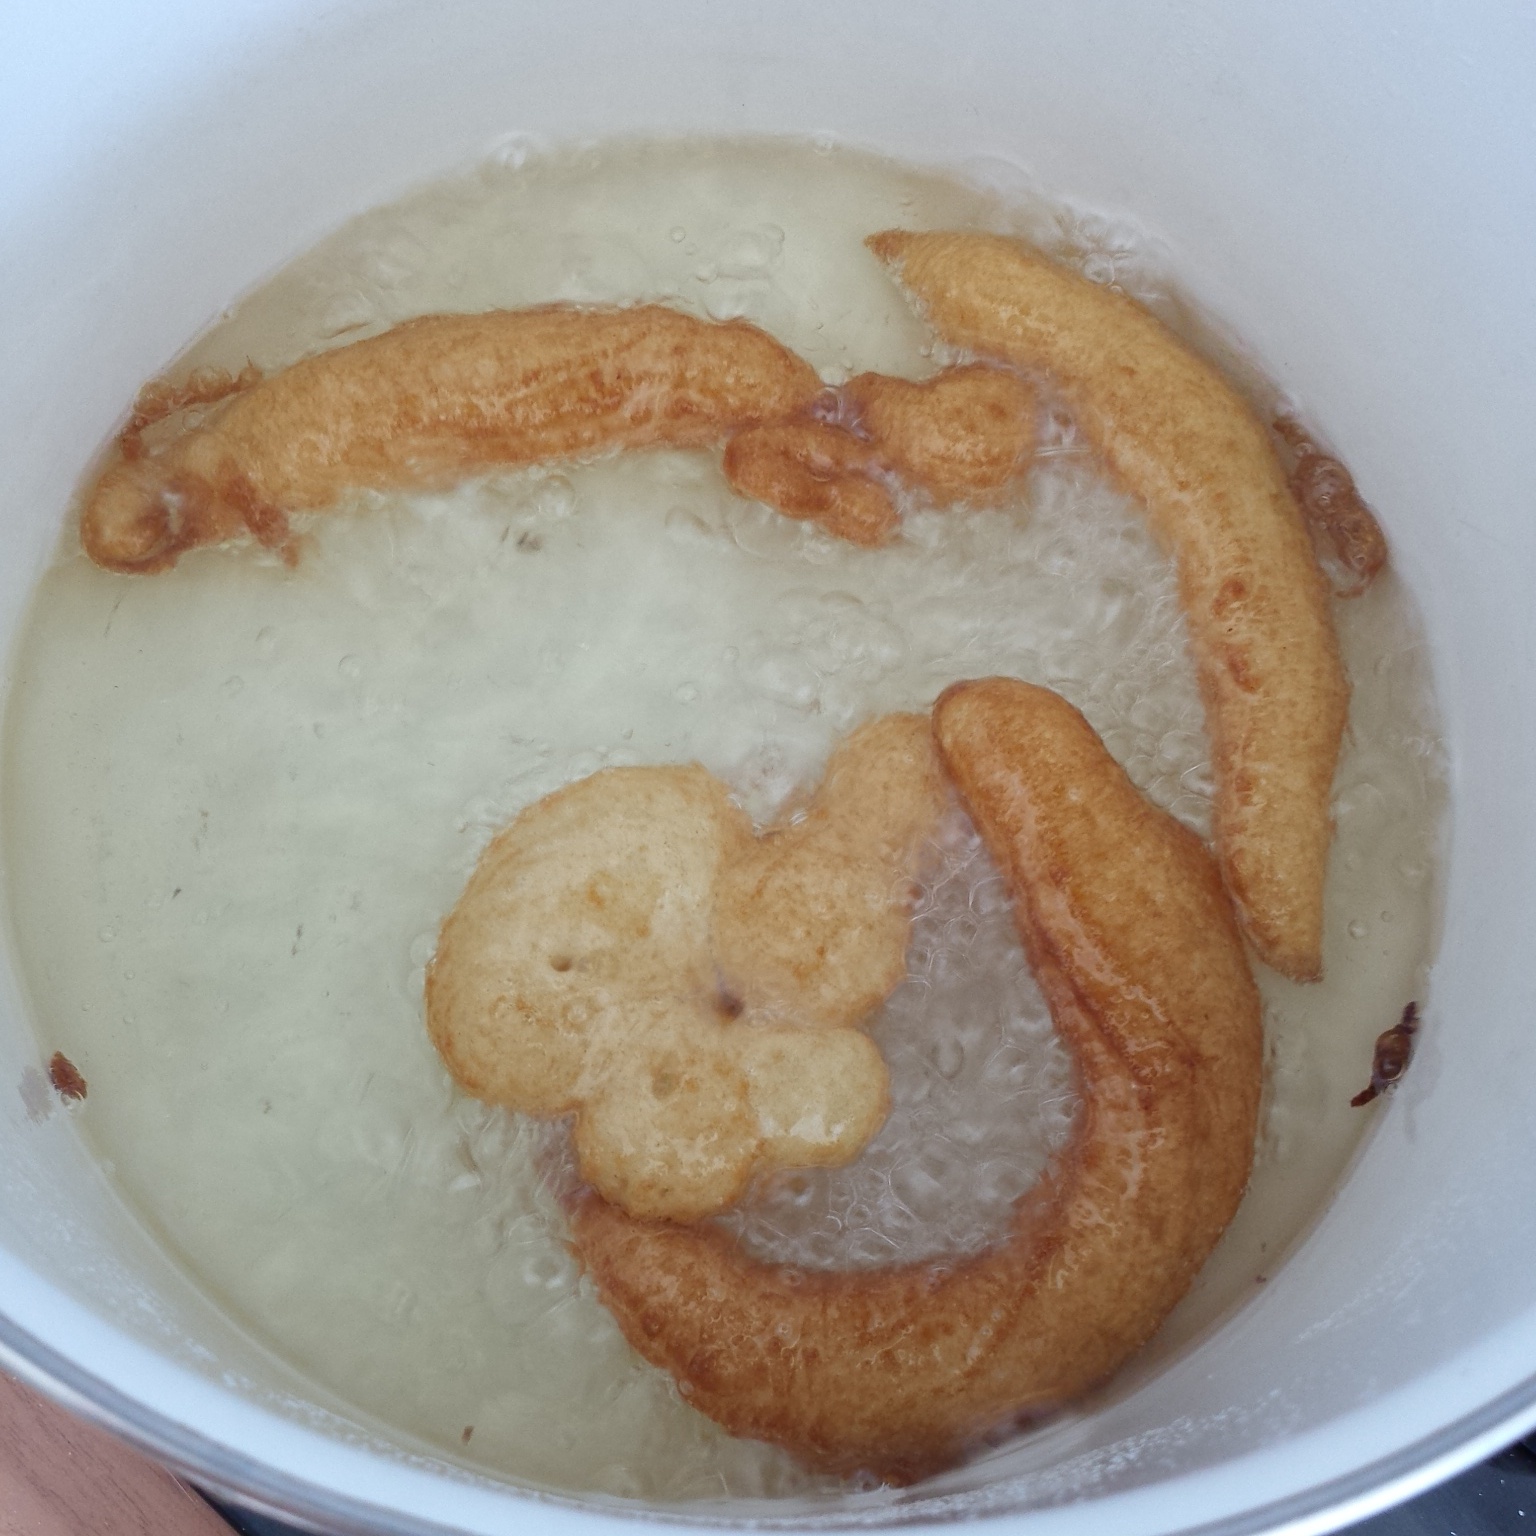
Some weird looking churros curling into the pan
They sizzle instantly as soon as they reach the oil (watch out for sizzly splashes) and take minutes to cook, about 2 minutes each side turning a golden brown.
A good cinnamon sand coating is required
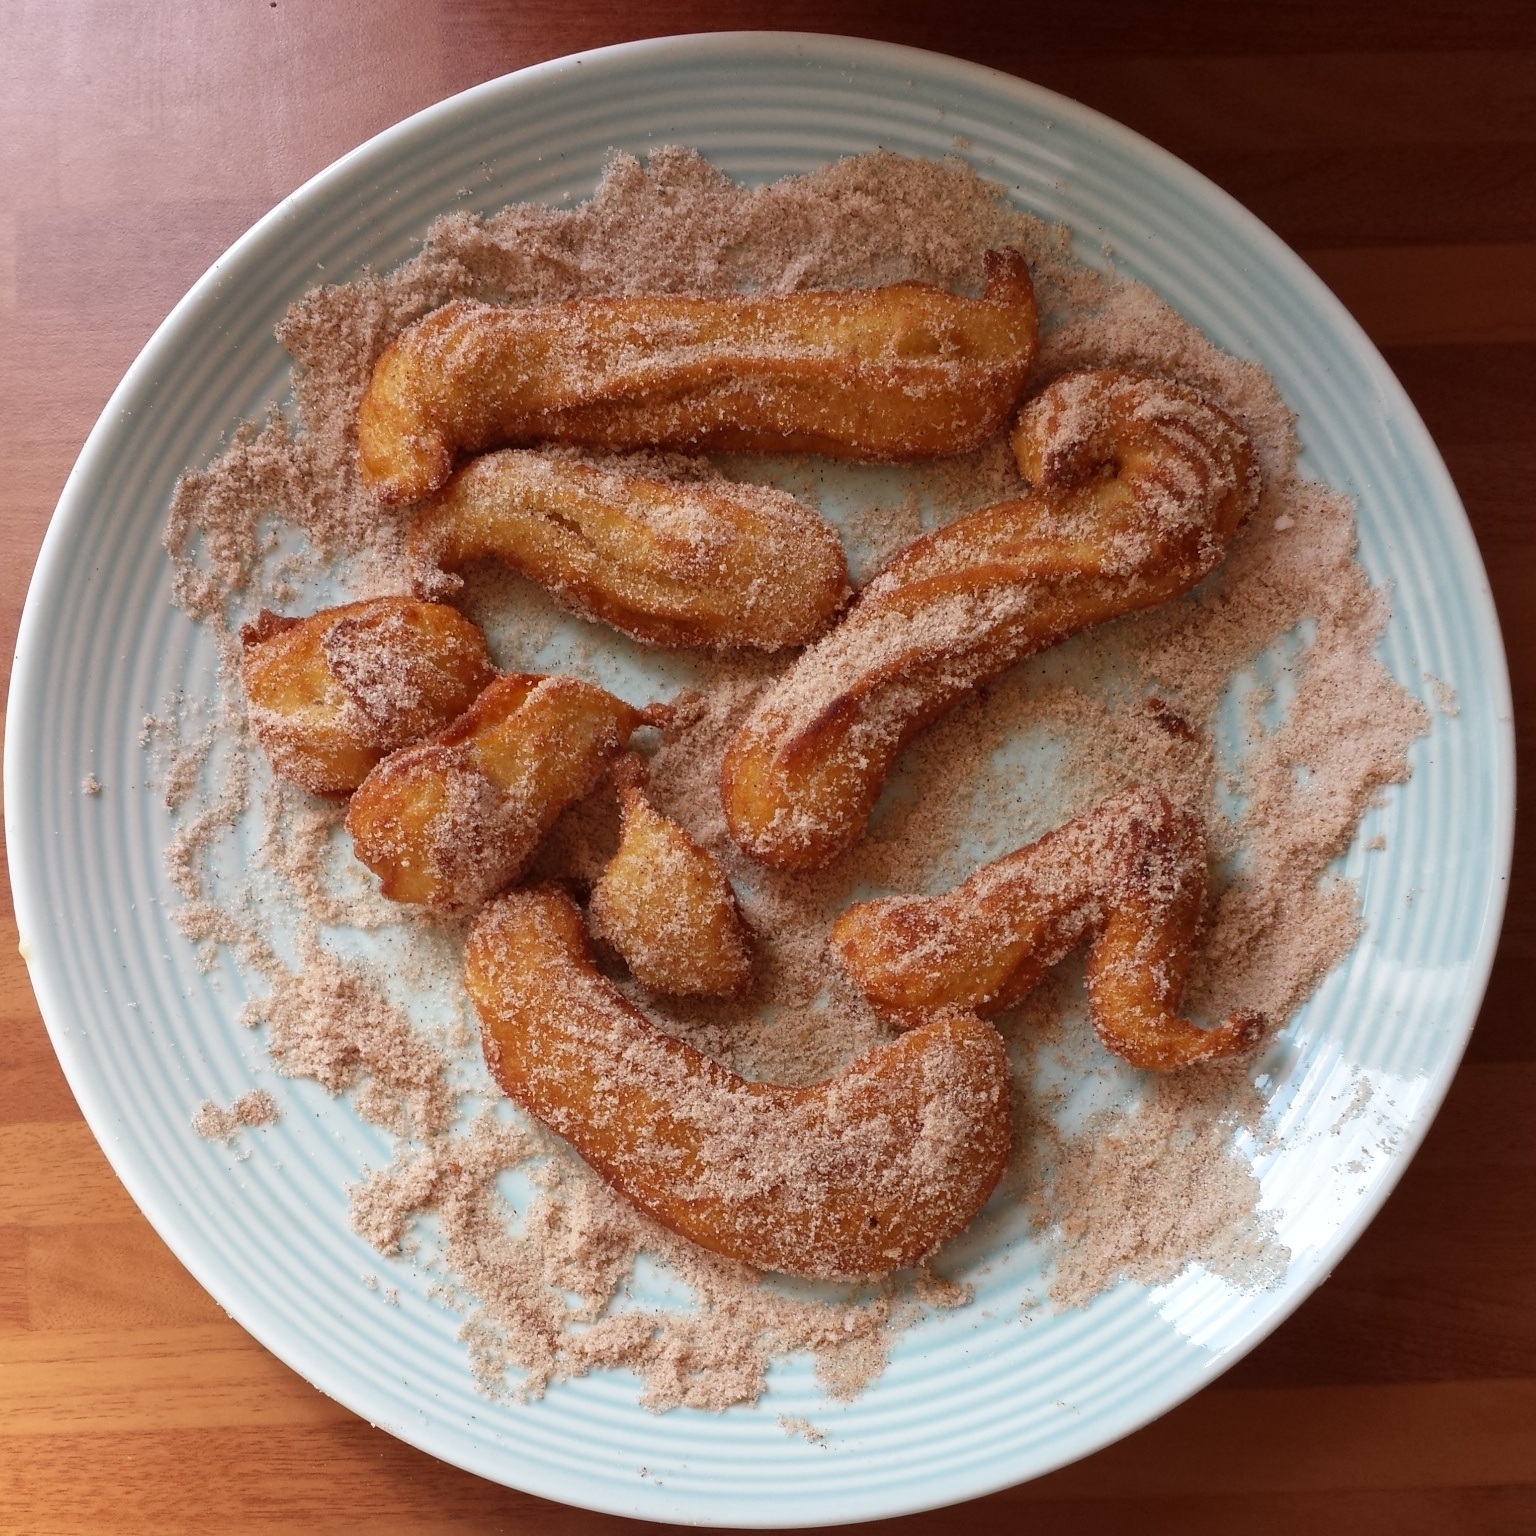
With your kitchen roll at the ready you can pop your churros straight from the pan onto the paper to blot any excess oil before transferring them to the cinnamon sand (caster sugar and ground cassia/cinnamon) for a good sugary coating.
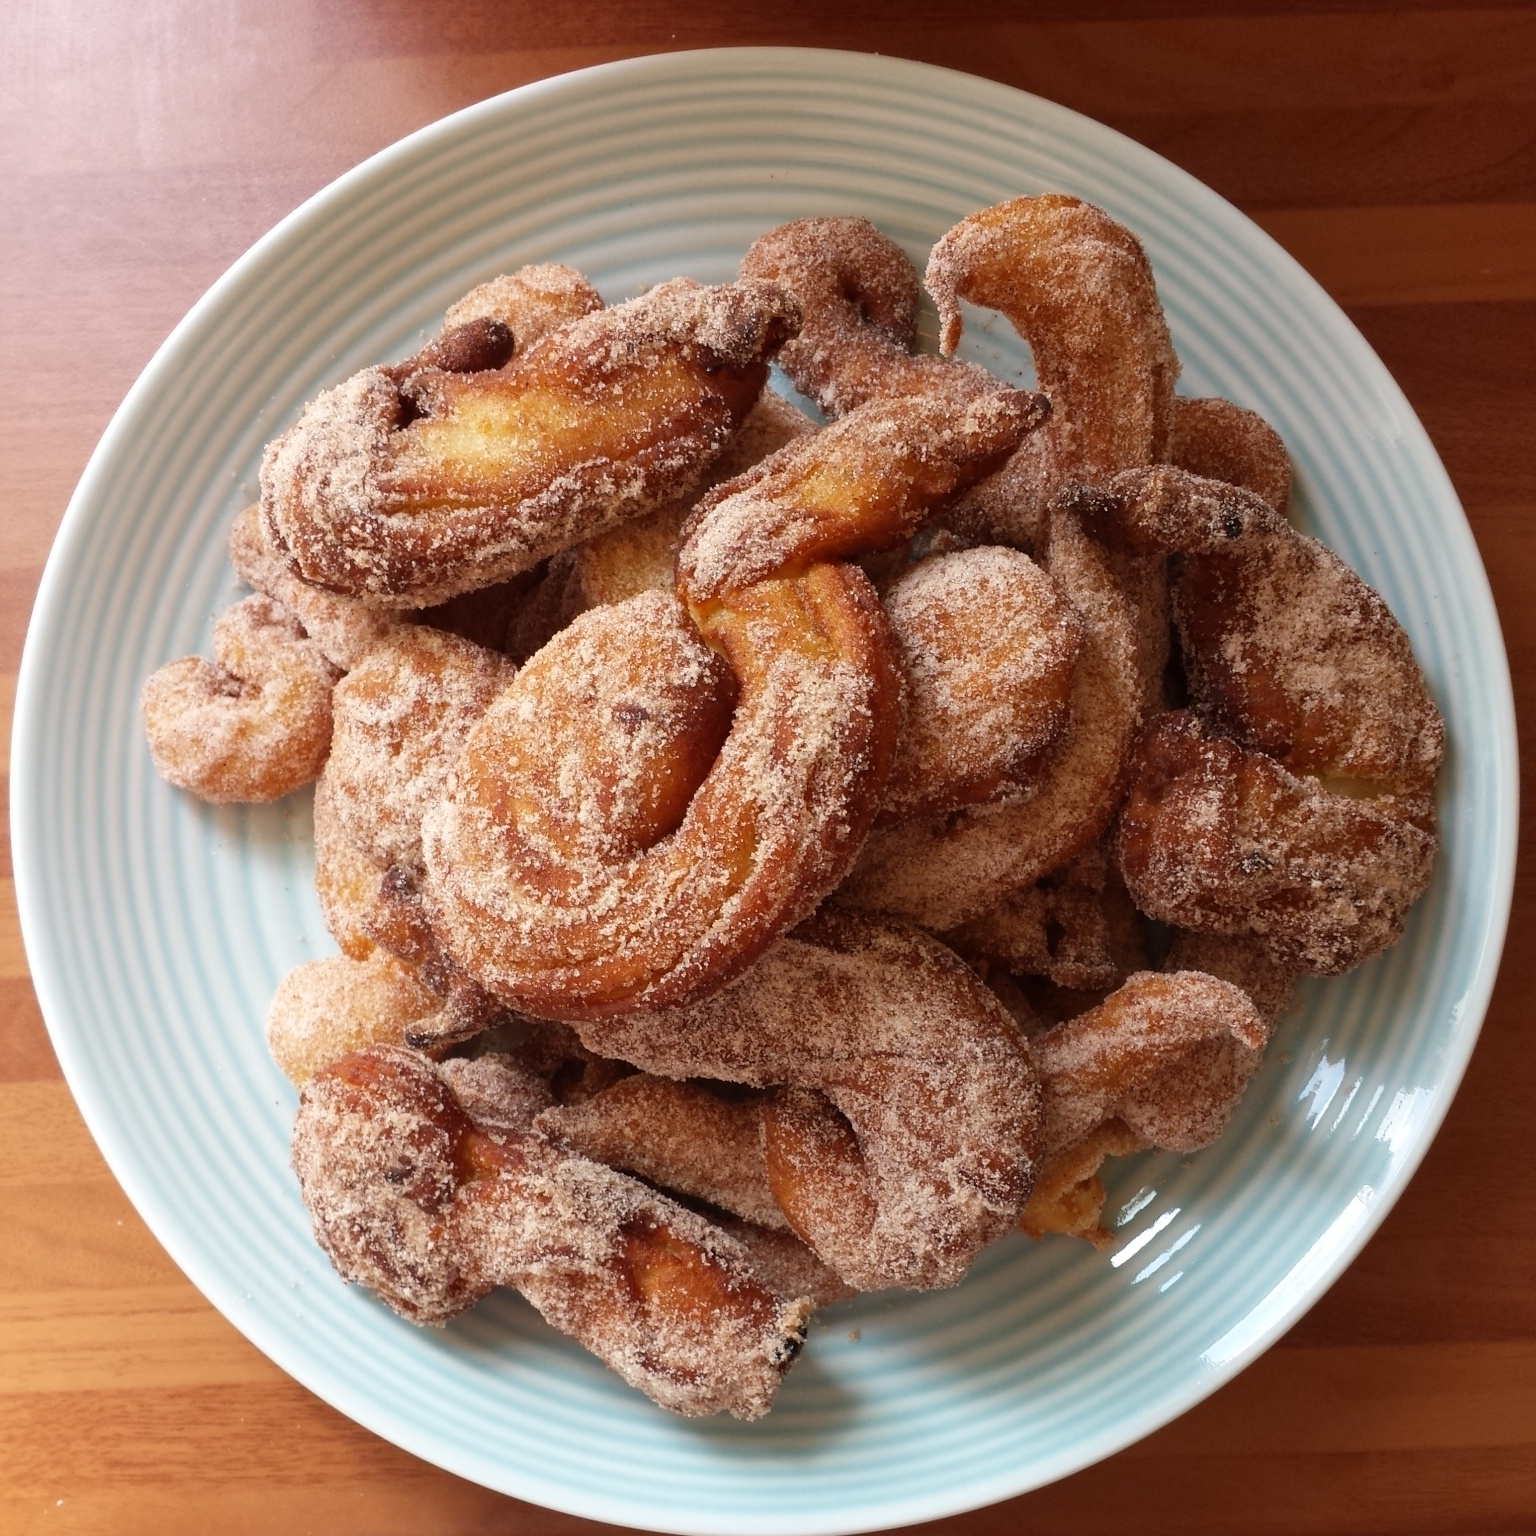
Mountains of Curly Cinnamon Churros
Keep piping churros into the boiling oil, flipping them, scooping them out, blotting them off, rolling in sugar until you’ve exhausted all of your batter. This makes an enormous amount of churros, so you may need to friends to help… Be careful not to leave the oil on the heat for too long, for example if you’re messing around taking photos. Without any churros to absorb some of the heat the oil will continue to sore in temperature and scorch the next churros you pipe into the pan. Also make sure you scrape out any scraps from the oil before piping the next churros in to avoid burnt bits attaching themselves to your fresh batch of churros.
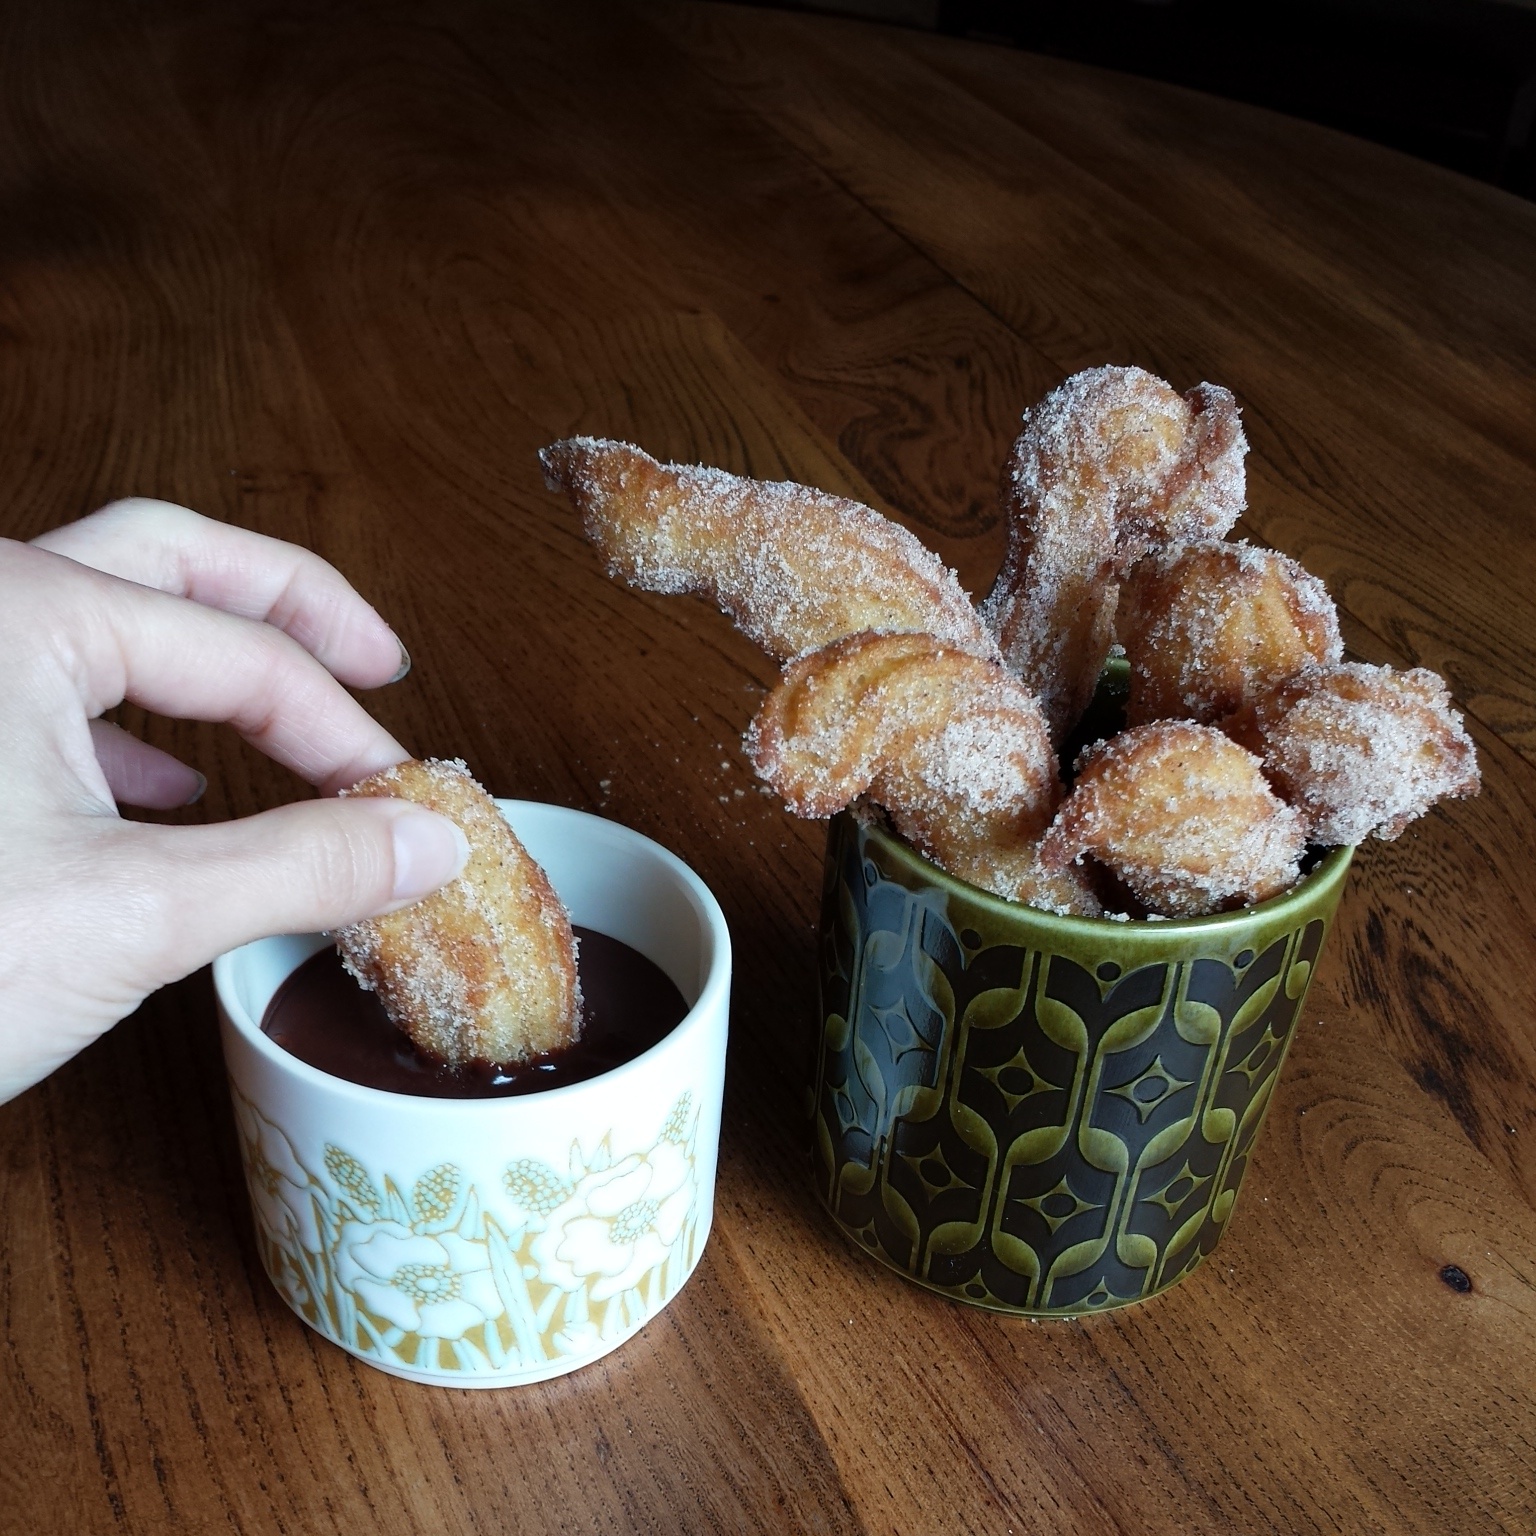
Dippy churros
Eat immediately! The longer they sit, the more oil they absorb so they lose a little of their crispiness. You’ ll not be disappointed by these churros. I shared these still warm and cinnamon scented to my friends at a picnic and with my family. Every single one disappeared. They’re light and fluffy on the inside and just crispy enough on the outside, (with the added texture from the sugar) to be oh so moreish.
Glossy chocolatey churros
I quite like the contrast of the dark chocolate against the sweet churros, but my 3 year old nephew winced at the bitterness despite the addition of some milk to my chocolate soup. You could use a lighter chocolate or milk chocolate if you prefer more sweetness in your life.
Things I used to make my Curly Churros
Churros Batter
- 470g/ml water
- 45g butter
- 45g caster sugar
Melt in pan then remove from heat
- 440g plain flour (or if you want to make chocolate churros substitute 420g of flour and 20g cocoa powder)
- 2g salt
Beat in with a wooden spoon
- 2 eggs
Beat in with a wooden spoon
Pour the smooth batter into a piping bag with a star shaped tip
- 400ml vegetable oil
Heat oil until sizzling hot. Pipe in Churros. Cook them for 2 minutes (ish) on each side. Remove from oil and to drain on kitchen paper
Cinnamon Sand Ingredients
- 150g caster sugar
- 2-3 tsp ground cassia (or cinnamon powder)
Roll warm churros in cinnamon sand
Chocolate Soup Ingredients
- 60ml water
- 20ml milk
Heat liquid til just before boiling, remove from heat and add half the chocolate. Stir til melted
- 100g good quality chocolate
- optional sprinkle of chilli powder for extra kick
Add the remaining chocolate and stir until melted.
Dip your warm churros in your chocolate soup and enjoy!
")


. it also means you can get the spatula out and encourage the rest of the batter into the bag.")
")


