Mochi are like no other cake I’ve ever tasted. At first I thought I didn’t like them, with their chewy jelly exterior and smooth paste interior, that’s just not as sweet as I’m used to in my sugar spiked desserts. However once you get past your preconceptions of what a cake should taste and feel like, you’re going to love Mochi. I can guarantee it.
Matcha Mochi
The first time I experimented with Mochi was on a food adventure around Hong Kong. (Although they are a traditional Japanese sweet treat.) My friend Bobo and her Mam took us on a whistle stop tour of the real Hong Kong. Rolling from Dumpling Soup and Dim Sum, to Duck and Eel banquets. Sampling Chinese Milk Tea, Egg Tarts and Pineapple Cakes and everything in between. Including impressive dry ice tapioca desserts presented with a flourish of icy smoke clouds. This was my kind of trip! Although I must admit I didn’t manage to eat noodles for breakfast. A regret I still carry with me today. Unfortunately I’m much more of a tea and toast kinda gal!


But Mochi were something else. Deceptively bland on the outside in their floury cloak. When you tentatively choose your mochi you immediately realise how soft and squidgey they really are . Take a bite and there’s a perfect balance of sweet bean paste to rice gel dough. I always thought that Mochi would be difficult to make at home, when in fact they are possibly one of the quickest bakes I’ve ever made! The assembly is the trickiest bit and even then it’s a bit like playing with Play Doh so it’s actually quite fun!
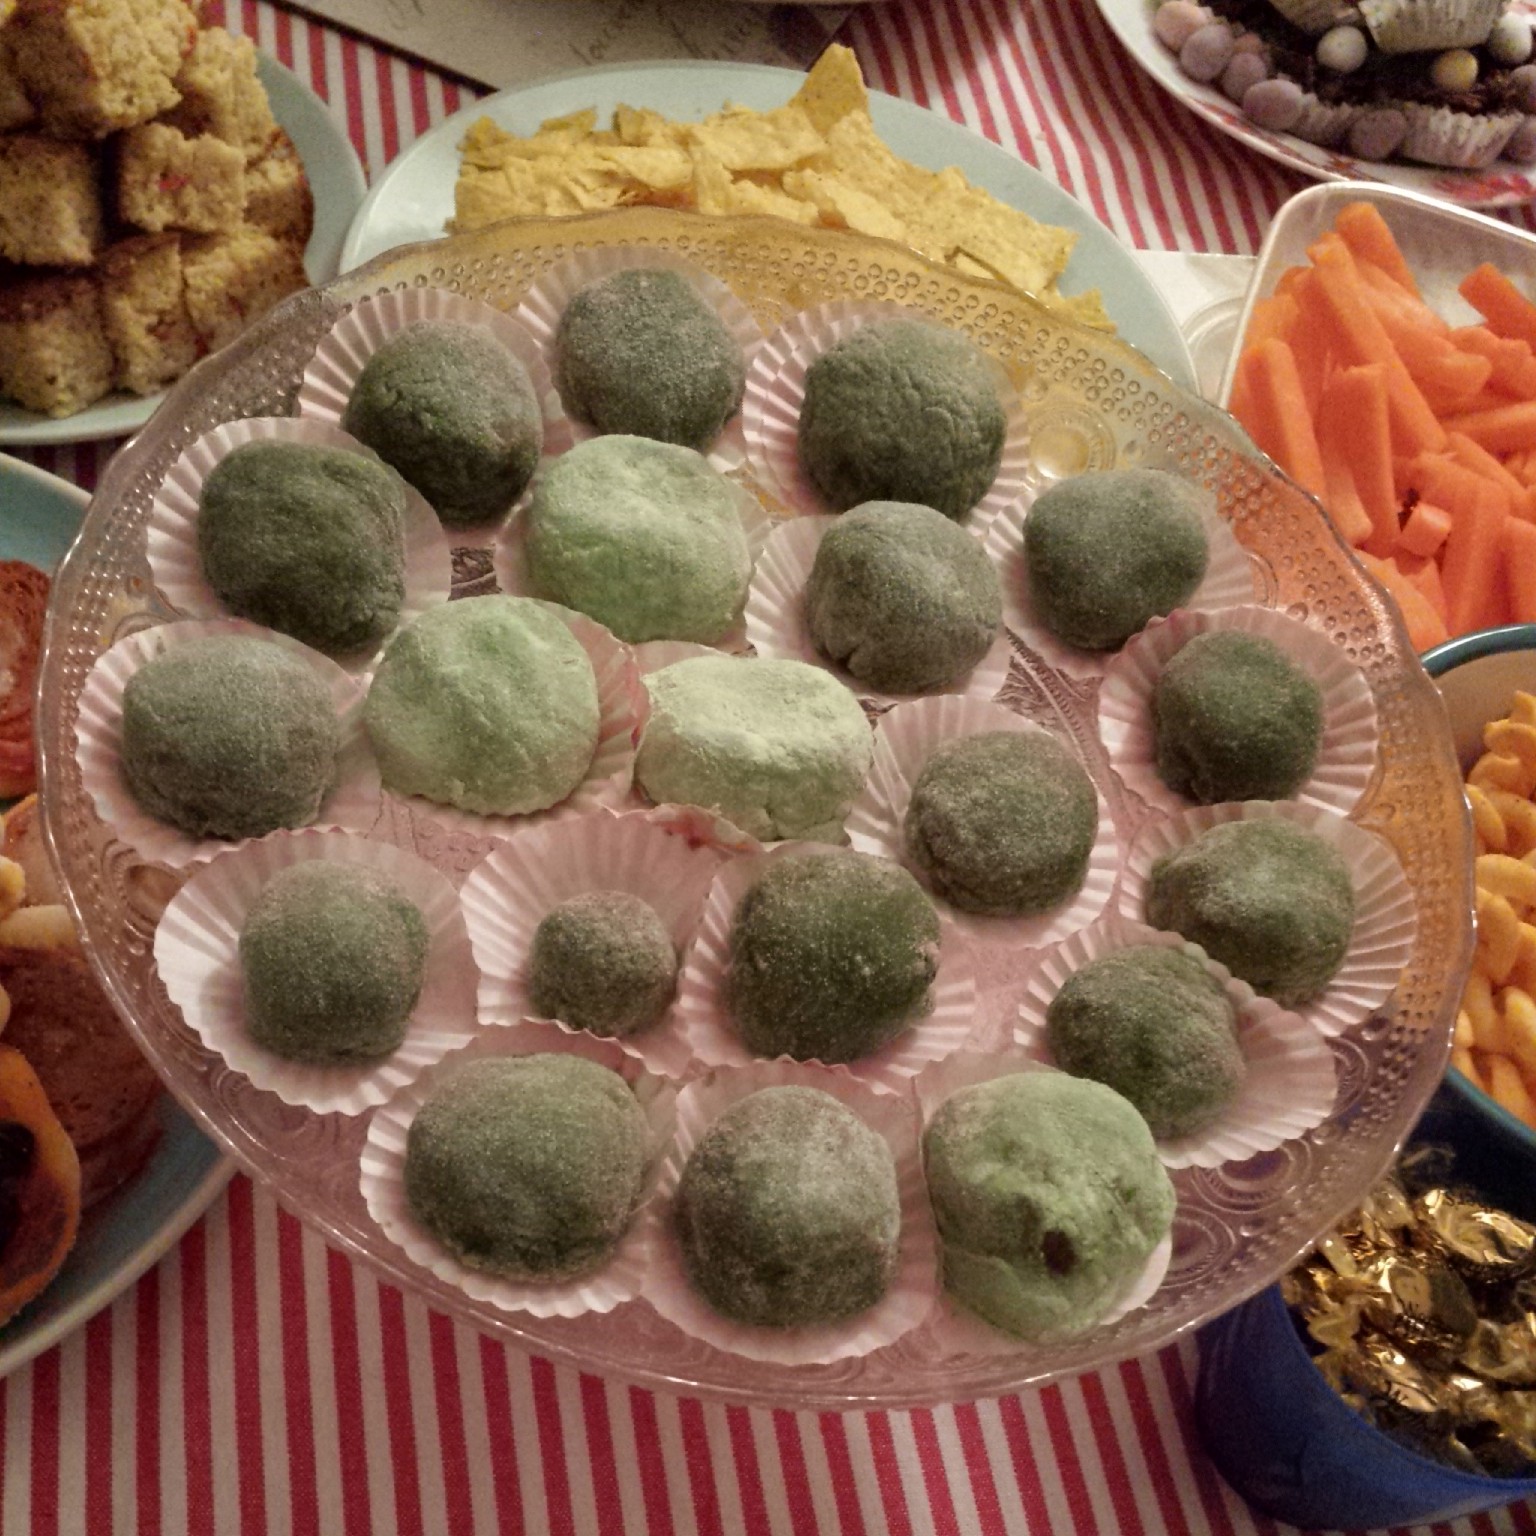
My Mochi Mountain at Confidential Canapé Collective
You can apparently buy red bean paste (also called Anko) pre made (if you can find it!). I couldn’t find any so made my own, and as per usual, made it up as I went along! I chose dried Aduki beans from my local health food shop. These beans are also know as Azuki or Adzuki beans. They are much smaller than kidney beans and apparently rather good for you. They’re classed as a ‘superfood’ which is a bonus. (Just in case you’re interested they are high in soluble fibre, and rich in other nutrients such as B vitamins, potassium, magnesium, zinc, iron, copper and manganese.)
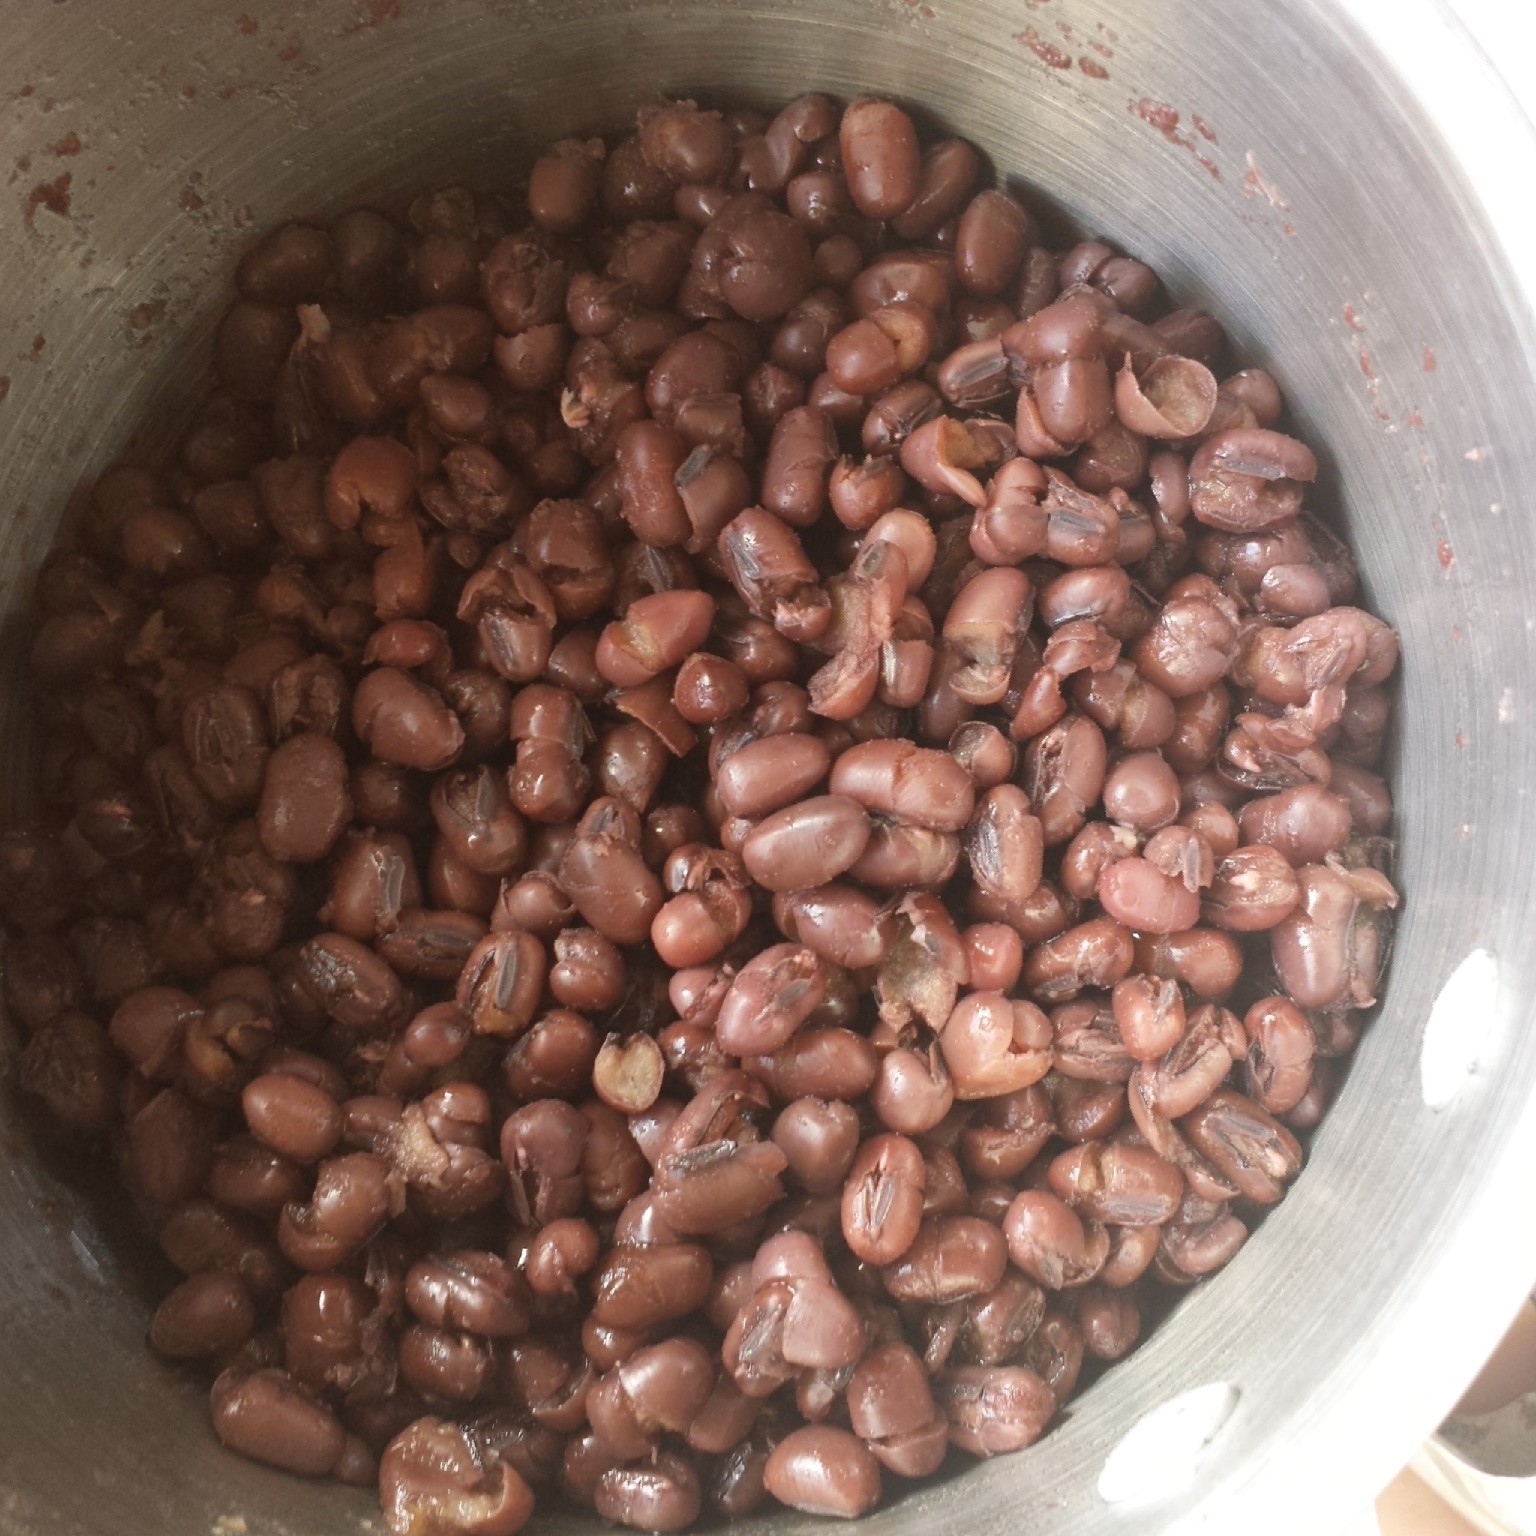
Tender Aduki Beans after 2 hours simmering
You do need to plan this one in advance if using dried aduki beans. You must soak them overnight in cold water. Change the water the next day, then bring them to the boil and simmer them for 2 hours. Once they are tender they’re ready to make into a paste. I didn’t realise that you’re supposed to remove the skins by passing them through a sieve, so I ended up with rather more textured paste than some Japanese confectionery would use… This is called Tsuban (red bean paste). If you sieve your beans you’ll end up with smooth Koshian paste. Once you’ve mastered Anko making, you can use it to fill lots of other Japanese desserts such as Dorayaki (Japanese Red Bean Pancake) or Red Bean Ice Cream (I’m adding these to my list right now!).

Anko – Aduki Sweet Red Bean paste
Once your beans are tender, drain the water and stir in the sugar. Then add a splash of water (half a cup) and allow to simmer . As the water evaporates the paste thickens. When you can draw a line along the bottom of the pan with a spoon the paste is ready. Allow it to cool and blend with a hand blender to a smooth paste. If you make too much you can freeze it for future use.
The very runny rice flour sugar and water batter ready for microwaving
Technically this is a non-bake bake. You only need to microwave the glutinous rice flour, sugar and water for 3 minutes 30 seconds to produce a wonderfully gelatinous dough! It’s amazing how many Mochi you can eek out of the small amount of flour, water and sugar.

The very hot and thick gel dough. You can see my fingermarks where I tried to remove the piping hot dough out of the bowl with my bare hands. Be careful!
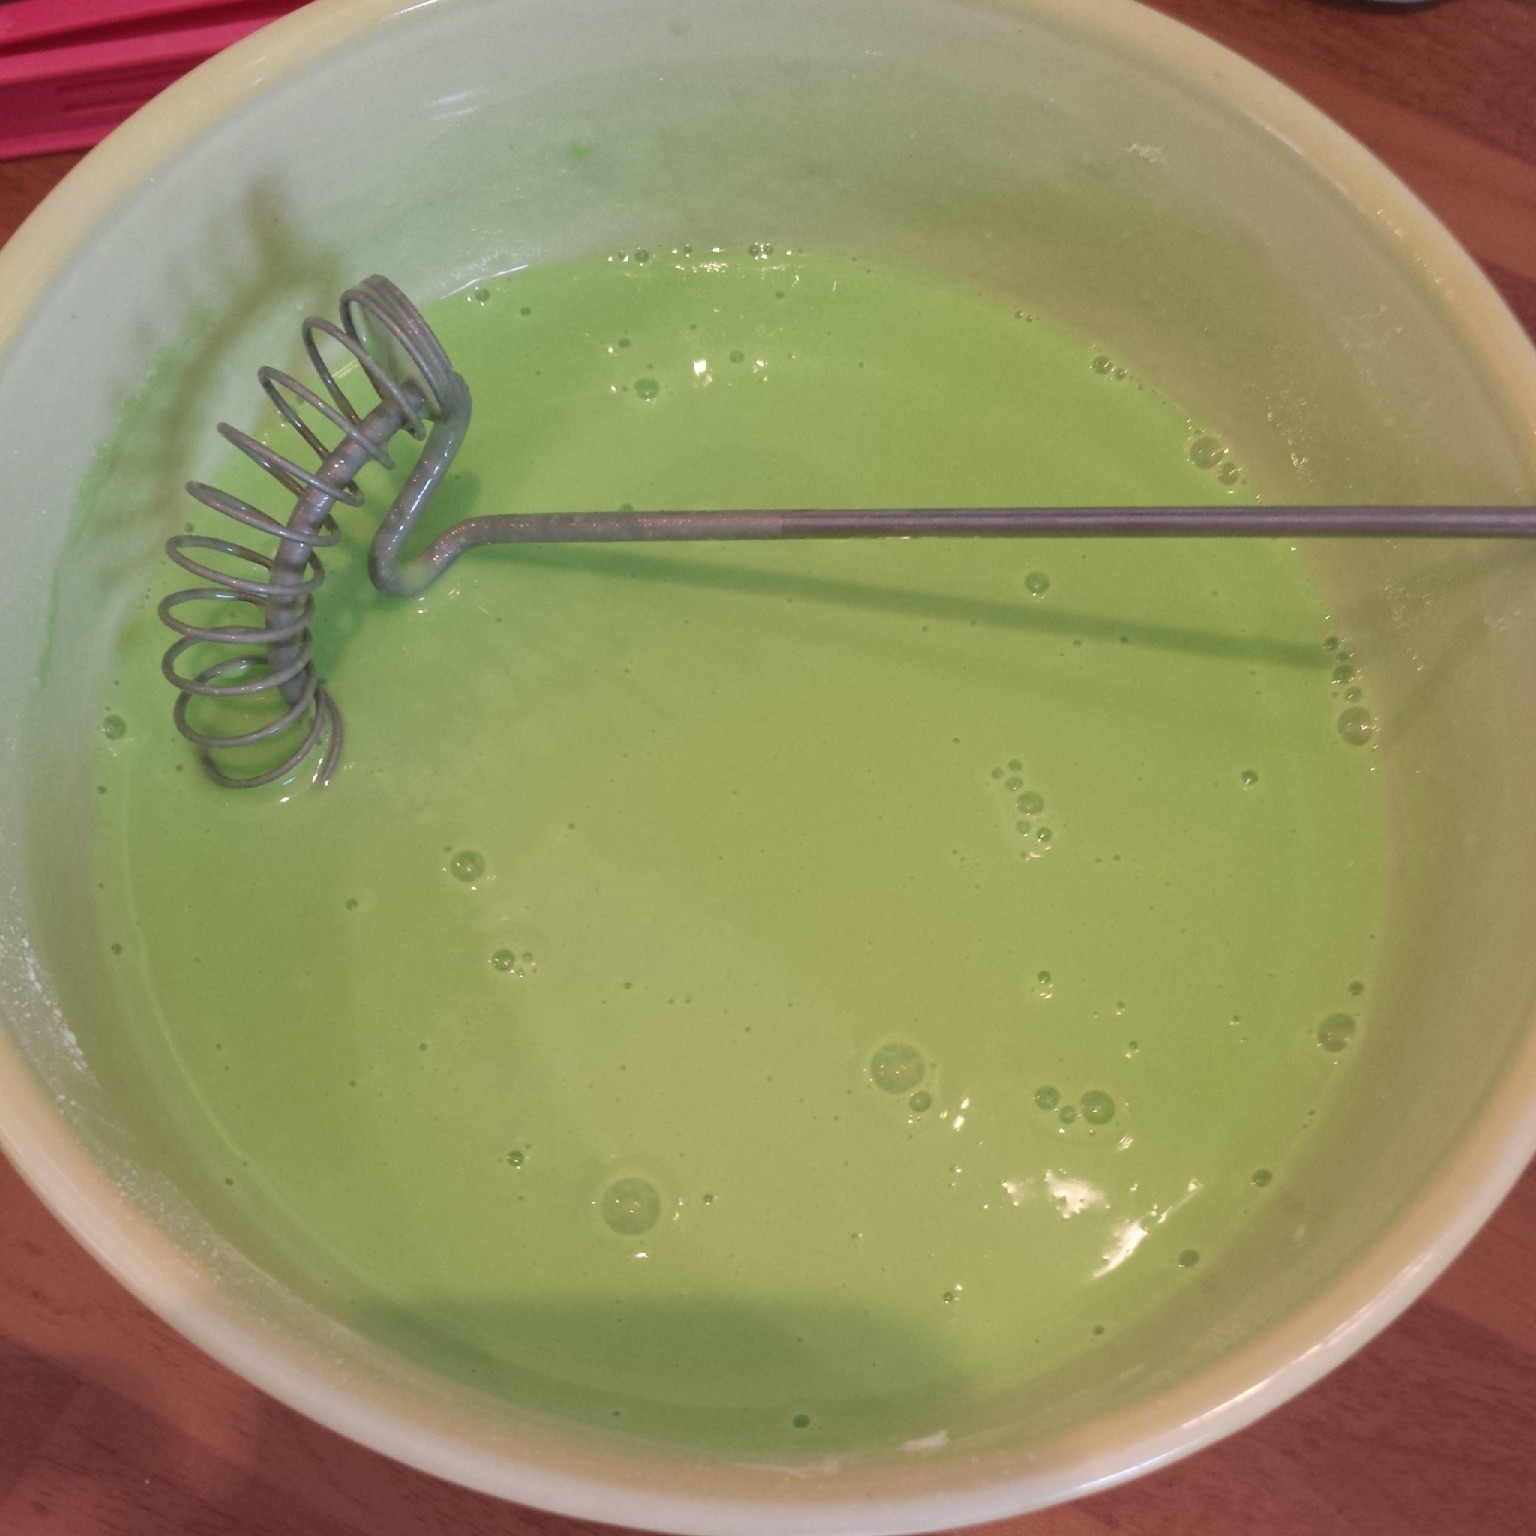
Sift one cup of glutionous rice flour (I used my left over Pandan flavoured flour from my Pandan Chiffon Cake. It’s got to be glutinous rice flour as this is the sticky kind. It’s still gluten free despite it glutinous qualities.), followed by 1/4 cup of sugar, 2 tsp of matcha green tea powder, and 1 cup of cold water into a microwave safe bowl. Whisk gently until you have a very smooth thin batter. You could choose other flavourings or colours such as jasmine, taro or coconut. Add your preferred flavouring before cooking!


Cover the bowl with cling film and microwave on high for 3 mins 30 secs. The dough will thicken and inflate. Check it and then microwave for a further 30 seconds if it needed to be a bit firmer. Et voila you have a extremely green jelly dough ready to shape!

The bright green dough scooped safely out of the bowl with a knife
IT WILL BE VERY HOT when you take it out of the microwave! Most recipes tell you to shape it whilst it’s hot. I can assure you it’s much easier to work with when cool and less likely to sizzle your hands, so be careful.
Lots of rice flour everywhere to stop the dough from sticky to everything
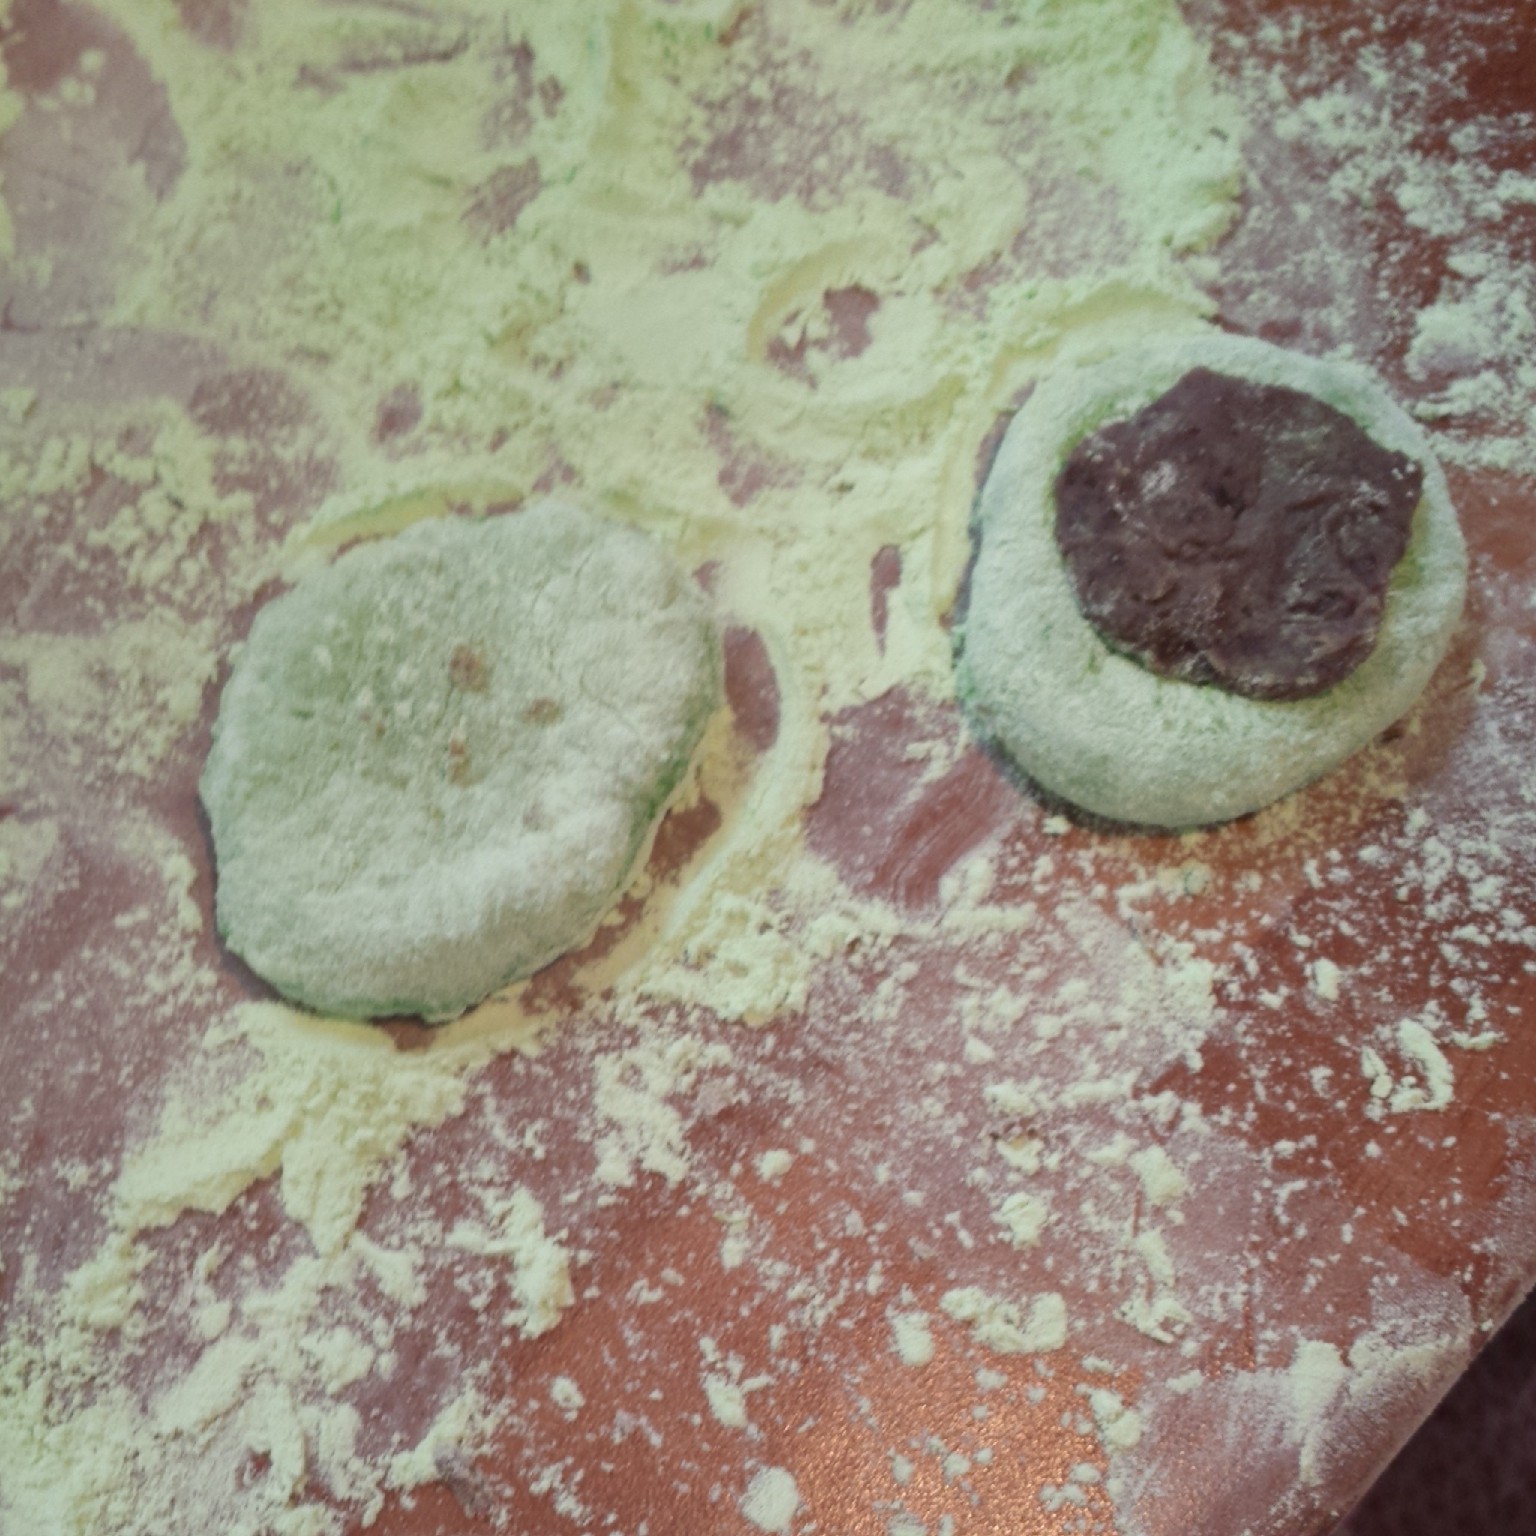
Dust your worksurface with rice flour (other recipes say to use potato starch or cornflour, but as I had rice flour to hand I used that and it was fine.) You’re going to want to dust your hands too as the jelly dough sticks to everything! Mine was a vivid green so it looked like I’d been slimed. I’m still finding green goo in my kitchen… Take a small amount of dough (about 1cm x 5cm) and flatten it out using your finger tips on the worksurface. Press it into a round shape about 3mm thick.

Fold in the edges to seal in the red bean paste
Dollop a nice large marble sized pea of red bean paste in the centre of your dough and fold the dough over the paste to seal it in. Turn the Mochi over and roll it in a cupped hand or on the work surface to encourage the sealed edge to stick together and create a smooth round finish. Roll it in a little more rice flour and pop it into a mini cupcake cake case. Roll and repeat until you’ve used all of your paste and dough!

Shape shape shape your mochi
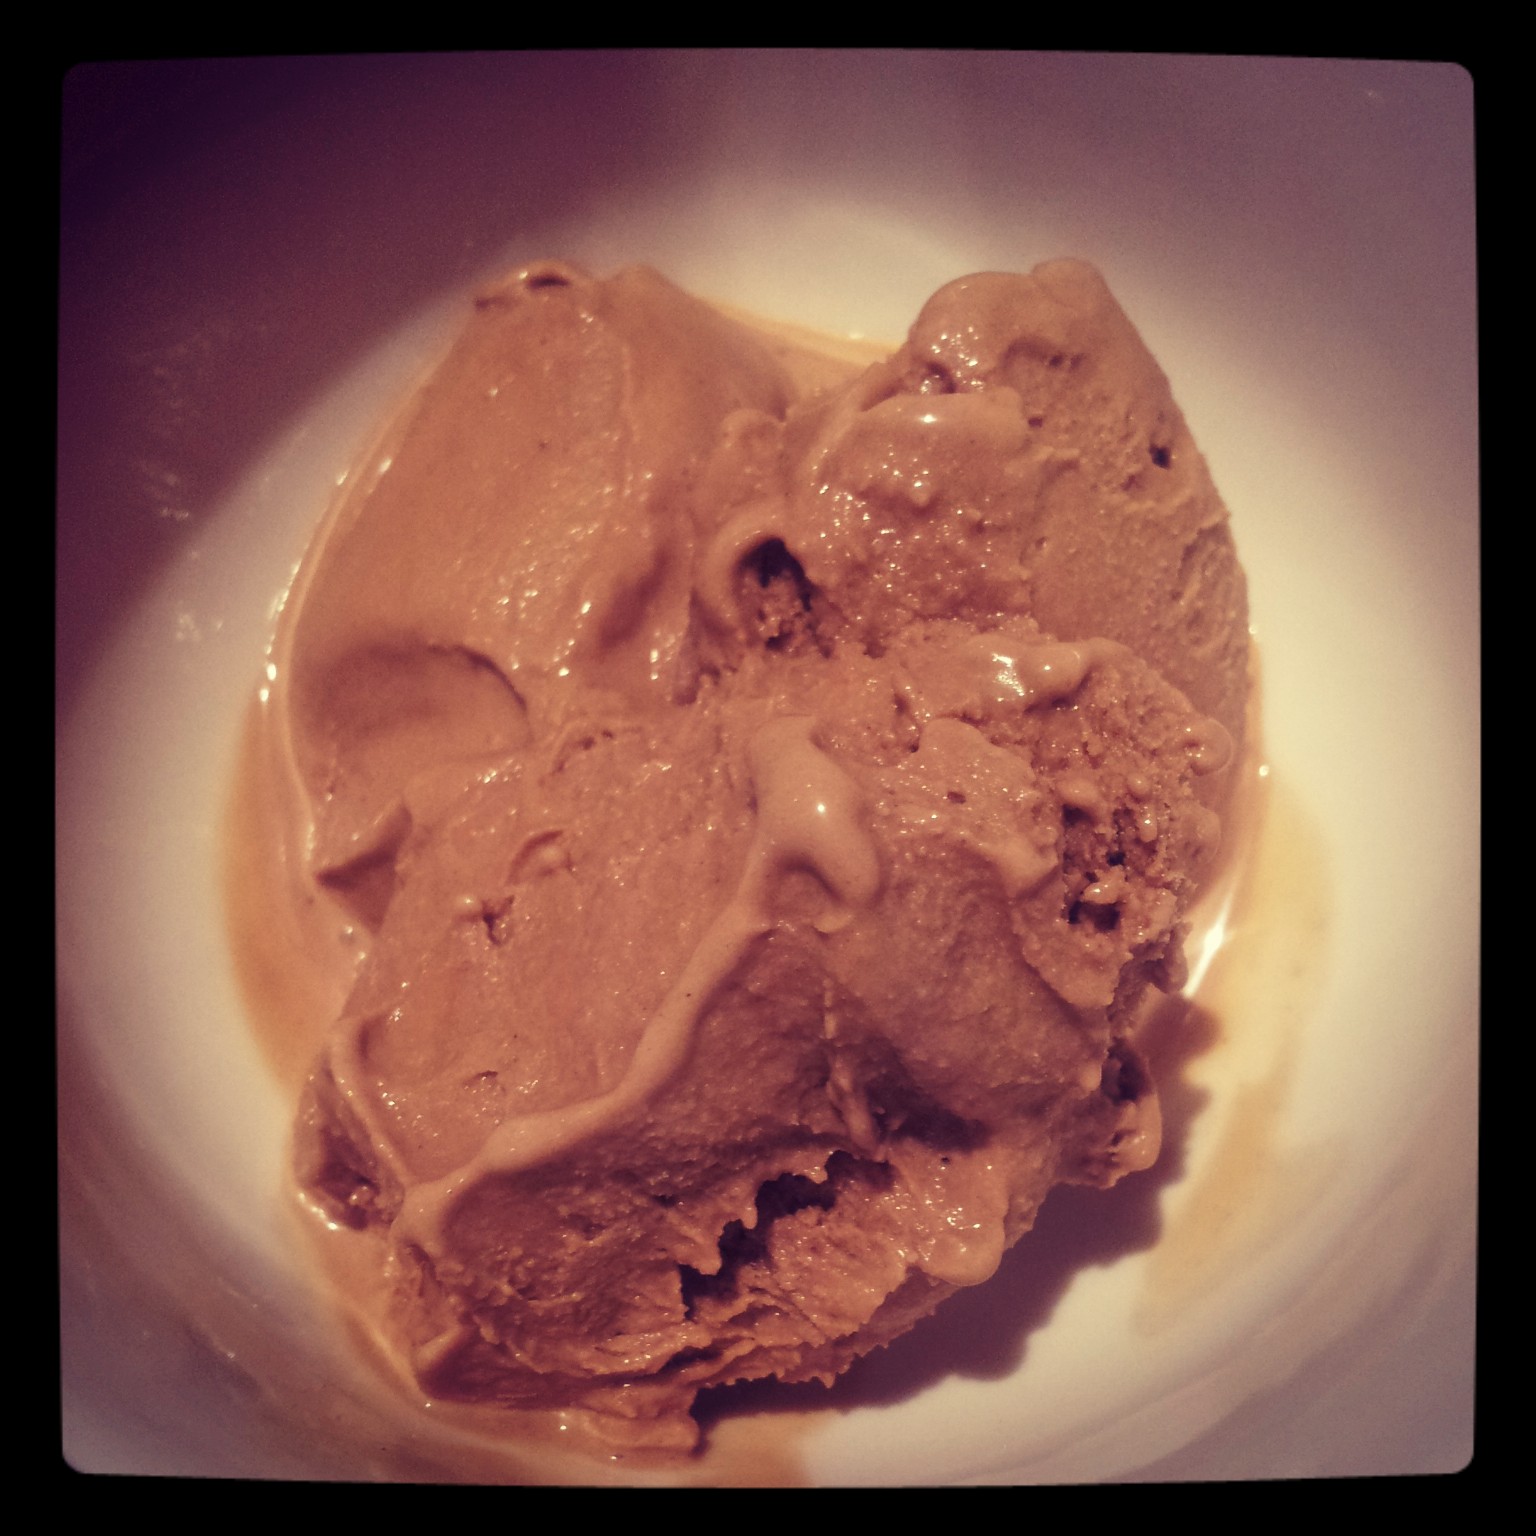
You could choose other pastes or ice cream to flavour your mochi with. Next time I’m going to try matcha ice cream centres!

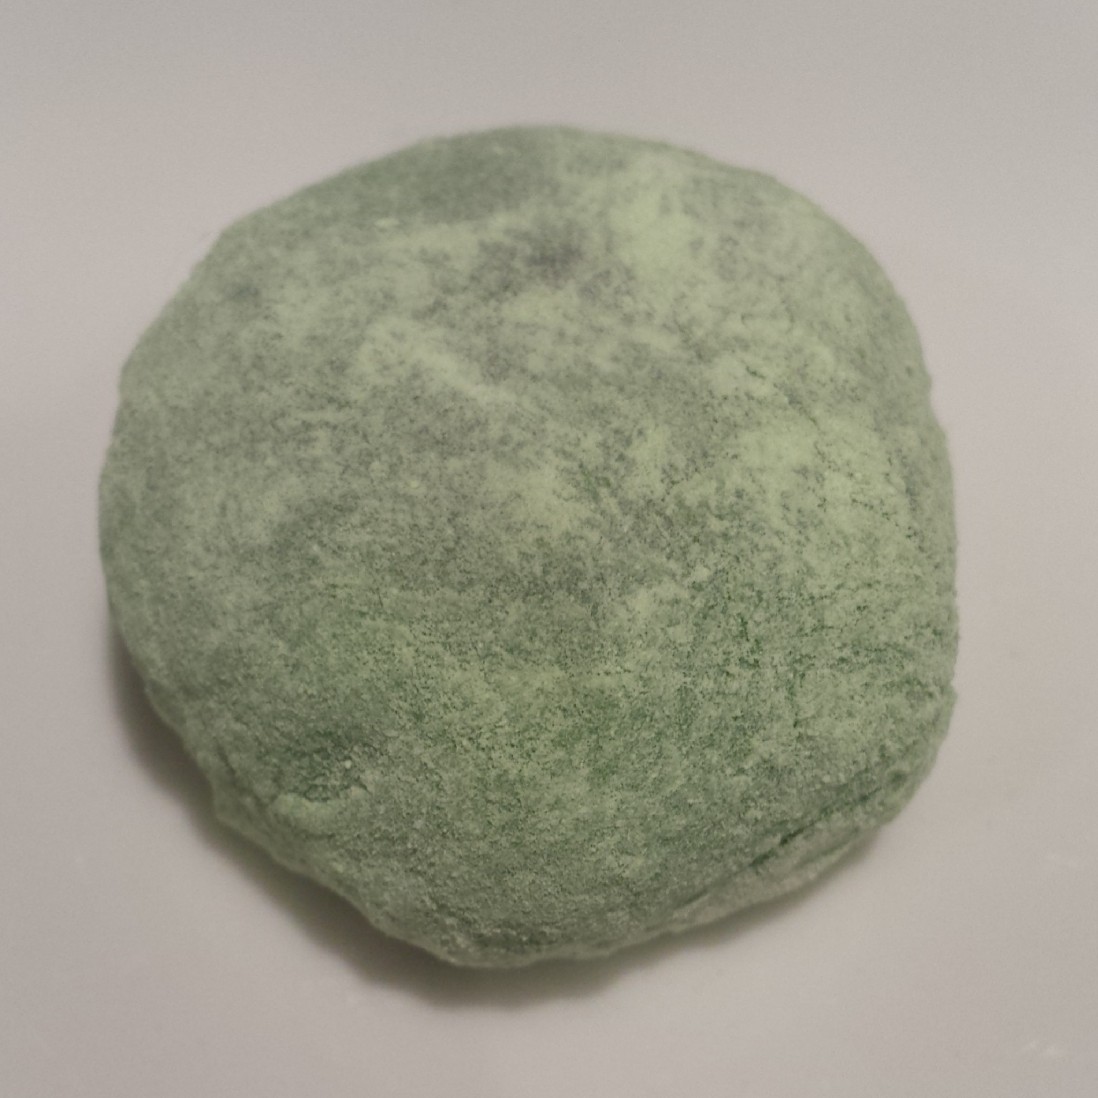
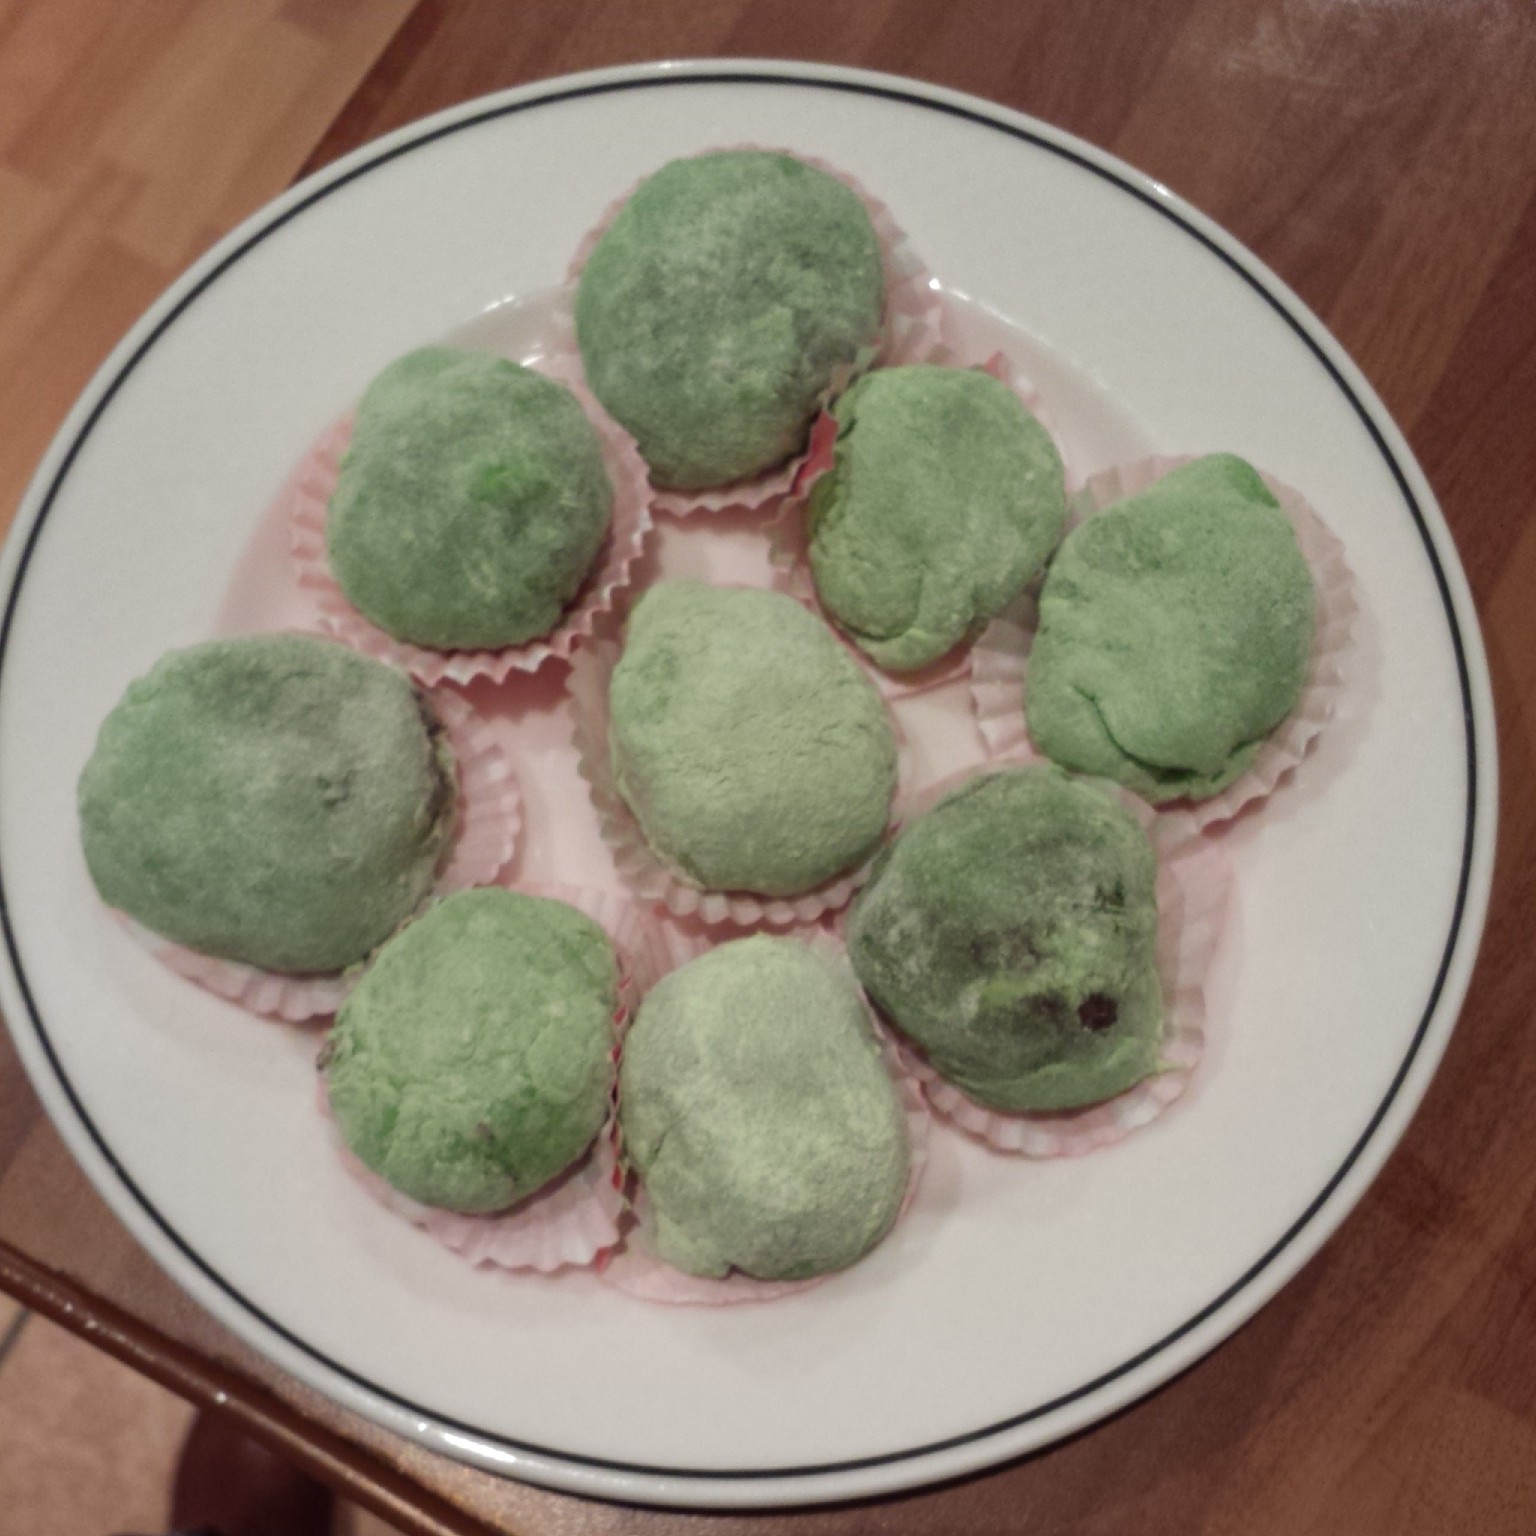
The finished Mochi sitting pretty
I had to make a second batch of dough as I’d been a bit too enthusiastic with my portion sizes first time round. My Mochi were more dough than paste which isn’t as tasty to eat.
The first batch – I had rolled some too thin so the red bean paste is lurking periliously close to the surface of some mochi
It could be the complex combination of it’s jelly like texture or the smooth savoury yet sweet paste filling that make Mochi so memorable. Or perhaps it’s the unusually satisfying bite that they possess. Once you’ve tried them I’m sure you’re going to want to try them and experiment with more flavour combinations. They’re small so you probably want to eat at least 2 in a sitting!

A mouthful of mochi! Yum yum yum!
This dough recipe was enough to make 16 small mochi. I had enough paste left to make another batch so made a second batch of dough. Good news Mochi are gluten free and low in sugar so they’re relatively health conscious snack or dessert too. It’s best to store Mochi in an air tight container. They will keep for a couple of days if you don’t eat them all straight away!
You can see the Matcha Mochi are a bit darker in colour and more rounded in shape 🙂 My Mochi Mountain at Confidential Canapé Collective
I made my Mochi to share with friends at out Confidential Canapé Collective which we hosted at my new house. I really enjoyed making and eating these little sweet treats. I definitely prefer my Mochi with matcha in the dough. It gives a richer yet subtle flavour whilst tinting the dough naturally with a dark green hue. I was surprised by how many disappeared that night and some friends even took a couple home for later. Therefore I can confidently declare my Matcha Mochi a success! I can’t wait to attempt Matcha ice cream next!
Things that I used to make my Mochi
Matcha Green Tea Mochi Dough Recipe
Really quick to prepare! Makes enough dough for approx 16 small mochi
- 1 cup of glutinous (sticky) rice flour – I used pandan flavoured flour but you could use plain and add other flavours
- 1 cup of water
- 1/4 cup of caster sugar
- 2 tsp matcha green tea powder
Mochi Filling Red Bean Paste (Anko) Recipe
Takes a bit of preparation: Soak over night and boil for 2 hours
Makes enough to fill approx. 30 mochi
- 100g dried Aduki beans
- cold water
- 50g sugar
Red Bean Paste Instructions
- Soak the dried beans in cold water over night
- Drain the water.
- Cover the beans in cold water and bring to the boil. Simmer for 2 hours til tender.
- Drain the water. Stir in sugar. Add half cup of water. Simmer til very soft and water is evaporated.
- Blend with hand blender to a smooth paste.
Mochi Instructions
- Whisk the ingredients together into a thin batter
- Cover with cling film and microwave for 3 minutes 30 seconds and then a further 30 seconds if needed to firm the dough up further
- Allow to cool before scooping the dough onto a rice floured surface (use more flour as needed to prevent sticking)
- Take small pieces (1x5cm) of the dough and shape into rounds
- Place a marble sized dollop of your chosen filling in the centre of the dough
- Fold the edges over the filling. Press the edges to seal
- Turn the mochi over and roll in a cupped hand to seal the edges further.
- Dust with rice flour and place into paper case
- Leave to set at room temperature for an hour
- Eat!