

The gingerbread Christmas Tree and Cave with the Bear and the Hare
I had a grand plan to bake a Gingerbread Igloo for this year’s Gingerbread House Challenge to raise money for The Sick Children’s Trust. In my mind this would be wonderfully easy. Simply slap a circle of gingerbread dough on a greased upside down pyrex bowl and bake. Easy?

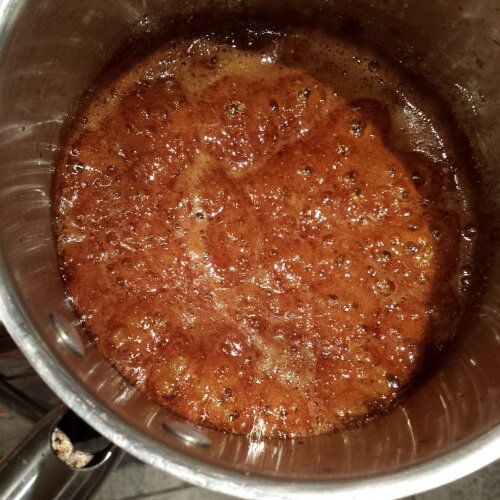
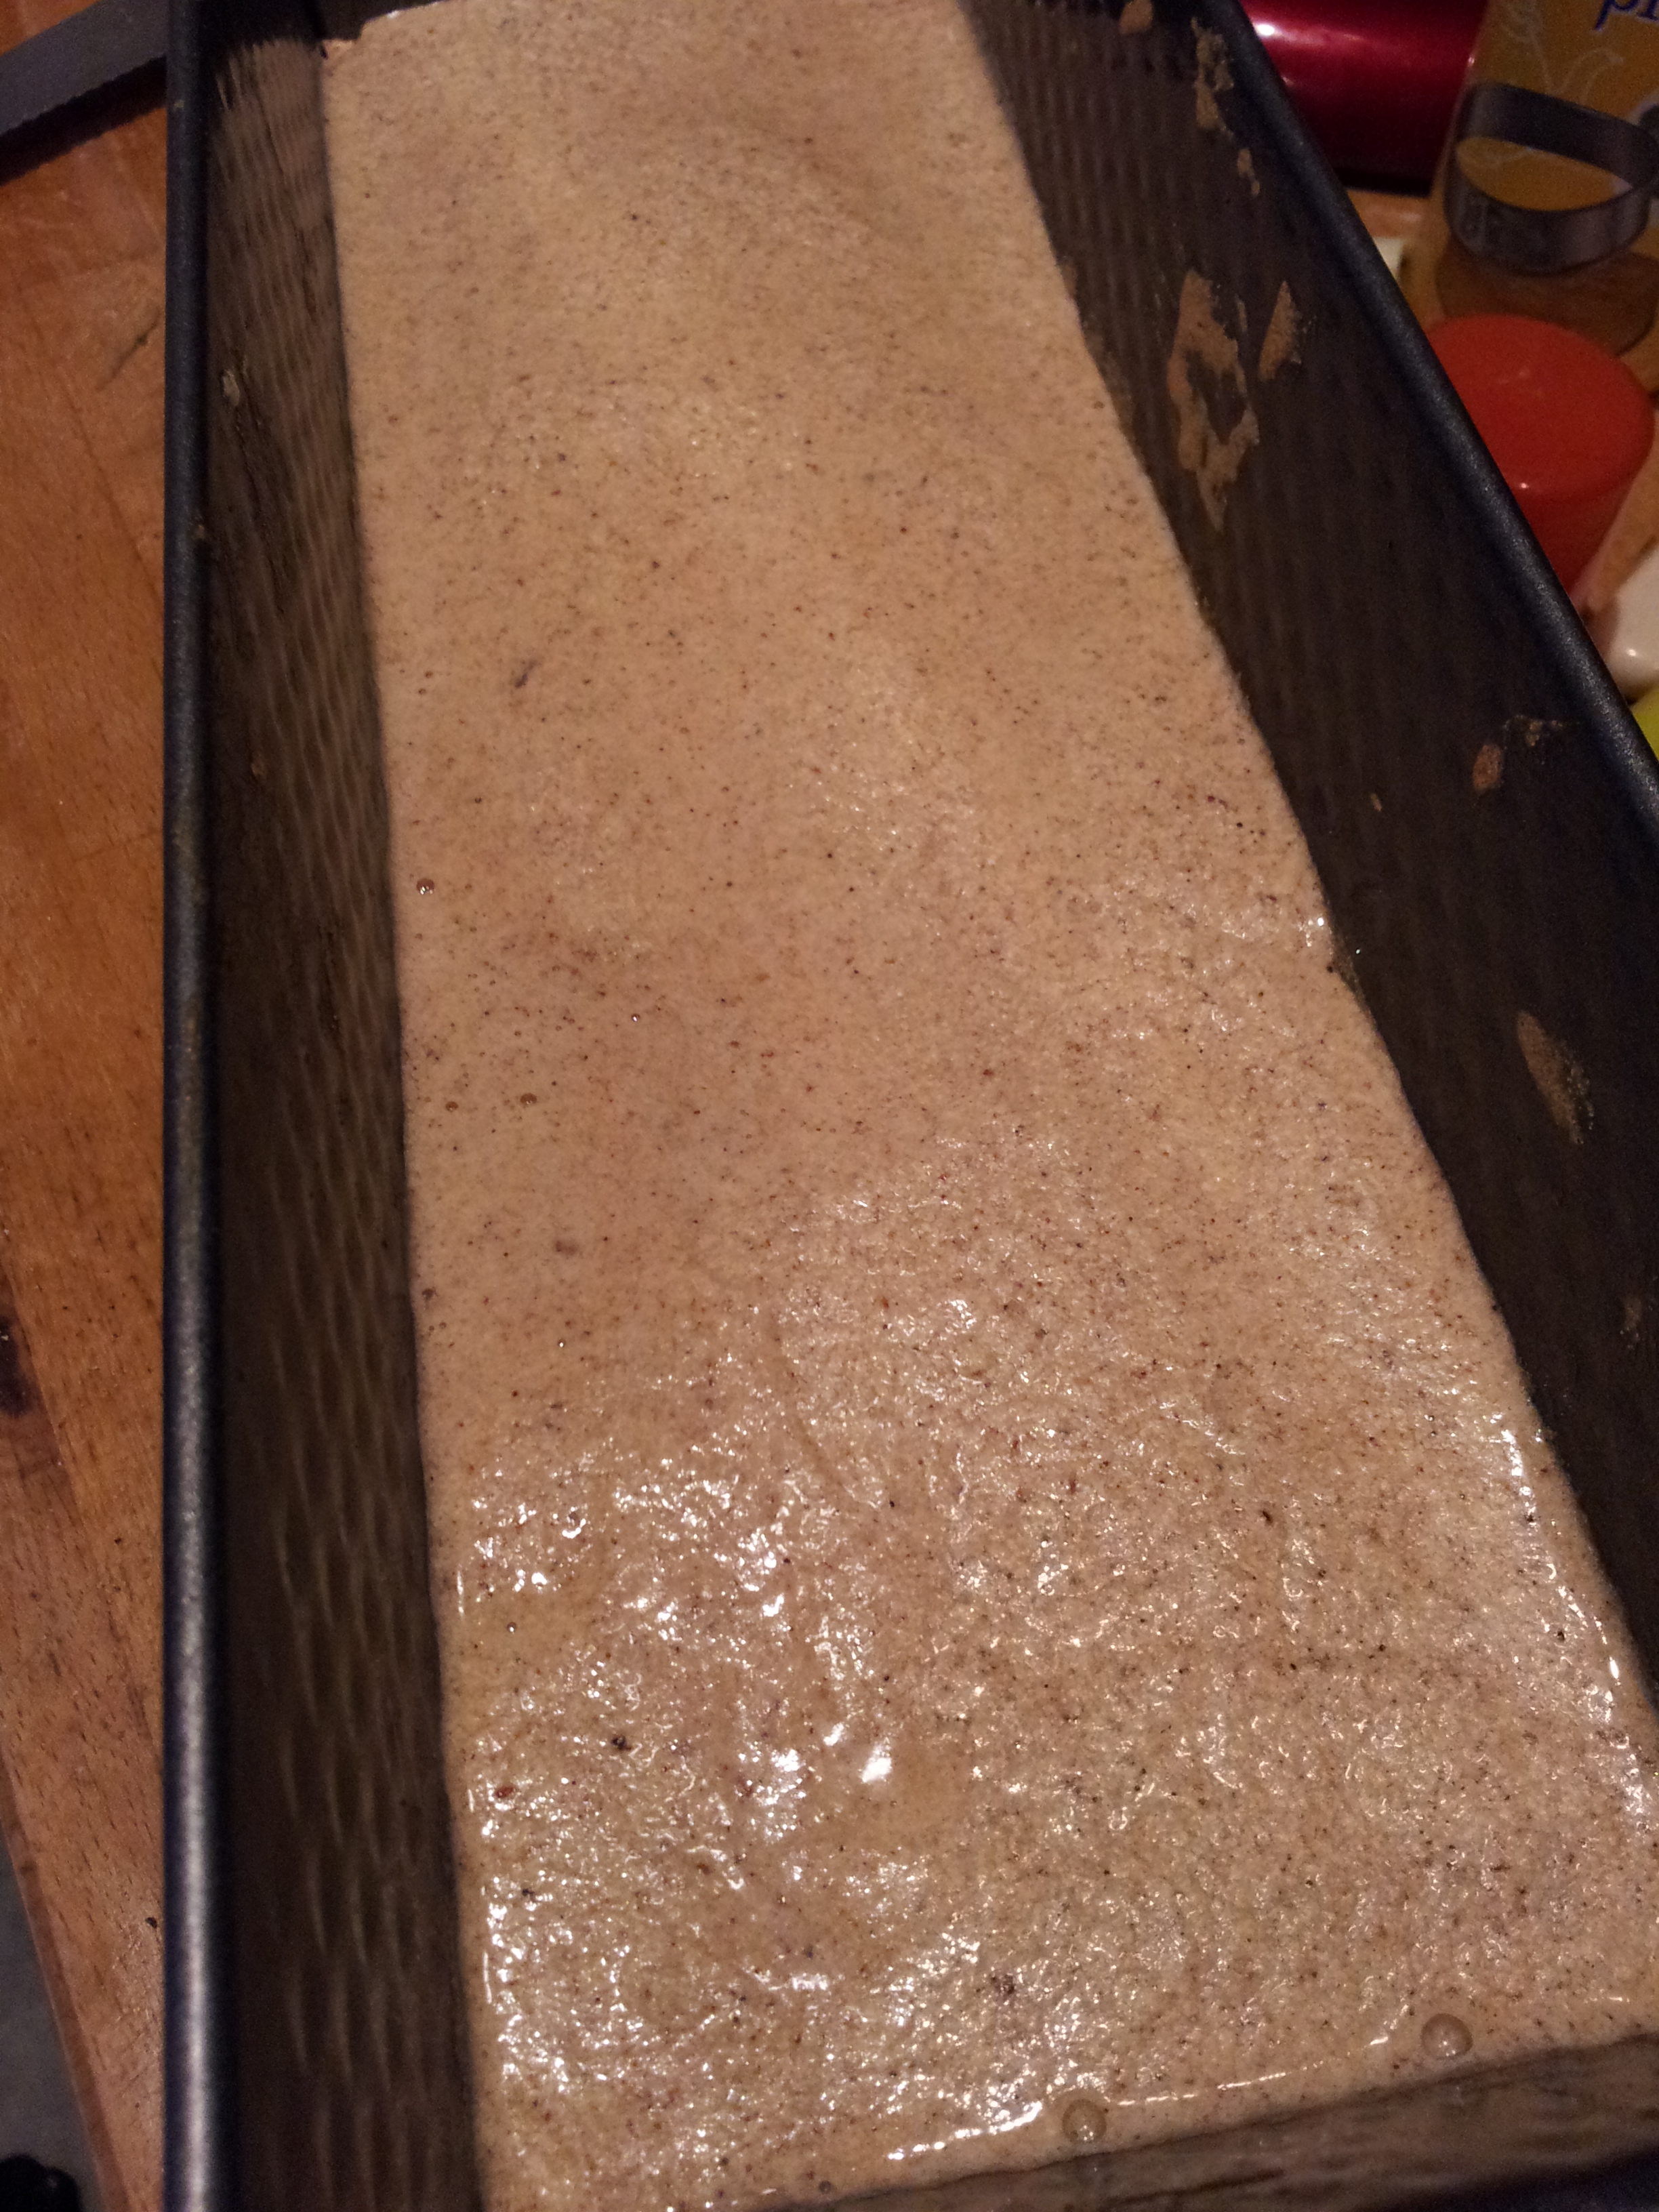
Melted gingerbread mess
Perhaps if I had given myself enough time to chill the dough before baking it or used ribbons of greaseproof paper to line the outside of the bowl I might have managed to salvage the igloo. But as it happens I did none of these helpful things and ended up with a lot of gingerbread on the floor of my oven instead.
Taking my sharpest knife I hacked away the excess gingerbread leaving a rather rugged (and uneven edge). Returning it to the oven for a second bake ‘to crisp it up’ was an equally bad idea as the gingerbread then firmly welded itself onto the bowl. Once cooled it then had to be chipped off the bowl. Leaving behind a cave-like gingerbread construction instead.

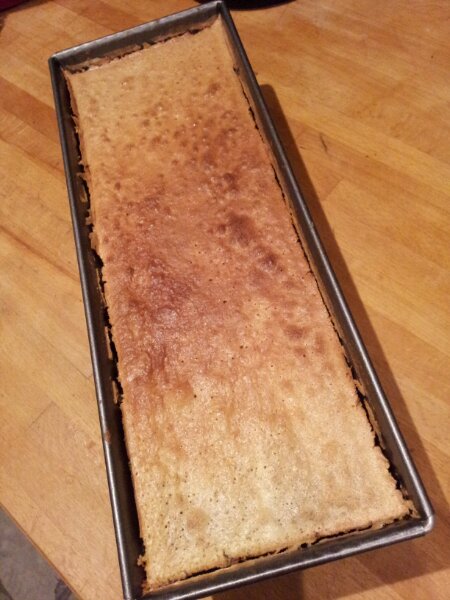
The first gingerbread igloo/cave
‘Who lives in a cave?’ I asked Chris. ‘What can I make this this gingerbread mess?!’ ‘How about the Bear and the Hare from that John Lewis Christmas advert?’ He suggested. I took the idea and ran with it. Whipping up thick white royal icing to cement my cave onto my cake board and adding extra for support. But this gingerbread was far too thin to hold it’s own weight, even with internal gingerbread scaffolding it self destructed over night.

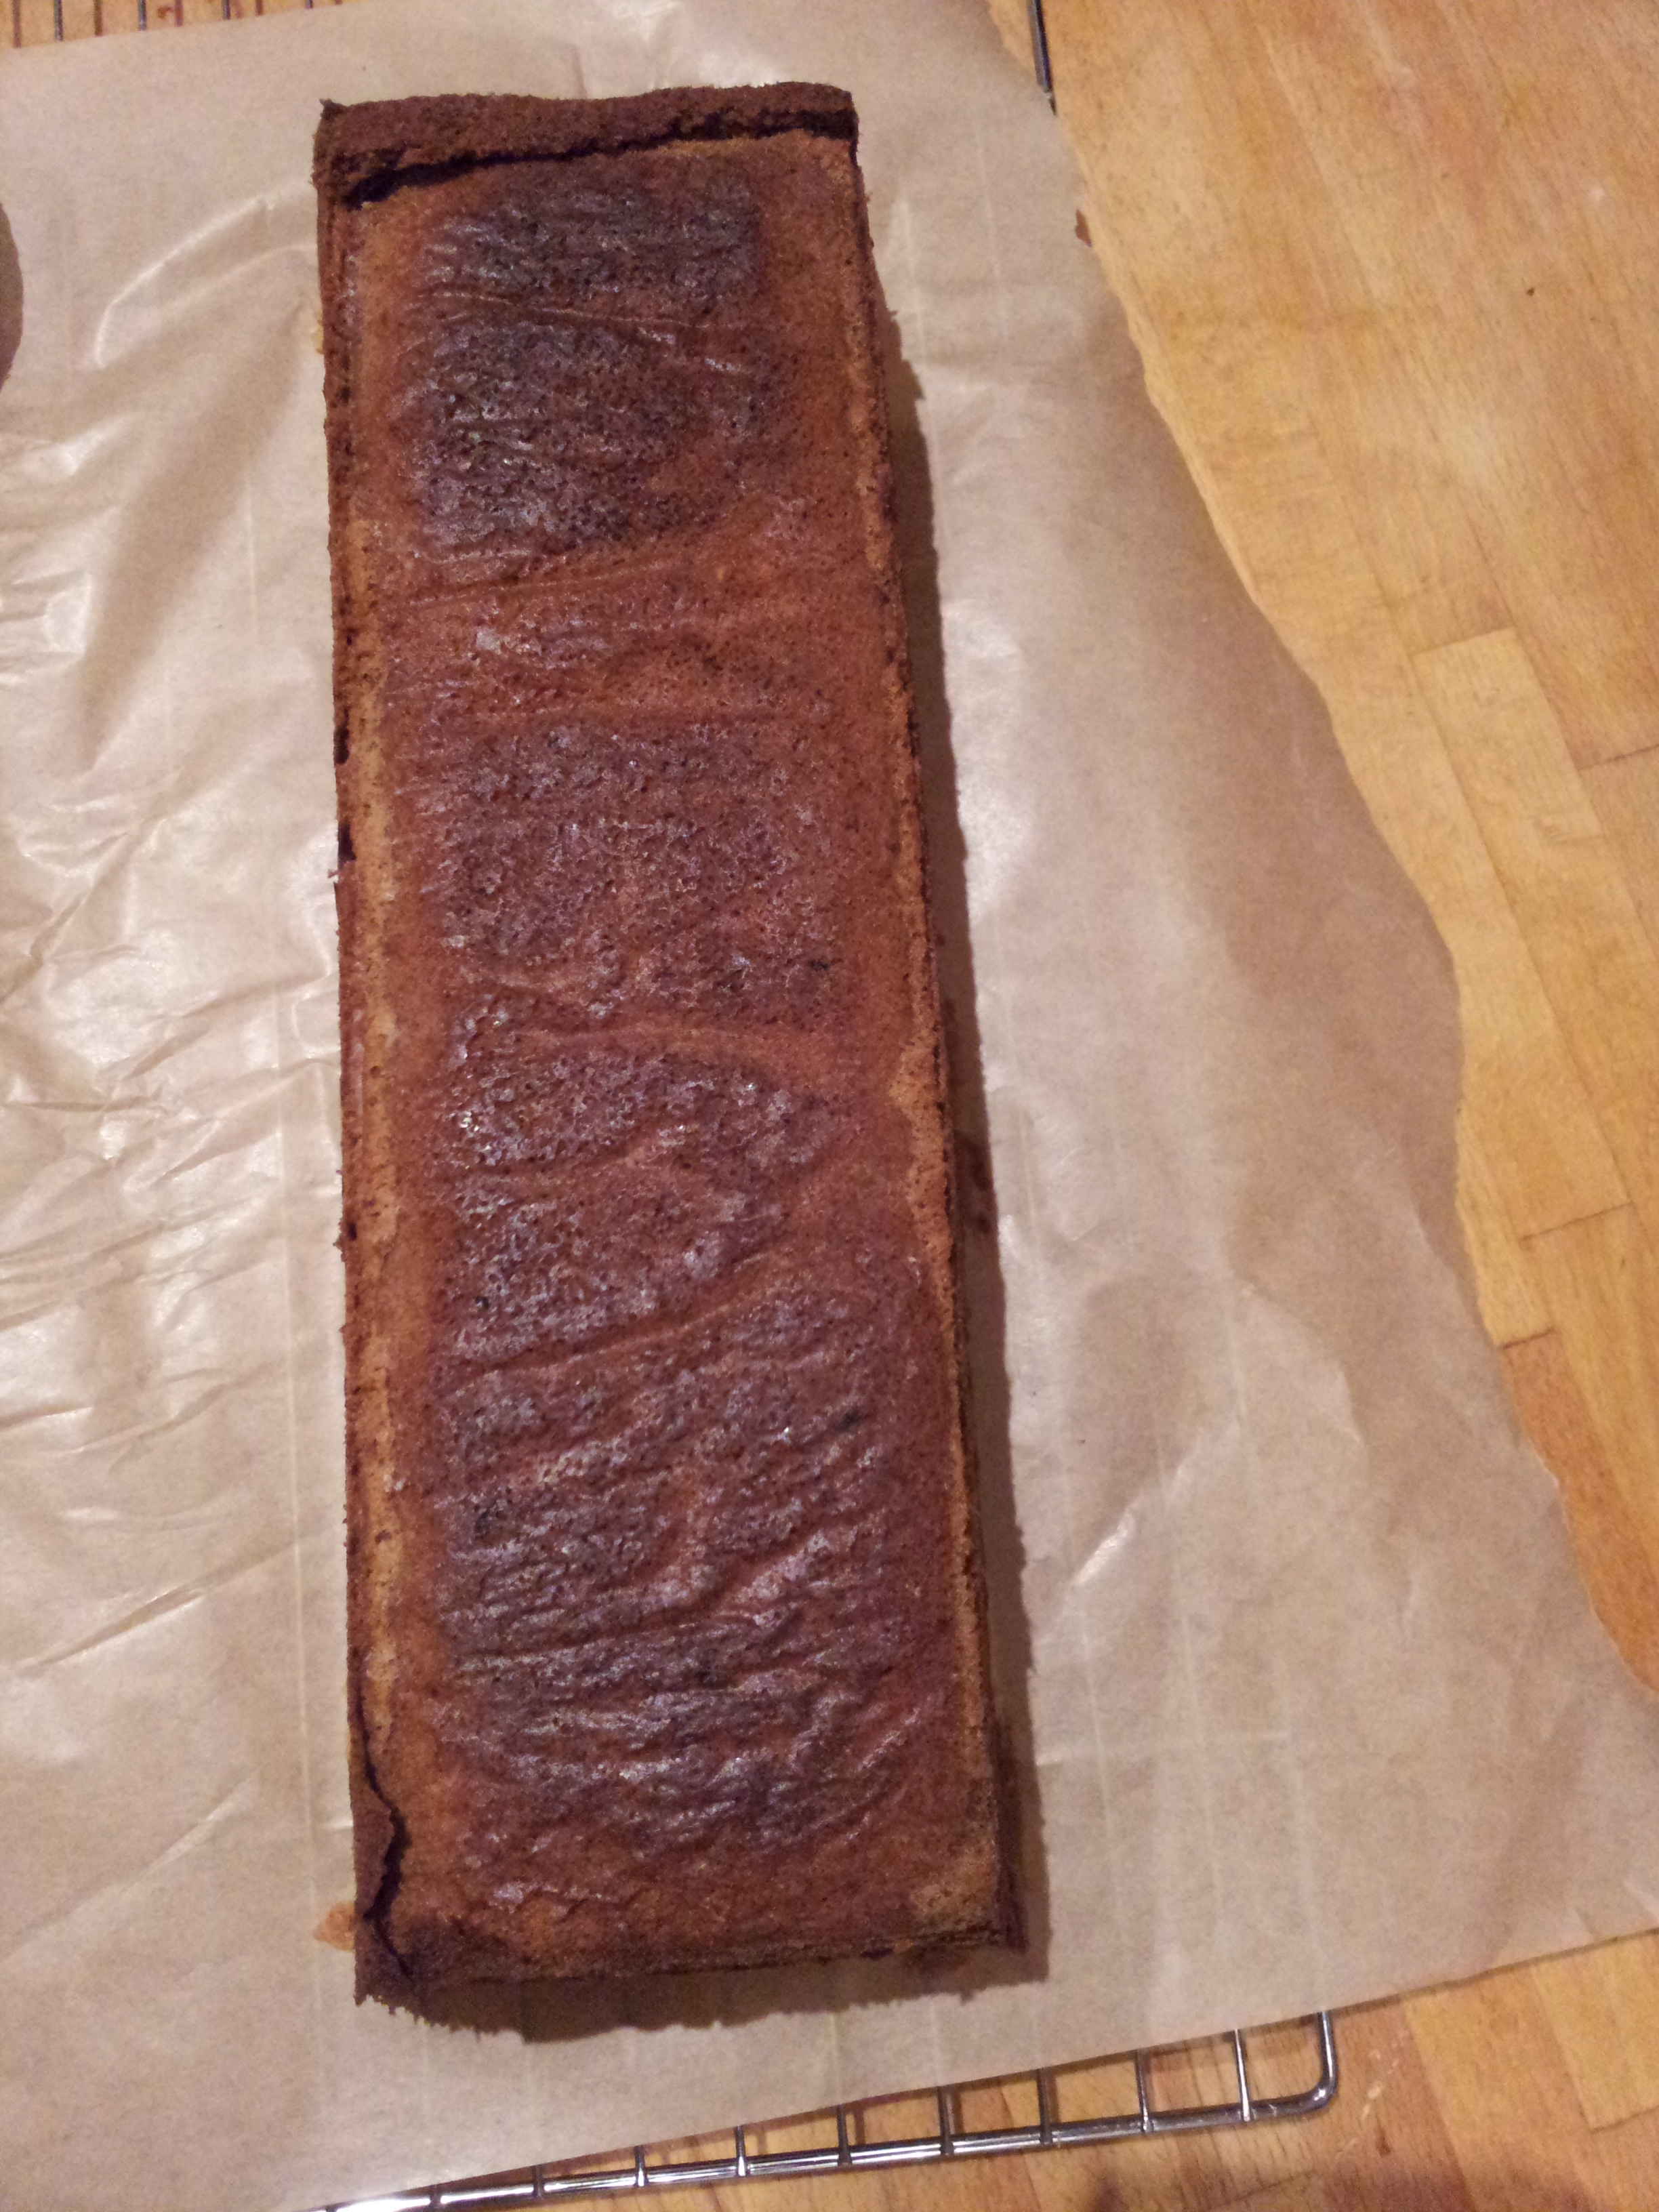
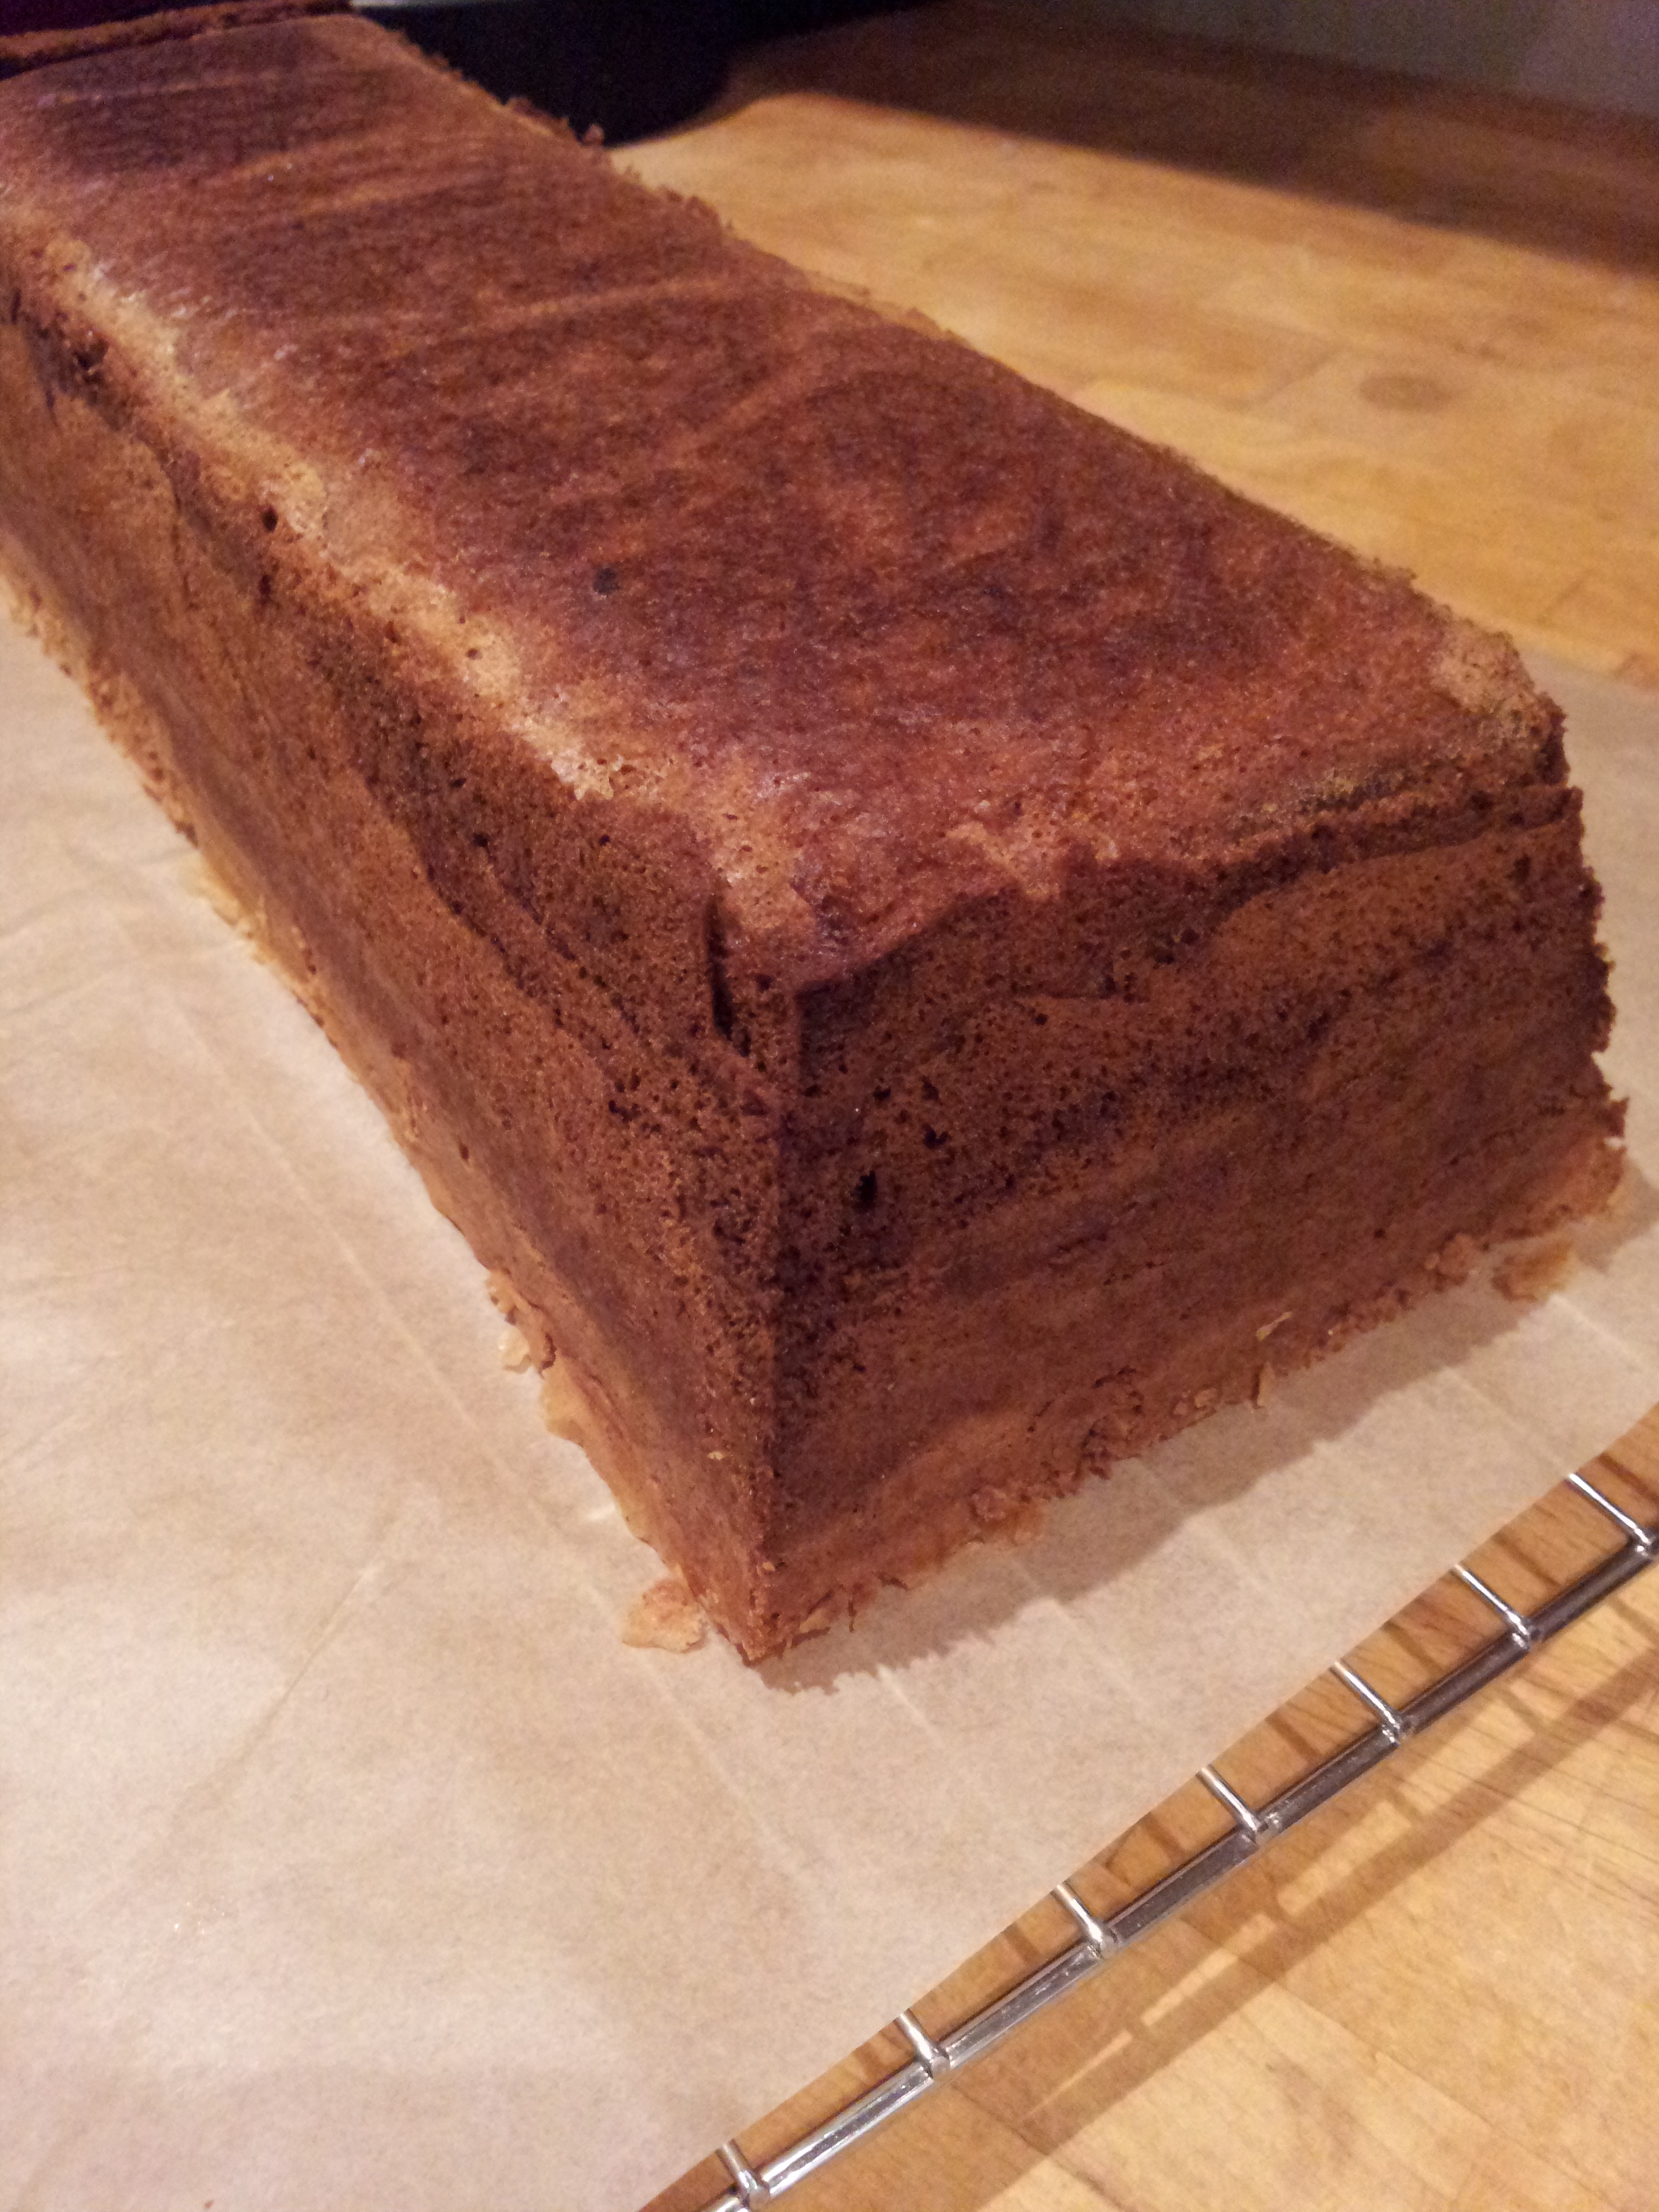
Collapsed gingerbread cave – yet another gingerbread mess
I had now really committed to the idea and already fashioned some fondant animals so I had to construct another cave. A new and improved cave.
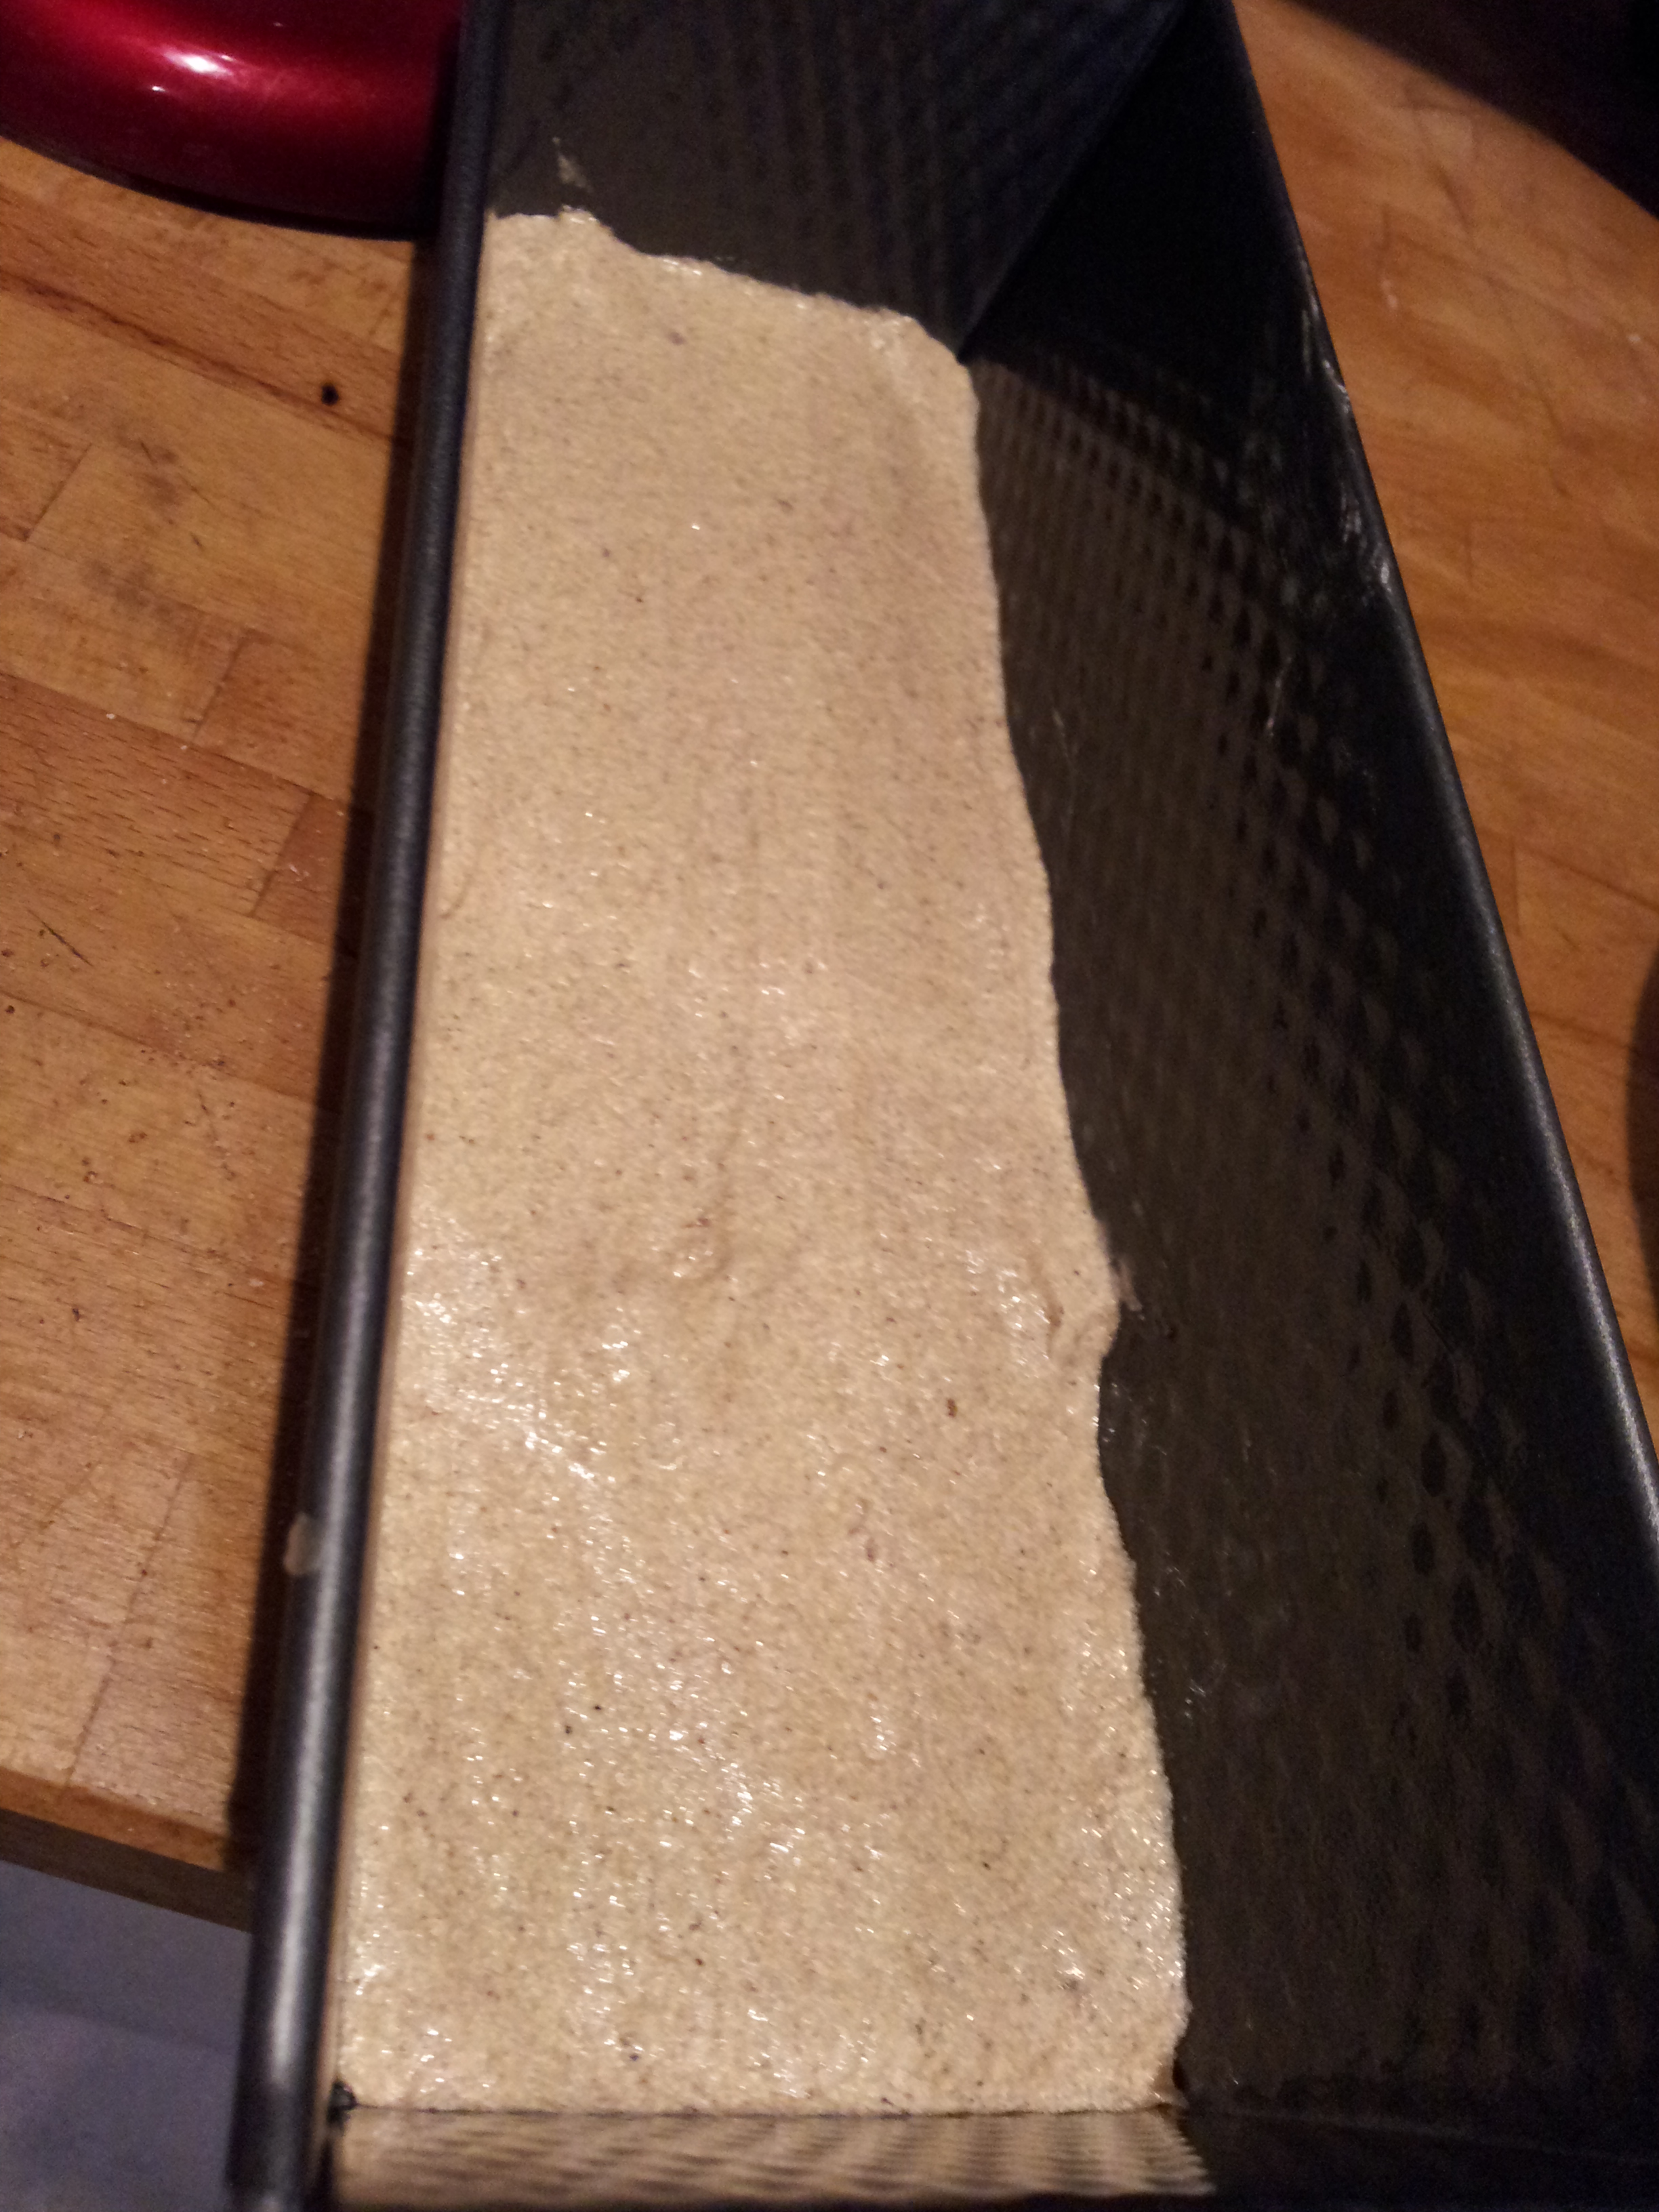
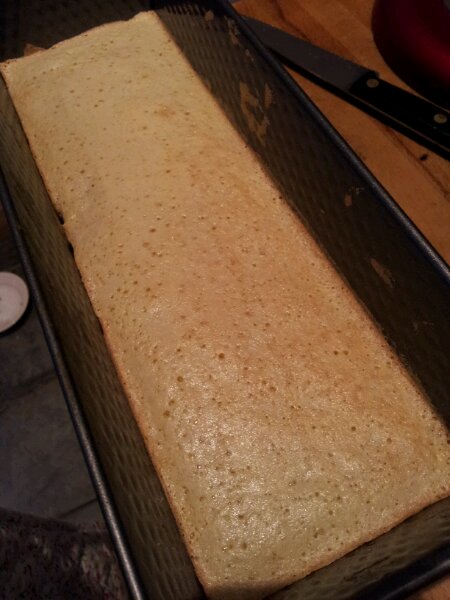
Using a half sphere cake tin I layered up gingerbread bricks (or rectangles of rolled out dough) about 3mm thick on the inside of the tin after greasing it heavily. I also included 2 ribbons of greaseproof paper laid (like a hot cross bun cross) inside the tin to act as lever and help me remove it later on. I decided to use a pastry technique and ‘blind bake’ the dough by filling it with a layer of greaseproof paper and kidney beans to hold it in place and avoid disastrous meltage. It worked!! I put it all in the freezer to chill it before baking and help it hold it’s shape. Then 15 minutes in the oven with the beans and 5 minutes baking without the beans led to a good solid cave!

Almost finished Gingerbread Cave
I also experimented with a cave baked on the outside of the half sphere tin, but this spread and looked more like a tortoise shell… Perhaps another alternative gingerbread house for the future!
With the leftover bits of gingerbread dough I thought I best bake some emergency-if-it-all-goes-wrong gingerbread houses. Making it up as I went along (as who has time to make precise templates and measure things?!) armed with a palette knife and a pizza cutter I cut out 3 large (similar size and shape) triangles to make the walls of my wigwam.
This wigwam was then magically transformed into my Christmas tree. It didn’t really look substantial enough to be a house in it’s own right, after I had joined the triangles together to make a 3d wigwam shape. (Using just a line of royal icing on the inside join of each triangle). Inspired I added food colouring to my royal icing and zig zagged the pine needles in place using a piping bag with the end trimmed off. (Not too large a hole or too much icing gushes out!) Returning with red and yellow coloured icing to dot on baubles. With a generous sprinkle of glitter a rather festive gingerbread Christmas tree had arrived. Once the icing had set I carefully prised the tree from it’s resting place (on a baking tray lined with cling film) with a cocktail stick and plopped it onto even more royal icing on the cake board.

Oh Christmas tree, oh Christmas tree how lovely are your baubles
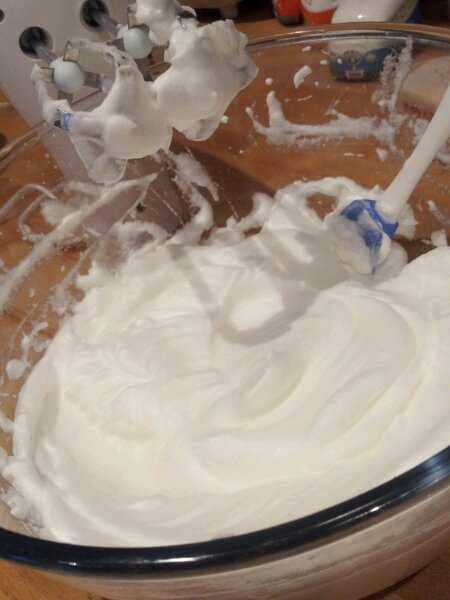
To decorate the cave I whipped up a batch of royal icing, using merriwhite (pasteurised egg white powder that you can buy from cake shops, so you don’t have to use raw egg whites if children or pregnant women might eat your baking). I smeared a good rough layer of royal icing all over the board to cover the silver foil and give a snowy effect. This is then the perfect base for glueing the gingerbread cave in place. I then piped more ‘snow’ around the the edges of the cave, all along the join between the cave and the board to hold it in place, but also to suggest a snow build up. I let the icing flow freely and smoothly to give as natural an effect as possible.

Piles of icicles
I wanted to create icicles to dangling from the cave mouth. Once the initial layer of snow had dried I could then use this icing to ‘hook’ the icicles on to. I piped a blob of icing behing the inside lip of the cave attatching it as far in to the roof (and joining on to the snow trim) as possible. Simple strings of icing didn’t hold and didn’t look right. I found it easier to squeezed the piping bag gently letting the icing build up and then stretch the icing with the nozzle of the piping bag before you stop piping. THis means you can then shape it as you wish. You can then even add more layers to your icicles if you want to build them up further. A good sprinkle of edible glitter (white hologram glitter is my preferred choice with a hint of blue) gives it a frosty twinkle.
As I added my Gingerbread Cave to the amazing array of Gingerbread Houses I breathed a huge sigh of relief that I had successfully managed to get it there in one piece! Here’s some of the beautiful gingerbread creations from the day. There were over 20 houses to gaze and wonder at. What a wonderful start to the festive season!


Things that I used to bake my Gingerbread Cave and Christmas Tree
- 675g plain flour (plus extra for dusting)
- 1½ tsp bicarbonate of soda
- 2 tbsp ground ginger
- 1 tbsp ground cinnamon
- 1 tsp ground all spice
- 175g unsalted butter
- 225g soft light brown sugar
- 1 large, free range egg
- 3 tbsp golden syrup
- 3 tbsp black treacle
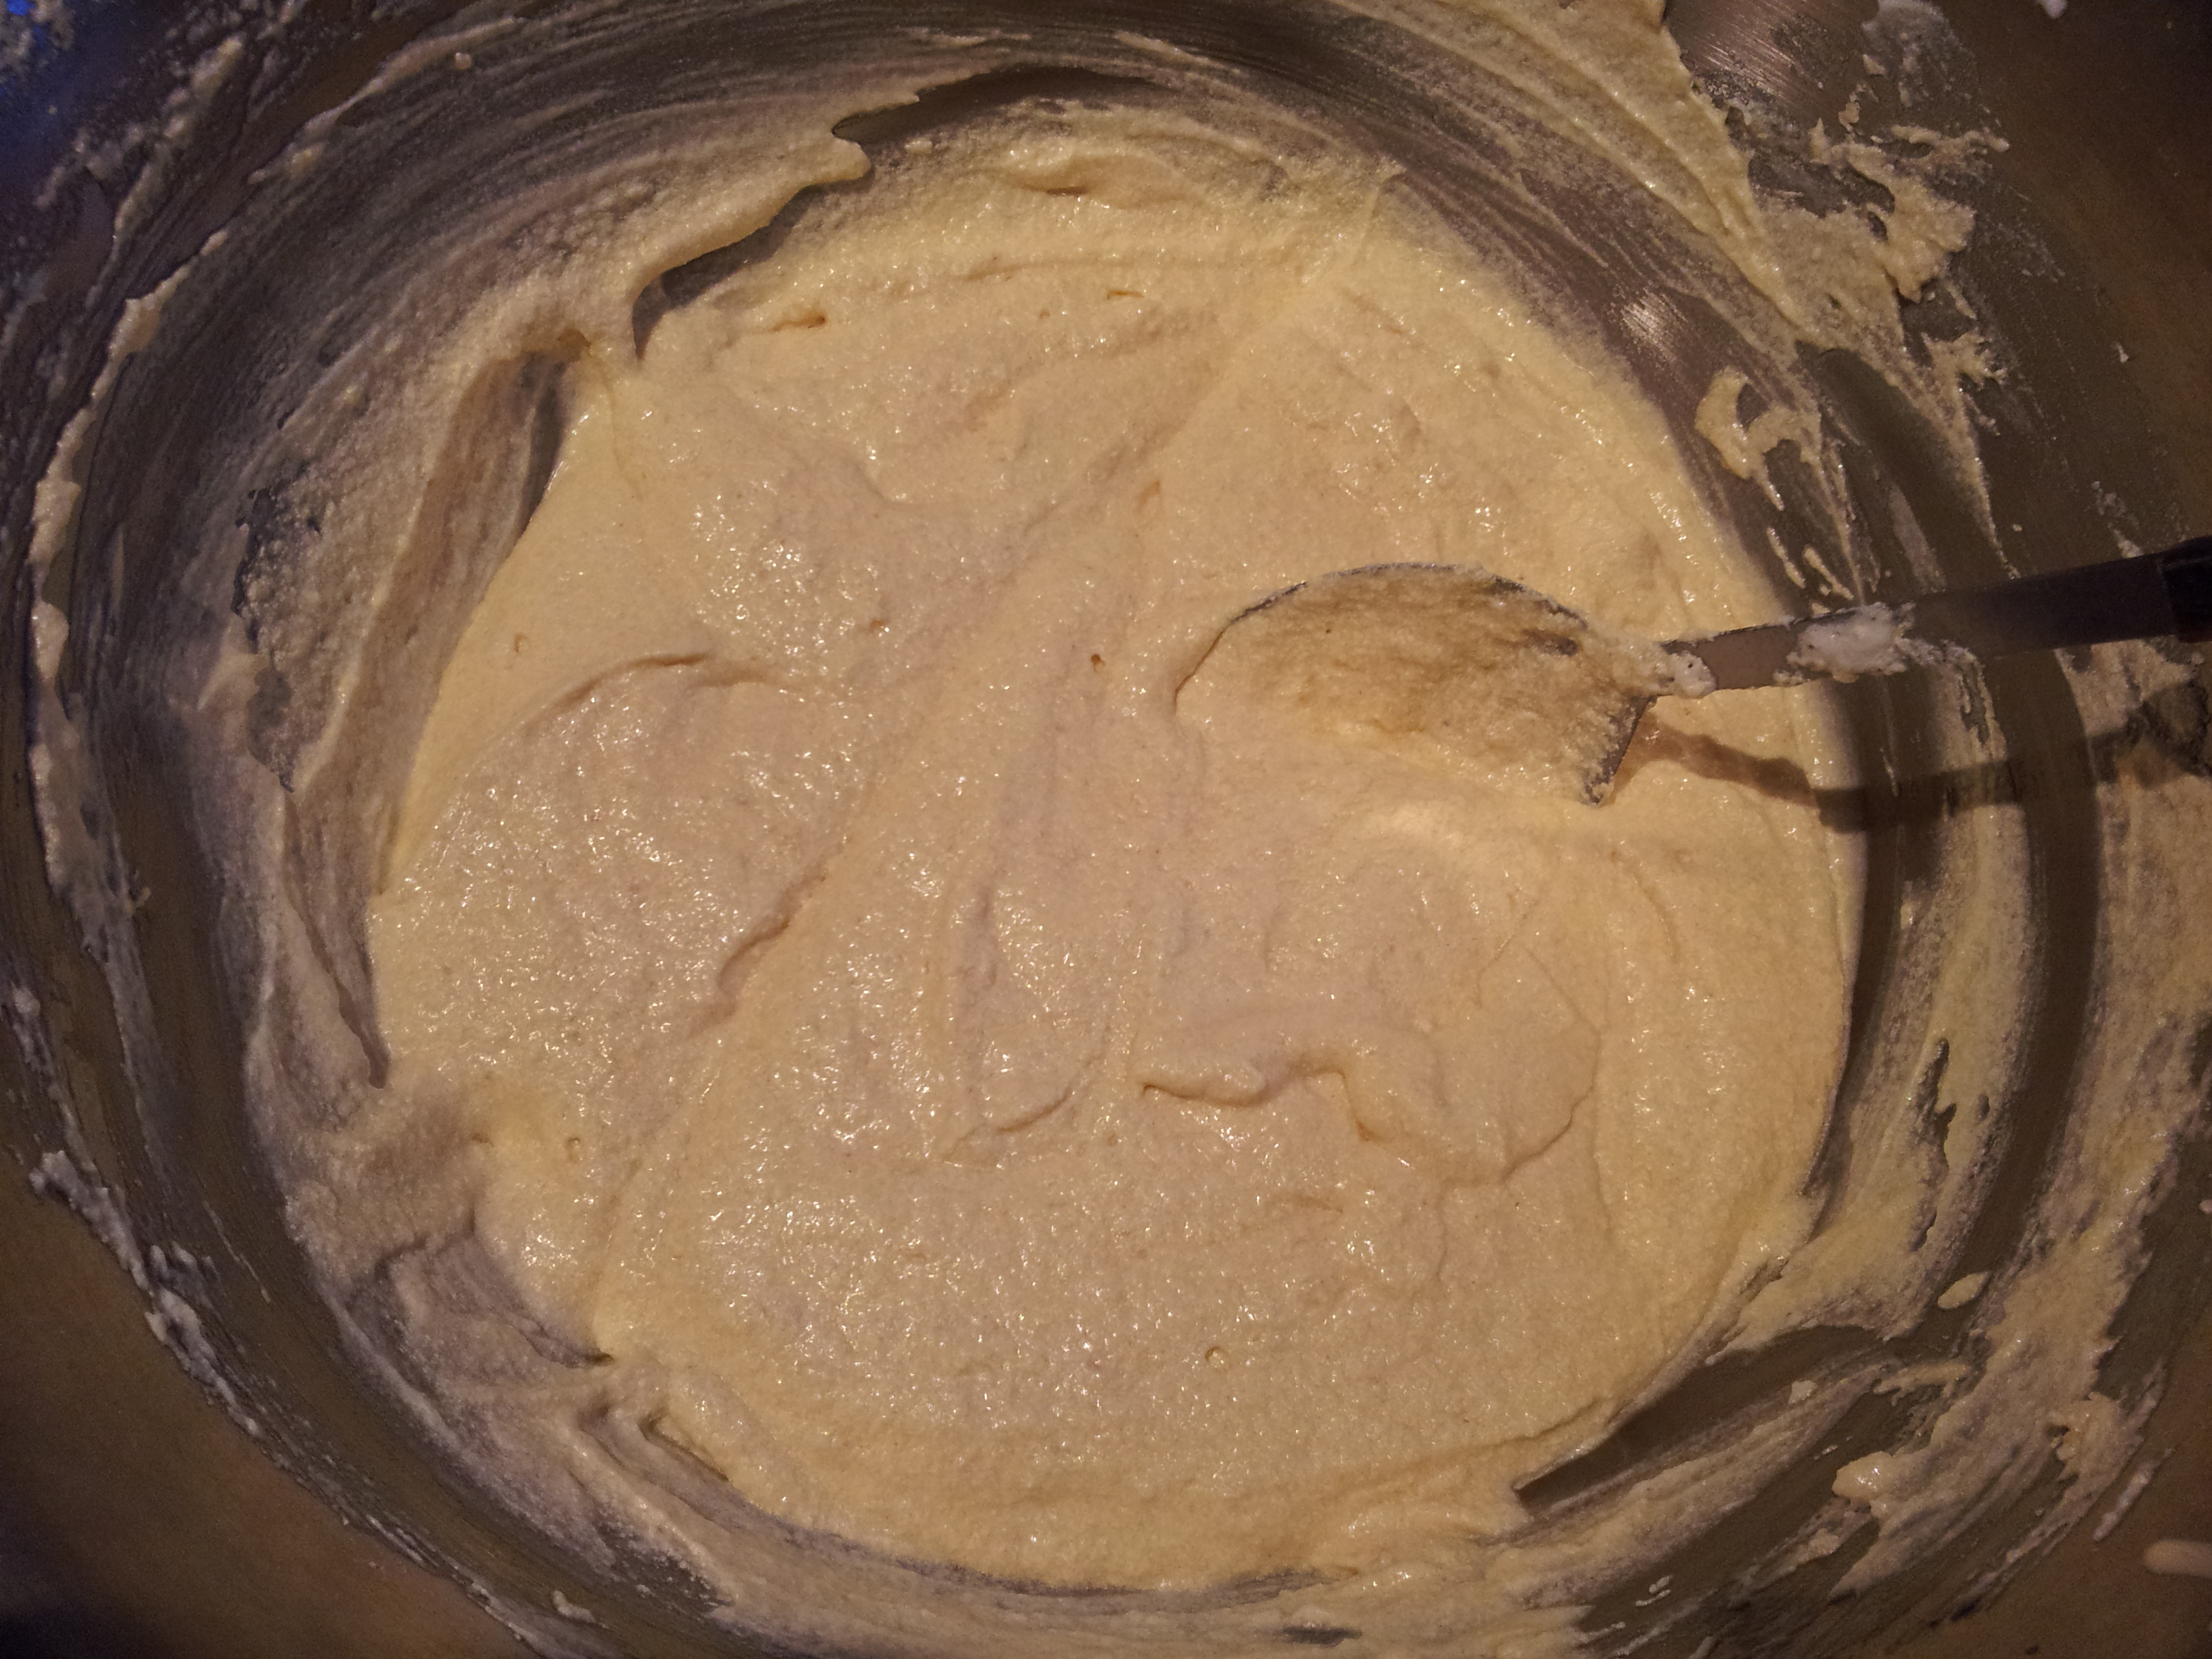
- Beat all the ingredients together and chill.
- Roll out to 5mm thickness
- Grease and line tin. Place dough in a spherical tin (lined with paper inside and baking beans) and chill for 1 hour in freezer. You can bake it from frozen, no need to defrost
- Bake for 10 mins with beans at 180 degrees c.
- Remove beans and bake for 5 more minutes
- Allow to set in the tin but remove it whilst still warm
For the Royal Icing
- 16g merriwhite
- 500g icing sugar
- 6 -10 tbsp cold water (enough to create a really thick pipeable paste with a smooth shiny finish)
- Red, green and yellow gel food colourings (if you want to colour some of the icing too)
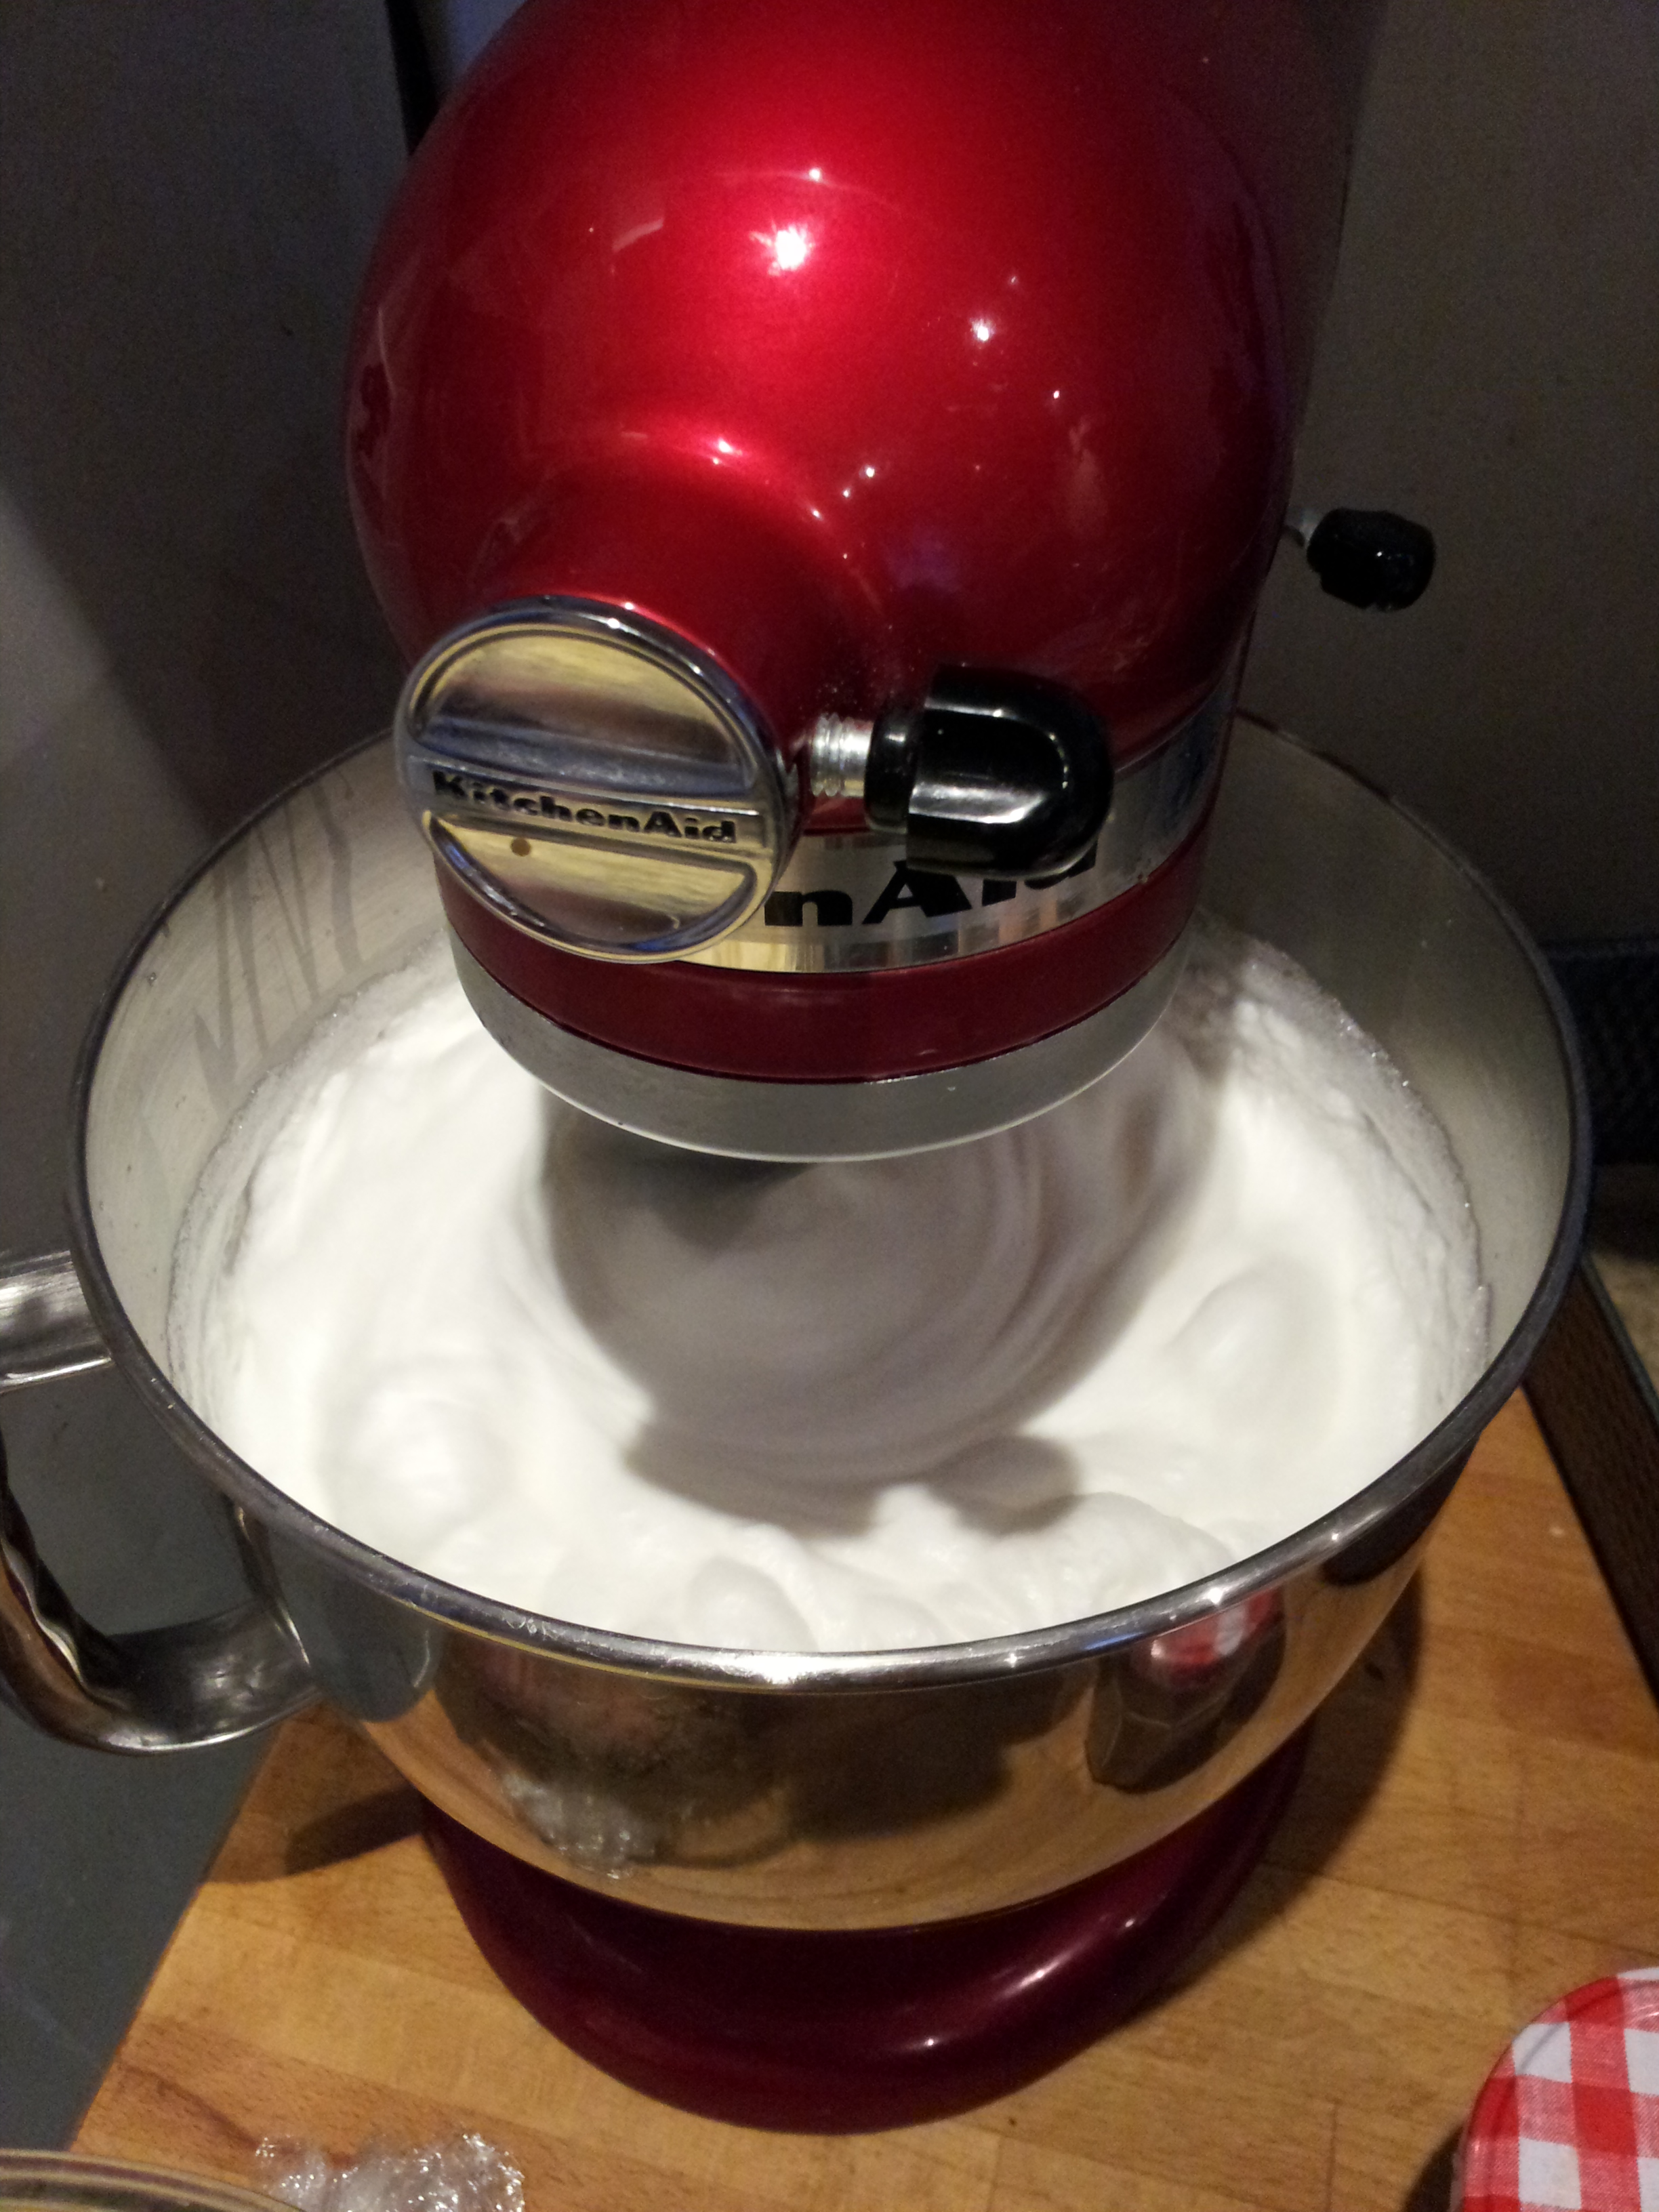
Beat the ingredients together adding the water gradually until you get the right consistency for you. It should be shiny and thick. It might take 5- 10 minutes of beating. Keep it in an airtight container to stop it drying out.
Put a little in a separate bowl and add colourings if you wish to colour some icing. I used 3 bowls for my 3 colours and kept the white icing in the mixing bowl to fill up my piping bags as needed.
To Decorate
- edible glitter!
- silver lustre spray (I sprayed the bear silver)
- gold lustre powder (I painted the hare gold)
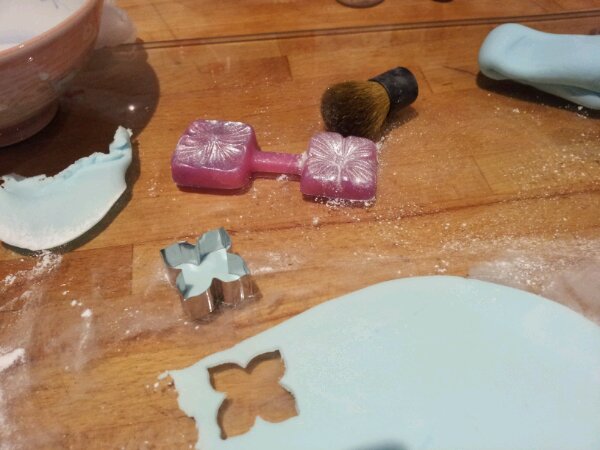
- fondant icing to model animals and clock
- a fork/cocktail sticks (to add details to the animals… eg. claws, eyes, mouth, whiskers, textured fur)


")


")


 and dotting with cherries")


