Almost ready for eating Jamaican Black Cake
Not satisfied with creating a Jamaican Black Cake containing 3 bottles of rum AND a bottle of Brandy, I have returned to my original recipe to see if I can improve it even further. It was such a success when I made it 2 years ago I wanted to make an extra special Christmas Cake and as the festive season is almost upon us now is the perfect time to start soaking the fruit in lots and lots of booze!

Soaking in the rum
When I first tried this recipe I in dove head first without preparing myself fully, or realising that it was in fact enough to create 3 Jamaican Black cakes. This recipe is a slightly more restrained version, for just the one cake, if perhaps you don’t want to bankrupt yourself buying booze and fruit for 3 cakes. However if you have an army of Rum cake lovers or perhaps might be thinking creating a tiered (wedding?) cake the original Jamaican Black Cake recipe may be the one for you! The cakes contain so much rum they will keep very well for at least a month (and perhaps up to a year, if you can hang on to it that long!)

Soak the fruit in rum and brandy for up to 2 weeks
This cake does take a little bit of planning and preparation. I wanted to use spiced rum in the cake as a slightly different alternative to my last cake, but stumbled at the first hurdle. The shop keeper wouldn’t sell me the massive bottle of booze without my ID which was sat at home. The shop keeper wasn’t budging despite my protestations that I’m 30 and have my marriage certificate with me and that I wasn’t even going to drink the rum it was for my cake! Determined to secure my spicy rum I came back with my license and all was well! The dried prunes, sultanas, cherries and mixed peel fruit needs a good long soak to absorb as much liquid as possible. I soaked mine in the rum, brandy and angostura bitters for 2 weeks, but if you’re in a hurry you could soak it for 3 days.

Macerate the fruit – blitz it in a food processor
Now with this much more sensible amount of fruit and booze I could easily fit it into my food processor bowl without it overspilling. The fruit is much softer after the addition of the booze but there will still be a little rum left that isn’t absorbed, pour the whole lot in and whizz it up into a smooth – ish boozy fruity pulp. There will still be some texture to the fruit which will give a wonderfully moist and keep the cake texture interesting in your mouth.

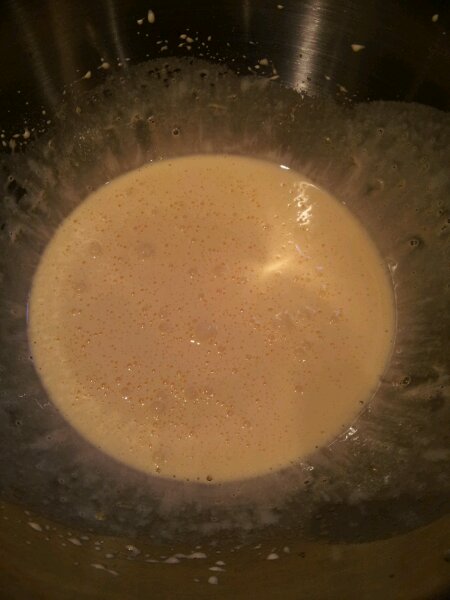
Beat together the butter and sugar. Whack in the spices
Beating the butter and sugar together vigorously until it’s light and fluffy adds extra rise to the cake. I like to beat mine until it’s softer and increases in volume. As there’s spice in the rum, adding more spice here gives an even richer flavour to the cake which matures with the cake the longer it is kept after baking. I added cinnamon, nutmeg, ginger, vanilla paste, almond extract and lime juice. Yum! Once the eggs are beaten into the mixture, one at a time, until the mixture increases in volume and is light and fluffy, the dry ingredients can then be folded in.

Beat the eggs in one at a time until very fluffy
I didn’t have any limes in my house so I grabbed the only orange that I had left, any citrus fruit would work well, but limes are the traditional fruit to use. Fold in the flour, baking powder and zest.
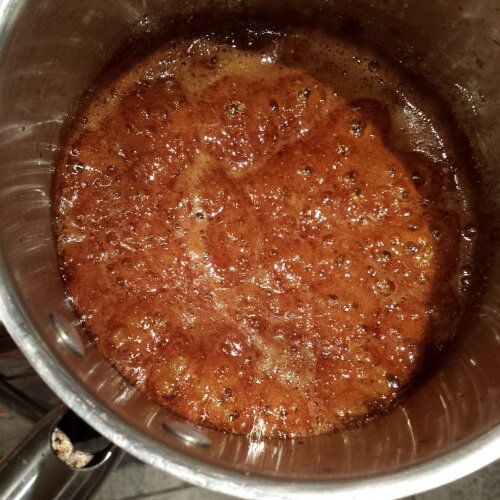
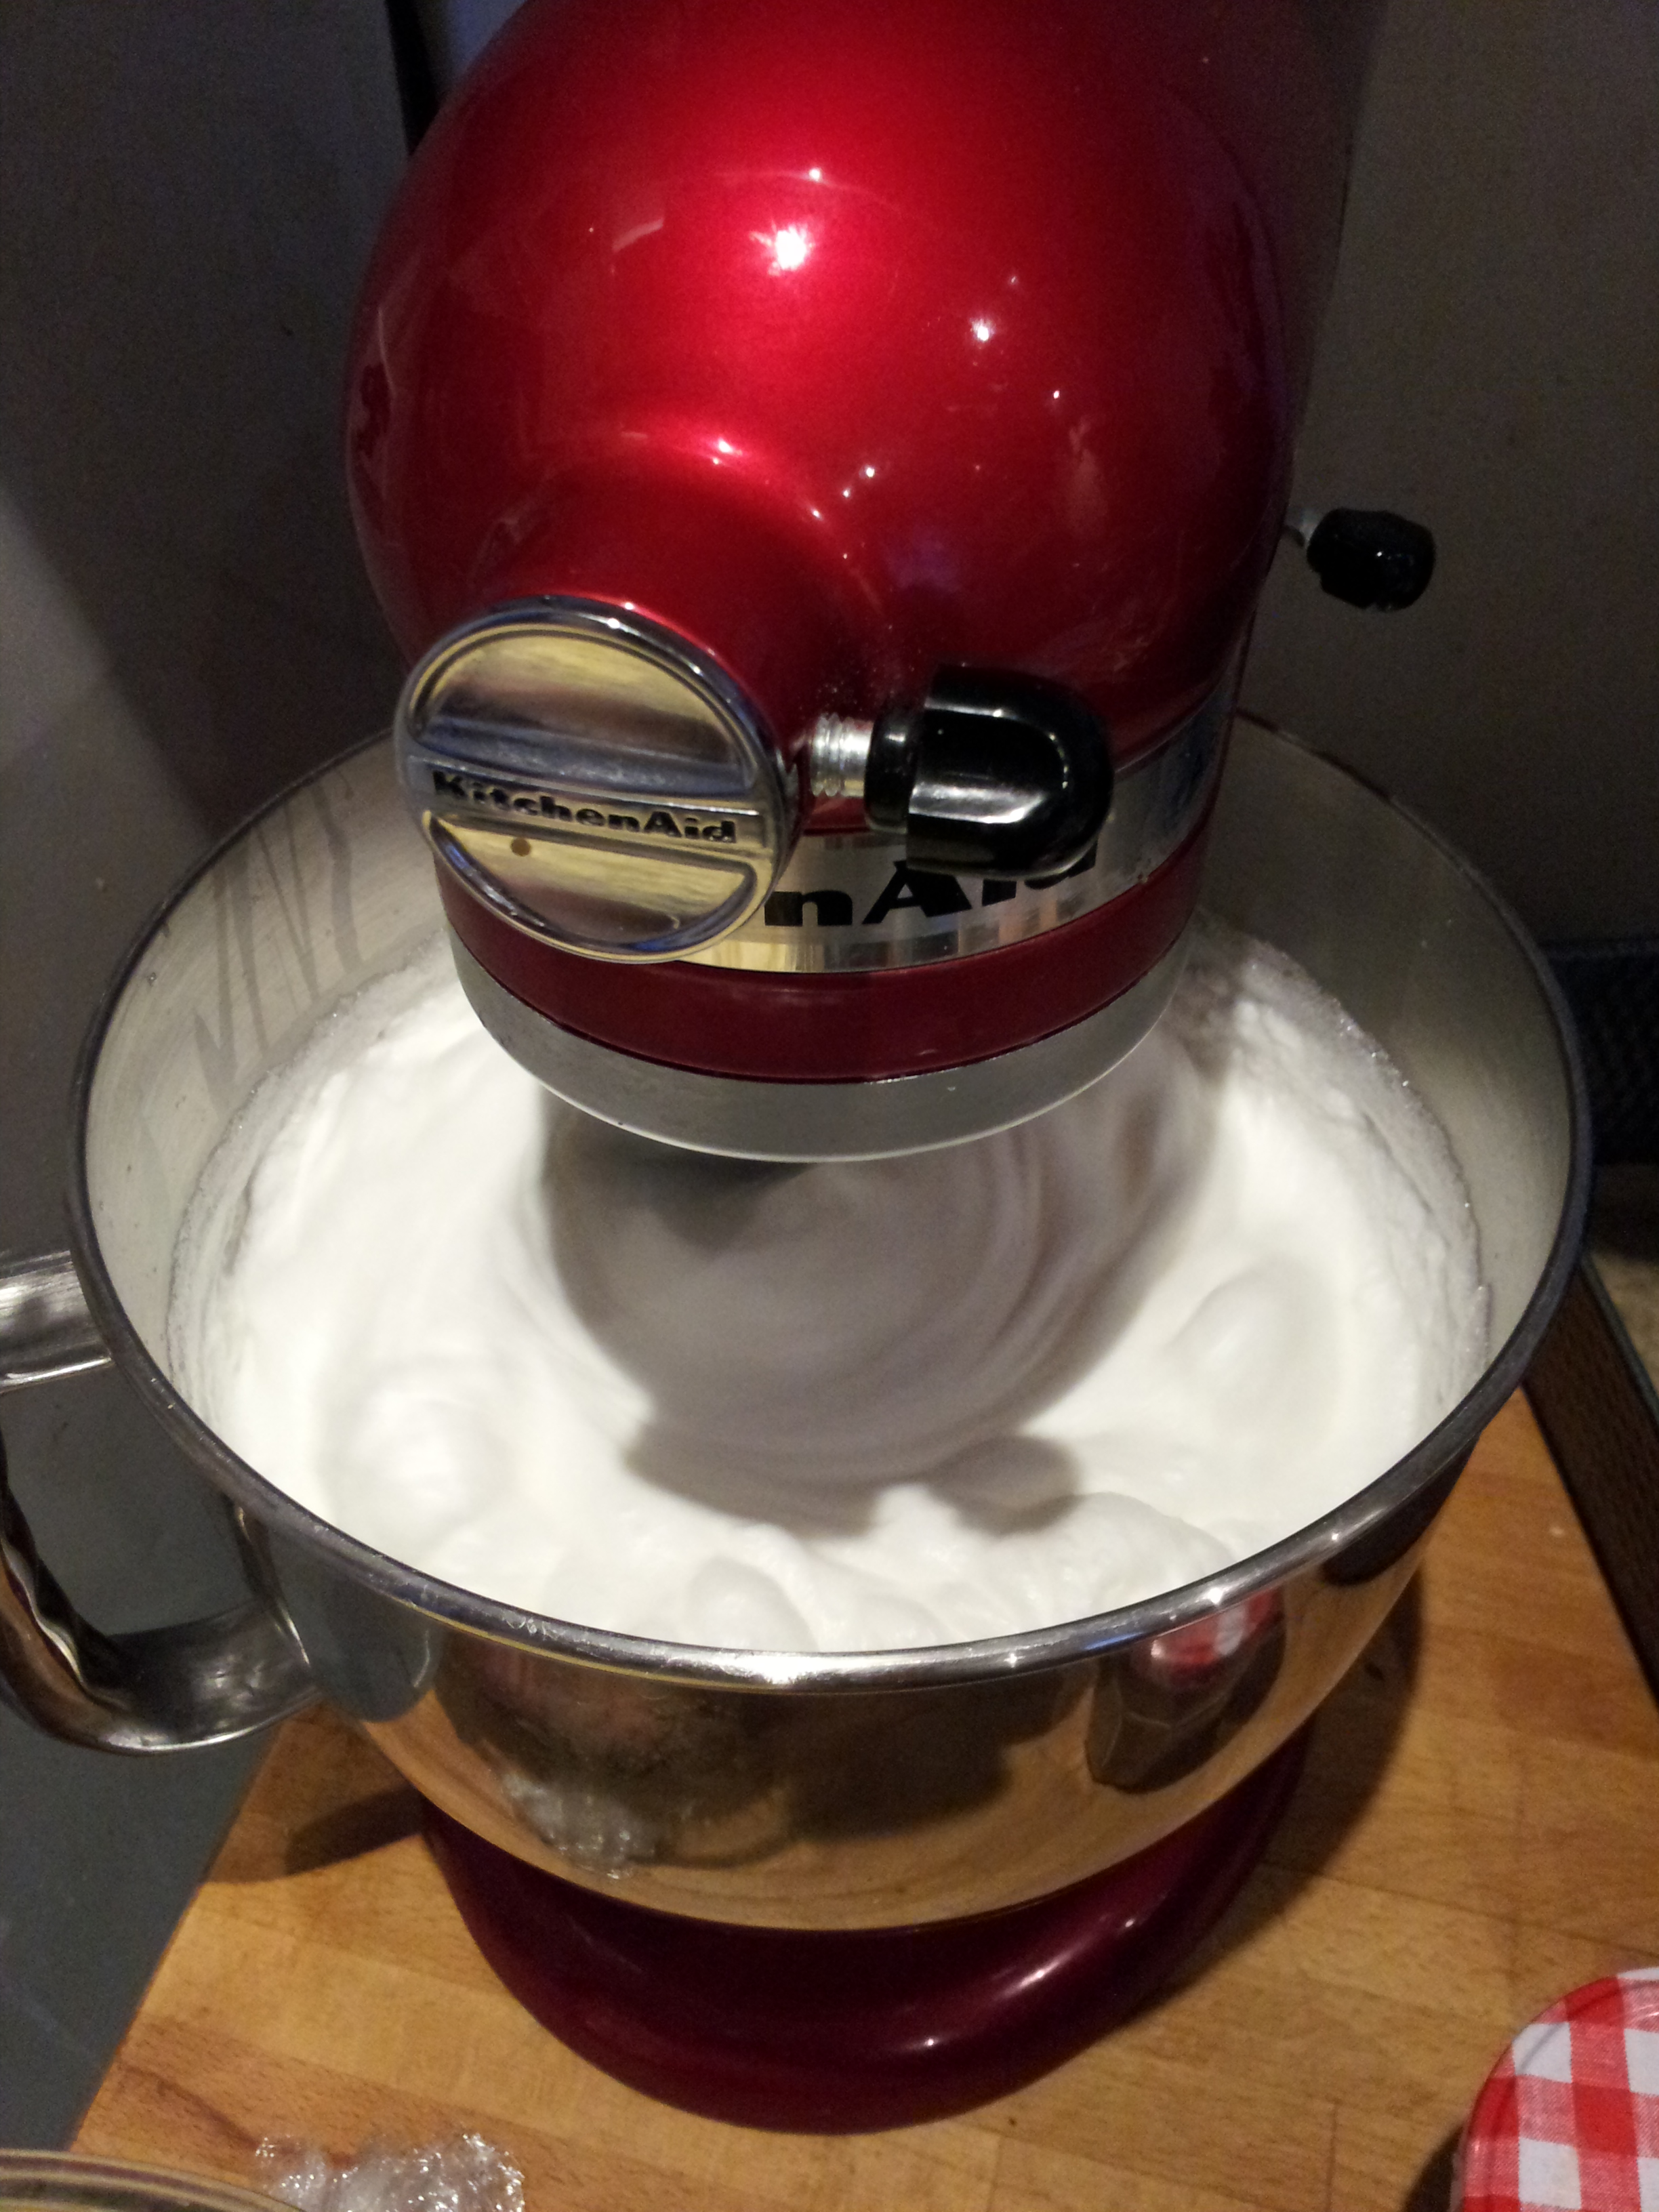
Brown the sugar
I’m lucky that I have a Kitchenaid mixer, so I can leave it running whilst I busy myself with the next steps. If you’re using a hand held mixer or beating things by hand, I’d recommend keeping an eye on the sugar as it browns to stop it from burning. I almost burnt mine! Heat the brown sugar in a heavy pan until it melts. Don’t stir as it will crystallise! Swish the sugar around in the pan as best you can by tilting the pan to combine the sugar and the liquid together. As it melts, gradually add a tablespoon of boiling water and allow the sugar to dissolve into a dark caramel. It might erupt like a volcano in your pan if it’s too hot, so be careful. Once it’s browned (and almost burnt) take it off the heat and allow to cool slightly before beating it into your butter and egg batter.

Beat in the browned sugar
With the browned sugar fully incorporate the batter becomes wonderfully brown and shiny. It smells amazing too!

Fold in the fruit puree
Long gone are the days where I’m trying to mix enormous vats of cake mixture! I could actually fit all of the batter and fruit into my mixing bowl! Hurrah! It takes a little bit of manoeuvring and scraping down of the sides of the bowl to ensure all of the fruit purée is folded in evenly.

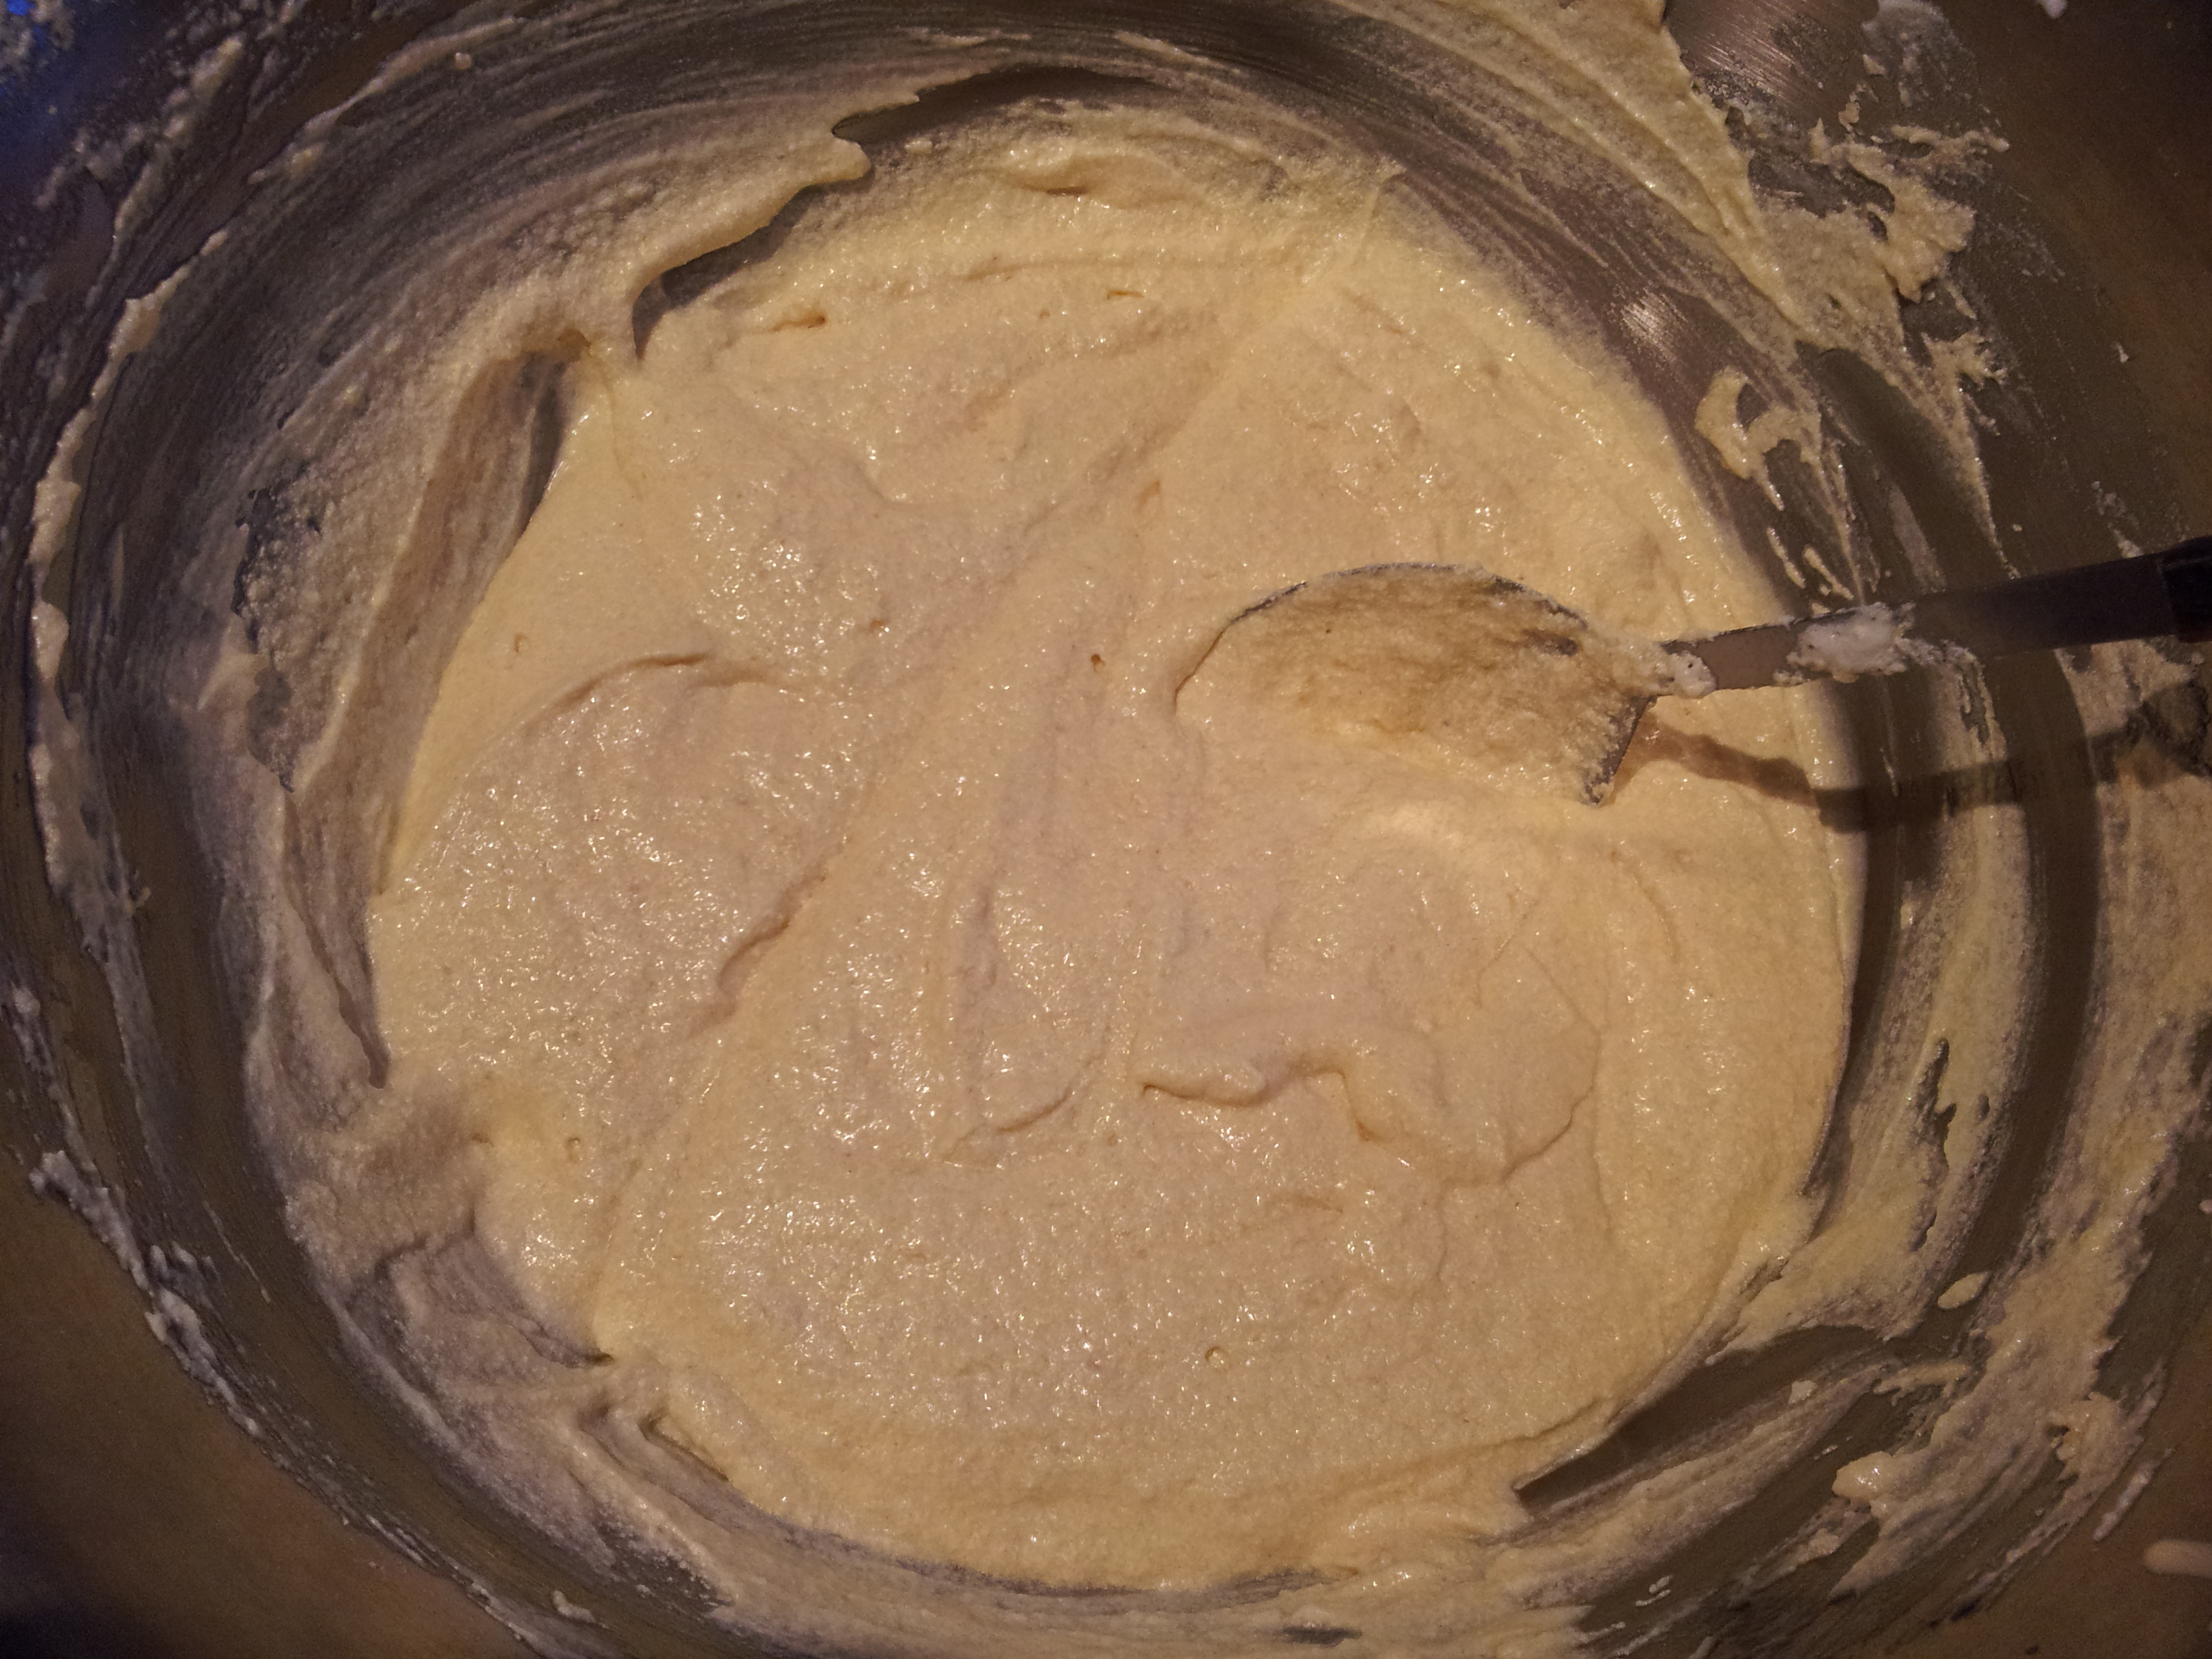
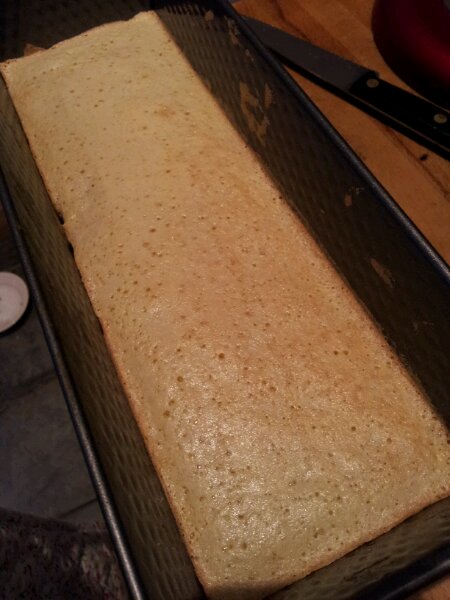
Fully incorporated batter
Once fully incorporated, the batter is wonderfully golden brown with flecks of fruit peeking through. It tastes delicious too! (I couldn’t resist licking the spoon!) The kitchen had a glorious glow from the rum and my cheeks were rather rosy by this point too. This is perhaps not a cake to eat and then drive home afterwards.

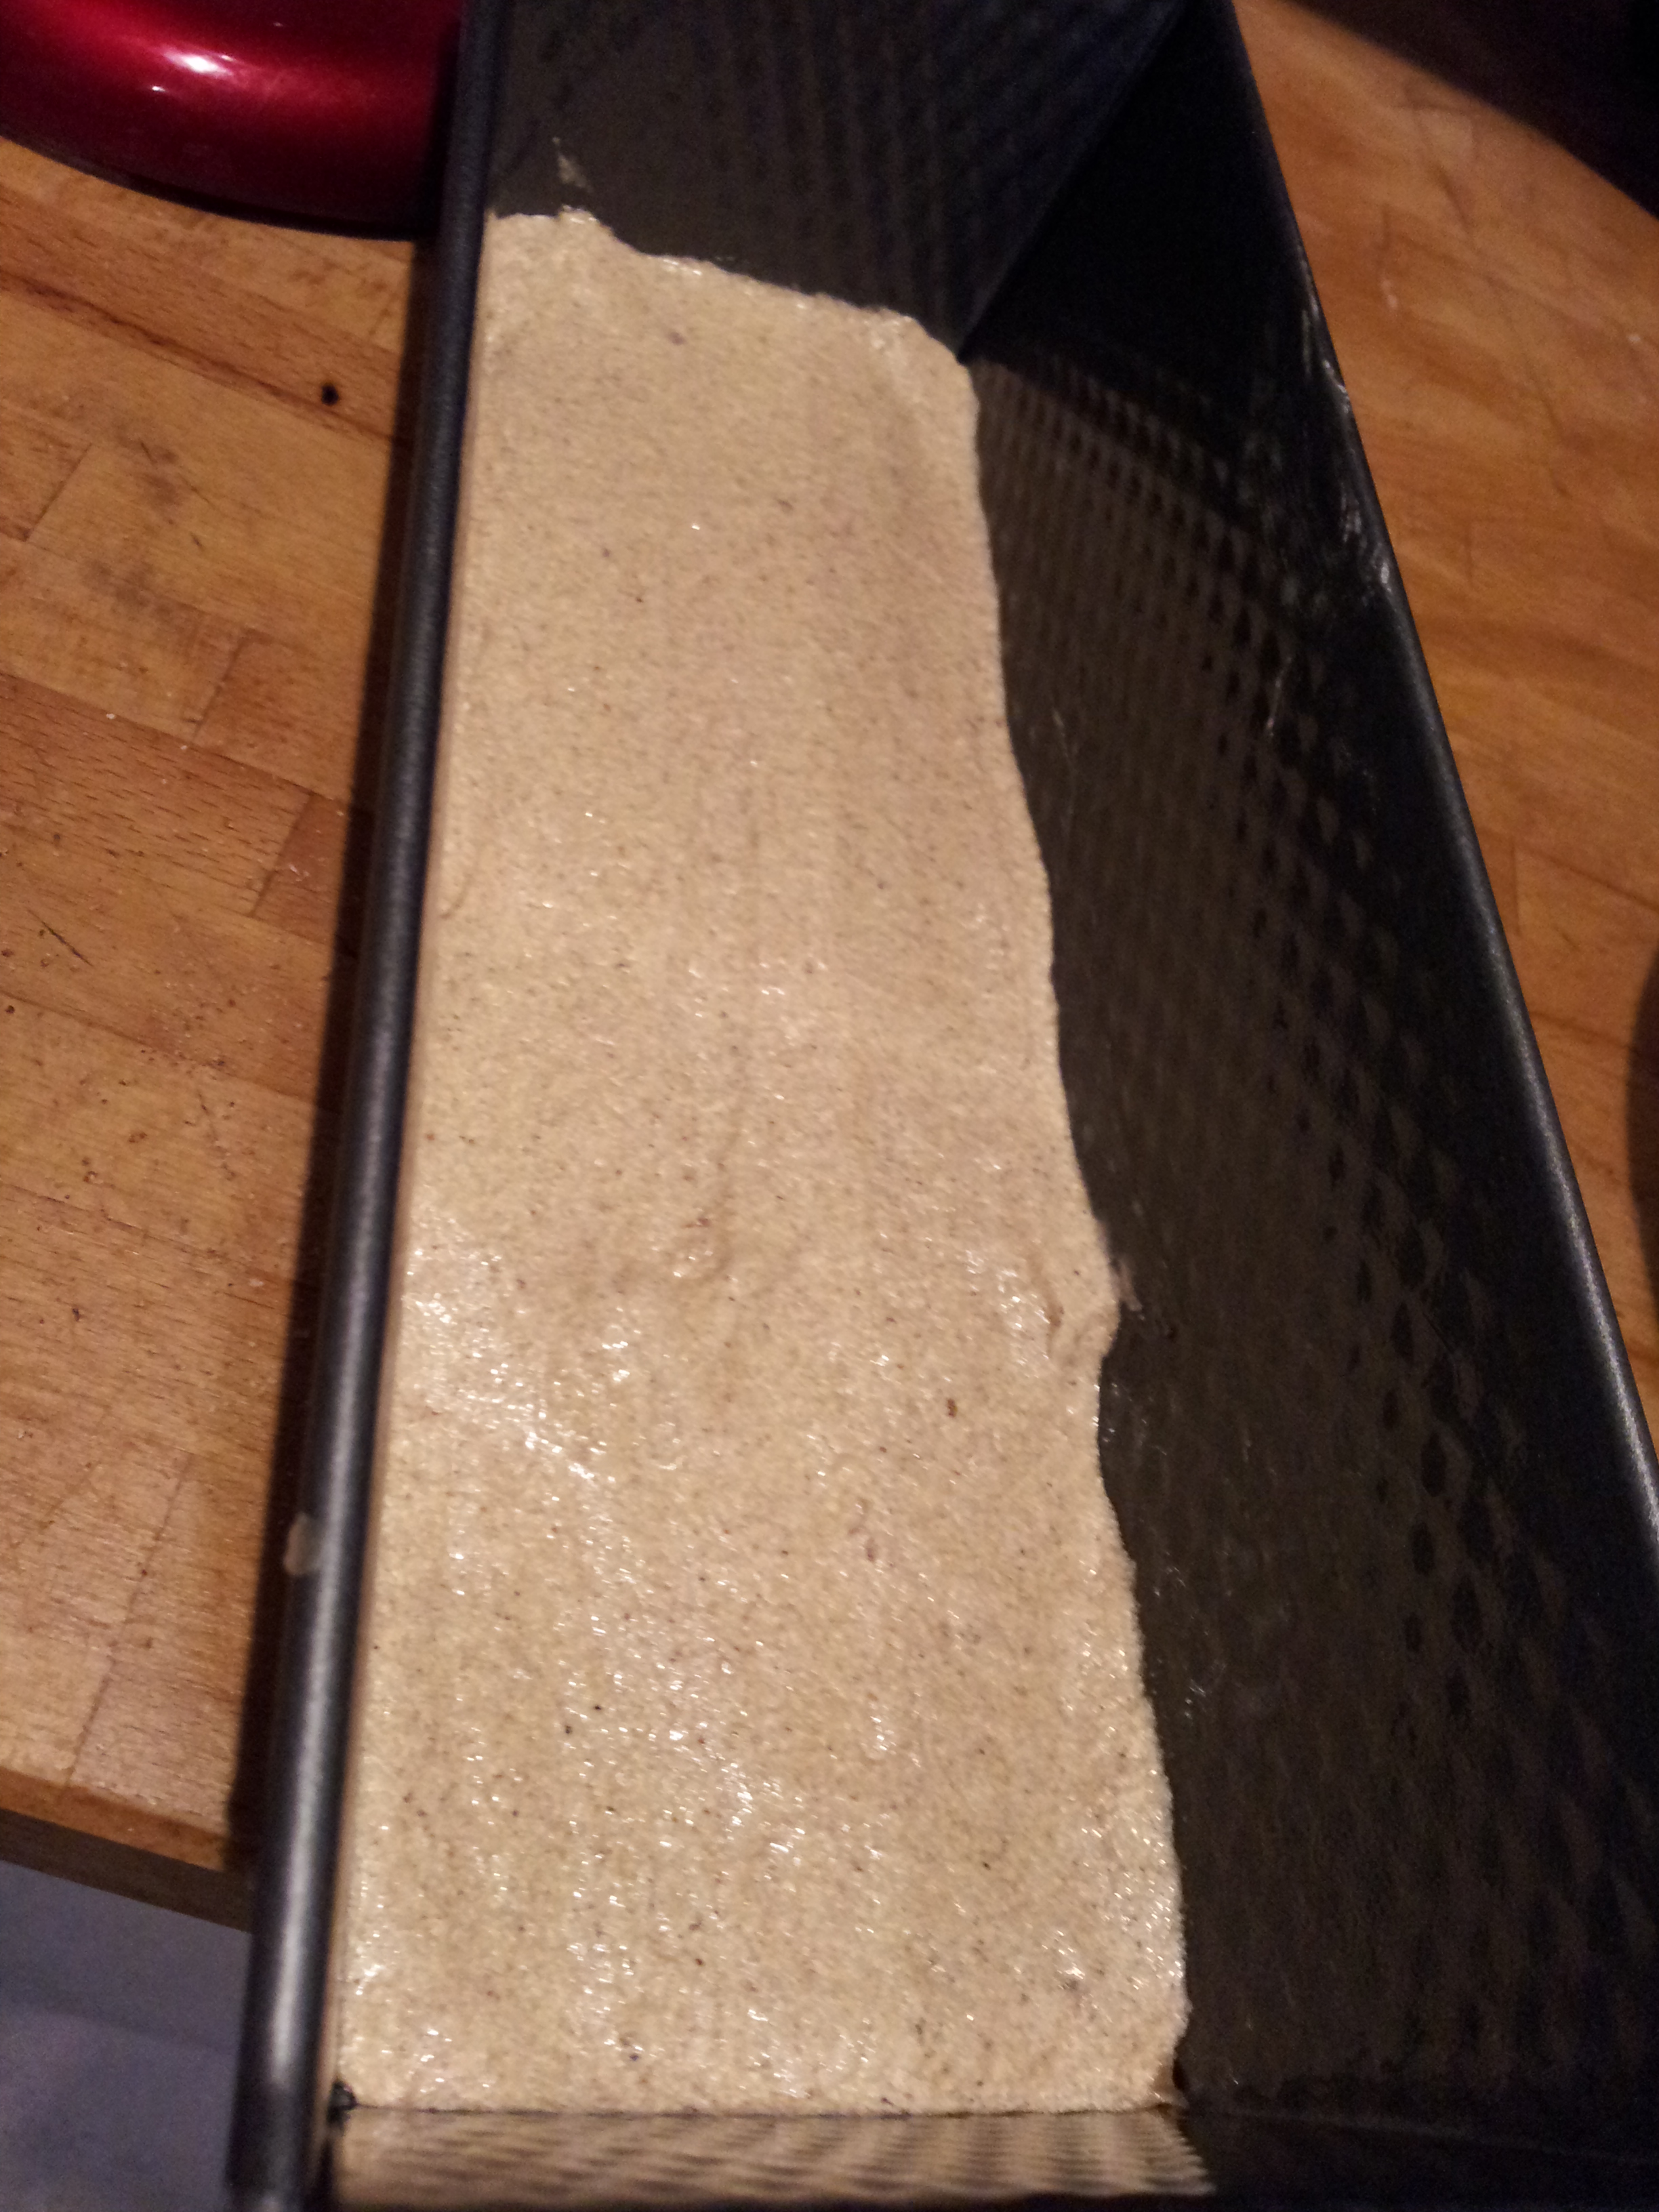
Fully greased and lined tins
Despite having reduced this recipe down I still ended up producing 2 cakes! I wanted to bake a rectangular Jamaican Black Cake, so I can cut it into chunks to give as Christmas presents.This is a brownie pan about 8 x 4 inches. I also had enough batter to bake a 6 inch round cake too. My guestimate would be this recipe would work well as one 9 or 10 inch round cake too.

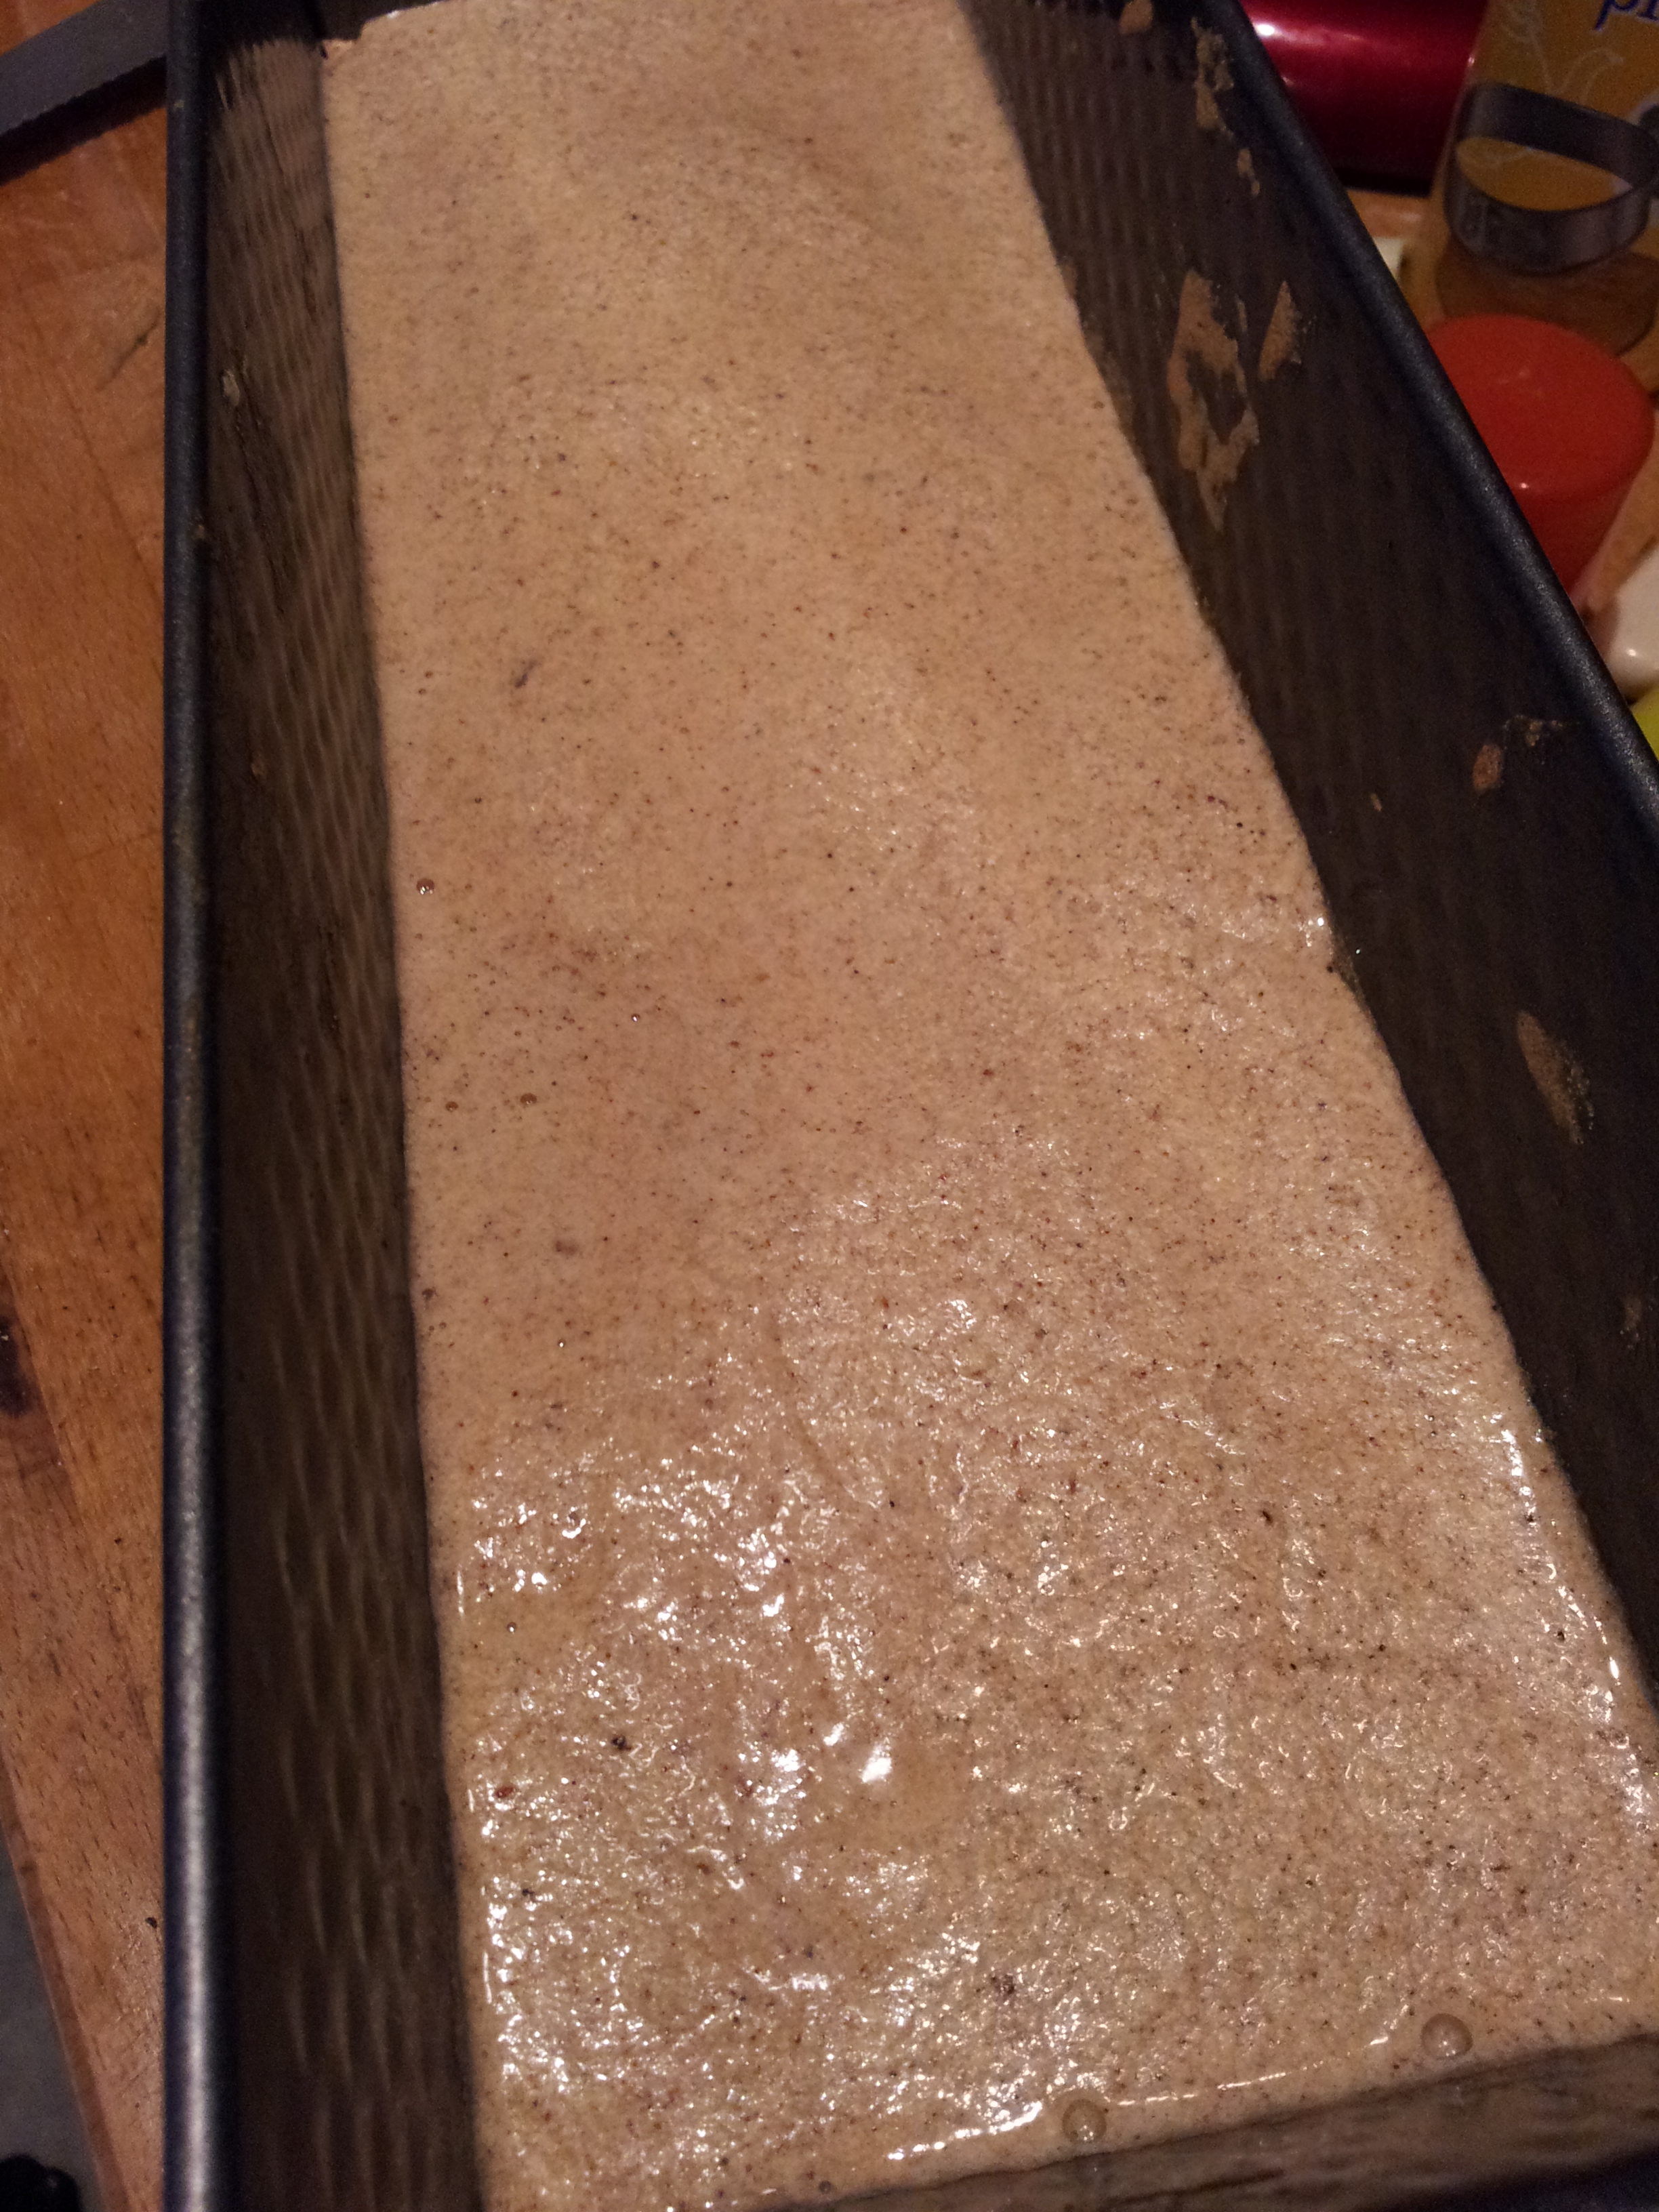
Double lined Jamaican Black Cakes oven ready
The tins need to be doubled lined to help protect the cake from the heat and bake it gently over a few hours. This is easier said than done with a low sided rectangular tray. I gave up trying to double line the bottom of the tray and sides, instead opting for a tin foil lid, which worked really well. No burnt bits in sight!

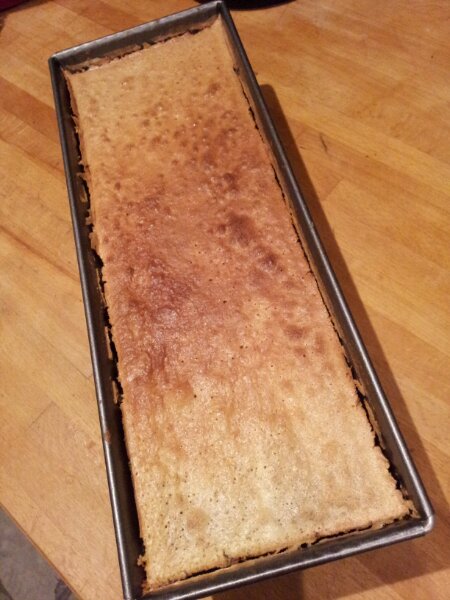
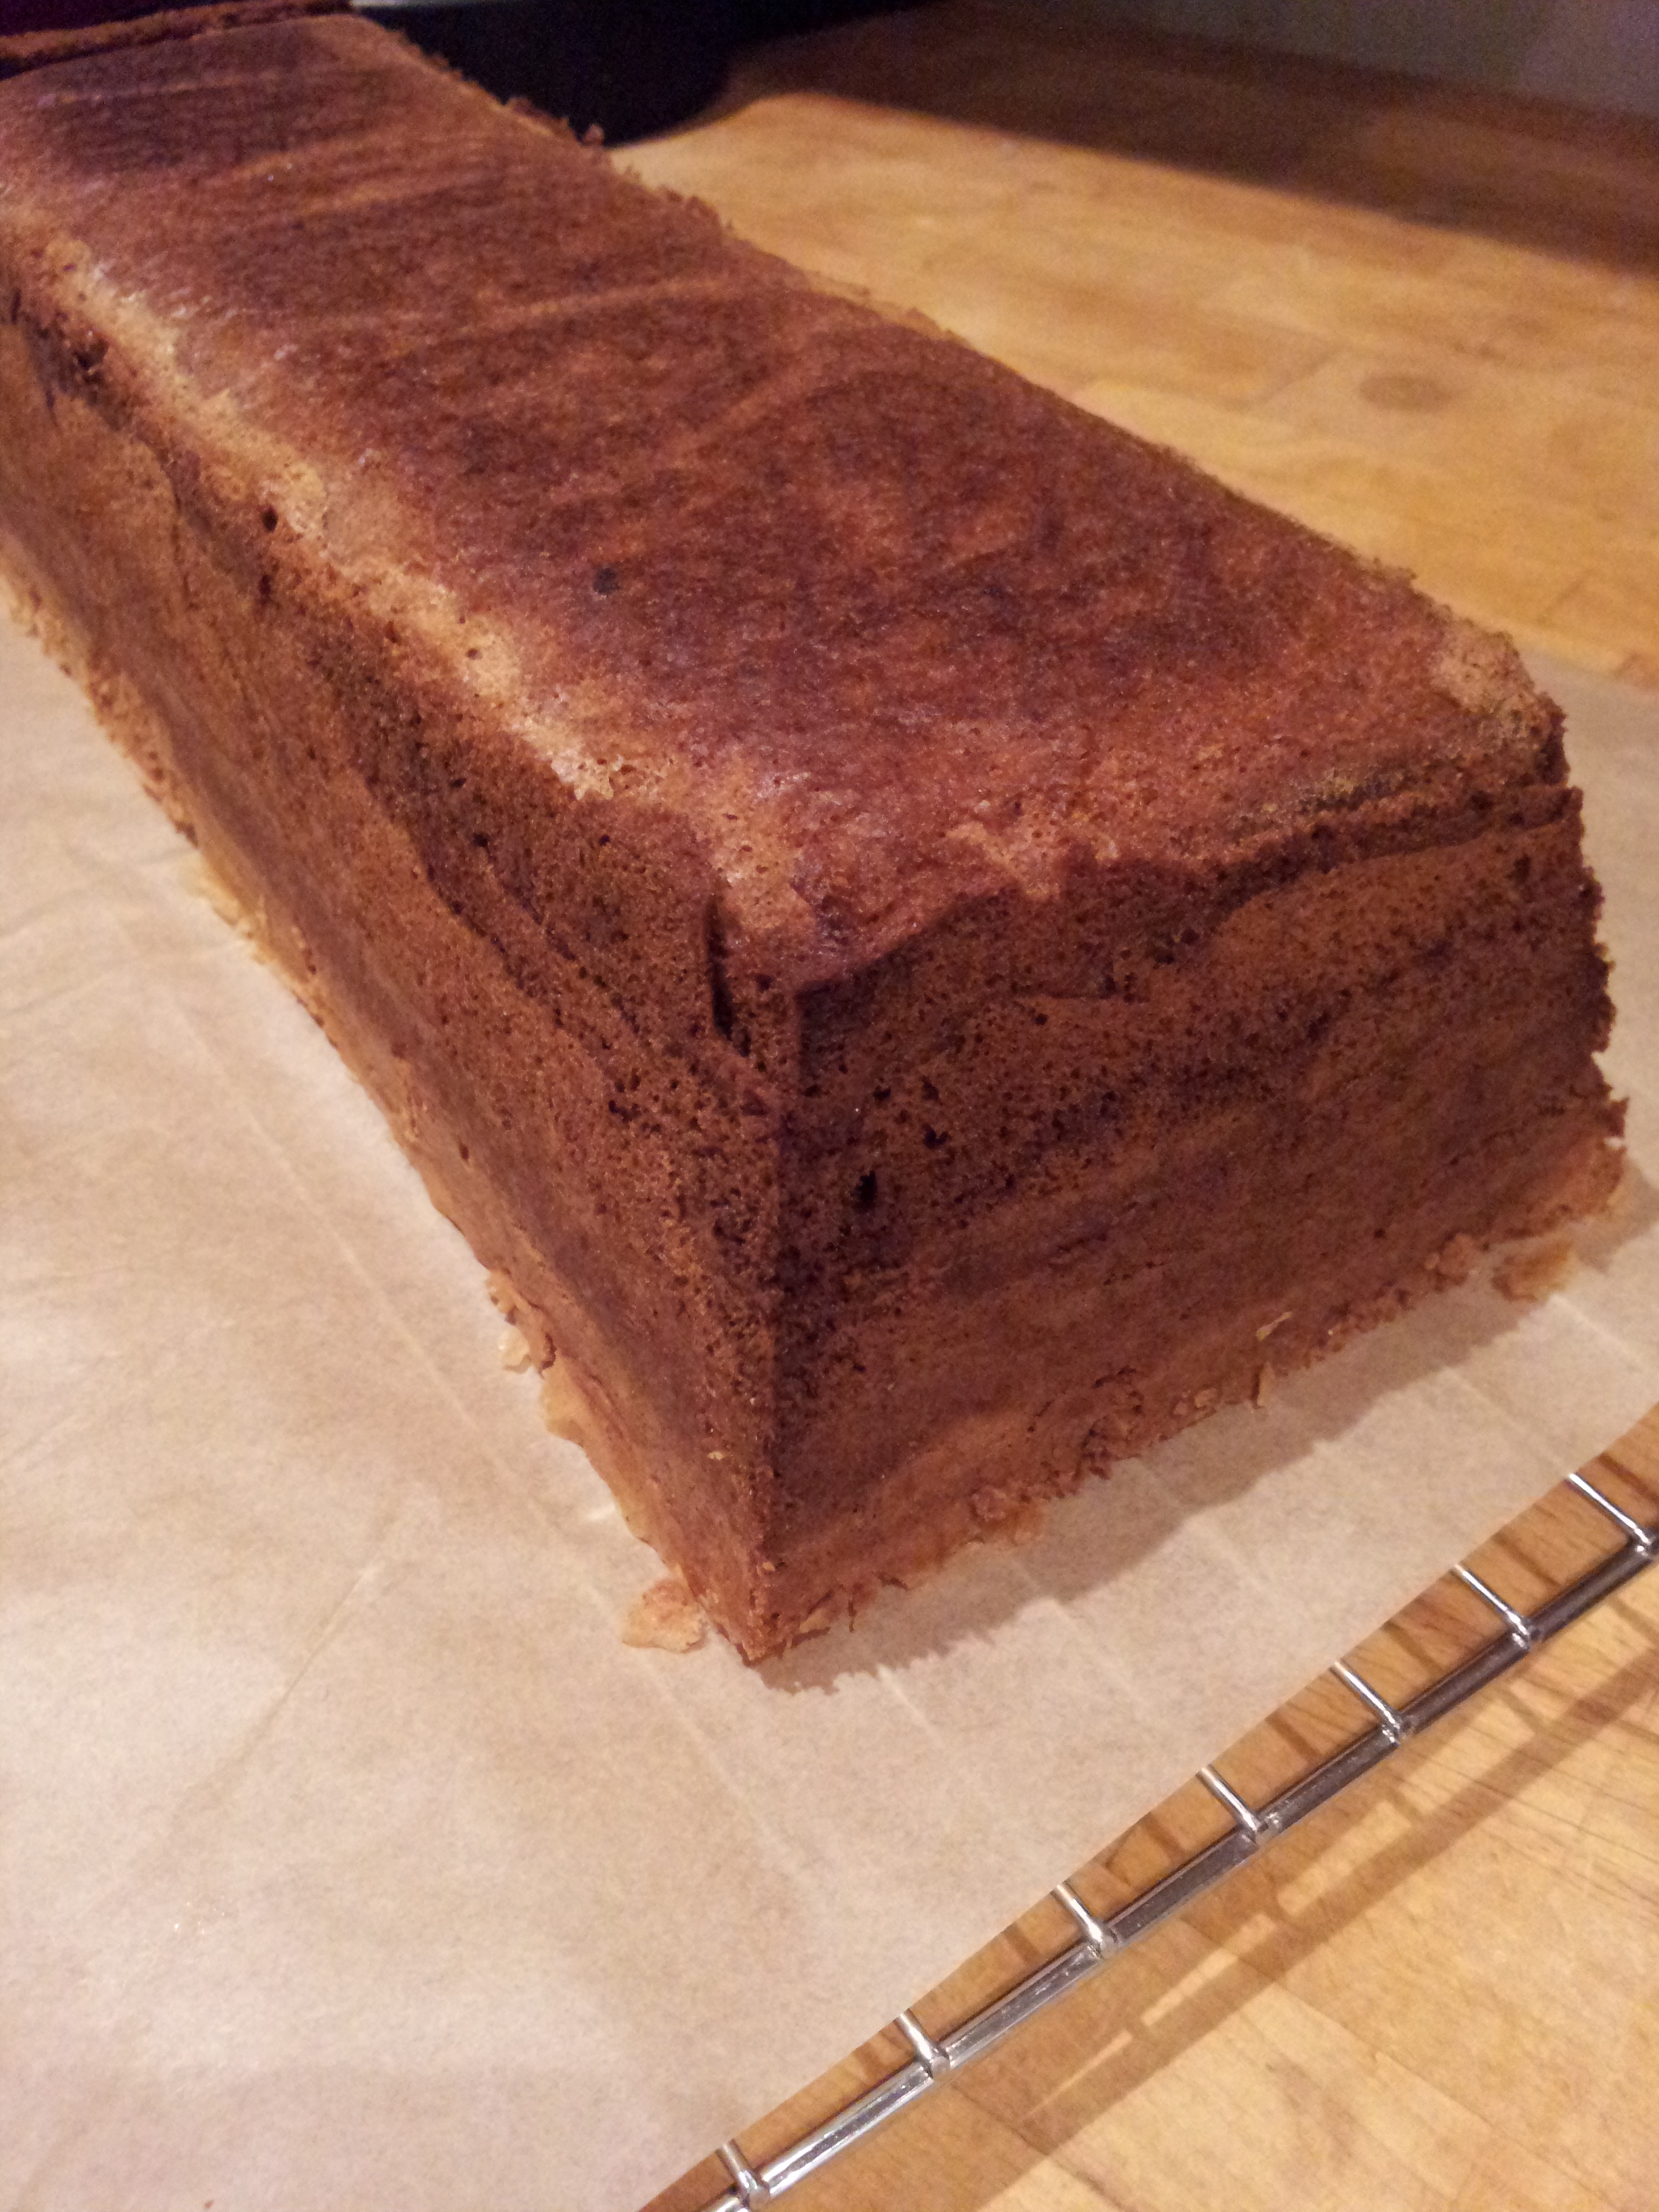
Hot Jamaican Black Cake soaking up it’s rum
I can safely say that having sampled a slice last night this cake lives up to it’s previous promise of rosy cheeked deliciousness. It’s very moist (I may add pour less rum over the hot cakes next time) but I’m sue this will help to keep it moist ready to be dished out on Christmas Day. It has everything a spicy , boozy, celebration cake should offer. It’s warming and rich. Perfect with a glass of fizz (or I ate my piece last night with a cup of tea and glass of red wine.) Delicious!
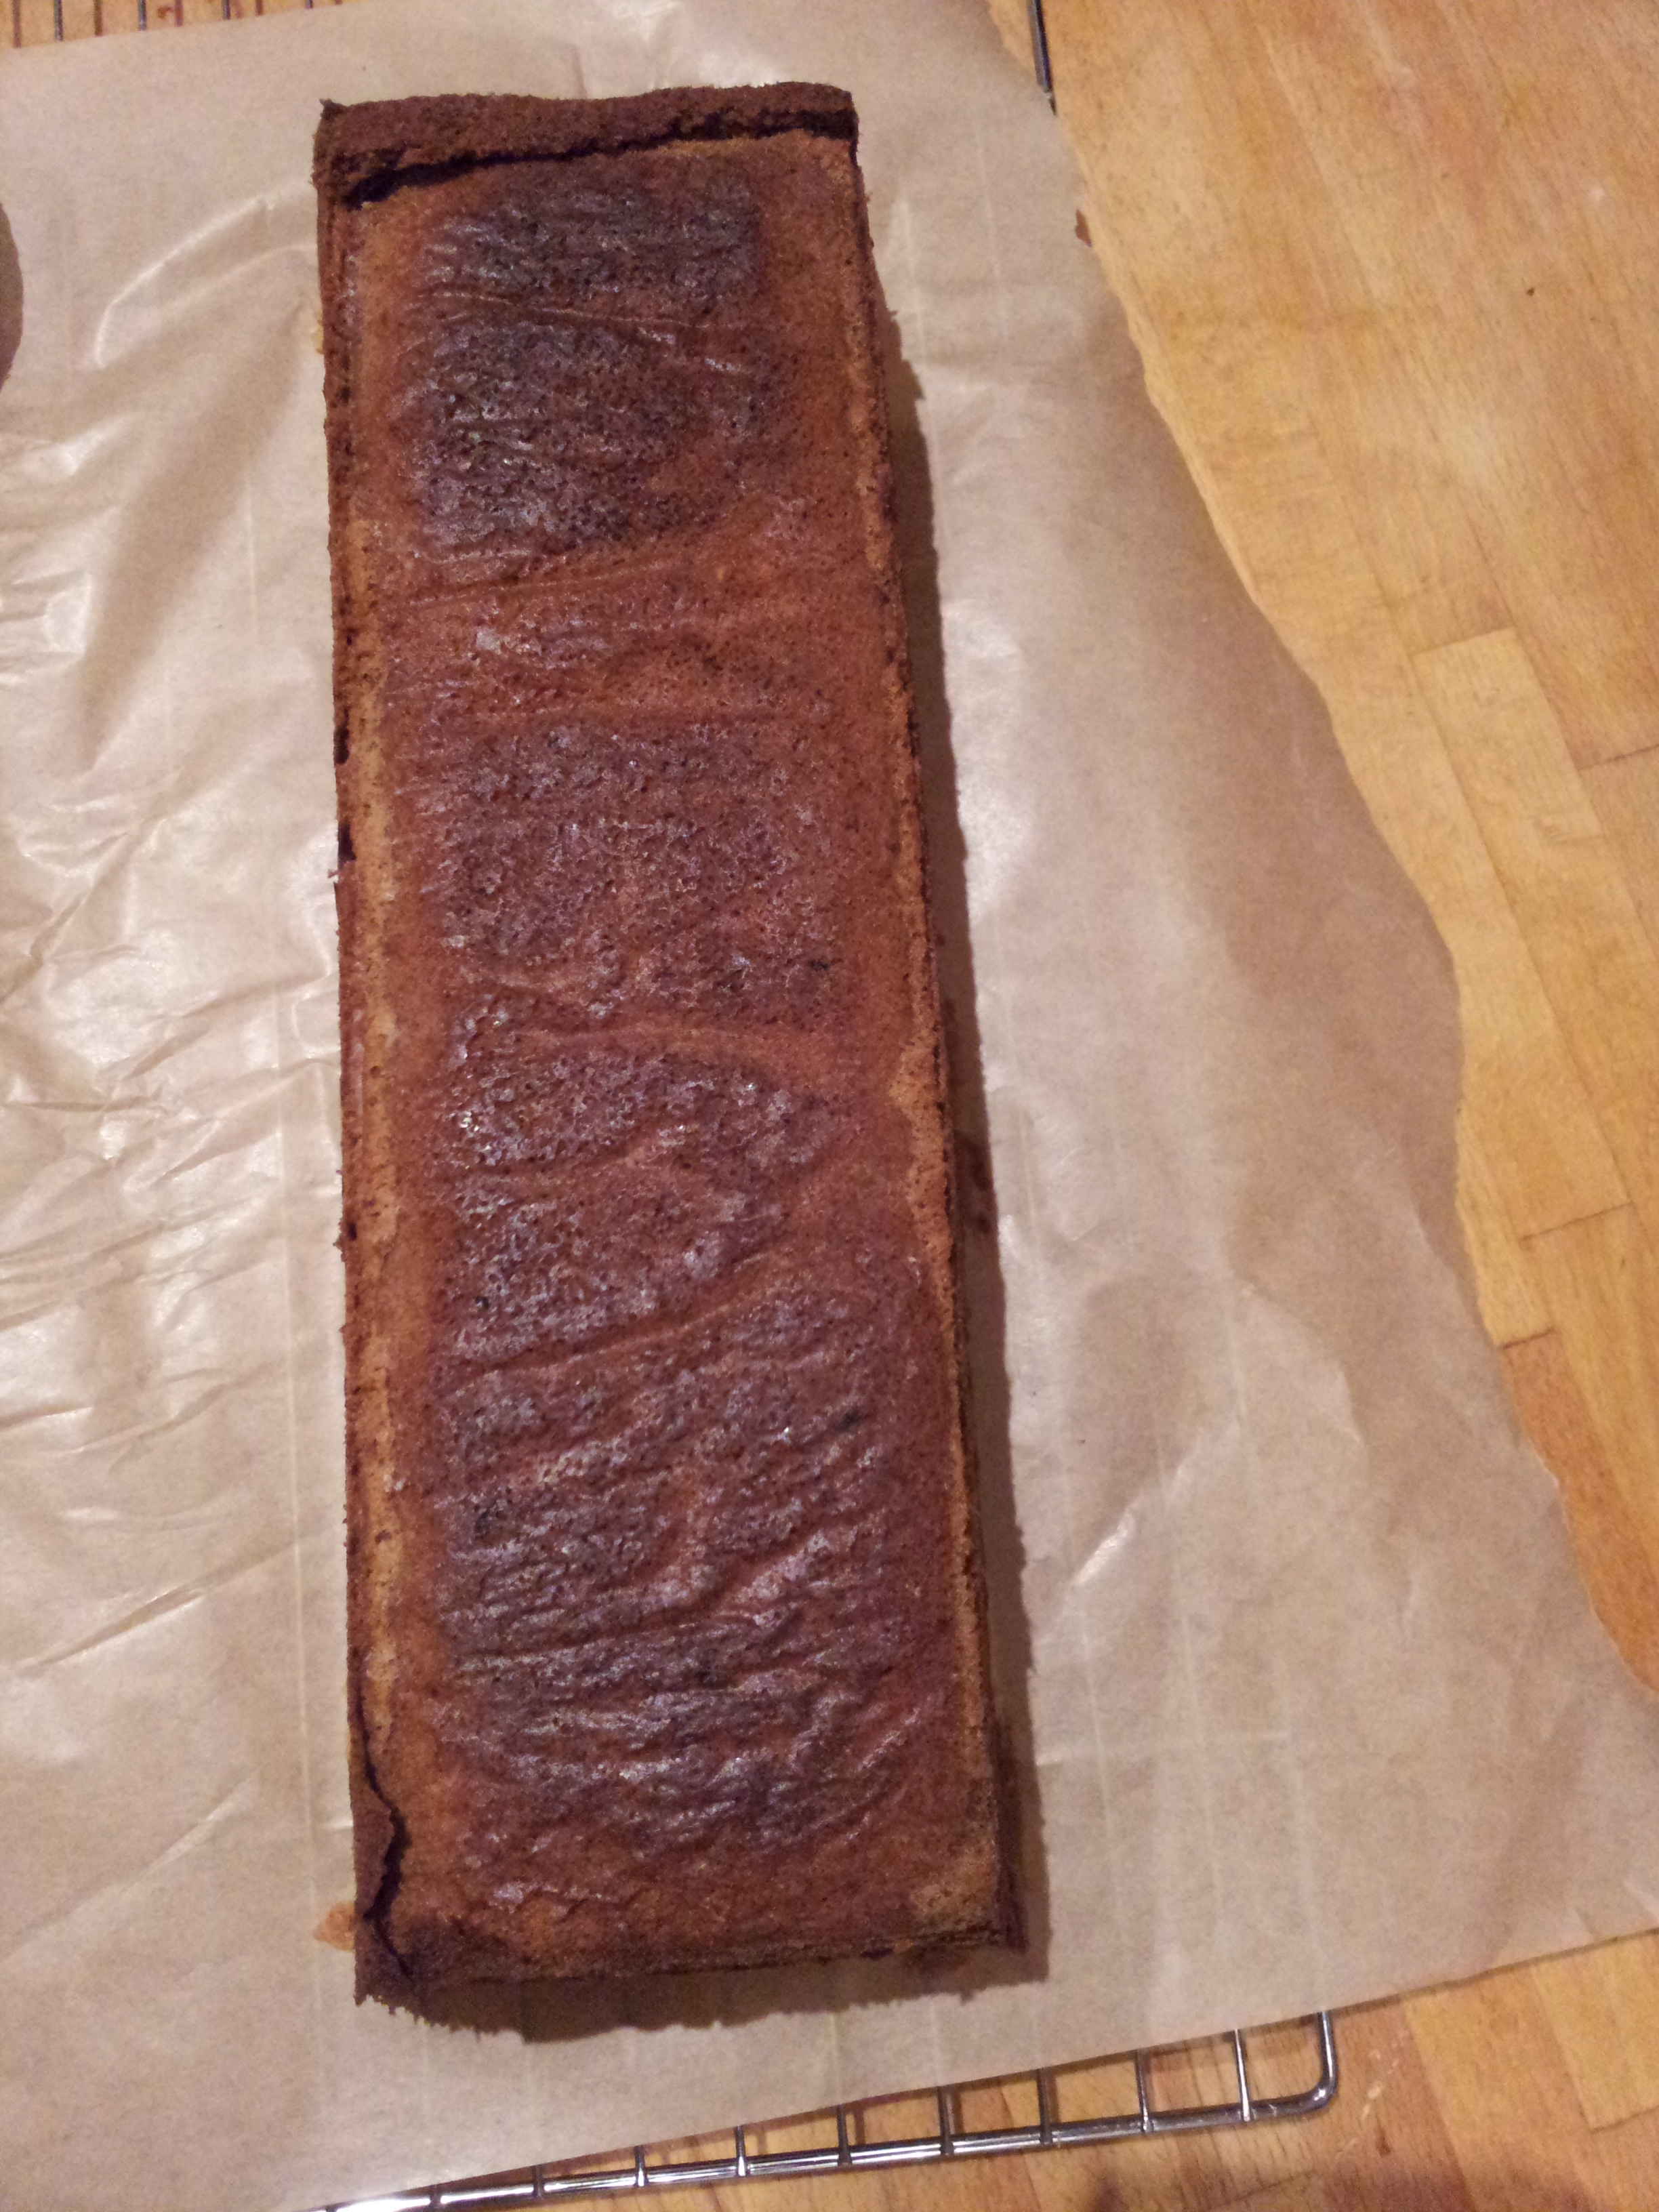
Almost ready for eating Jamaican Black Cake
As I poured the rum on top of the hot cakes the top did sink slightly but this hasn’t effected the taste at all. In fact when I serve my Jamaican Black Cake I’m going to be sneaky and turn it over so the flat bottom will give a smooth top. Shhh. Don’t tell anyone. So here’s the recipe for Just the one Jamaican Black Cake (or 2 small cakes if you prefer!)
Things that I used to make Just the one Jamaican Black Cake
Step 1: Soak fruit and make fruit puree
Fruit Puree Base Ingredients
- 170ml brandy (Cherry brandy could be used to make it extra special)
- 340ml dark rum (I used Spiced dark rum for extra flavour)
- 2 tbsp Angostura bitters
- 170g prunes
- 170g dark raisins
- 250g currants
- 170g dried cherries
- 85g mixed candied citrus peel
Total dried fruit required = 845g
Soak dried fruit in the booze for at least 48 hours or up to 2 weeks. Blitz into a puree with a food processor.
Step 2: Make Cake Batter
Cake Ingredients
- 170g salted butter (For a change I used salted and it worked well, but feel free to use unsalted)
- 170g sugar
- 3 medium sized eggs
- 1 tsp lemon essence or lime juice
- The zest of 1 orange (or 2 whole limes)
- 1 tsp almond essence
- 1 tsp vanilla
- 170g plain flour (you could also use 1/2 cassava flour + 1/2 lb rice flour for gluten-free baking)
- 1 and a half tsp baking powder
- 1 tsp mixed spice
- 1/2 tsp grated nutmeg
Beat together butter and sugar. Beat in eggs one at a time. Fold in dry ingredients. Fold in fruit puree and browned sugar
Step 3: Brown Sugar
Browning Ingredients:
- 170g brown sugar
- 1 tbsp boiling hot water
Heat the sugar in a heavy based pan until it melts and then add a little bit of the water at a time until it becomes a dark caramel. Careful not to burn it, but it will come very close to being burnt to achieve ‘browned’ perfection.
Step 4: Bake!
Pour the cake batter into a greased and lined tin. You could use a 9 inch round tin or a bundt tin. For this recipe I used a 4 inch round tin and a 9 x 4 inch rectangular pan. Cover with greaseproof paper lid.
Bake at 120 degrees C for 3 hours until skewer comes out clean from the cake
The Final Touch
ADD MORE RUM!
Pour 100-170ml bottle of dark rum for pouring on the hot cakes whilst still in their tins. Leave to cool in the tin. Gradually add the rum until you have fed your cake 170ml in total. It should absorb rather a lot of rum at this point. The cake will get darker with the more rum that you feed it. It may take up to a day for the cake to absorb the rum but it will get there.
Storing the Jamaican Black Cake
Wait until the cake has cooled completely before removing it from the tin. Wrap your cake in a layer of greaseproof paper and a layer of tin foil to prevent air getting in. Store the wrapped cake in an airtight container.
The cake should keep for (at least) a month or even up to a year with this amount of booze going on in an air tight container. this cake also freezes really well. It will keep for at least a month in the freezer and the freezing helps to speed up the ‘maturing’ process to deepen the flavours.
Eating the Jamaican Black Cake
The cake will serve 8-12 people. Or possibly more as it is quite a rich cake so you may only want a small slice. The volume of rum and brandy will bring a healthy rose to your cheeks! You may not want to drive after eating a big slice of it…
My original blog post for this cake can be found here
Jamaican Black Rum Cake – The most alcoholic cake I’ve ever baked