Ugandan Groundnut Cake
Smothered in a thick dripping coat of dark chocolate this is one hell of peanut cake. (The recipe didn’t call for chocolate but I figured it was the logical combination.) Not one for the faint hearted or those watching their calorific intake. It’s fudgey and delicious.
Groundnuts are hard to come by so I’ve substituted them for peanuts, which is apparently what most people do as peanuts are easier to grow too. It’s probably the sweetest cake I’ve ever made. And I LOVE it.

Ugandan Groundnut Cake
This recipe is a large one and I found it was enough to make 2 6inch round cakes and 1lb loaf too! So I hope you’re hungry. (Or you could use larger round cake tins if you have them maybe 8 or 9 inches – adjust/reduce your cooking time accordingly.)
I never usually bother toasting nuts, but I thought I would pull out all the stops to make this cake as authentic as possible. Toasting the peanuts helps to release the oils, creating a moister (if that’s a word) cake with a deeper peanutty flavour. Spread skinless (blanched) peanuts evenly on a baking tray and toast them in the oven for about 10 minutes at 200 degrees c. Keep an eye on them in case they burn. Once cooled chop them roughly with a big knife.
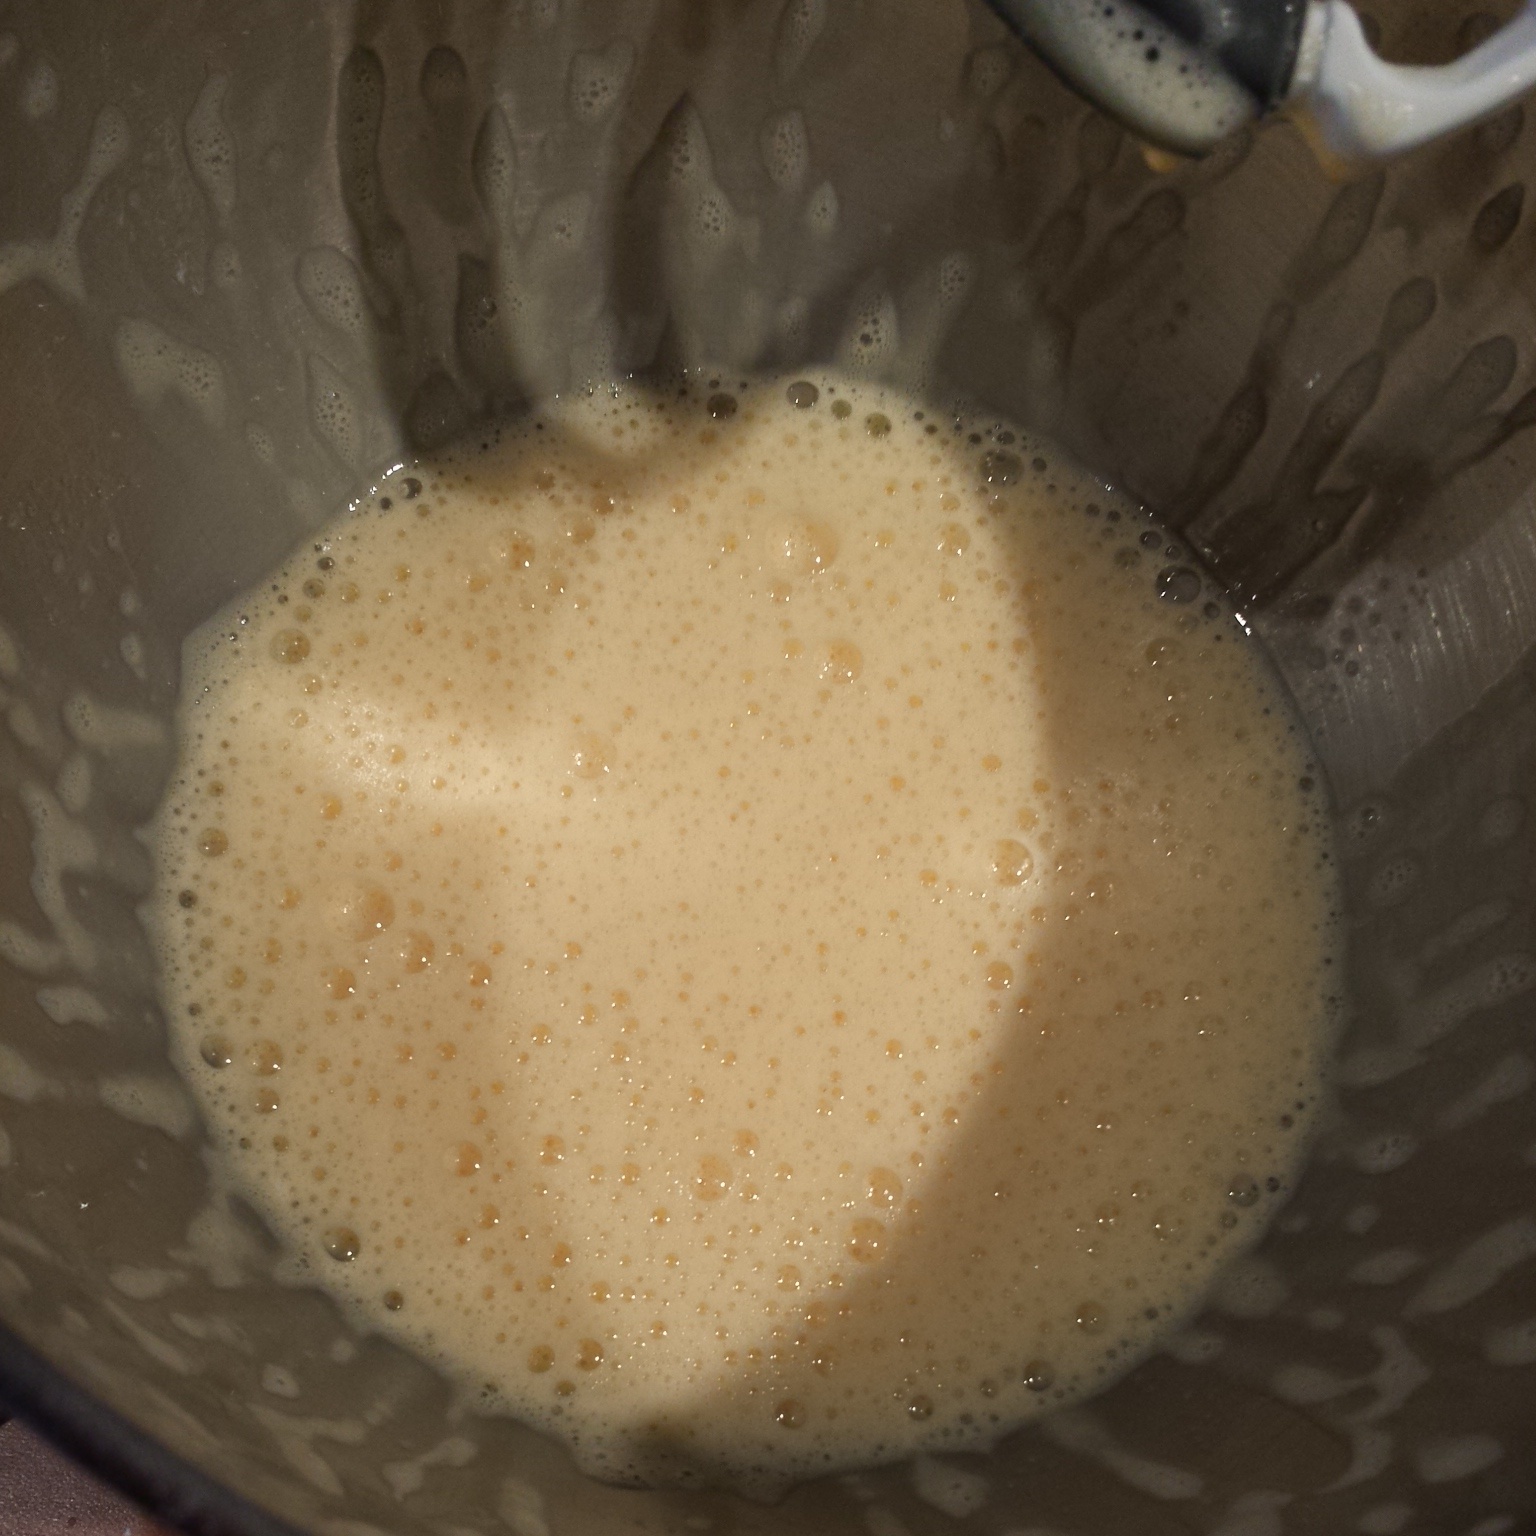
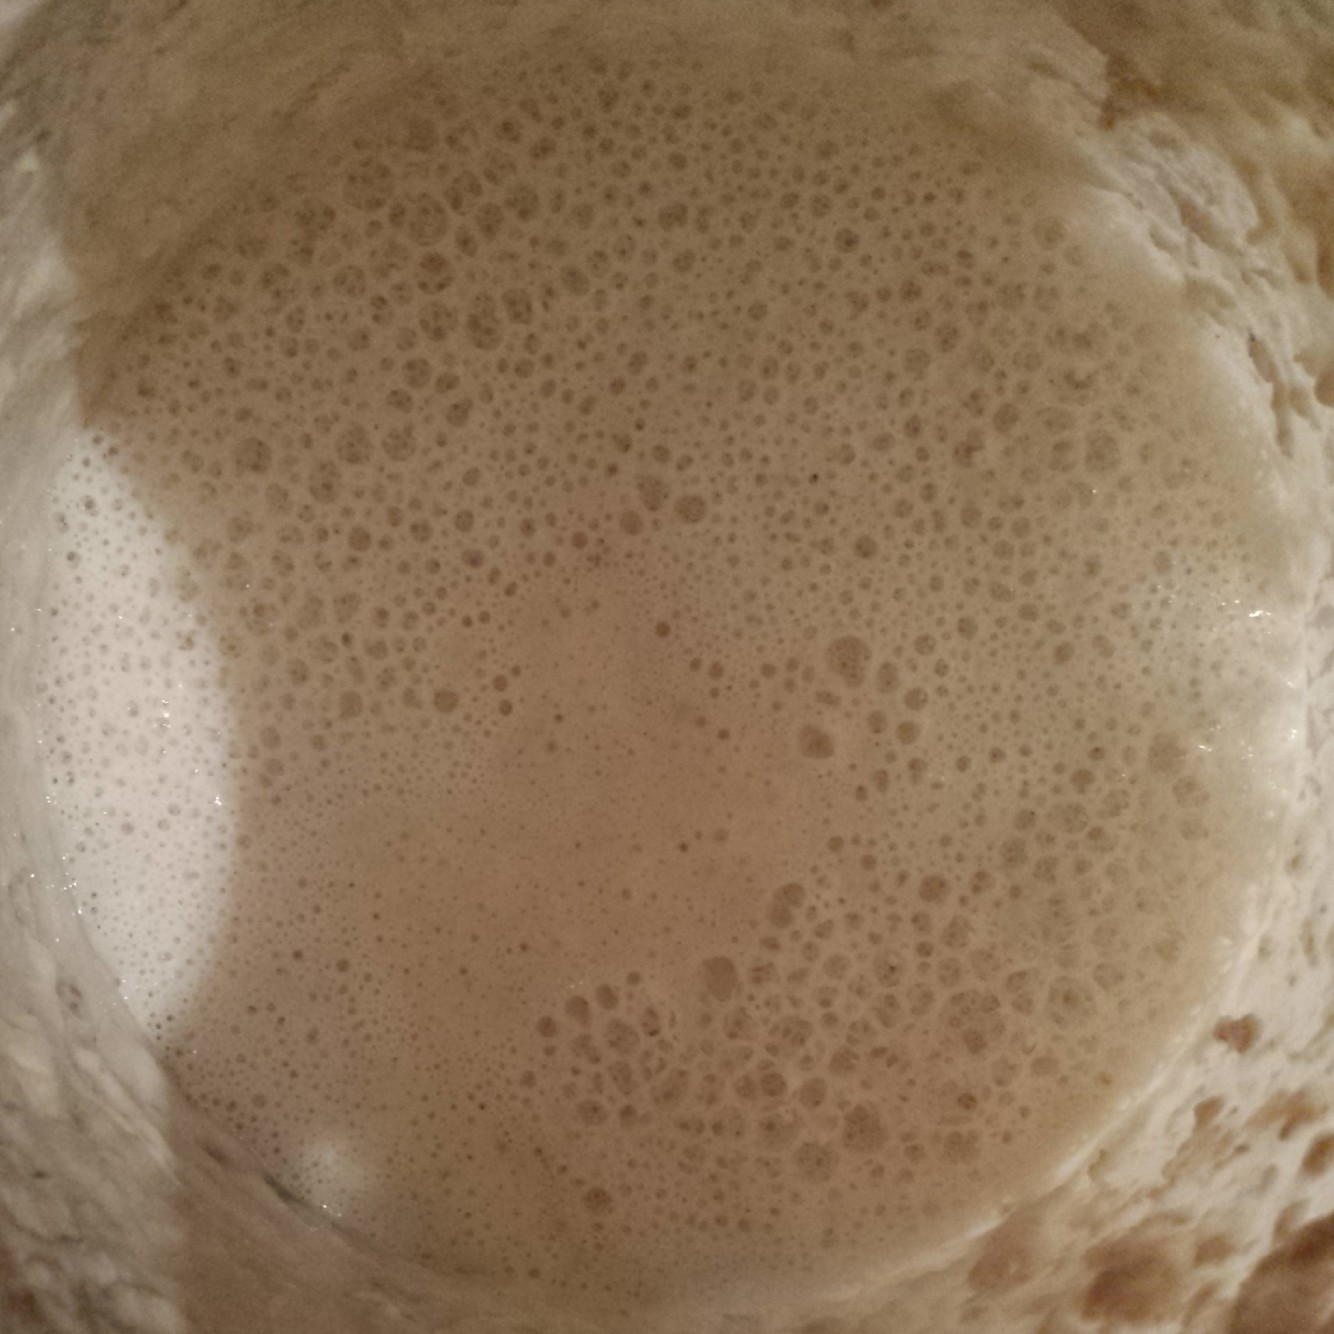
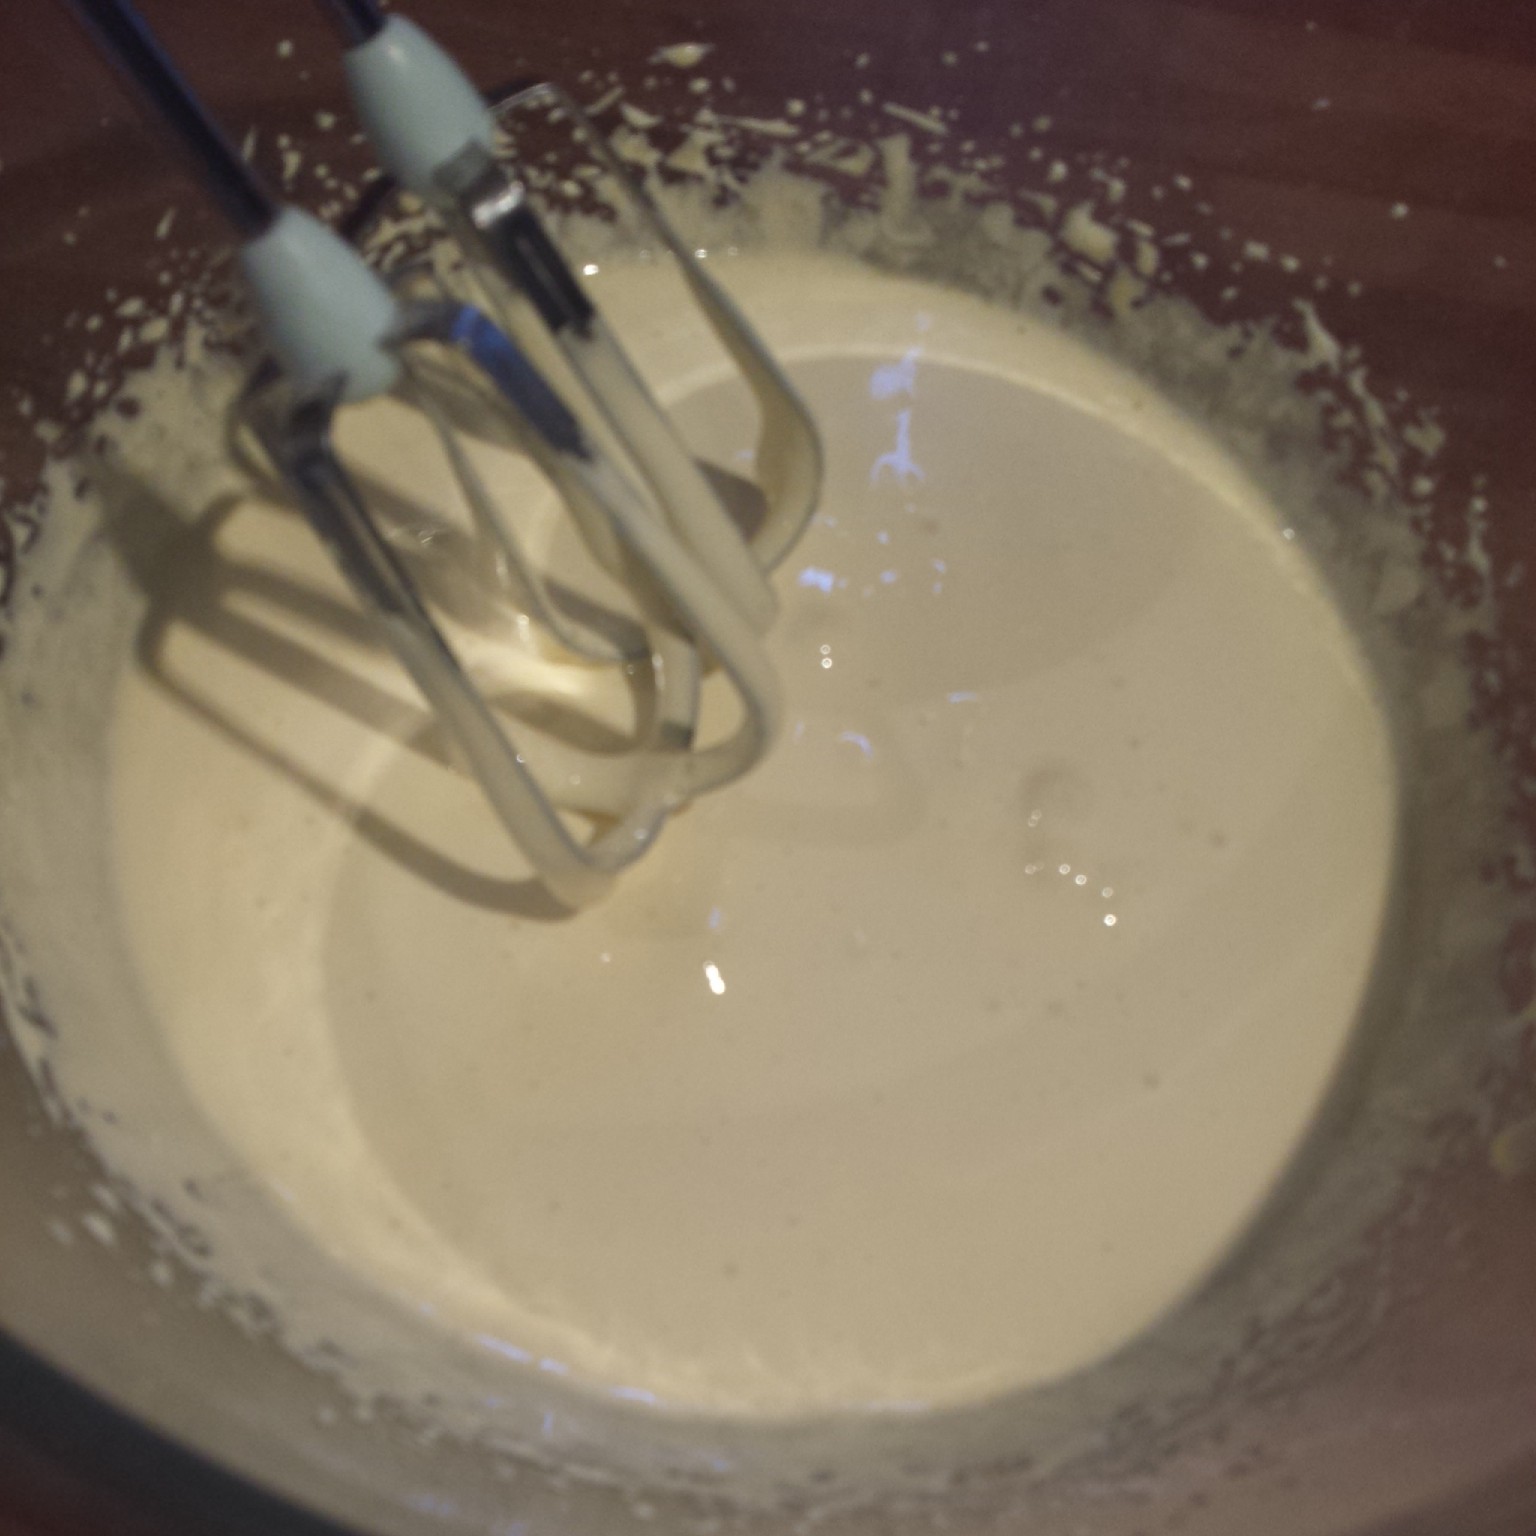
Mellow yellow stage of egg beating – fluffy, frothy and runny
Whilst the peanuts are gently toasting, beat the eggs until lights and fluffy. They will reach a mellow yellow stage after about 4 minutes of beating with an electric mixer.

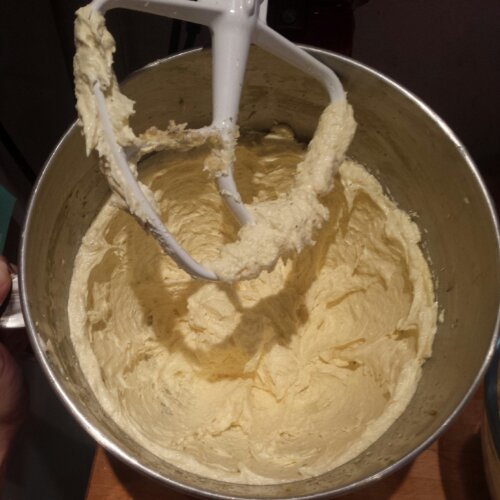
Gentle brown batter all fluffy and light full of sugar, honey and oil
Then beat in the sugars, (brown and caster) along with the honey and vanilla extract. Once the sugars are fully combined, beat in the vegetable oil. The mixture will take on a gentle brown hue and increase in volume.
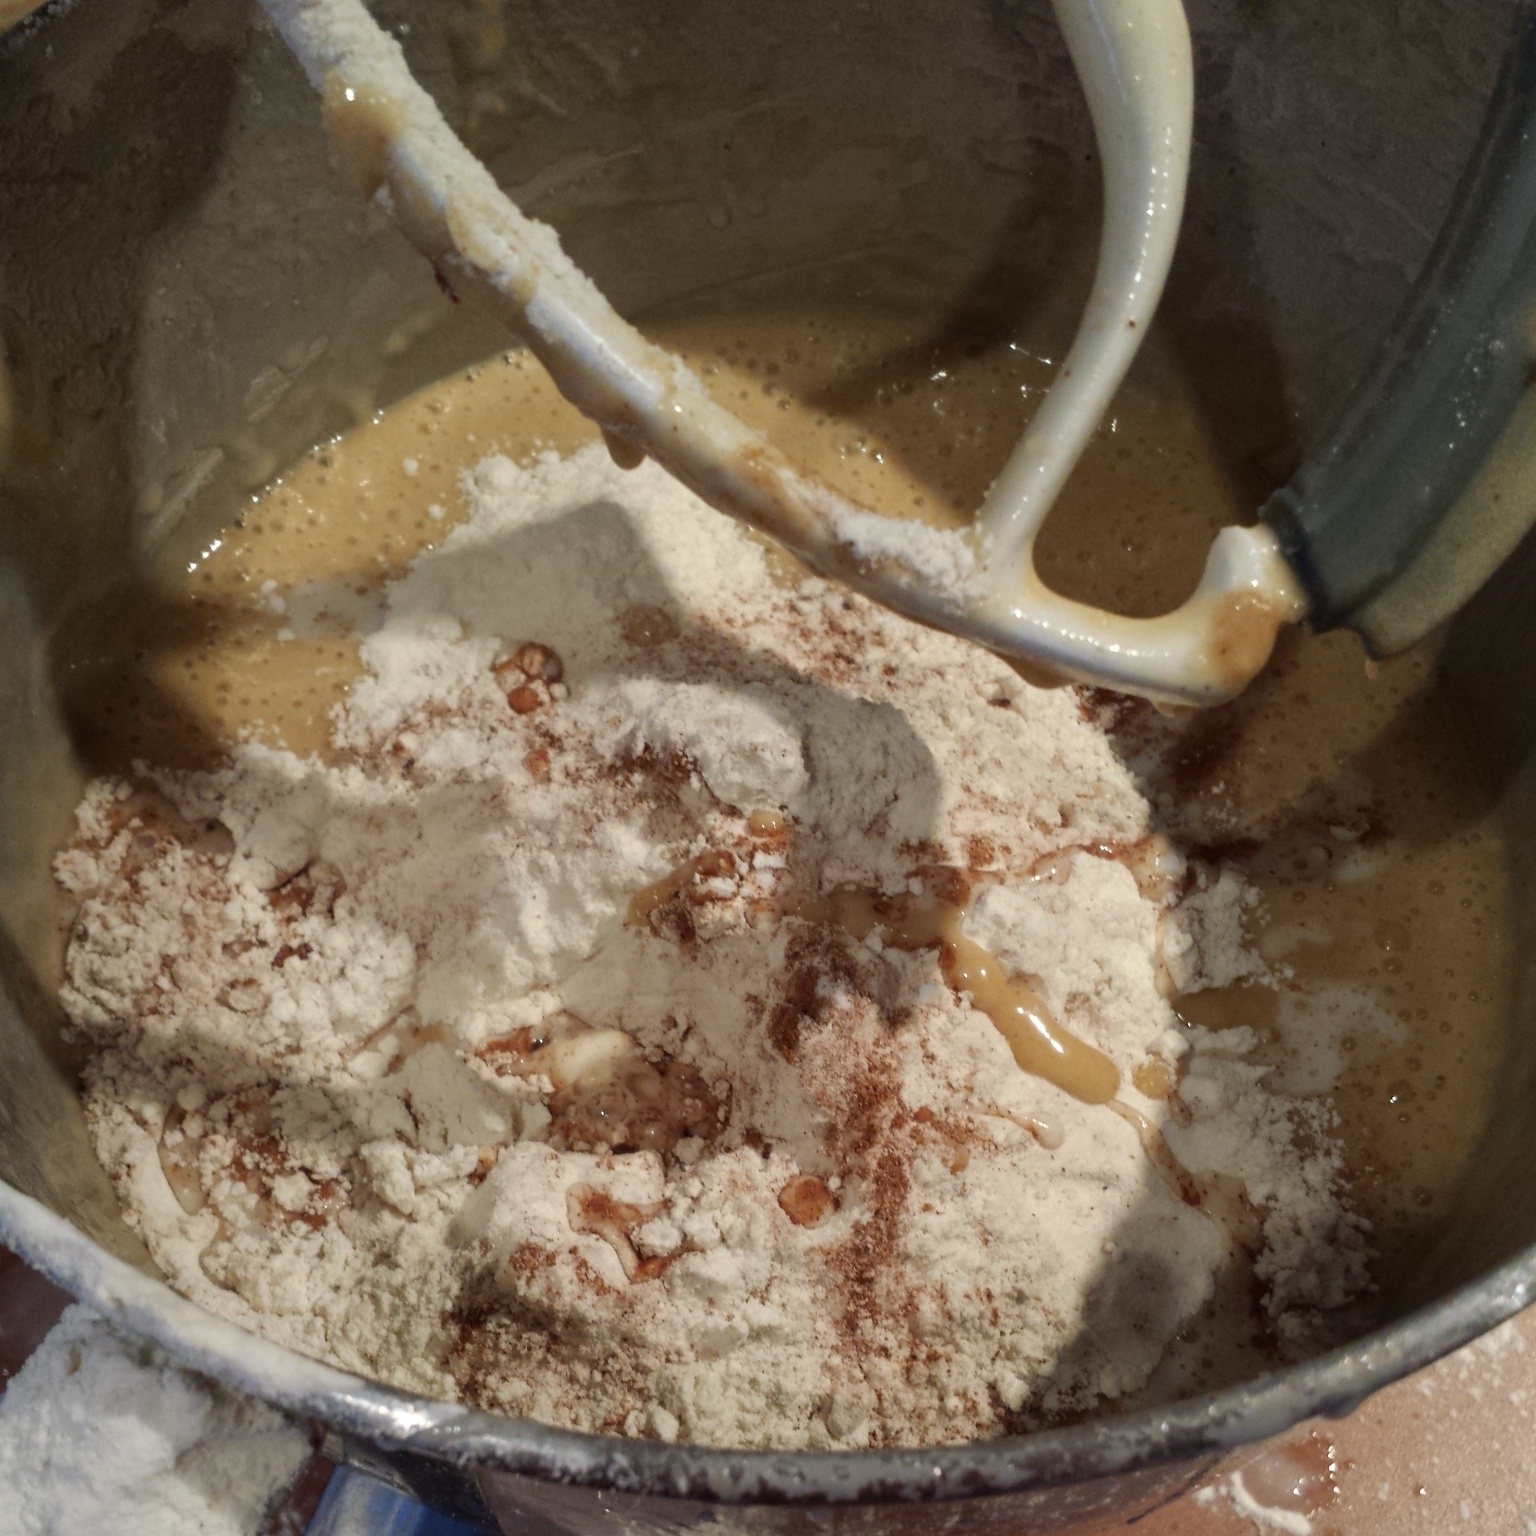
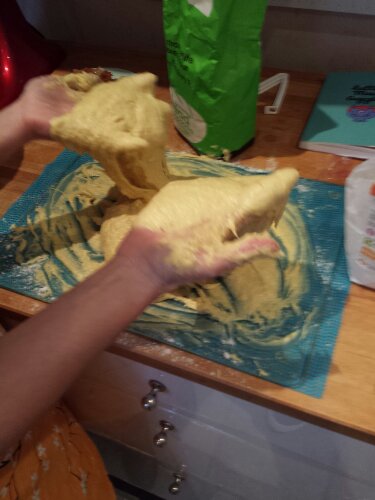
Fold (or beat) in the dry flour, salt, cassia and baking powder
The batter will become light and fluffy. Then to beat/fold in your dry ingredients. (I’m lazy and continued to beat in the ingredients using my mixer, but if you want to have a lighter cake you could fold it in with a metal spoon). I use ground cassia as I love it’s sweet cinnamonny notes. (Feel free to stick with cinnamon if you have it). Fold in a third of the dry ingredients followed by a third of the milk. Repeat until it’s all combined.

Fold in the toasted peanuts
Then fold in the cooled chopped peanuts into the thick glossy cappuccino coloured batter and it’s ready to bake! Pour the batter into your greased and lined baking tins. I used 2 x 6 inch round cake tins and a 1lb loaf tin. You could bake it in 2 larger cake tins, 8 or 9 inch rounds would require less time in the oven. My cakes took between 40 and 55 minutes. If you’re using a bigger tin your cake might take around 30 -40 minutes. The trick is to keep checking, once it’s safe to open the oven without causing your cake to deflate. I checked mine at 30 minutes and although the top of the cakes were firm to the touch the skewer didn’t come out clean when I tried it.

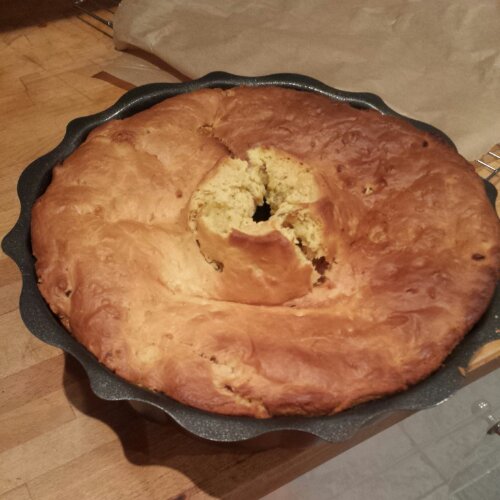
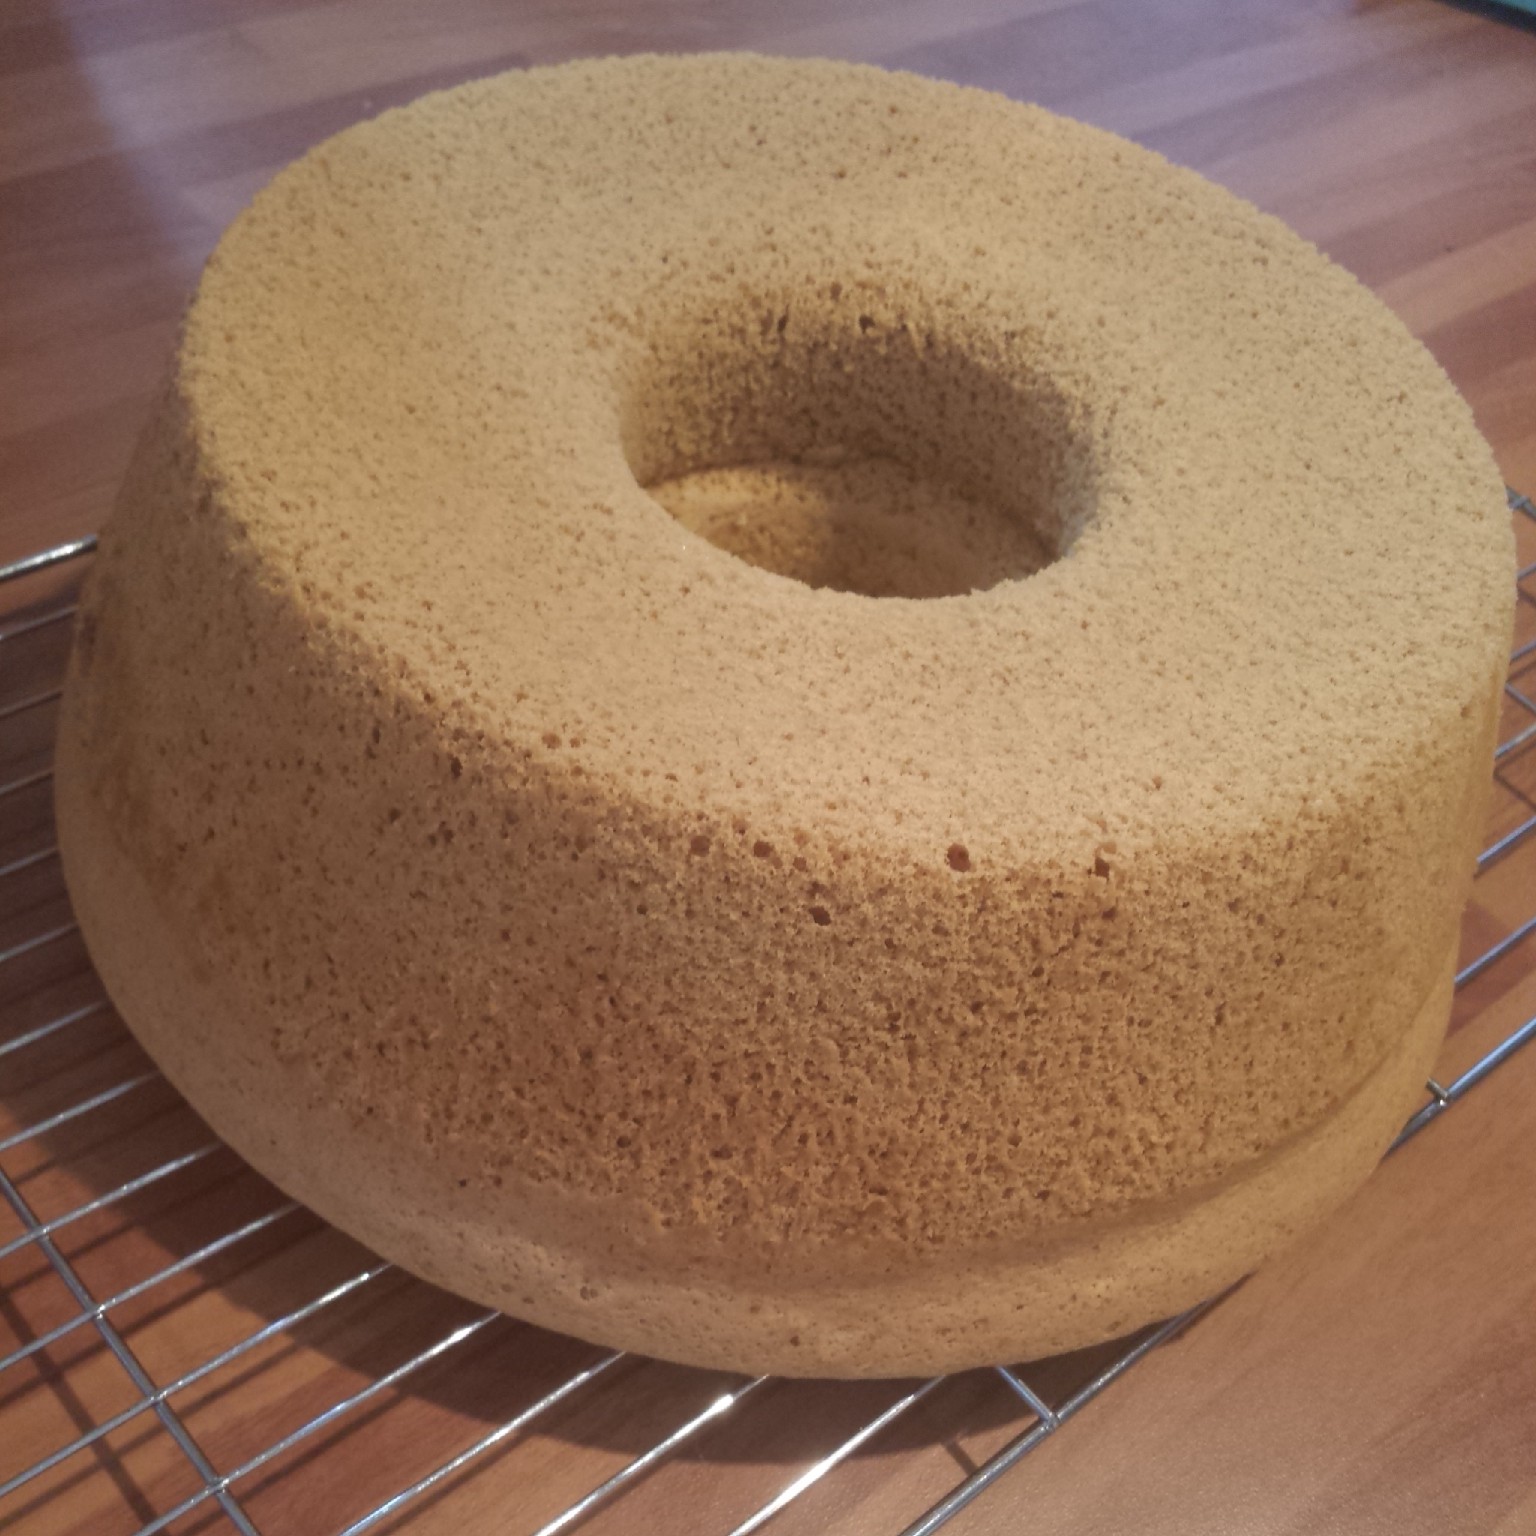
Golden brown groundnut cakes (the flat bottoms)
Once the cakes are firm to the touch and when you insert a skewer and it comes out clean. (They should be looking slightly caramelised on the top and take on a darker brown hue.) Then you know they’re done. Cool them on a rack covered in grease proof paper to stop the rack branding them with stripes. This cake freezes well uniced (wrap them in greaseproof paper first). I baked mine in advance so I could assemble and ice it for Cake Club later in the week and still have fresh moist sponge.
Peanut buttercream is a revelation. I could eat the entire bowl with a spoon. But resisted long enough to get a smoothish coat on the cakes. In hindsight I had enough to be a bit more generous (particularly in the middle of the two cakes) but regrets don’t suit anyone so be as frugal or free with your icing as you like.

Peanut Buttercream is my new favourite frosting
Beat your room temperature butter and smooth peanut butter together until they’re fluffy and light. I used a health food store peanut butter which promises to be natural and unprocessed. This did mean it was more oily than other peanut butters and more grainy. Give your peanut butter a good stir before measuring it out so it’s not too oily or dry. Then beat in your icing sugar and salt until it’s a smooth peanuty cream. The recipe called for honey but frankly this cake has enough sugar in it so I skipped it. Adding only a splash of milk to loosen it up and give a smoother finish.

Smoothing the buttercream with a palette knife all round the cake
I slapped on a layer on peanut butter for food measure before adding a layer of buttercream to sandwich the cakes together. Then using a palette knife apply a thin ‘crumb coating’ of buttercream around the sides and top of the cake to fill any gaps and encase the crumbs so they don’t peek through your final finish. Chill the cake uncovered for an hour in the fridge to allow the buttercream to set before applying a thicker coat all over. Cover the bowl of remaining buttercream with cling film to stop it drying out in between uses. Smooth the final layer with a palette knife as much as possible. Then return to the fridge.

Pour a generous coat of melted choclate all over your cake and coax it down the sides with a teaspoon… droooooool
While the cake sets melt 50g dark chocolate in the microwave 30 seconds bursts until it’s almost all melted. Stir inbetween between. Stir in the remaining 20g of chocolate and stir until melted to temper the chocolate and achieve a glossy finish.
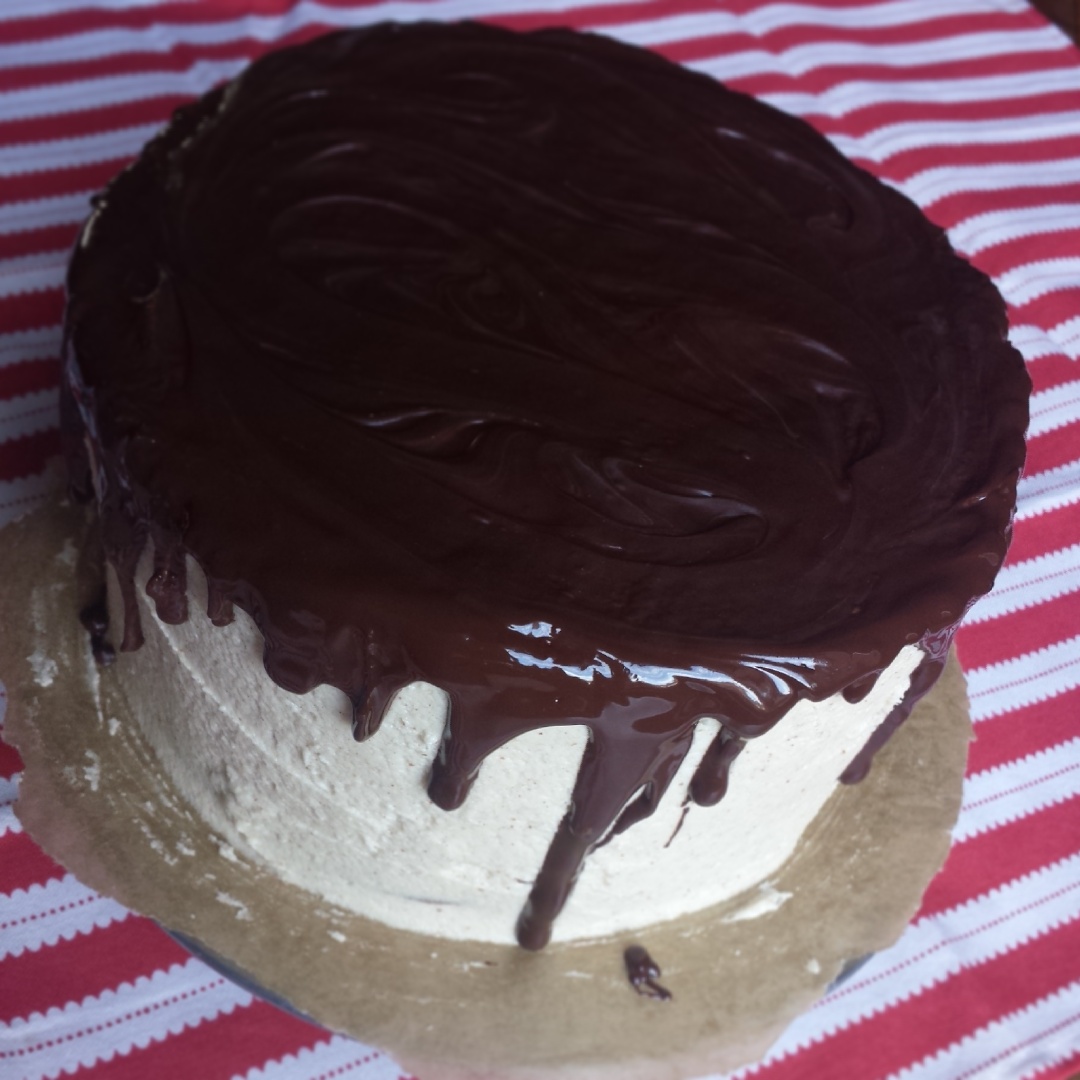
Drool
Use a teaspoon to coax the chocolate down over the sides of the cake and to swirl the chocolate over the top of the cake. Leave it to set at room temperature to retain the glossy finish. I took inspiration from Pinterest for this decoration (I lose hours looking at pretty cakes but I like this style, it reminds me of a chocolatey dripping paint tin). Refrigerating the cake will dull the sheen of the chocolate but you may want to store it in the fridge if you want to keep it for awhile or try to transport it! Firm buttercream frosting travels well and keeps the moisture in the cake too.
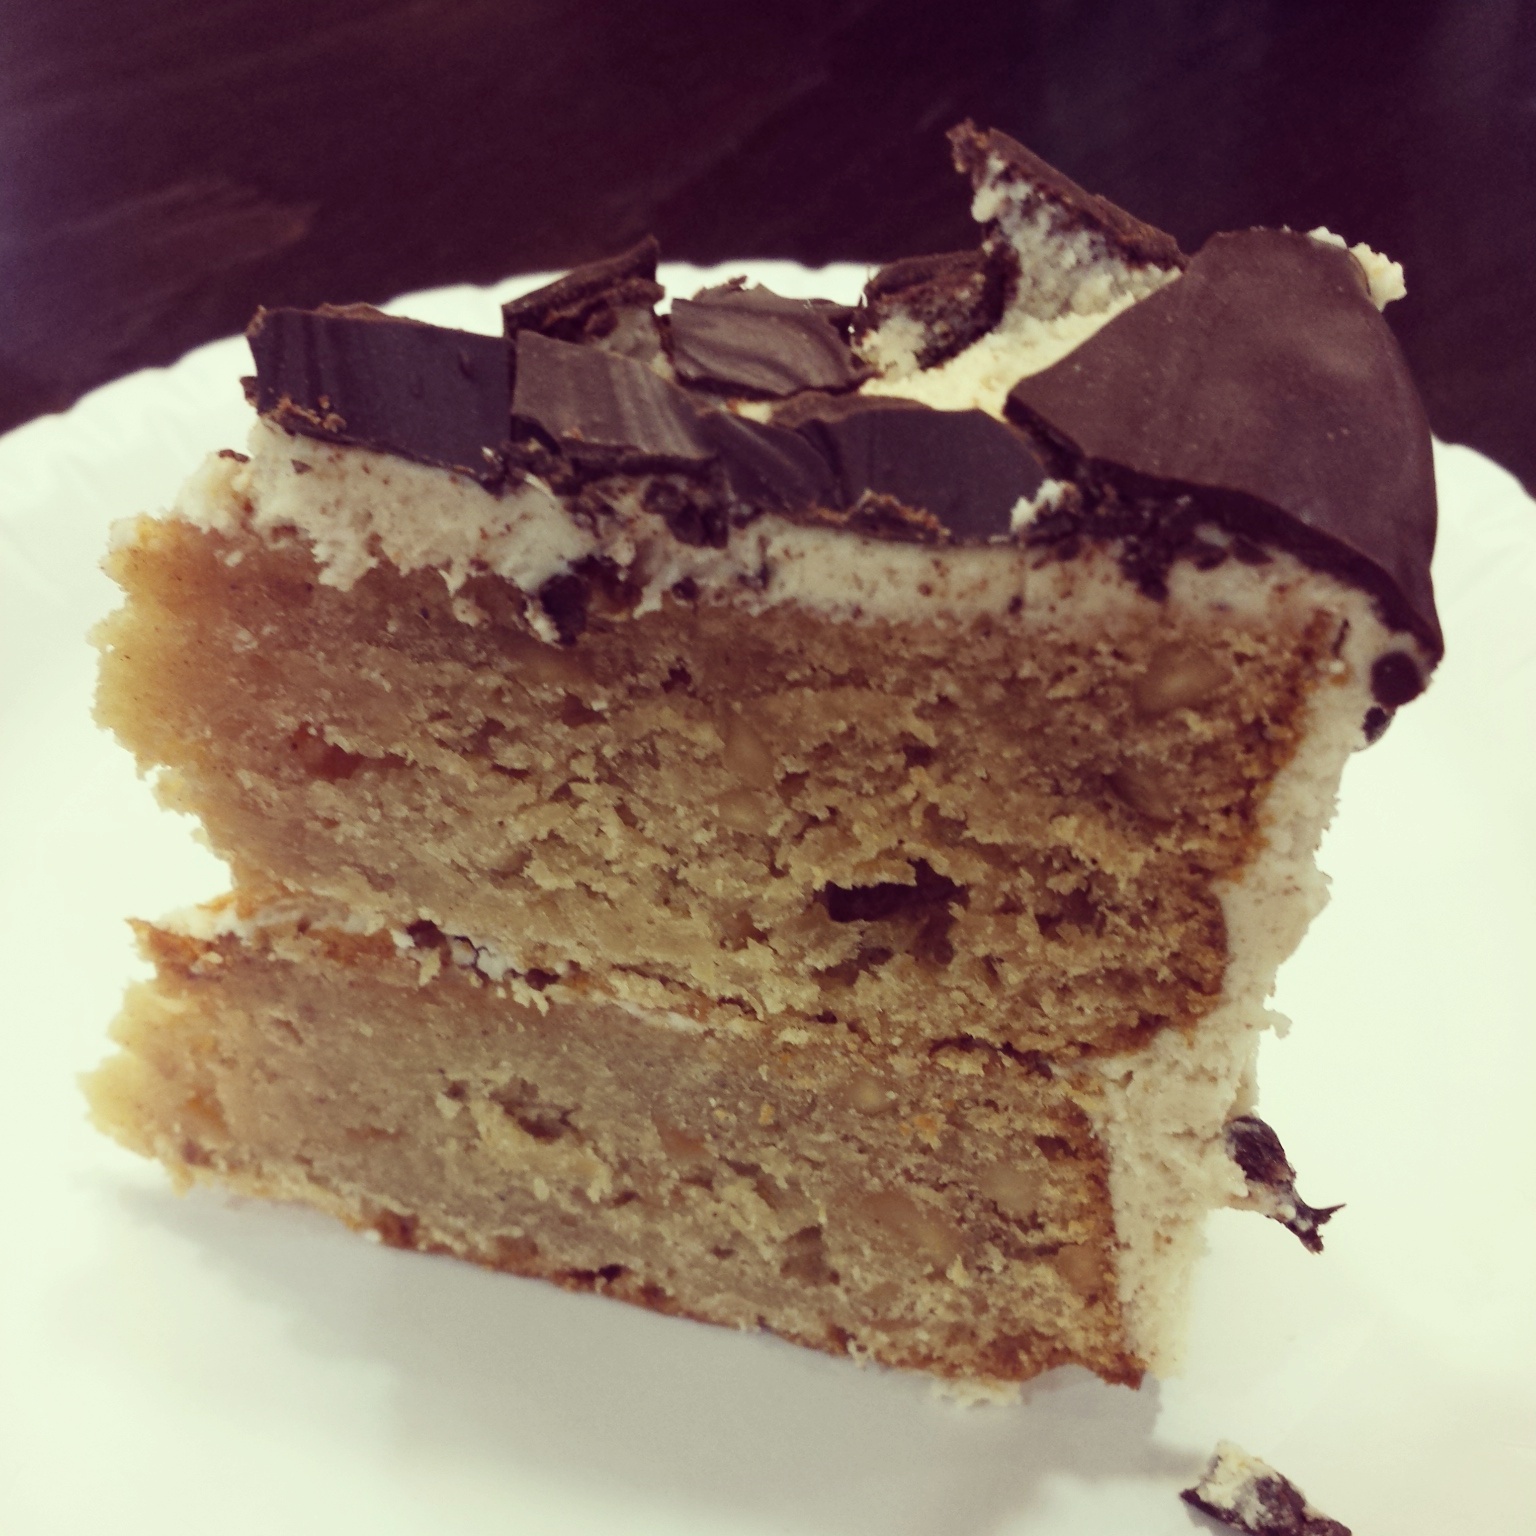
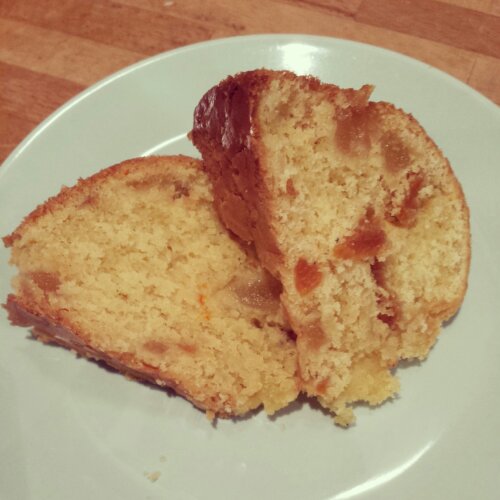
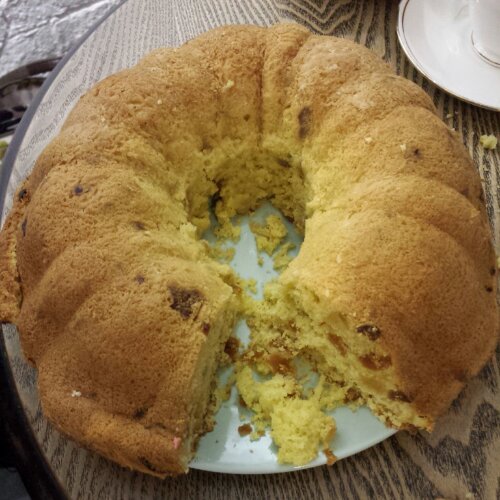
The Ugandan Peanut Cake in all it’s glory – check out the chunks of peanuts speckled throughout the cake
Serve it with a flourish and a sharp knife! This is one tall cake with chunks of peanuts to chop through too. And it is gorgeous, jam packed with peanuts and flavour. A friend likened it to ‘a cake version of the nougat in a snickers bar’ and that sums it up perfectly. It’s moist with a subtle hint of cassia permeating the sponge. I managed to keep a slice in the fridge for 3 days and it was just as delicious, not a dry slice in sight. I love this cake and will be making it again for sure!
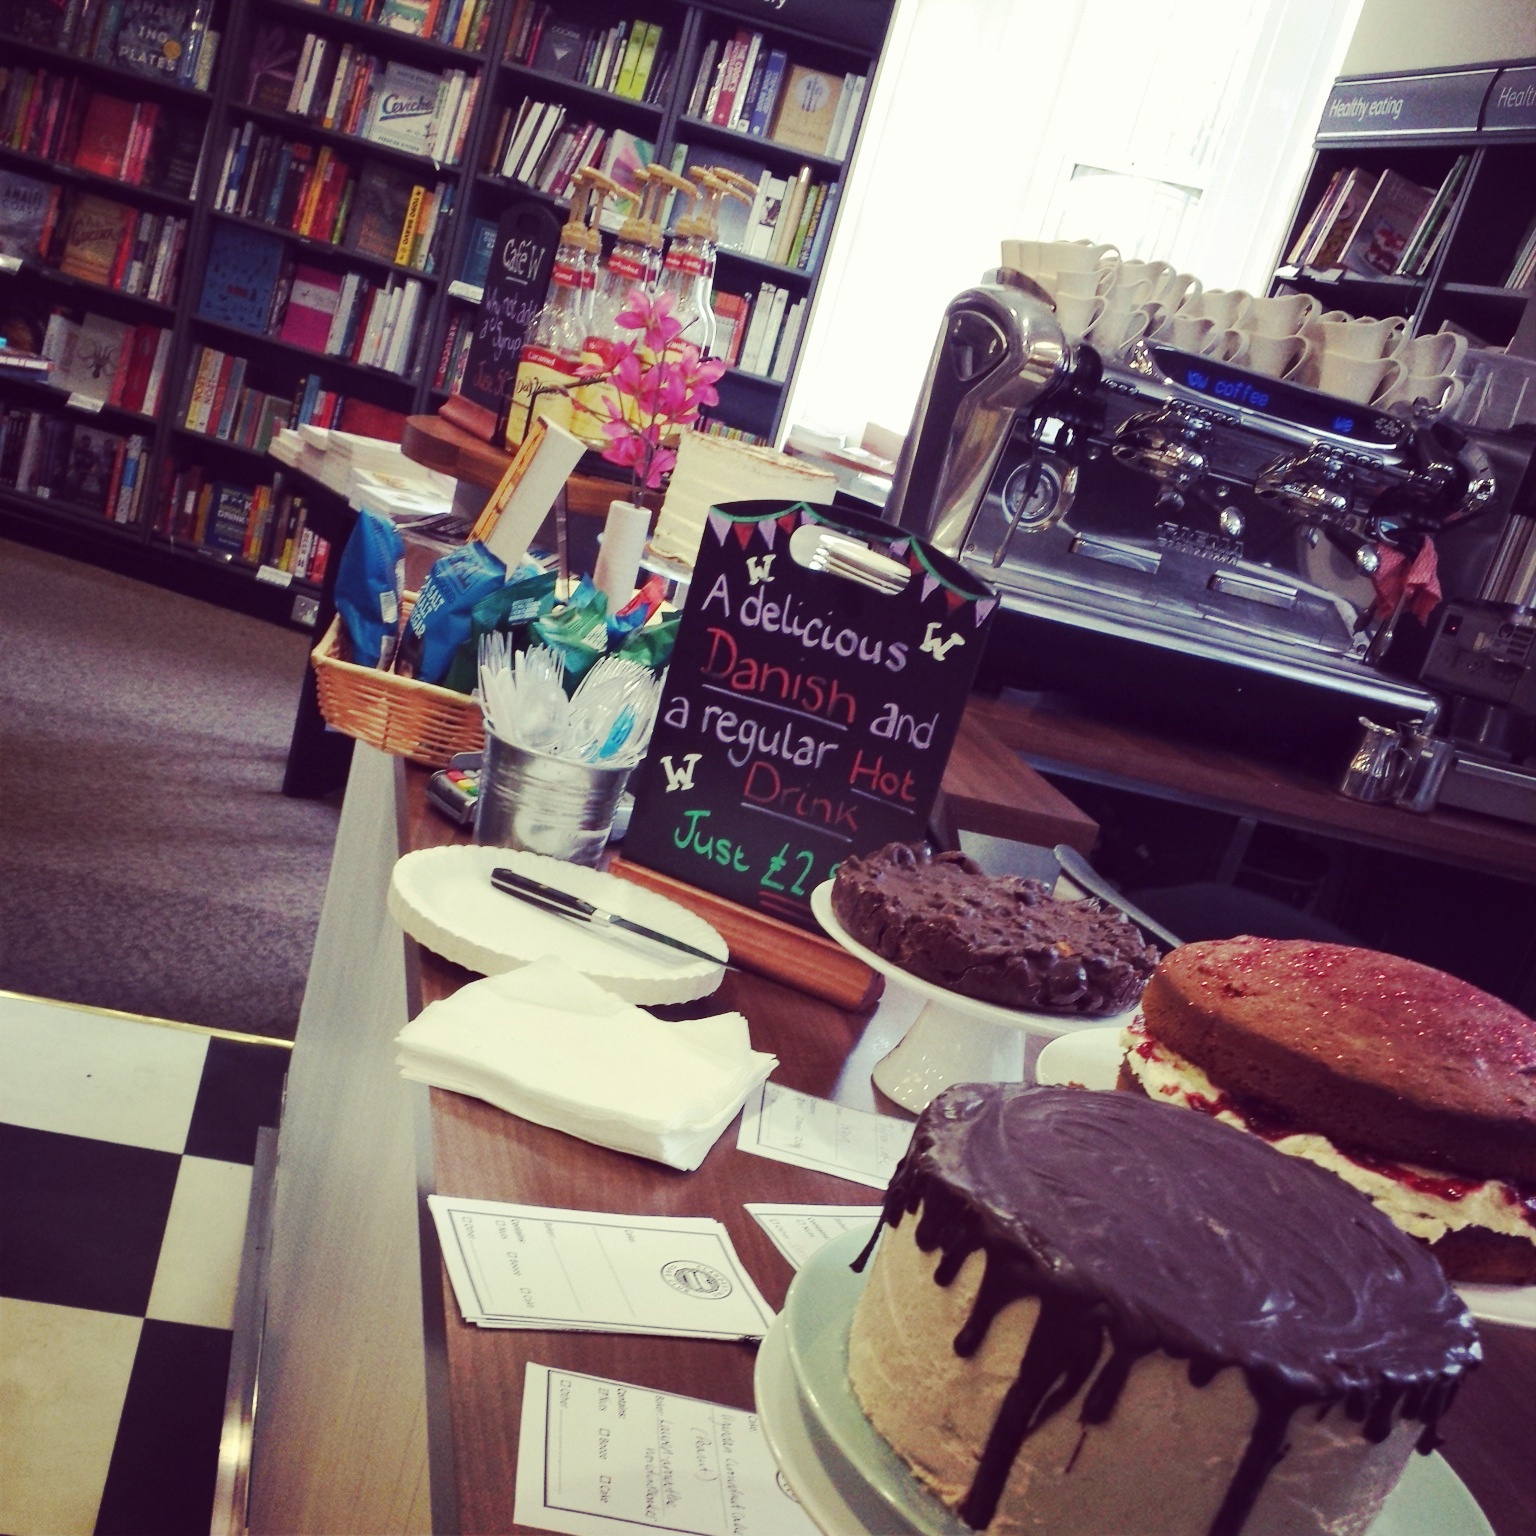
Clandestine Cake Club pushing the boundaries of cake
My Ugandan Groundnut Cake was very well received at our Clandestine Cake Club meeting at Waterstones. This week we were pushing the boundaries of cake. It was amazing. We had savoury cakes, Tiffin Cakes, extraordinary ombre 8 layer cakes and a magnificent ice cream cake (unfortunately that one was out of shot in the fridge).
Things I used to make my Ugandan Groundnut Cake
- 200g of blanched peanuts – toast for 10 mins in medium hot oven and chop up roughly. (Save these for the end)
- 6 eggs – Beat til fluffy. Then beat in…
- 170g caster sugar
- 170g light brown sugar
- 270g runny honey
- 2 tsp vanilla extract
- 170g (3/4 cup) vegetable oil
Beat sugar and eggs til light and fluffy. Then beat in a third of the the dry ingredients, followed by a third of the milk
Dry Ingredients
- 1 and a half tsp baking powder
- 1 tsp salt
- 2 tsp ground cassia
- 650g plain flour
Wet Ingredients
- 270ml milk (I use semi skimmed)
Once all the wet and dry ingredients are fully incorporated, fold in the toasted peanuts.
Bake in 2 x 6 inch round cake tins (greased and lined) and a a 1lb loaf tin at 170 degrees c for 35 – 50 minutes. Depending on your oven you may need to check if your cakes are cooked sooner. I took the loaf cake out first after 40 minutes and the last 2 round cakes needed a little longer.
Peanut Buttercream
- 200g butter
- 50g peanut butter (I used smooth wholefood peanut butter but you can use your favourite brand) – beat the butters together until soft and smooth before beating in the other ingredients.
- 1/2 tsp salt
- 400g icing sugar – beat in the sugar until it’s smooth and no longer grainy
- a splash of milk to loosen it up if it starts to dry out
Chocolate Coating
- 70g of dark chocolate melted – I used 70% cocoa chocolate but use whatever you have to hand.

Yum
If you like nutty cakes you may also enjoy my Iranian Pistachio Cake too!


")