Braided Pulla infused with cardamom, orange, apricot and pistachio
I realise that I’ve slowed down on the old blogging front in recent months sorry! Partly due to it being Summer and not feeling the need to have an extra cake layer to keep me warm and also due to breaking my phone (and camera) which meant I’ve lost quite a bit of data and worked my way through 5 faulty handsets in 2 months… Anyways I’ve salvaged enough to bring you my braided Pulla.

Apricot Cardamom and Almond Pulla
I felt the urge to bake something delicious and not too sweet. This cardamom infused apricot and almond pulla braid is just what the phone doctor ordered.
Fluffy, fragrant, light and slightly sweet Pulla is an enriched dough that compliments a good strong coffee perfectly. Gently scented with cardamom and studded with dried apricots for extra pops of flavour. If you were in need of additional luxuriousness ribbons of water icing would transform this into an excellent iced bun too.
Traditionally Pulla is served with coffee in thin slices or as individual buns. Leftover Pulla (if you ever get that far!) can be twice baked to create a crisp biscotti type biscuit to dunk in your coffee.

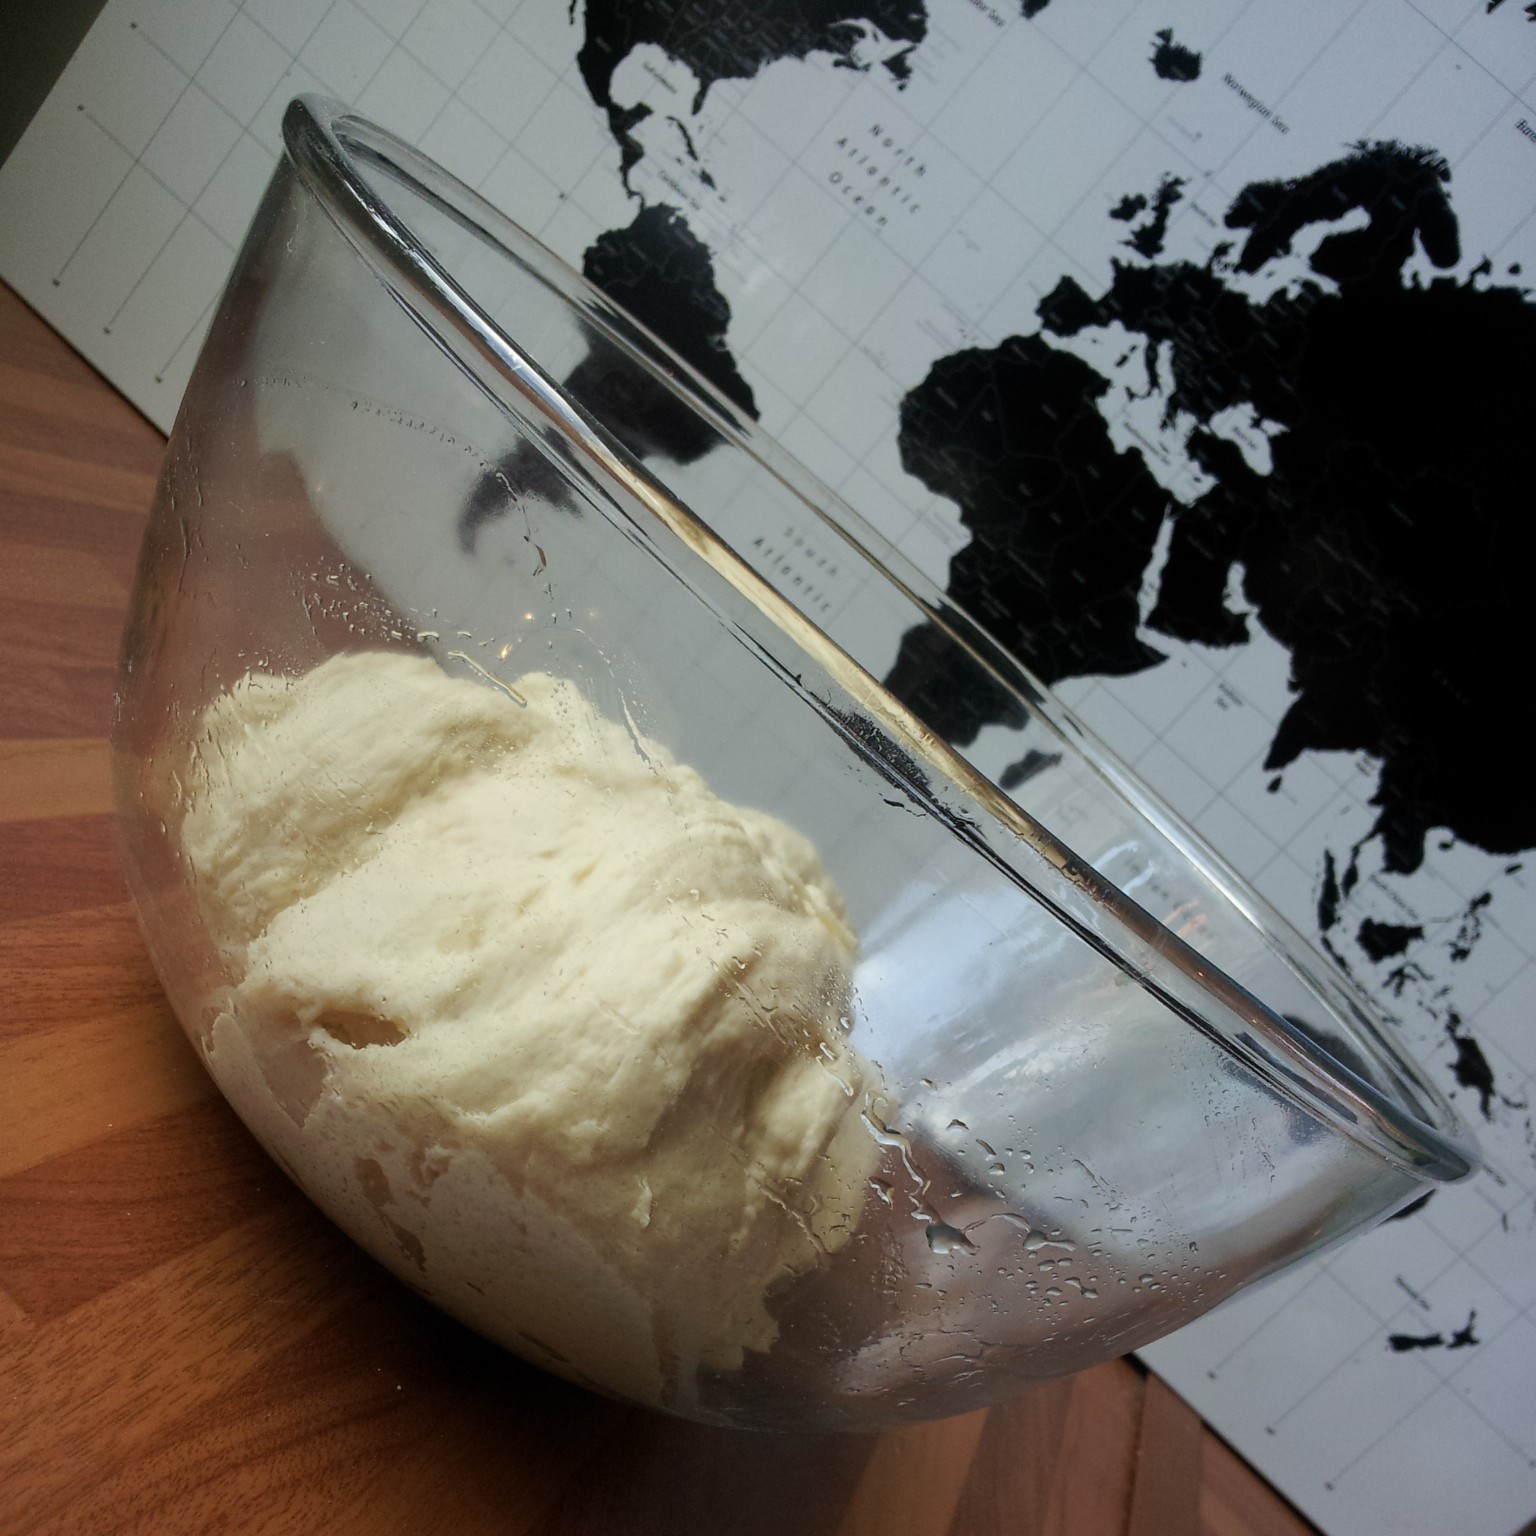
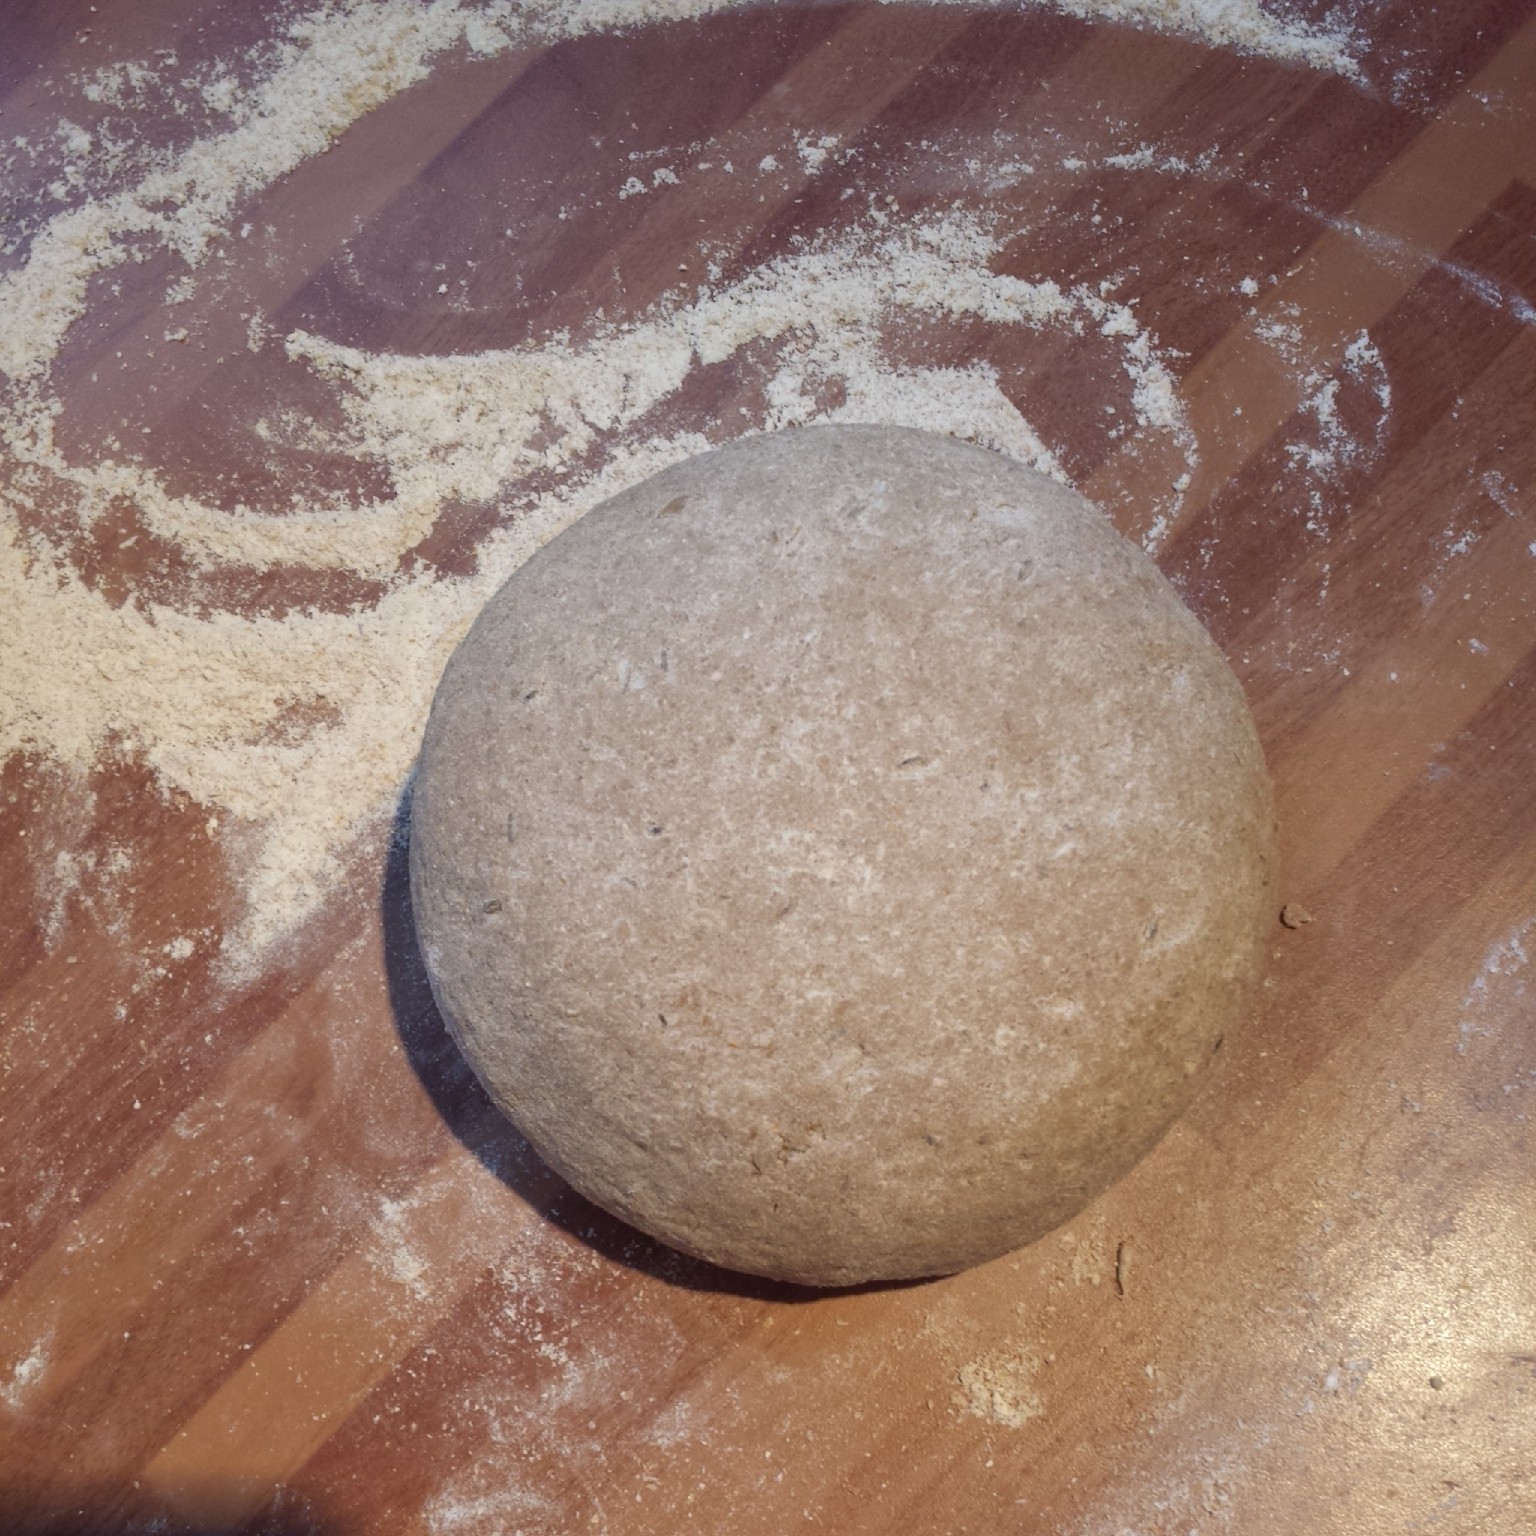
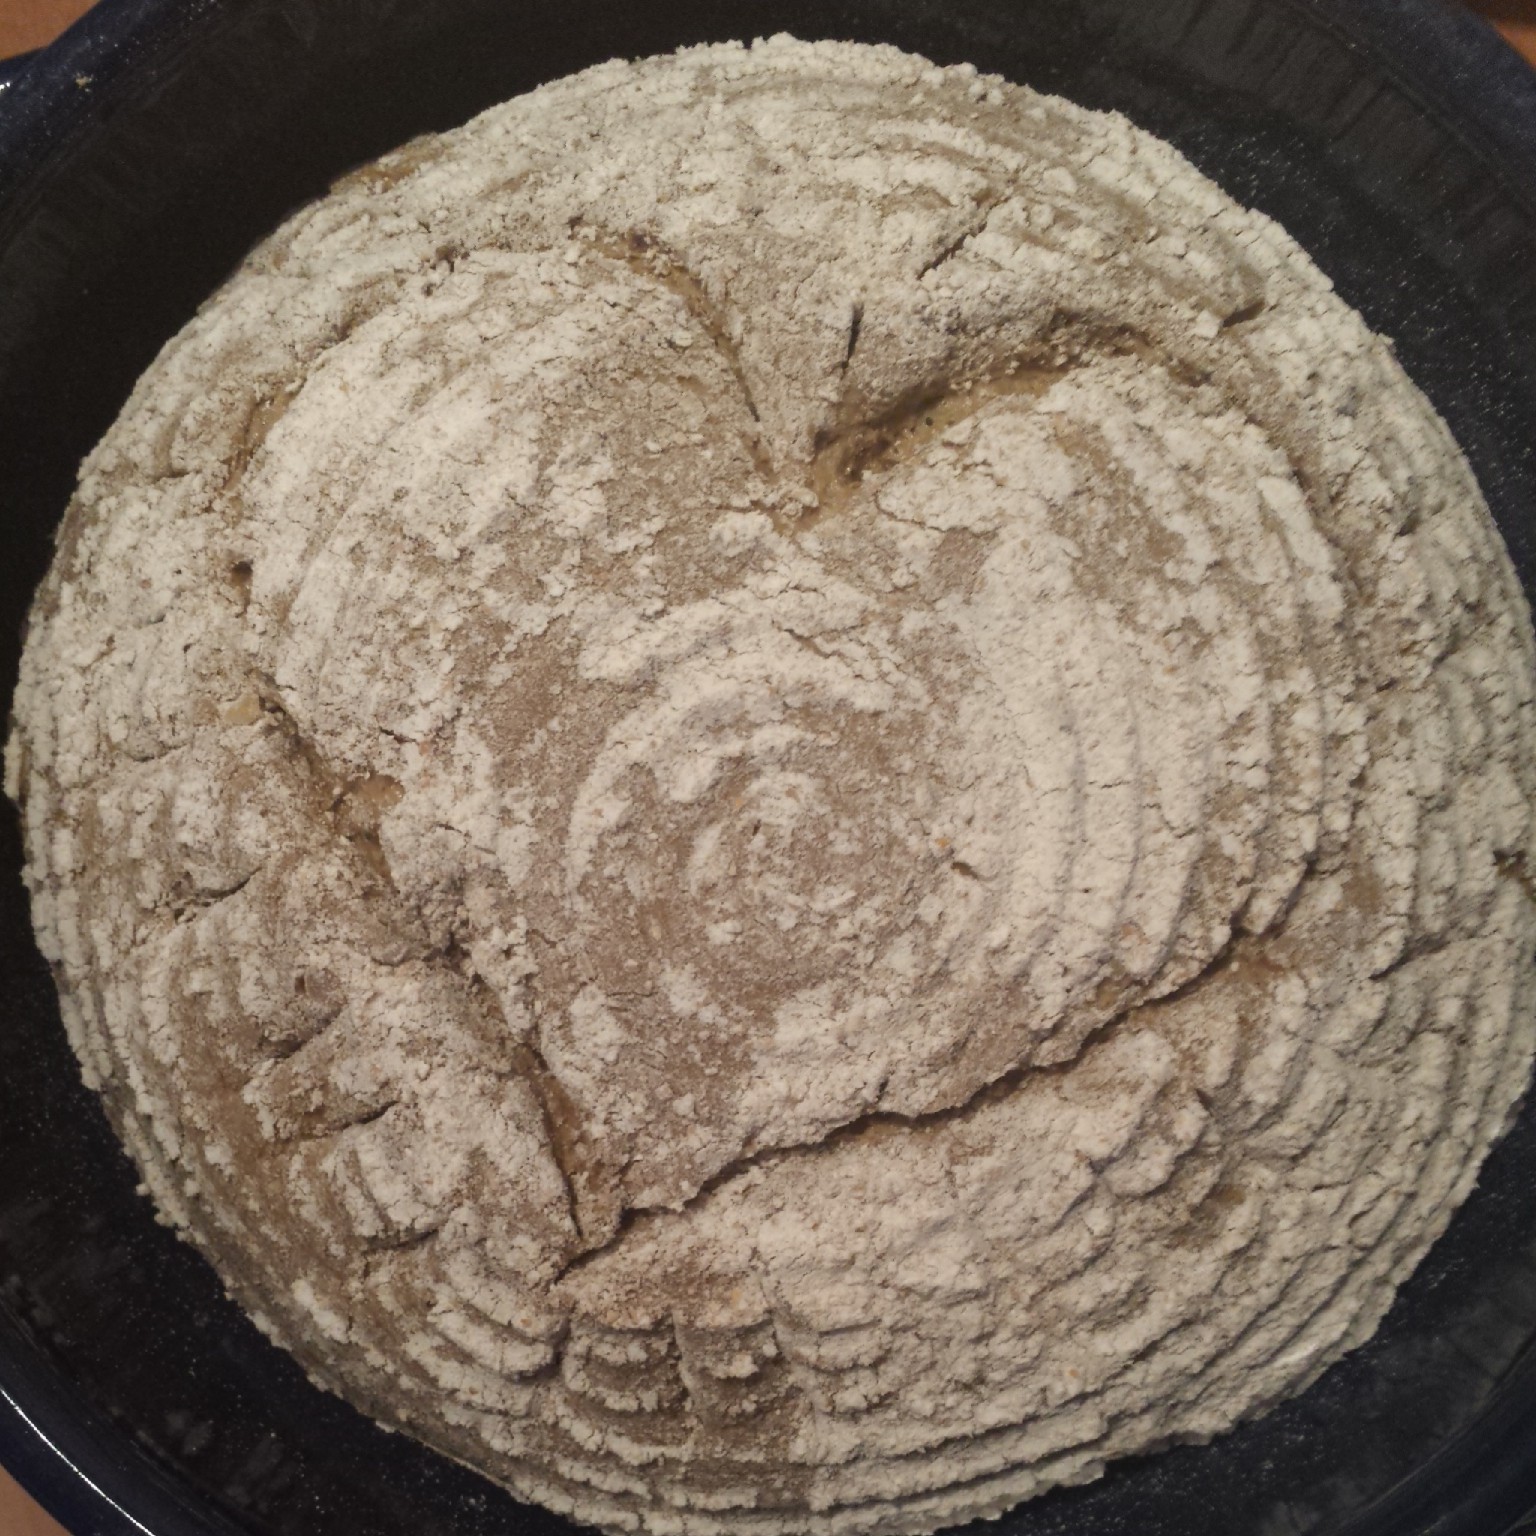
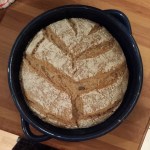
Prove the dough until doubled in size
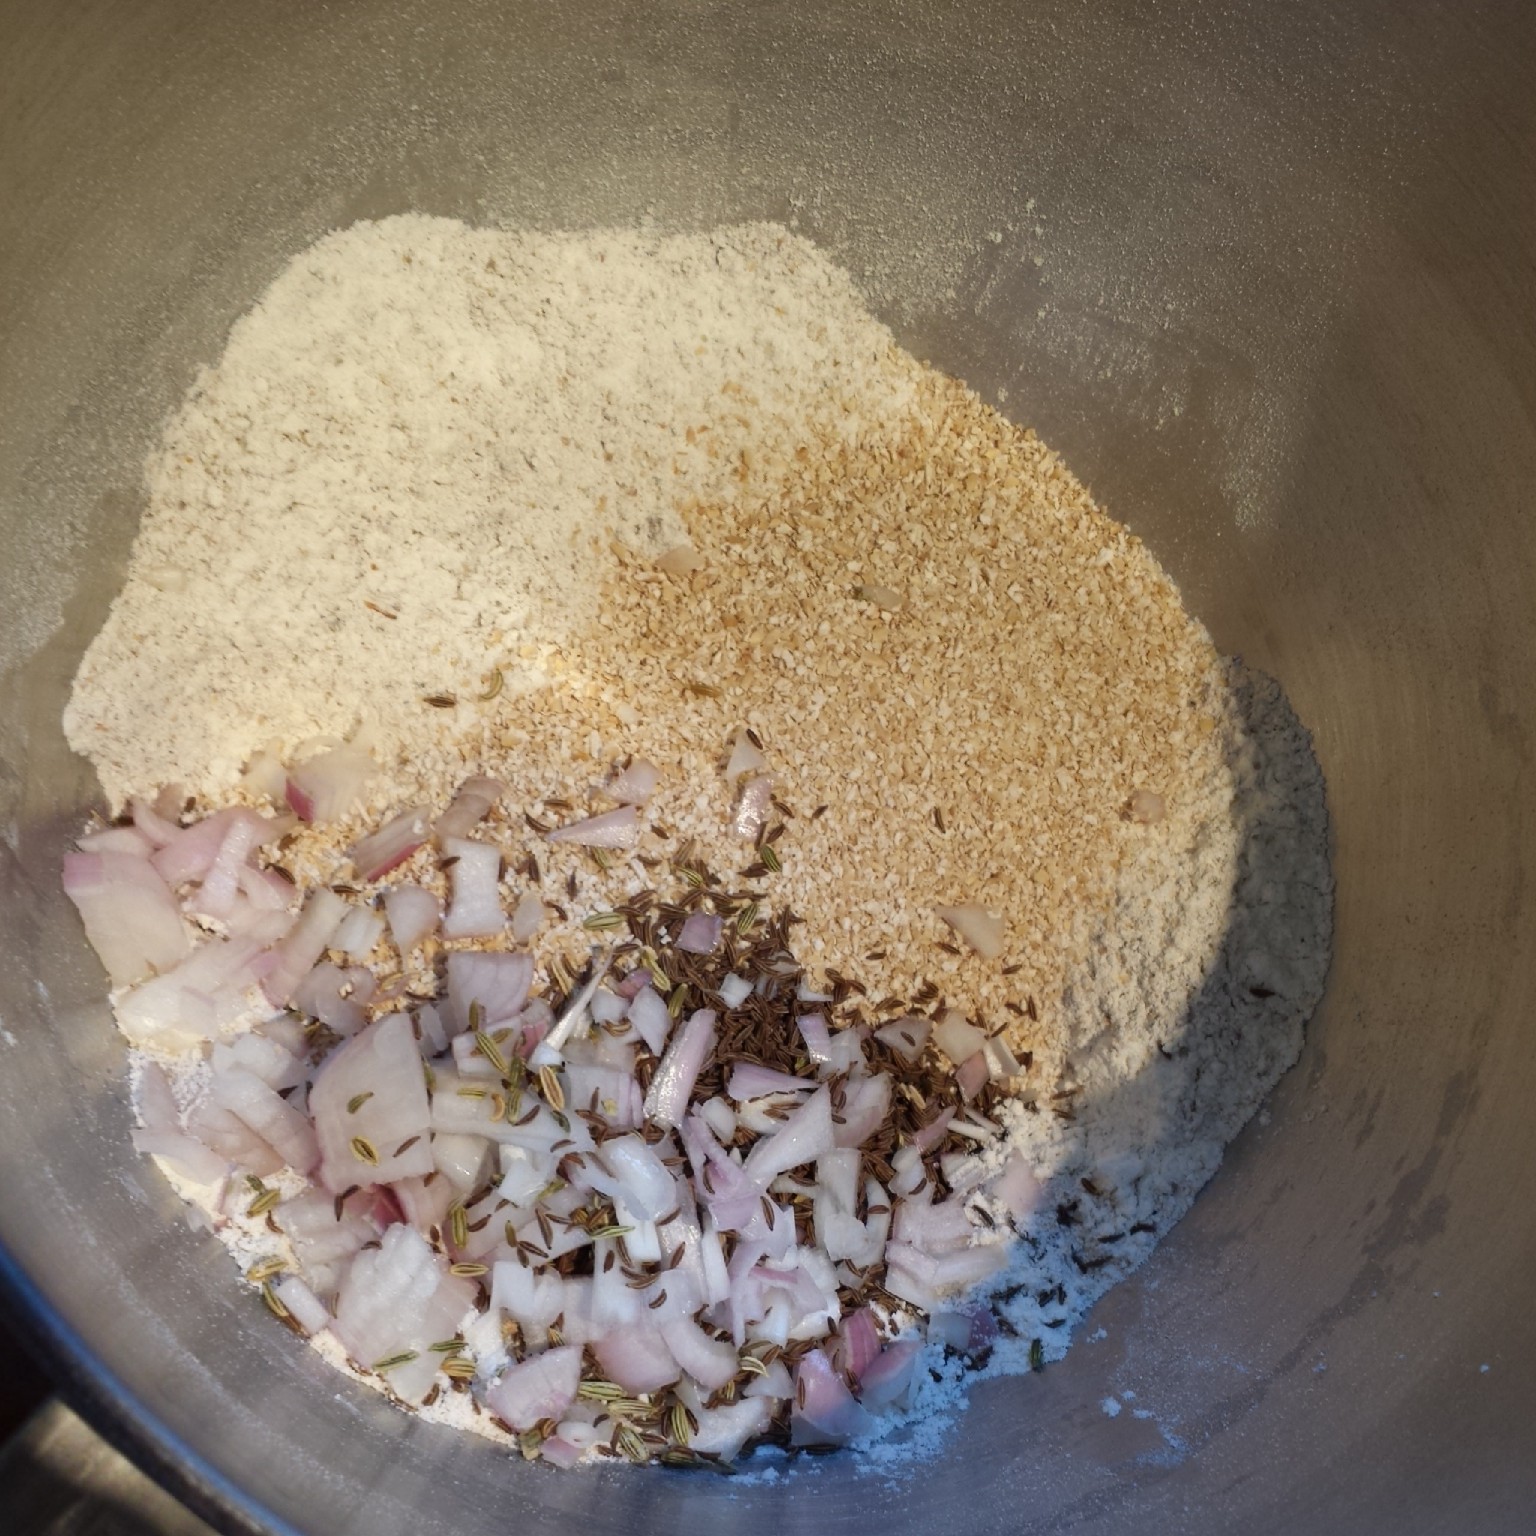
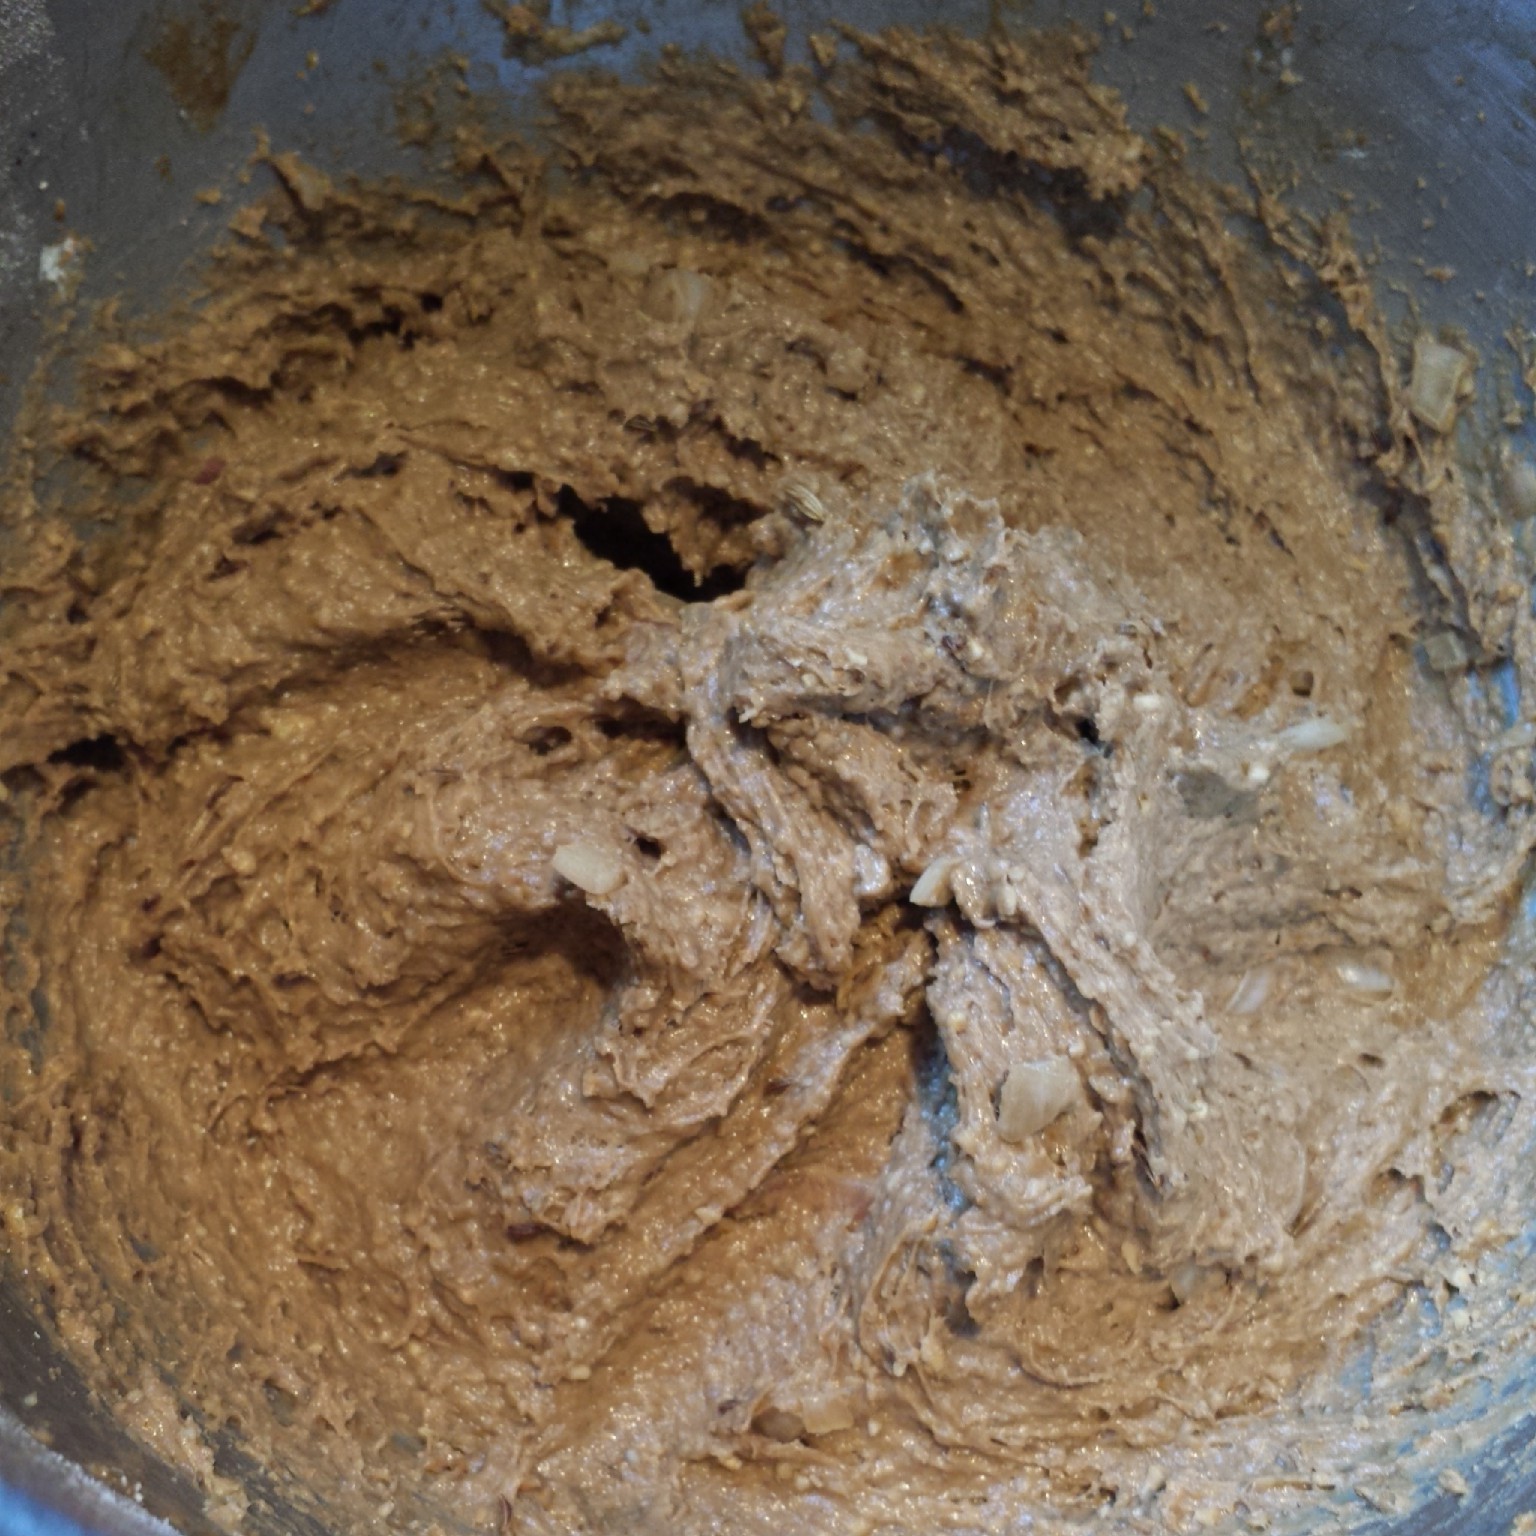
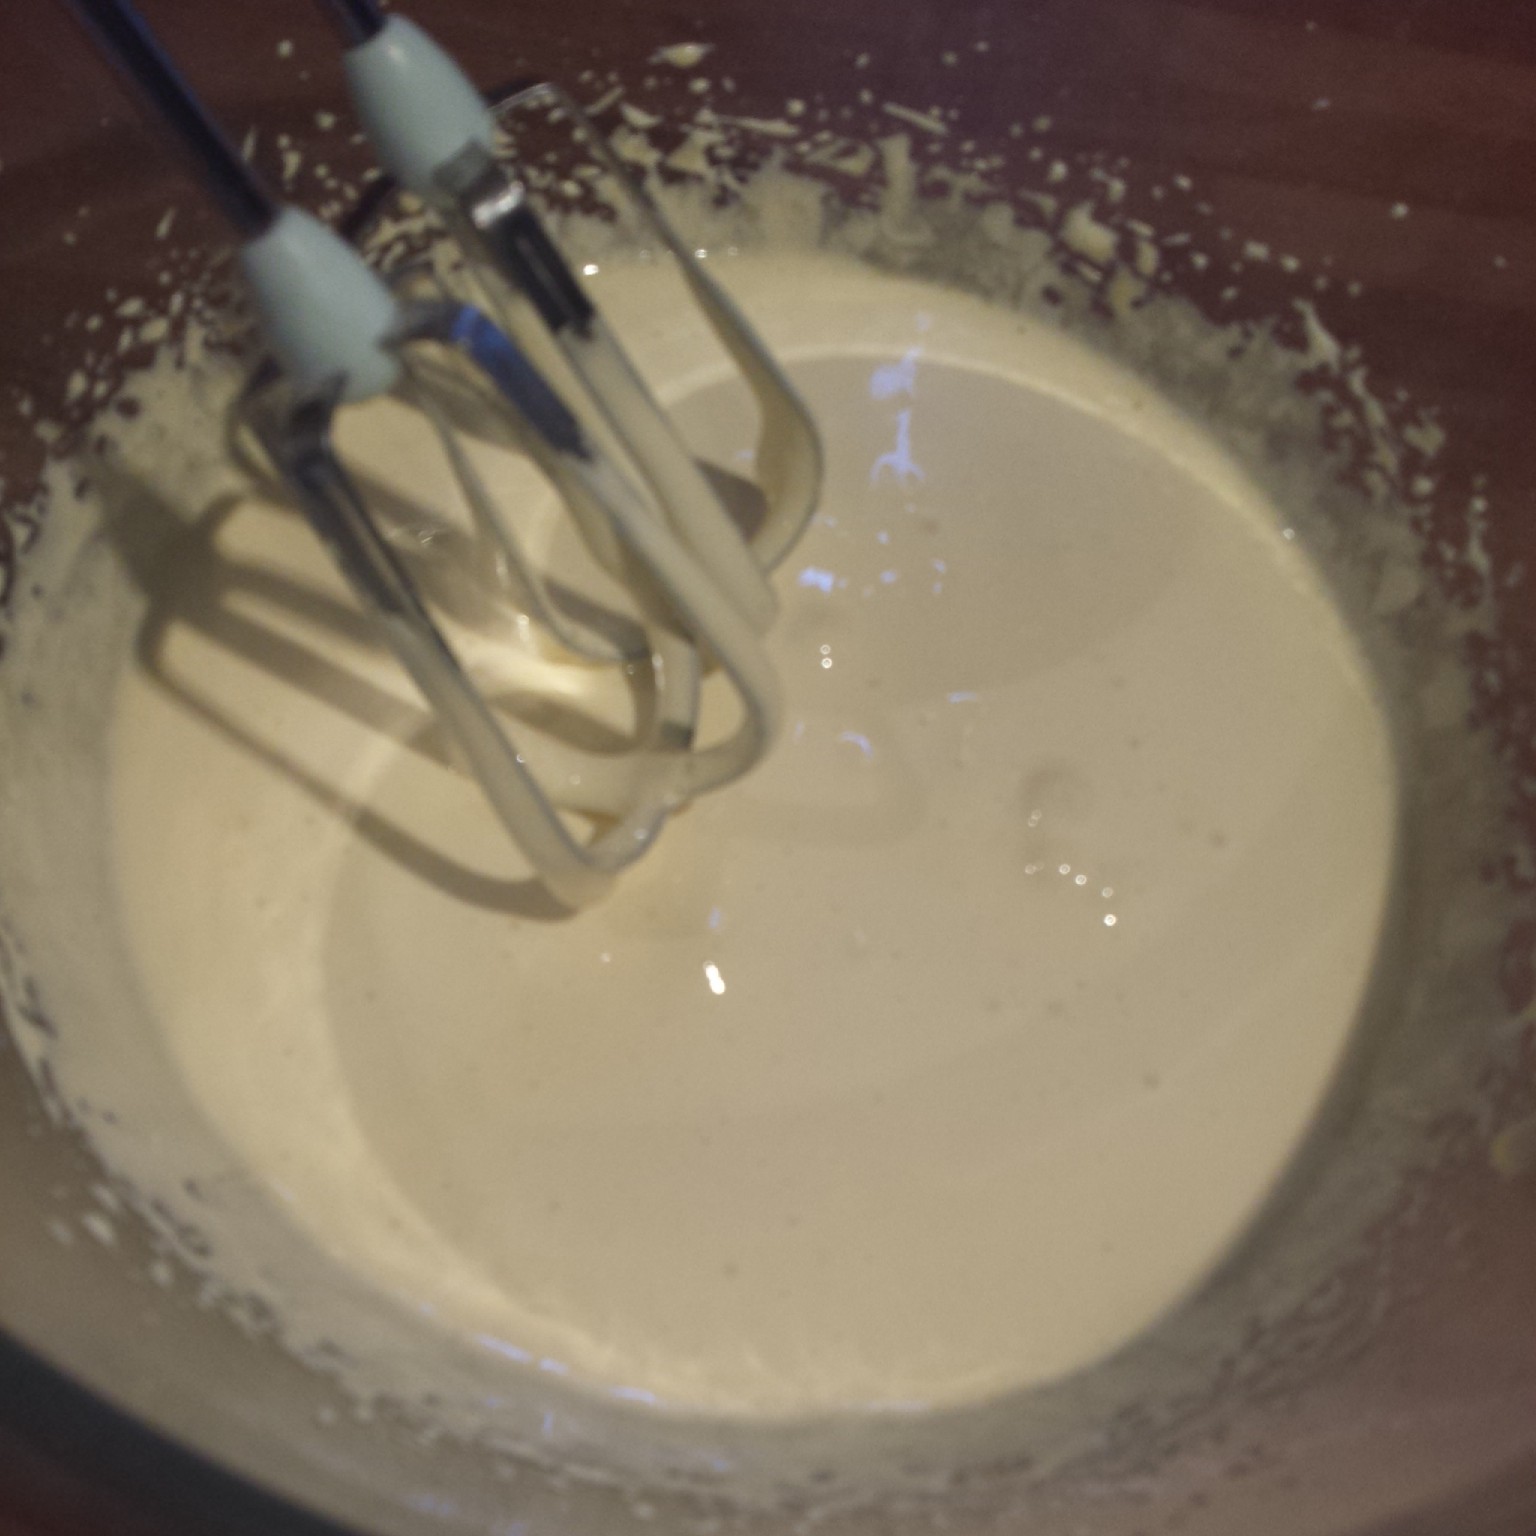
As with all other yeasted doughs bring the ingredients together and knead for 10 minutes to allow the gluten to develop. Once the dough is shiny, stretchy and springs back when pressed it’s ready to place in a greased bowl, cover with greased cling film and prove.

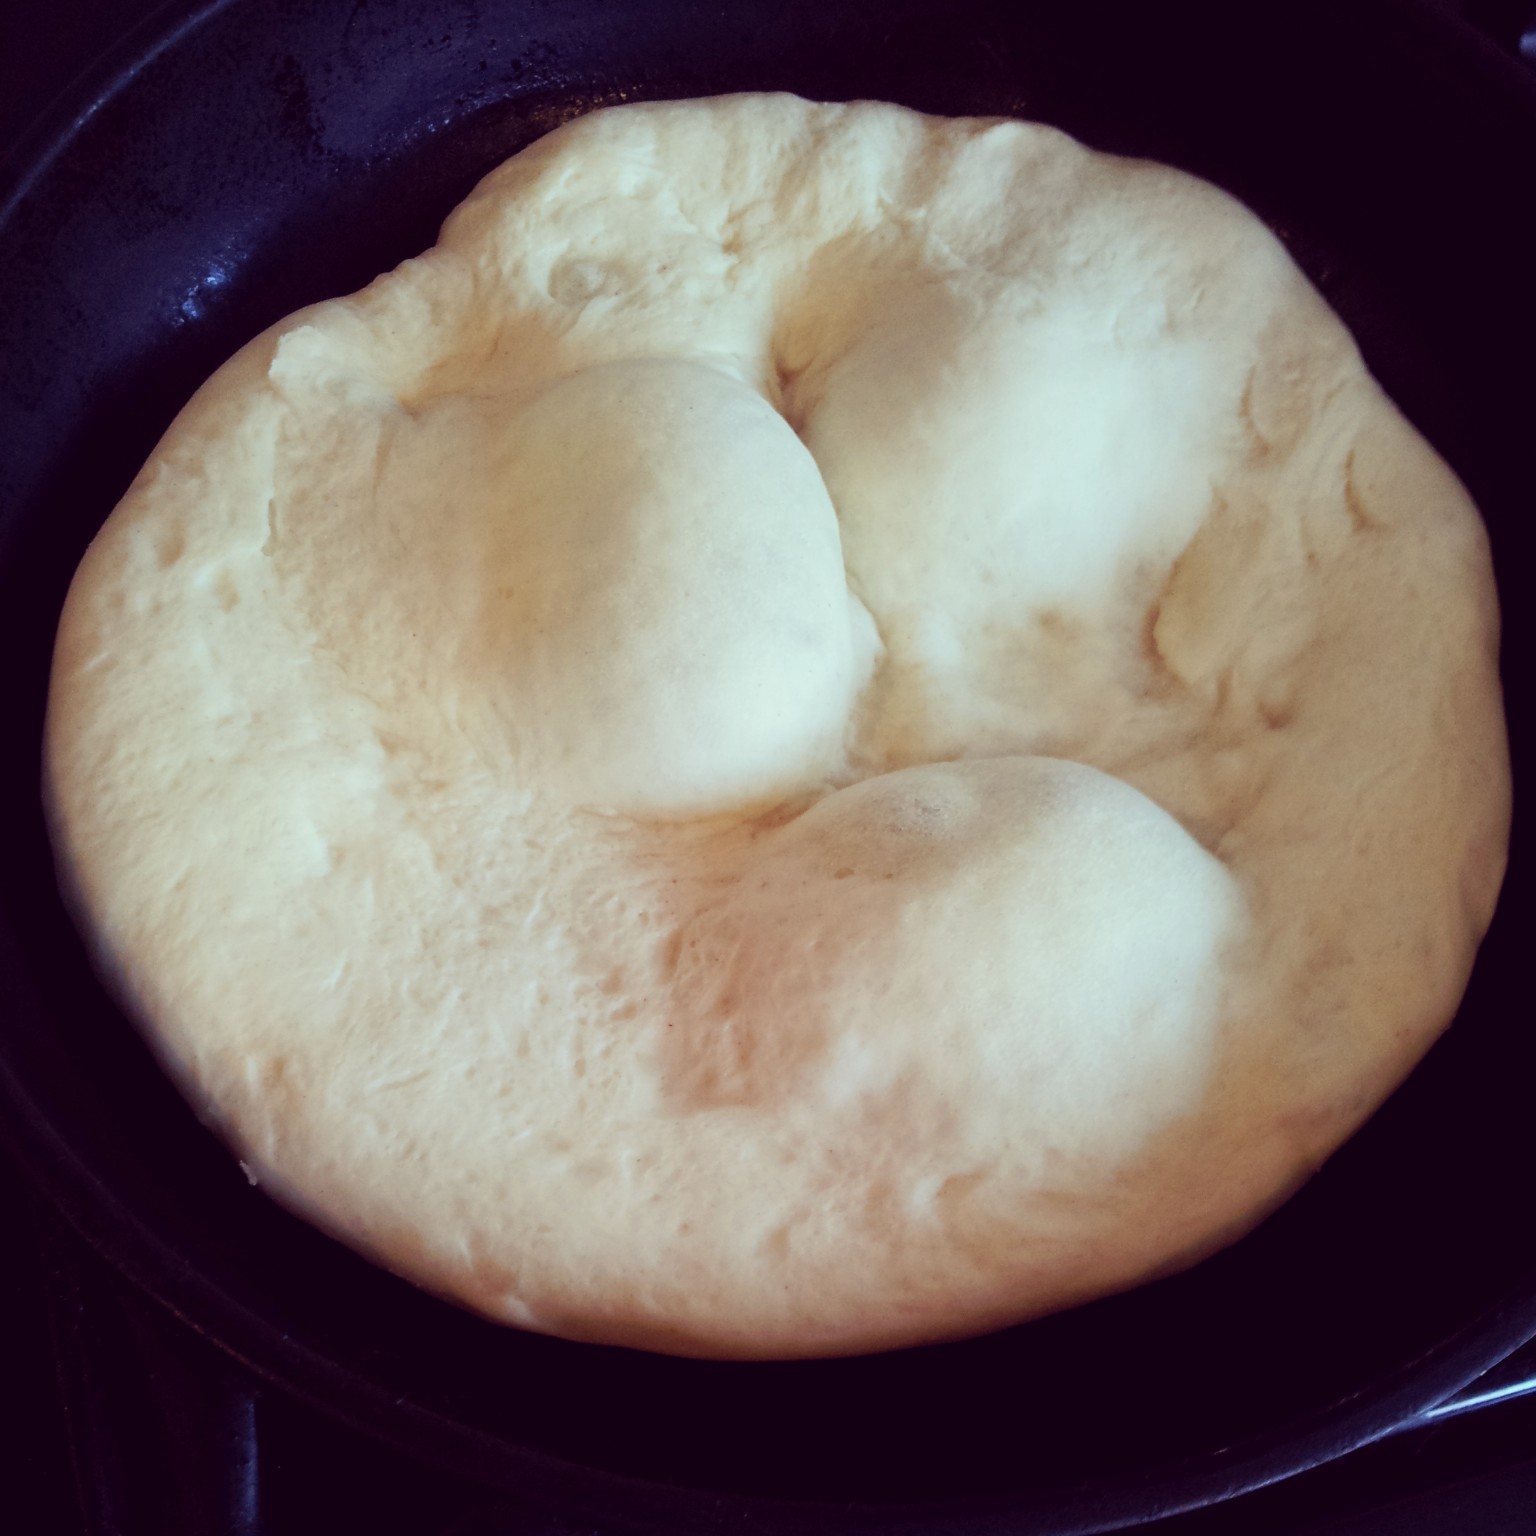
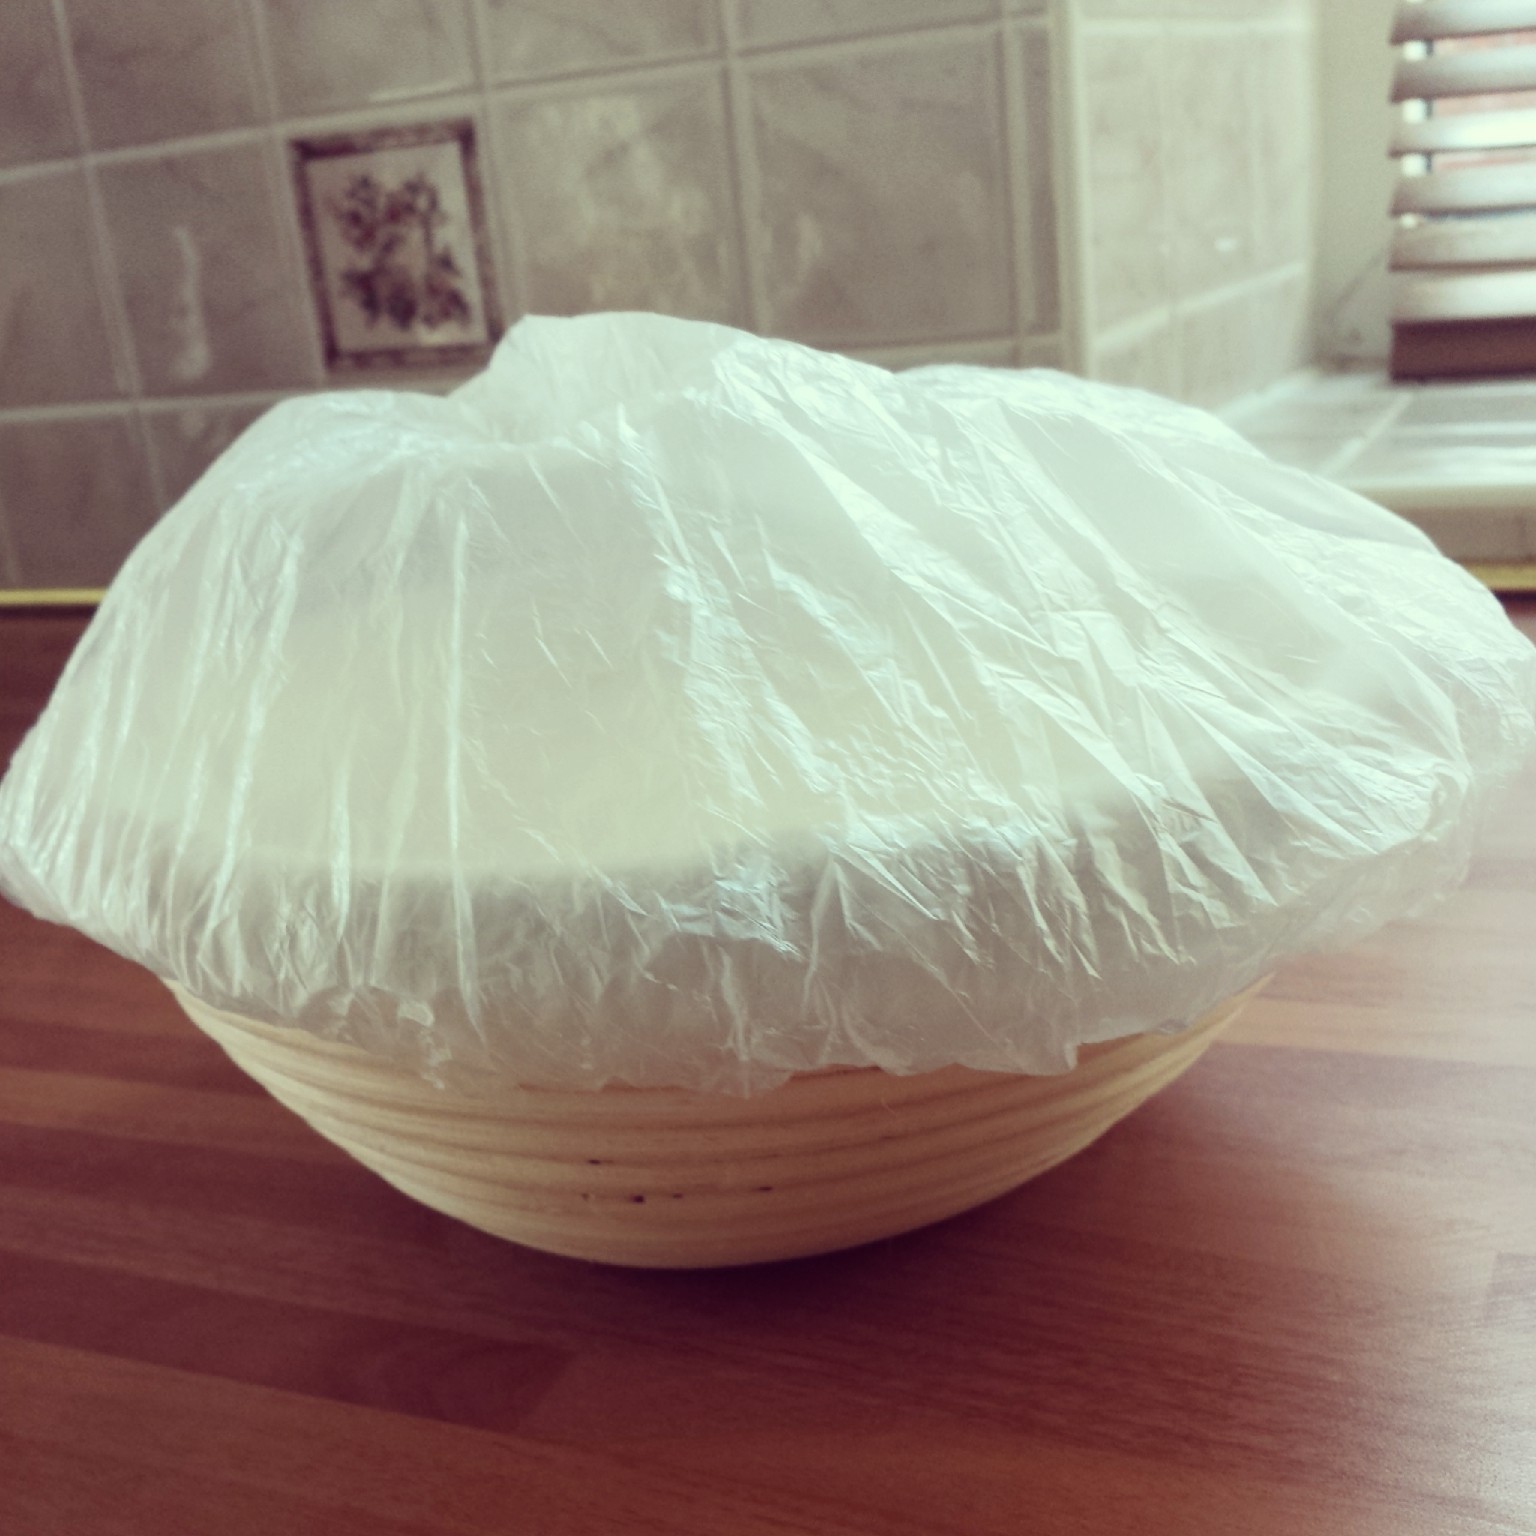
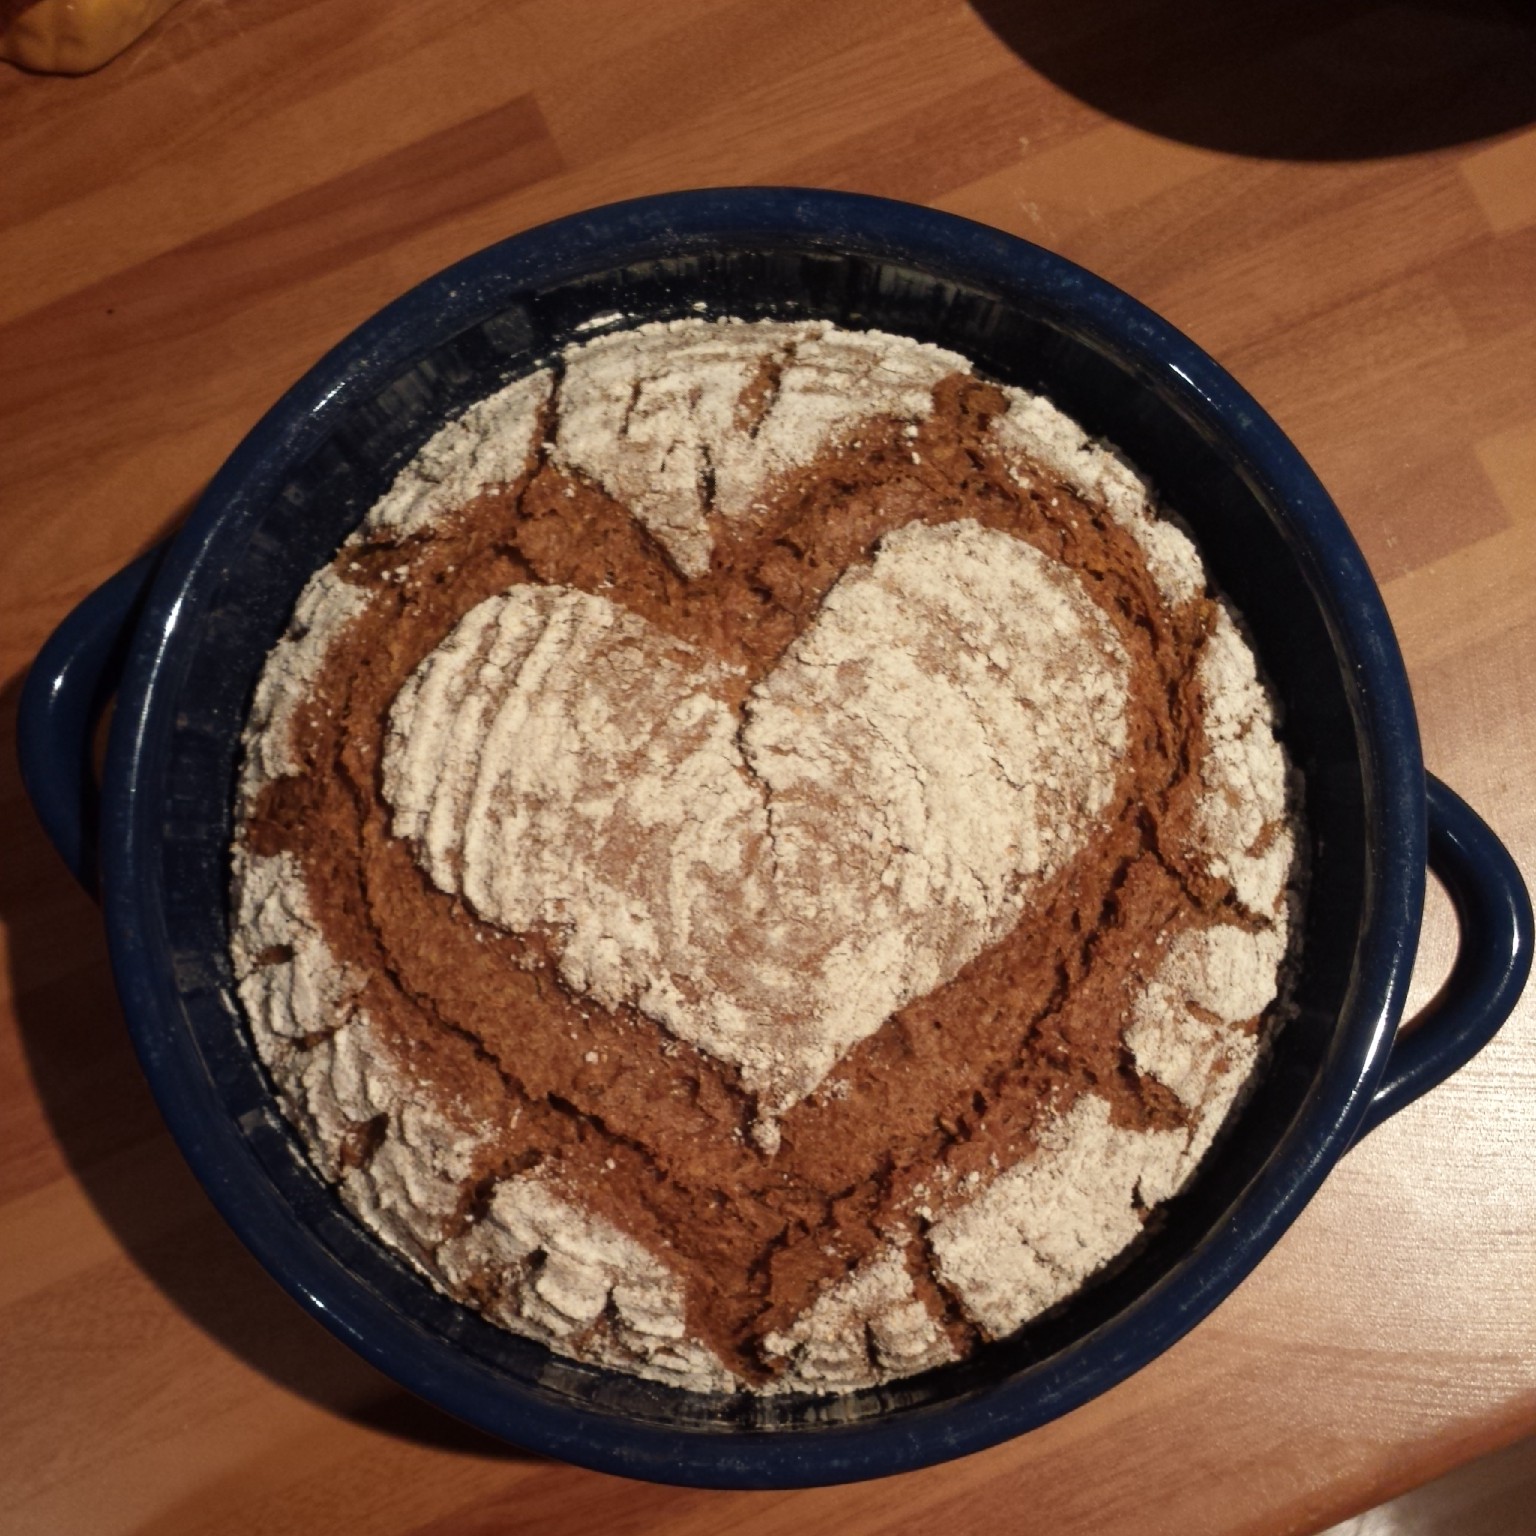
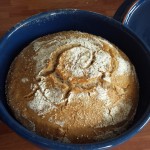
Proven pulla dough awaiting it’s cardamom and orange zest
Enriched Dough proves best in the fridge overnight, allowing the freshly kneaded supple dough, permeated with butter, sugar and an egg to slowly rise and firm up. Making it much easier to shape the following day. But if you’re in a rush to get it in your face feel free to prove at room temperature for an hour then shape and prove it again.

Now to knead in the pistachios and dried apricots
Once you’ve kneaded in the finely chopped nuts, and apricots along with the grated orange zest and ground cardamom into the dough so the flavours are fully incorporated, split the dough into 3 equally sized pieces.
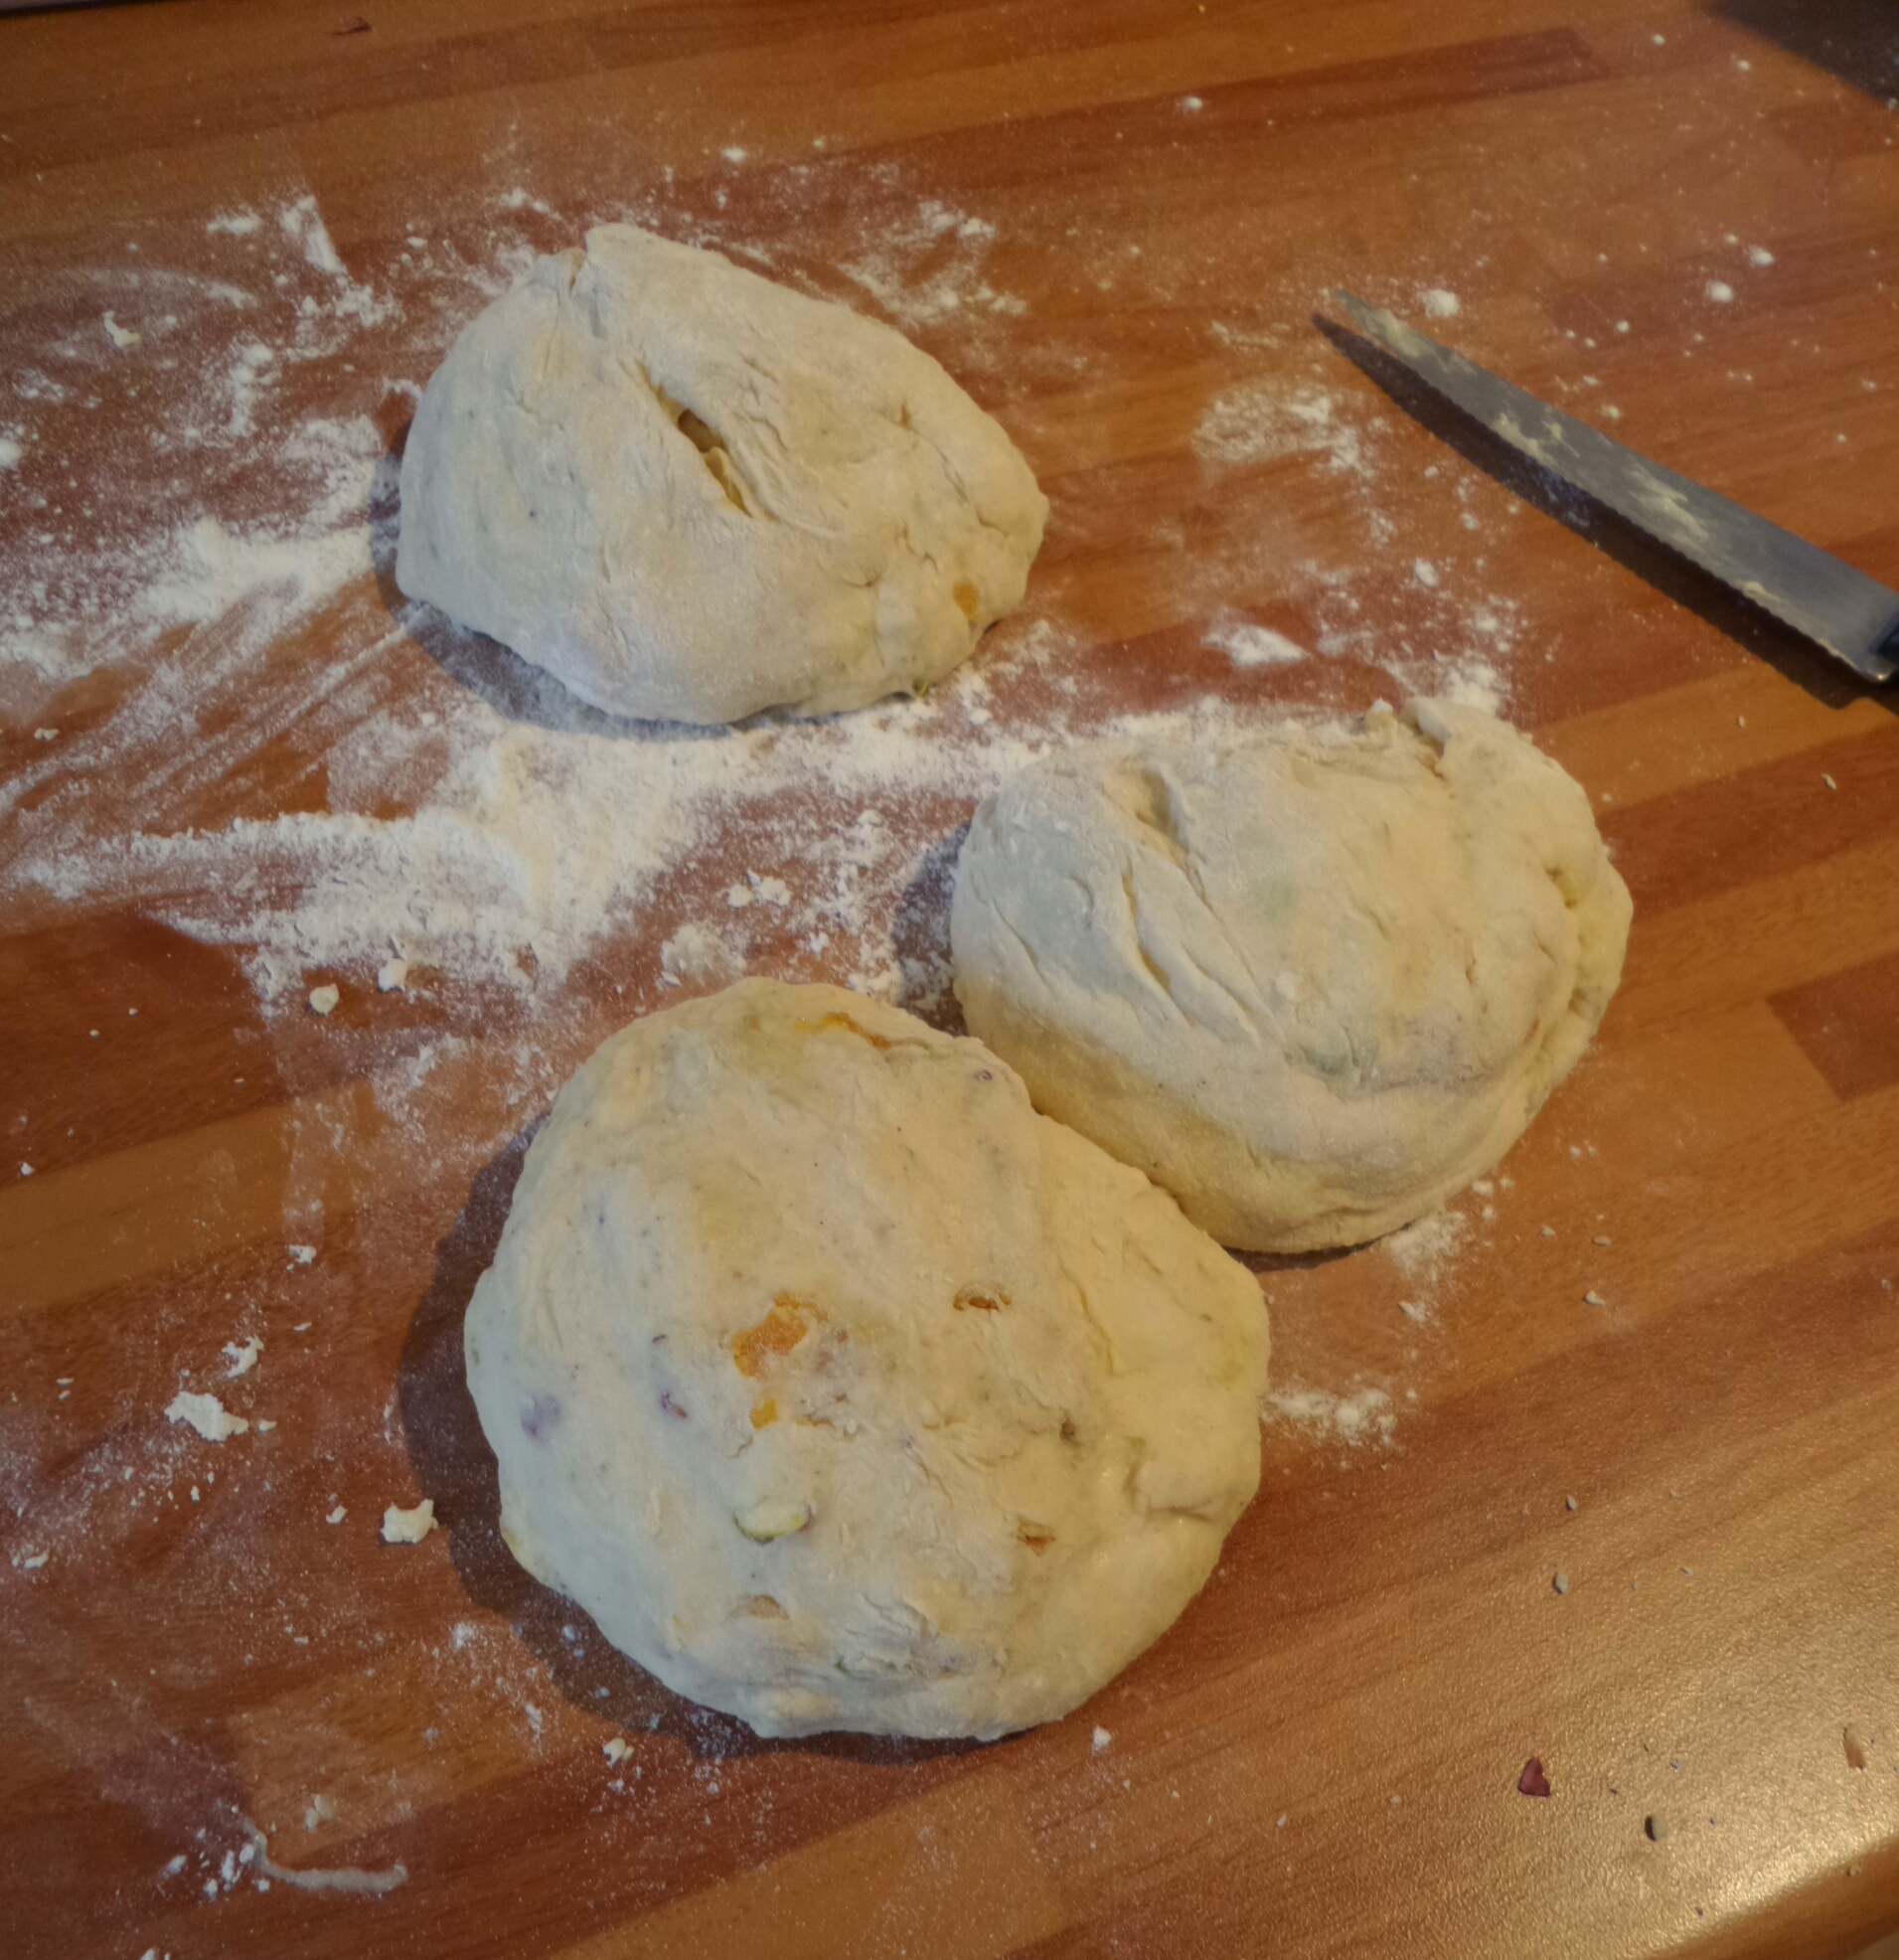
3 little dough balls
Roll the 3 pieces into long thin sausages (making sure you pop any little air bubbles that sneak there way in) and gather the strands together at one end.
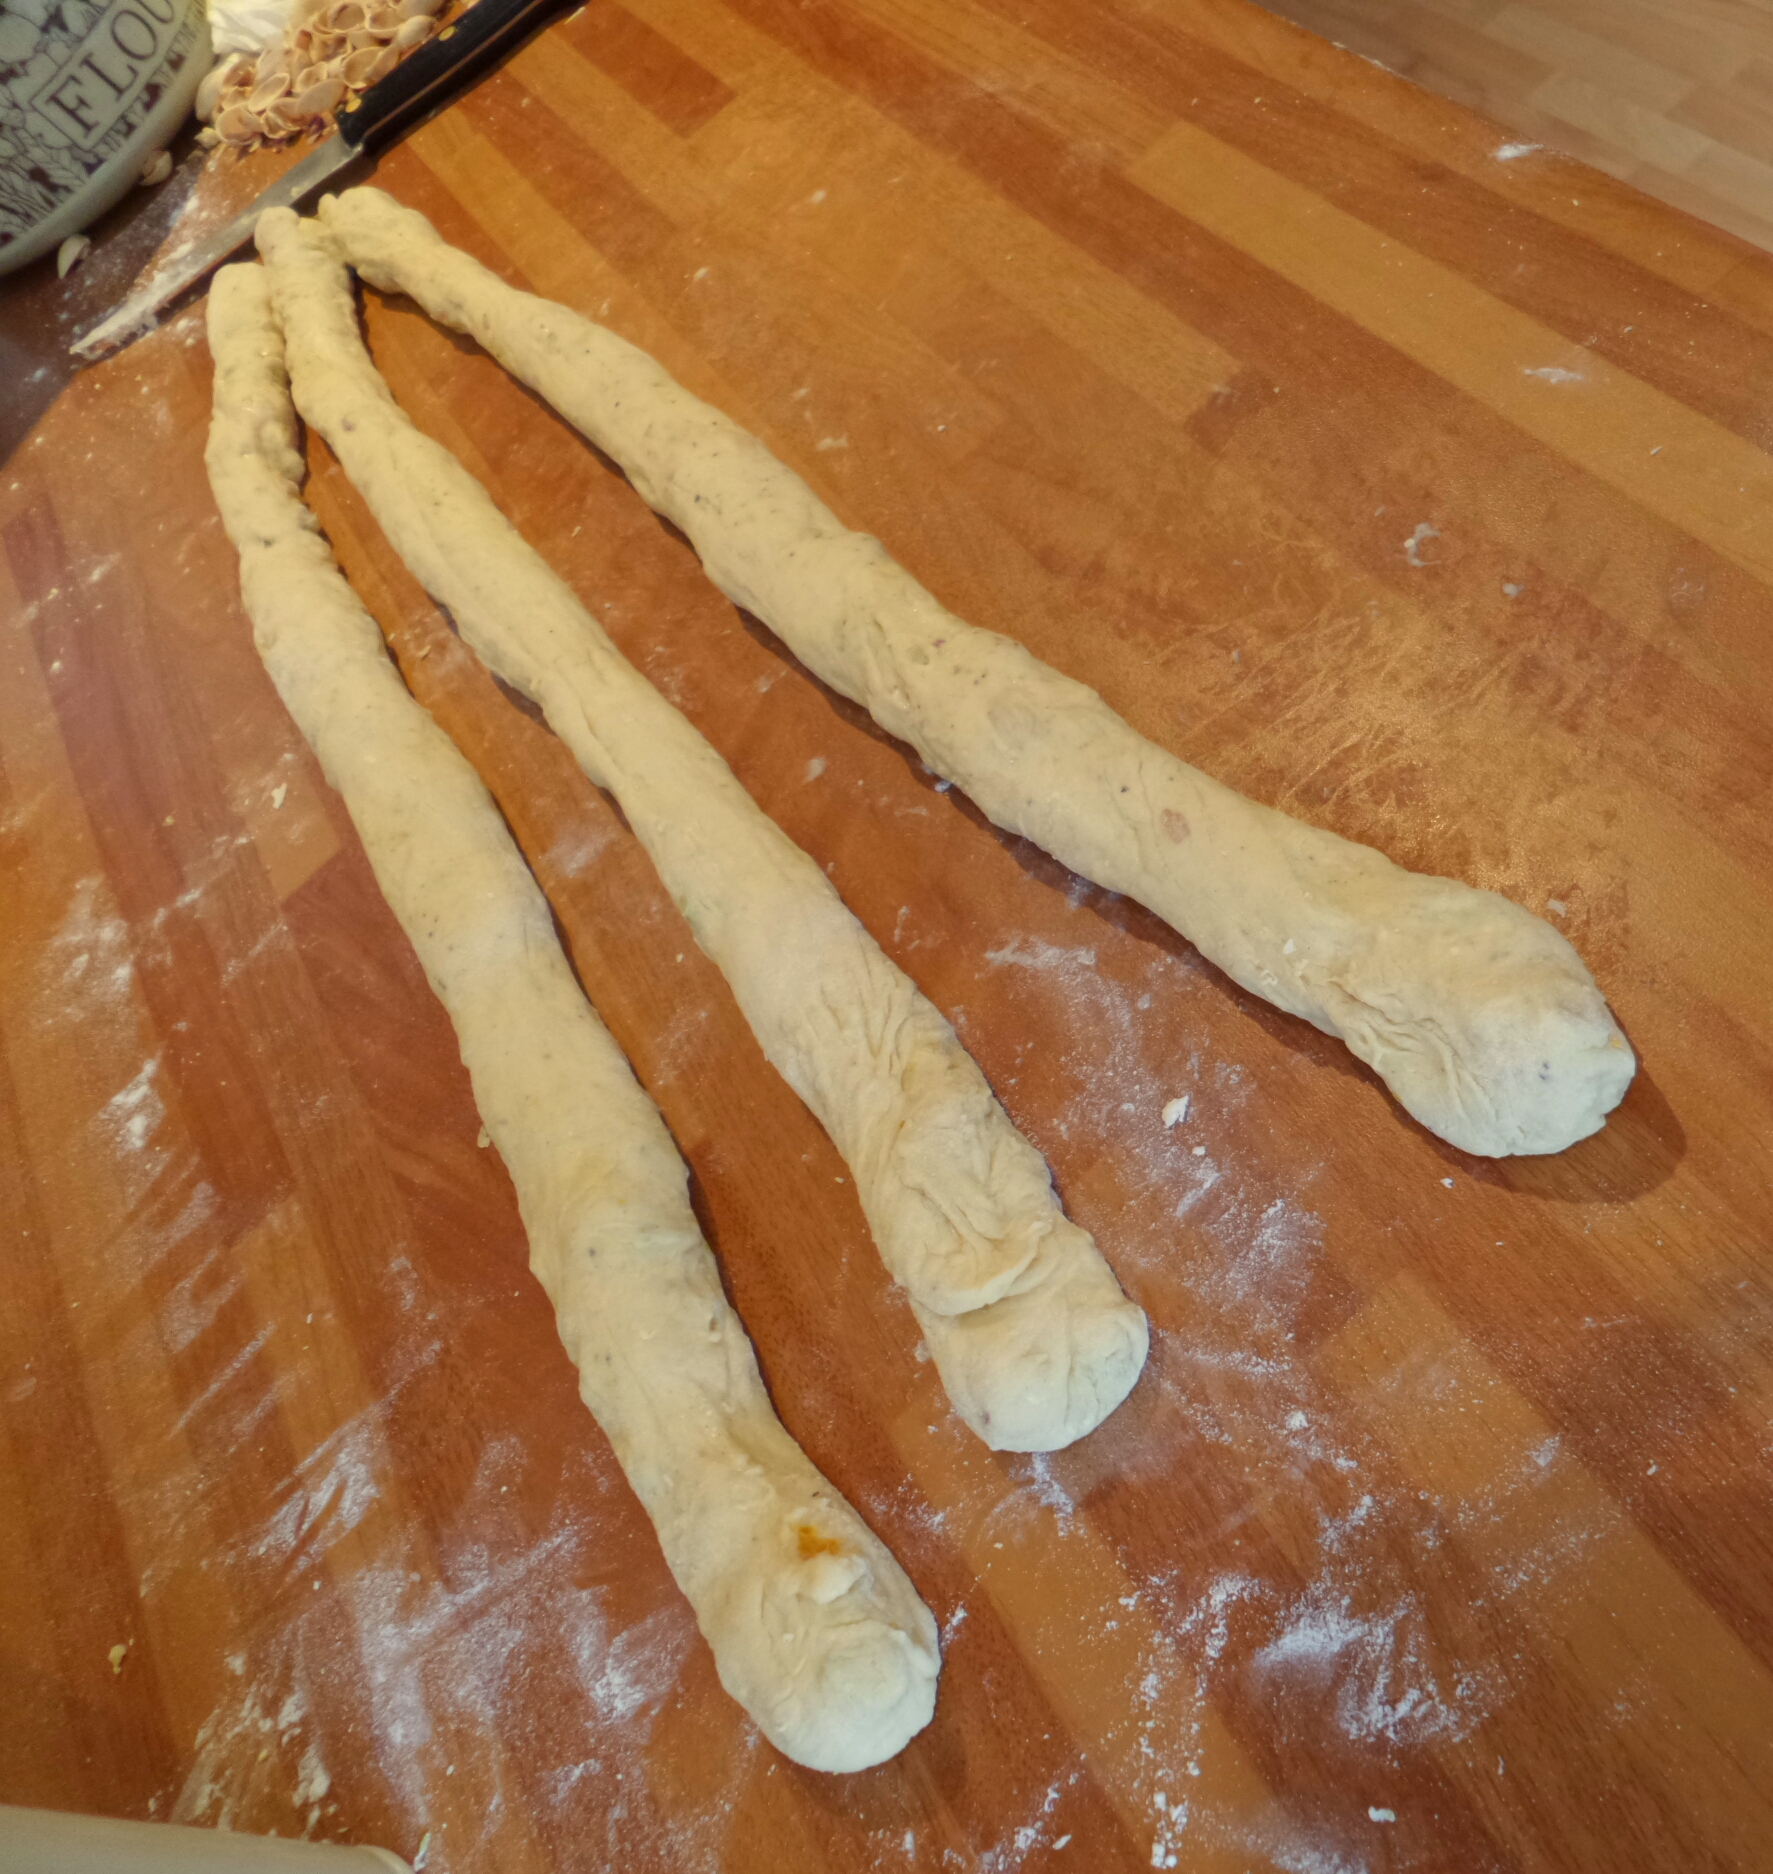
The beginning of a plait
Push the strands together so that they stick to each other and plait them together to form a braid. Once you reach the end, carefully join the two ends of the plait together to form a braided ring. Squish the ends together to form a join and tuck any loose bits underneath (no one will ever know after it rises.)
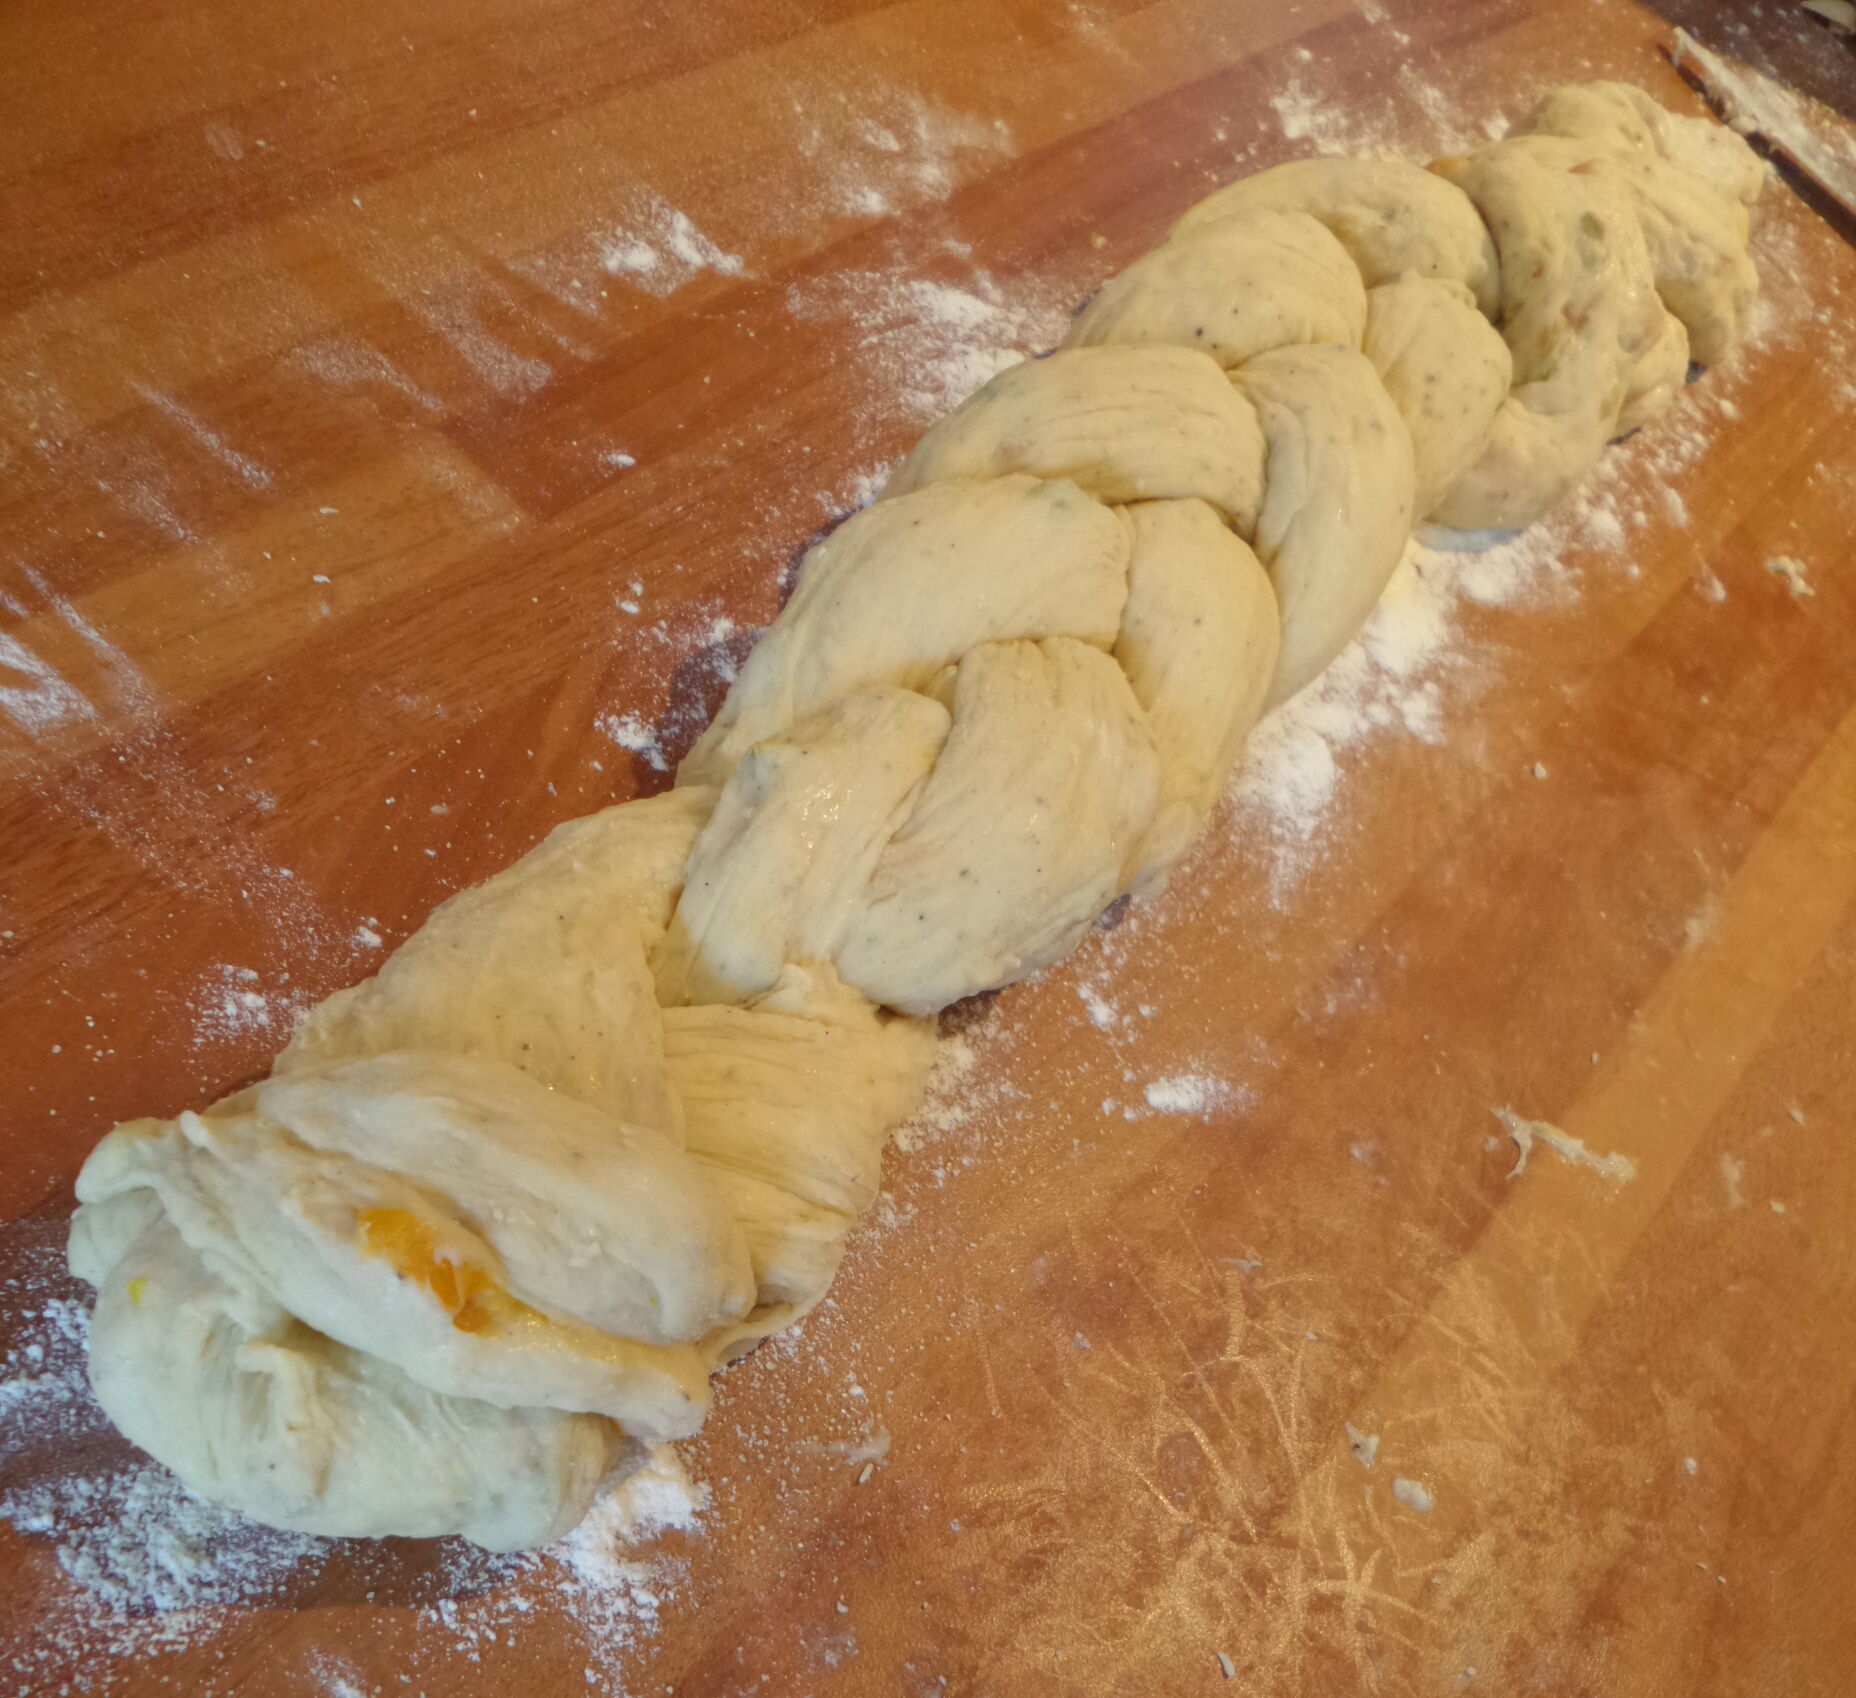
Plaiting the pulla
Place your braided Pulla crown into a semolina sprinkled baking sheet or dish. Cover with greased cling film and leave to prove a room temperature for an hour or two until doubled in size.

Ready to prove it’s worth
Bake it at 190 degrees c for 30 minutes until it’s golden brown and sounds hollow when tapped underneath. Whilst still warm glaze your Pulla generously with runny honey. Whilst the honey is sticky sprinkle with flaked almonds to decorate. Or if you’re feeling extra indulgent feel free to use water/glace icing to make an extra rich white icing that would look oh so pretty against the plait.

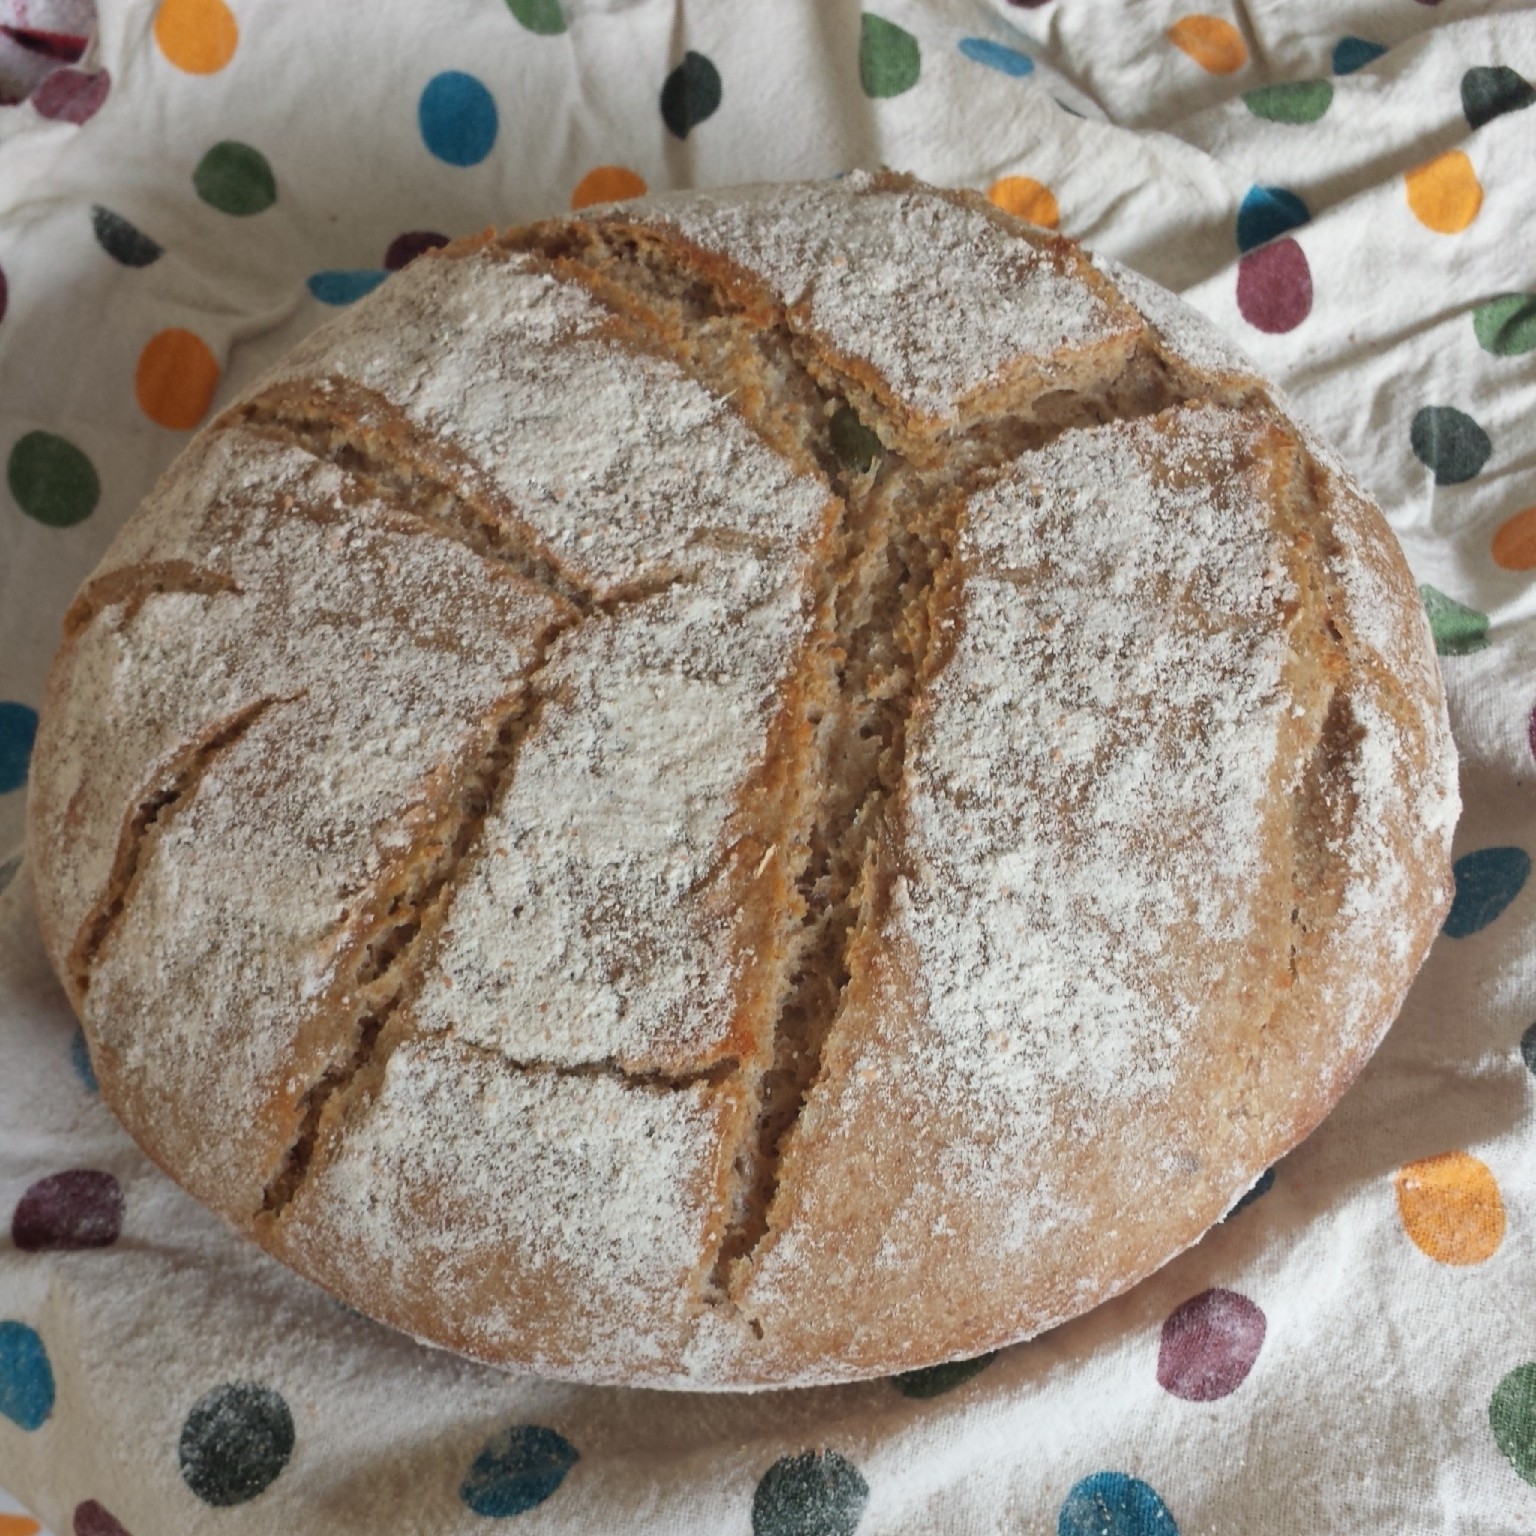
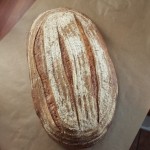
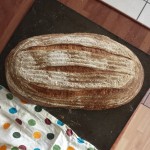
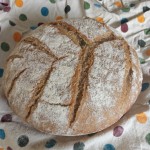
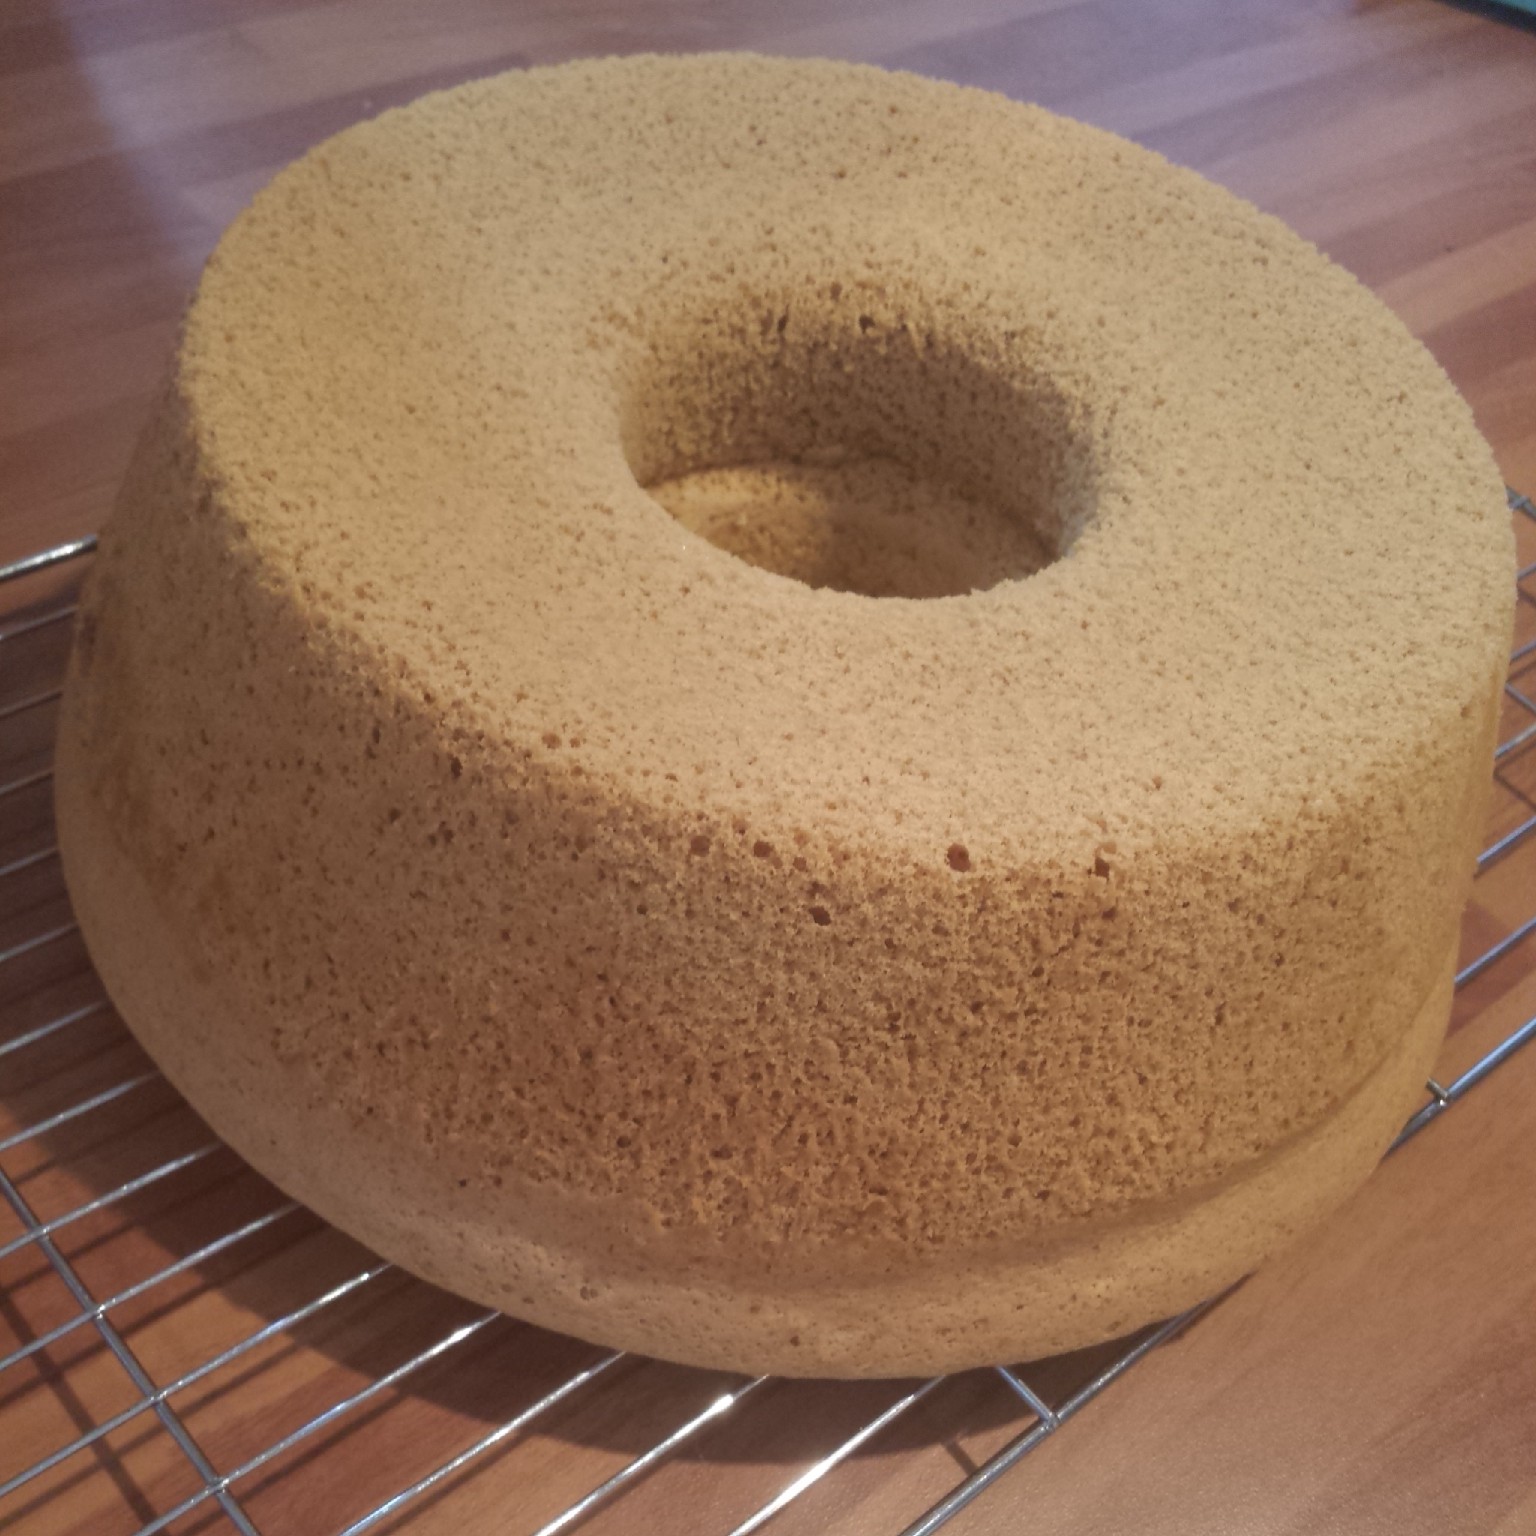
The final baked Pulla braided Crown
This is such a gorgeous sweet treat. It’s fluffy and tender with an wonderful spicy warmth from the cardamom. Balanced against a chewy nugget of apricot and a crisp morsel of pistachio. I love this bake and enjoyed it au natural with coffee to bring out the exotic notes and subtle sweetness. Delicious! And perfect for a special breakfast.
Things I used to make my Apricot and Cardamom Pulla
Enriched dough
- 350g strong white flour
- 5g salt
- 40g sugar
- 7g yeast
- 45g margarine/butter
- 175ml milk
Flavours to infuse the dough with after the first prove
- 31 cardamom pods (seeds taken out and ground to fine powder)
- zest of 1 orange
- 8 chopped dried apricots chopped into small chunks
- 20g pistachios chopped roughly
Topping/decoration
- A handful of flaked almonds for sprinkling on top
- Honey to glaze the top whilst still warm
- You could also whip up a thick sticky water icing with the juice of the orange and icing sugar to pipe on top of the pulla if you would prefer a sticky bun effect.
Method
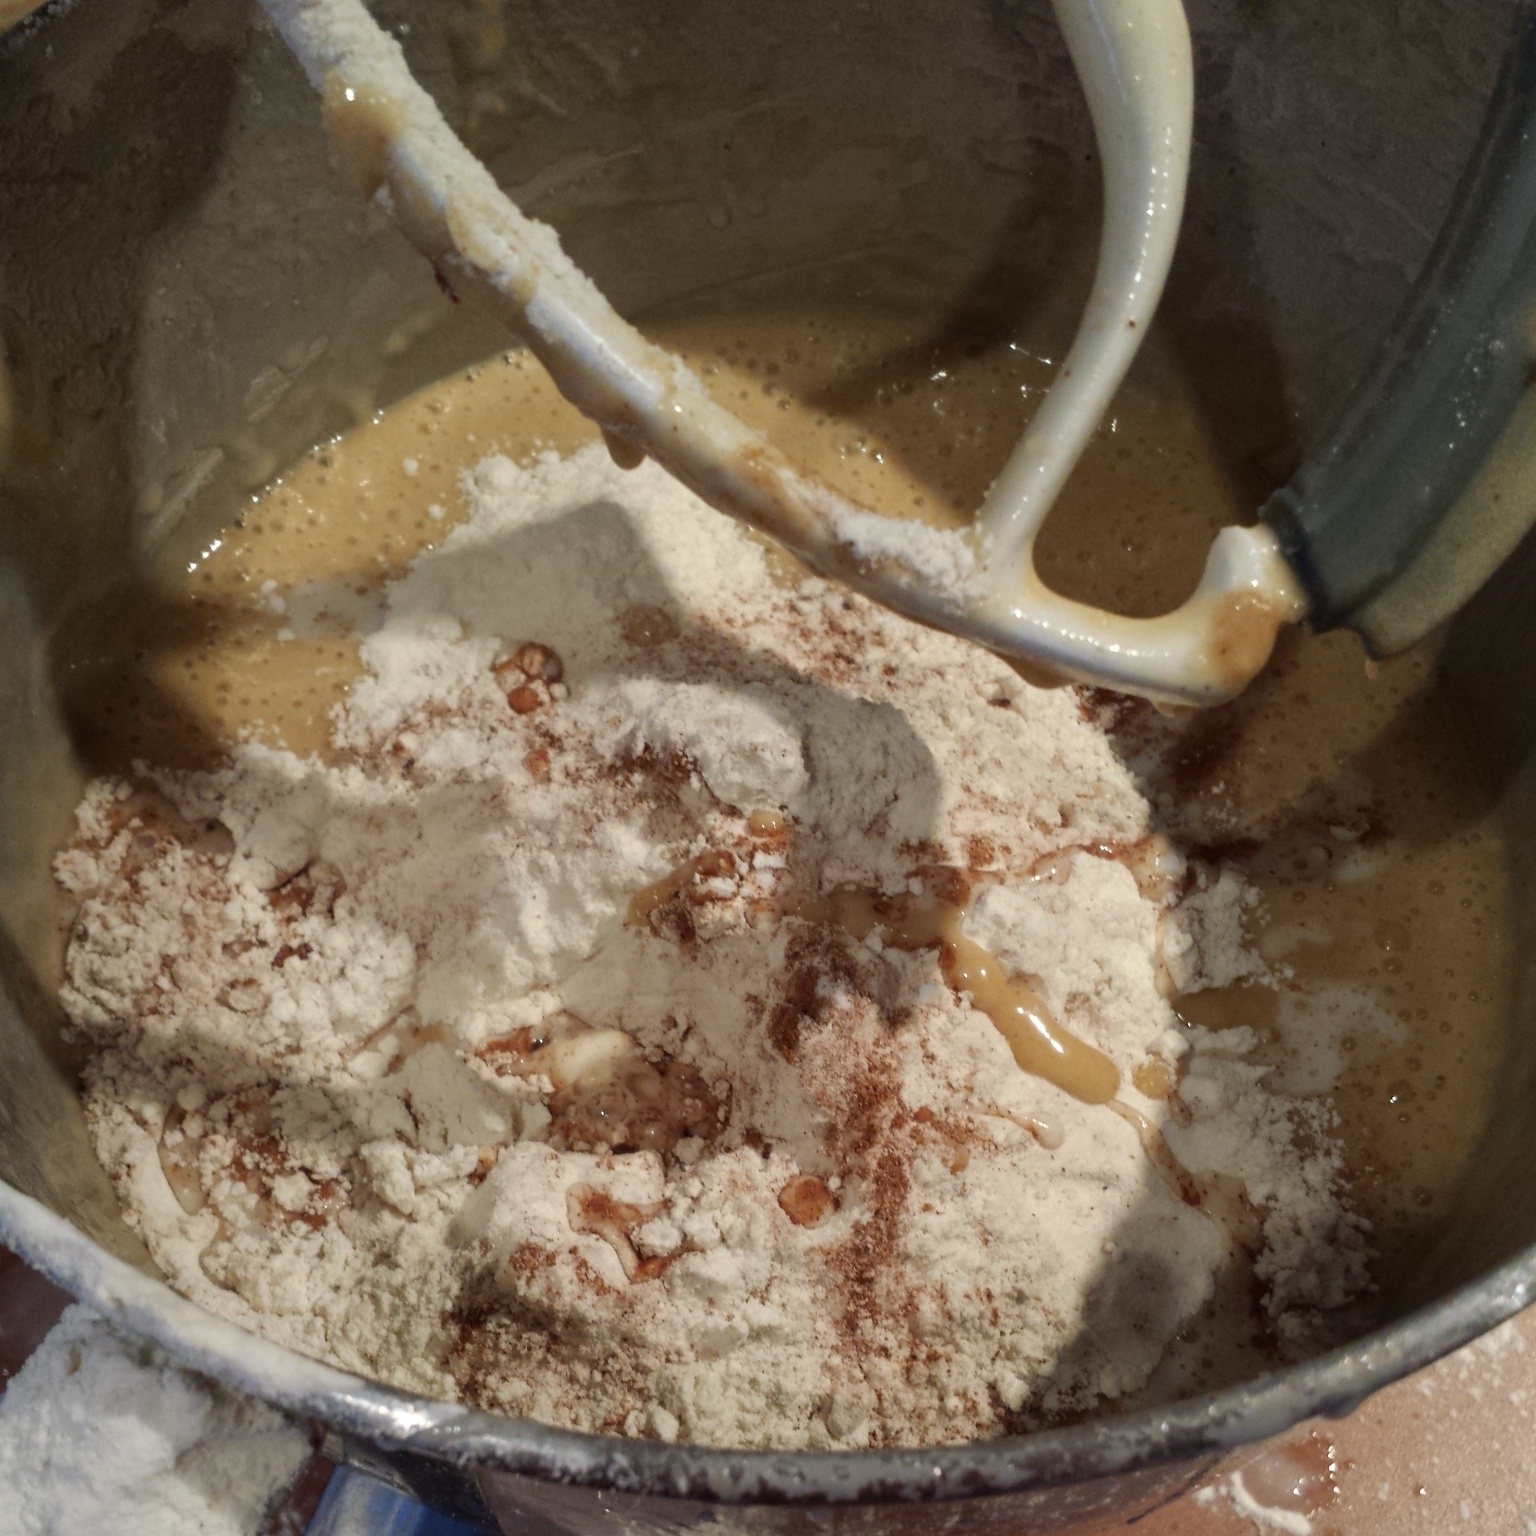
- Knead the flour, yeast, salt, butter, sugar and milk together for 10 minutes to create a sticky dough
- Leave to prove overnight in the fridge (or until double din size at room temp)
- Knead in the flavours; ground cardamom, orange zest, chopped apricots and pistachios
- Split the dough into 3 equal pieces and roll out to long strands
- Join one end of the 3 strands together and plait it into a braid
- Join the two ends of the braid together to form a circle
- Cover with greased cling film and prove on a semolina lined baking tray/dish until doubled in size
- Bake at 190 degrees c for 30 minutes until it’s golden brown and sounds hollow when tapped underneath
- Whilst still warm glaze with runny honey and sprinkle with flaked almonds