
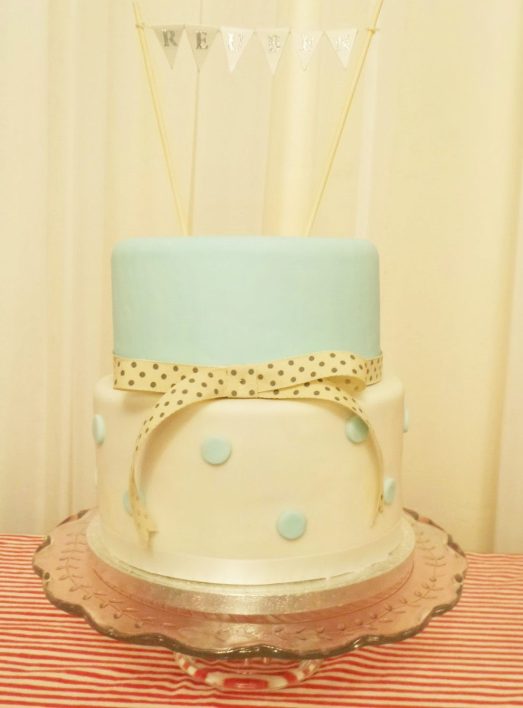
Five Tiers of Fruit Cake on our wedding day
After Chris and I got engaged my first thoughts turned not to the arranging the wedding, or buying my dress, but to the wedding cake. I got my priorities right. My theory is sort out the cake first and everything else will fall in to place. I actually bought the first wedding dress I tried on and my nephew who wasn’t quite 1 years old helped me choose it but that’s a completely different story. Let’s concentrate on the cake. We knew we wanted to get married as soon as possible, so the vast majority of the 6 months of our planning and preparation time I spent creating our wedding cake.
Fruit cake is very popular in my family as you can tell by my previous Caribbean Christmas Cakes and Jamaican Black Cake so I knew I needed to make something extra special, something a bit more challenging and flavour packed to feed about 120 of our family and friends. A few sleepless nights later of conjuring up flavour combinations in my head I had it planned. 5 tiers of fruit cake, each with it’s own booze and fruit combination.

12 inches worth of dried fruit soaking in their temporary storage box home
I quickly realised that I needed much BIGGER kitchen equipment than I owned to create the largest 12″ tier. No bowl was big enough to house the enormous quantity of dried fruit to soak it in the flavoursome booze. A quick hunt round the house and I discovered a hard plastic storage box which I disinfected and decanted all the ingredients into. I like to soak my fruit for as long as possible, in a bit more booze than is recommended so then I don’t really need to feed the cooked cake on a regular basis. It matures nicely wrapped up in greaseproof paper and stays moist. I pour enough booze onto the fruit to give it a pungent glistening alcoholic coat, but not so much that it’s swimming in a pool of booze. If you stir it regularly you can make sure the fruit is absorbing the booze. There should be no liquid left after 2 weeks.

Soaking 3 tiers of boozy fruit
Weighing out the fruit and measuring in the booze can be quite complicated as I found out, especially if you don’t mark on your pot which size cake the fruit is eventually intended for. Note to self: You really won’t remember which fruit is which after 2 weeks of soaking in booze so don’t even pretend that you will. Your memory is good but it’s really not that good. Squashing an 8″ cake’s worth of fruit into a 6″ cake will not work and you won’t realise that this is the problem, even when you can’t fit it all into the cake tin and have to make extra cupcakes with the rest of the mixture. The cake will be extra moist and you will think it’s not cooked so you have to bake it for an extra 3 hours to convince yourself it’s definitely cooked. To compensate for the extra oven time you will then pour way too much booze on the hot cake when it comes out of the oven and drown it. You will never be happy with this cake so you will then have to start again. From scratch. (You will also have to make another 8″ cake as you decided to bake the two cakes simultaneously and made a right pigs ear of the whole thing. That was a really good Saturday well spent.)

One incinerated wedding cake – let’s eat the middle with a spoon
For my 5 tier wedding cake I ended up baking 8 actual cakes! Mainly due to my own stupidity and also because the oven broke. The 2 cakes which required an extra 3 hours of baking (when added onto their original 4 hours of baking is a lot of time in an oven!) made me realise that the oven wasn’t playing nicely. I invested in an oven thermometer to check the temperature throughout the wedding cake baking process and followed this precisely. Only to then incinerate one cake completely. It was a charcoal cake. Although once I chipped away the outer charcoal casing the centre of the cake was really rather nice. I was determined not to let the amaretto soaked cherries to go to waste. So I chopped up the inside of the cake and served it with ice cream. It was delicious!

The quick ice day late spare cake
The other ‘ruined’ cakes did not go to waste either. I decided to donate one of my reject cakes to the church bake sale and quickly iced it. However upon arrival we discovered we were a day late for the bake sale… Ah the brain fog of wedding preparations! So I shared it with friends instead when they came round for festive drinks. I must admit the extra booze and fruit in the cake made it tricky to cut but it was so tasty!! The final uniced extra boozy tier is still maturing nicely in the cupboard. I’m going to save that one for a special occasion. I’m sure it’s good to keep for at least a year or two.
I despaired slightly as I still had 3 cakes left to bake with a broken oven. Then I did a bit of googling and decided instead to dismantle the oven, clean it and put it back together. Thankfully this seemed to do the trick! I also watched the other cakes like a hawk and turned them every hour to avoid any charring from the hot spots in the oven. The result? The final 3 tiers were the best cakes I’ve ever baked in my life. I’m sure that extra care and attention was the secret to their success. They were so level they didn’t need to be propped up when icing them to get an even top.

Creaming the butter, sugar and orange and lemon zests
The method for each sized cake is exactly the same and after baking 8 of them I was starting to know it off by heart. I think this Christmas I may make chocolate cakes! After soaking the fruit in booze for at least 24 hours (if not 2 weeks) you cream the butter, sugar and fruit zests together until light and fluffy.

Whisk in the eggs to the butter and sugar
Then to add the eggs, whisking them into the butter and sugar mix one at a time. I had to use the biggest bowl I own for this job as the eggs inflate like mad when whisked. The mixture can start to curdle or separate at this point, but it’s not the end of the world. You can whisk in a little flour to stop it separating but it’s still going to taste pretty amazing.

The whisked eggs are dangerously close to overflowing the bowl
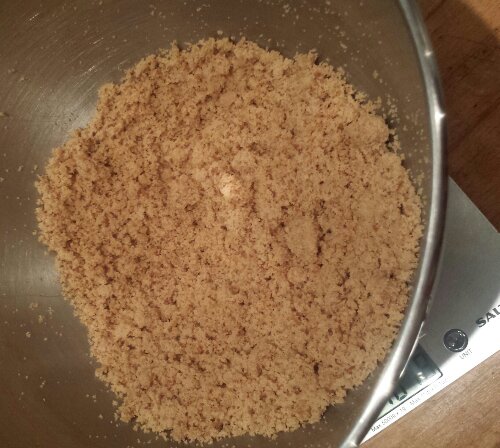
Then to prepare the dry ingredients. A separate bowl was definitely required to sift the mountain of flour and spices together. I love a spicy cake, so I’m always quite liberal with the cinnamon and nutmeg.

Mountains of flour and spices
For the 12″ cake I didn’t have a bowl big enough to fit everything in so had to resort to stirring it all together in the plastic storage box! Who knew it was so difficult to stir things in a square box… I ended up with cake mix right up to my elbows and consequently my face and hair. But I did it!

Time to stir it all together! Wooden spoon at the ready
You have to fold the wet and dry ingredients in a third at a time until it’s all incorporated. Then finally fold in the ground almonds, chopped nuts and treacle.

Almost fully combined just the treacle and almonds left to fold in
I hired the largest cake tins from my local cake shop. At 50p a day it was much cheaper than buying massive cake tins and I don’t have to worry about storing them in our already full to capacity flat. It’s really important to double line and grease the cake tins to help prevent the cake from burning as it needs to bake for a really long time at a low (ish) temperature (150 degrees Celsius).
I always tie an extra collar of greaseproof paper around the outside of the tin and use that to prop up a greaseproof paper lid to protect the top of the cake from burning too. As it doesn’t have any raising agent in it the fruit cake won’t really rise any higher than it sits in the tin uncooked. I wanted to try to get the most even finish that I could so I carefully layered the mixture into the tin, spreading and flattening it down with a spatula. No air pockets for me thanks and the smoothest top I’ve ever achieved.

An even spread – all of the 12″ cake mixture in it’s very large tin
The largest cake obviously takes the longest time to bake. In hindsight starting a massive cake at 6pm is probably not the best plan. It takes at least an hour to combine all of the ingredients together and prepare the tins. Then it needs 6 hours in the oven. This meant I was babysitting the cake until 3am. I accidentally fell asleep and awoke with a fright with the oven timer going off, in my own personal inferno with the oven and the heating on, whilst wearing fleecy pyjamas, a dressing gown and a furry blanket with the cat sat on top of me. I forgot to turn this cake whilst it was baking, due to me being asleep and all , so the cake had a nice diagonal shadow across it, but once it had an extra feeding of booze and it was iced no one noticed. And with a cake this big, using so many ingredients there was no way I was going to start again!

The biggest 12″ fruit cake with a slight shadow… shhh no one will notice
The cake fruit and booze combinations I created were…
- 4″ Cake – Amaretto Tier – Almond, Amaretto and cherry
- 6″ Cake – Vanilla Tier – Vanilla Brandy, dates, peel and sultanas
- 8″ Cake – Tropical Tier – Malibu, dried pineapple, coconut, papaya and mango
- 10″ Cake – Traditional Tier – Brandy and mixed fruit
- 12″ Cake – Orange Tier – Orange Brandy sultanas, cherries, peel

Putting things into slightly frazzled perspective. This cake was bigger than my head.
Each cake had a different baking time too although all were baked at 150 degrees
- 4″ Cake – 2 and a half hours
- 6″ Cake – 3 hours
- 8″ Cake – 4 hours
- 10″ Cake – 4 and 3 quarter hours
- 12″ Cake – 6 hours

The 6 inch wedding cake. Quite the smooth level finish even if I do say so myself
What I used to bake my wedding cake – Ingredients
4″ Cake – Almond, Amaretto and Cherries
- 150g dried cherries
- 100g sultanas
- 40g candied peel
- soaked in (at least) 2 tablespoons of amaretto
- 100g butter
- 100g brown sugar
- zest of 1/4 of lemon
- zest of 1/4 of orange
- juice of 1/4 orange (add to the soaked fruit just before you combine the rest of the ingredients)
- 2 eggs
- 100g plain flour
- 1 tsp cinnamon (or more…)
- 1/2 tsp nutmeg
- 1/2 tsp mixed spice
- 1 tsp almond extract
- 10g ground almonds
- 10g flaked almonds
- 1/2 tablespoon treacle
6″ Cake – Vanilla Brandy, dates, peel and sultanas
- 70g glace cherries
- 375g sultanas
- 200g dried chopped dates
- 45g candied mixed peel
- soaked in (at least) 4 tablespoons of vanilla infused brandy (pop a vanilla pod in your bottle of brandy and leave a vanilla pod in with the fruit whilst soaking in brandy)
- 175g butter
- 175g brown sugar
- zest of 3/4 of lemon
- zest of 3/4 of orange
- juice of 1/2 orange (add to the soaked fruit just before you combine the rest of the ingredients)
- 3 eggs
- 175g plain flour
- 1 tsp cinnamon (or more…)
- 1 tsp nutmeg
- 1/2 tsp mixed spice
- 1 tsp vanilla extract
- 20g ground almonds
- 20g flaked almonds
- 1 tablespoon treacle
8″ Cake – Tropical Tier – Malibu, dried pineapple, coconut, papaya and mango
- 125g glace cherries
- 650g sultanas
- 320g dried tropical fruits (pineapple, papaya and mango)
- 100g candied mixed peel
- soaked in (at least) 5 tablespoons of malibu (coconut flavour white rum)
- 350g butter
- 350g brown sugar
- zest of 1 and half of lemons
- zest of 1 and a half oranges
- juice of 3/4 orange (add to the soaked fruit just before you combine the rest of the ingredients)
- 6 eggs
- 350g plain flour
- 2 tsp cinnamon (or more…)
- 1 tsp nutmeg
- 1/2 tsp mixed spice
- 35g ground almonds
- 35g desicated coconut
- 1 and 1/2 tablespoons treacle
10″ Cake – Traditional Tier – Brandy and Mixed fruit
- 180g glace cherries
- 800g sultanas
- 210g dried apricots
- 250g dried chopped dates
- 250g dried cherries
- 110g candied mixed peel
- soaked in (at least) 8 tablespoons of brandy
- 450g butter
- 450g brown sugar
- zest of 2 of lemons
- zest of 2 of oranges
- juice of 1 orange (add to the soaked fruit just before you combine the rest of the ingredients)
- 8 and half eggs
- 450g plain flour
- 3 tsp cinnamon (or more…)
- 2 tsp nutmeg
- 1/2 tsp mixed spice
- 55g ground almonds
- 55g flaked almonds
- 2 tablespoons treacle
12″ Cake – Orange Brandy sultanas, cherries, peel
- 250g glace cherries
- 1460g sultanas
- 400g dried apricots
- 350g dried chopped dates
- 250g dried cherries
- 200g candied mixed peel
- soaked in (at least) 10 tablespoons of orange brandy liqueur
- 660g butter
- 660g brown sugar
- zest of 3 of lemons
- zest of 3 of oranges
- juice of 1 and 1/2 oranges (add to the soaked fruit just before you combine the rest of the ingredients)
- 12 eggs
- 660g plain flour
- 4 tsp cinnamon (or more…)
- 2 tsp nutmeg
- 1/2 tsp mixed spice
- 75g ground almonds
- 75g flaked almonds
- 3 tablespoons treacle

5 teetering tiers of fruit cake. Stacked and ready to mature
Once all 8 cakes were baked I had a job trying to find places to store them. A bit of strategic thinking and double wrapping in greaseproof paper and tin foil later 8 cakes were ready to mature for a month before being iced. I’ll tell you all about that adventure later on along with our house flooding 2 weeks before the wedding and making over 100 sugar flowers…

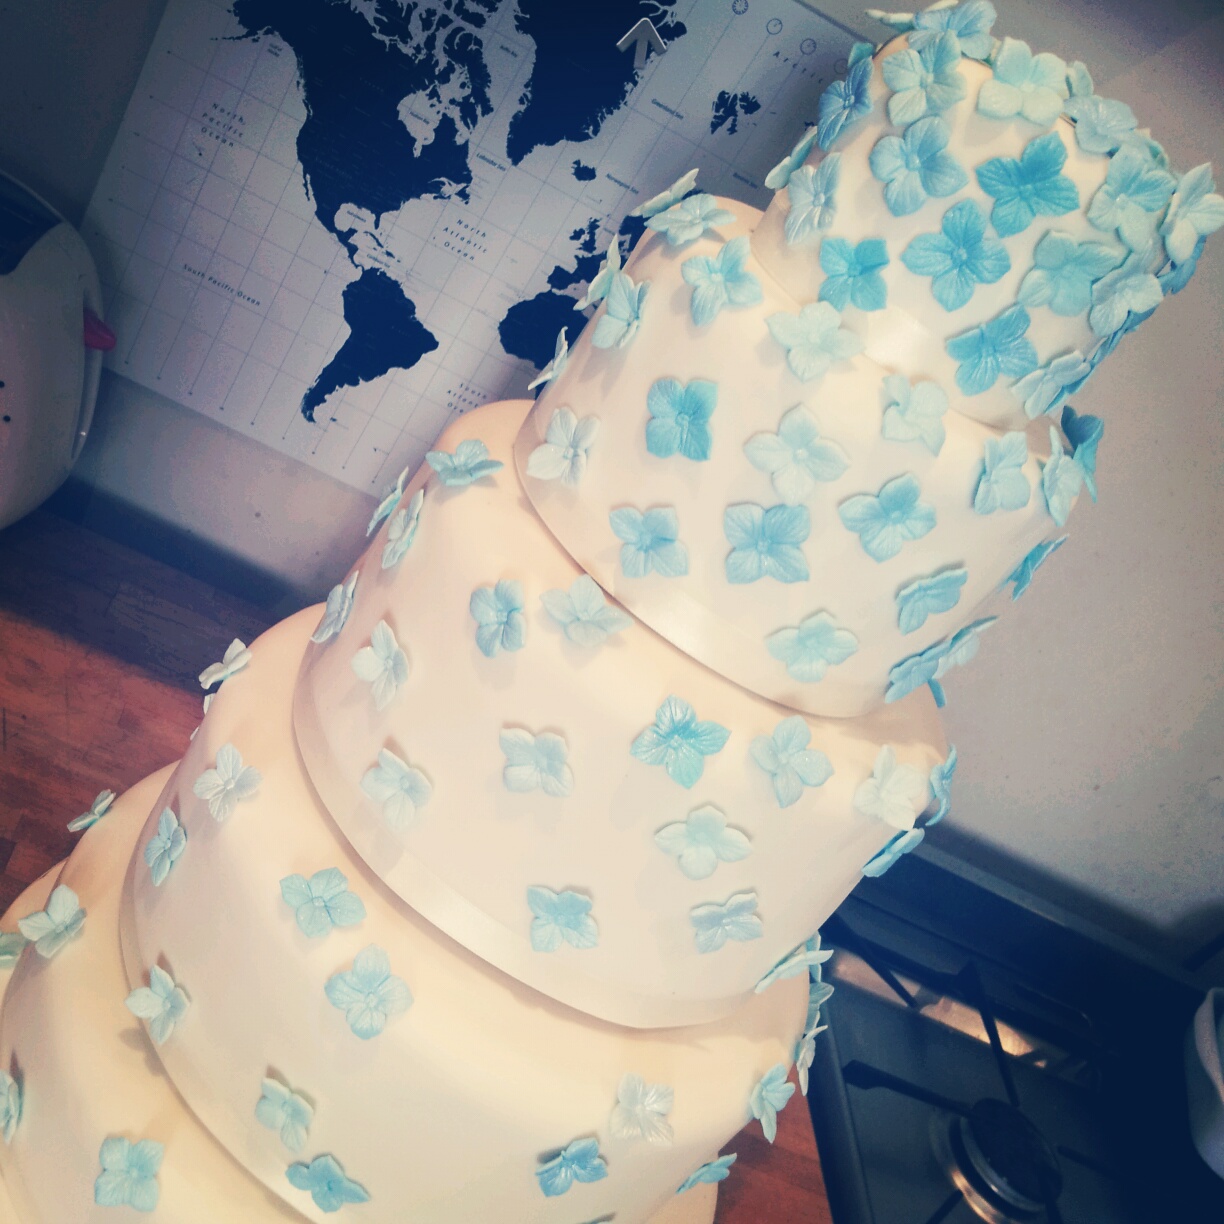
My bakers impression of the final 5 tier wedding cake
Love from the new Mrs Lauren Hoy x

Me – more bridey than cakey
This is part 1 of the 4 stages of wedding cake baking! You can read more about my epic wedding cake adventures here…
Part 1 – My 5 tiers of fruit wedding cake – My biggest booziest cake yet
Part 2 – How many sugar flowers does it take to make a wedding cake?
Part 3 – Where to start icing a 5 tier wedding cake?
Part 4 -The Final Frontier – Decorating & assembling my 5 Tier wedding cake


")


")


