Iranian Pistachio Cake – powered by pistachios
How delicious are pistachios? Ever since I’ve ventured to Greece and gorged myself on Baklava and Pistachio Gelato in Italy I’ve longed to flavour more with the glorious green god of nuts. I could eat them every day and love the Middle Eastern desserts which feature the beauteous nuts. Thank god I remembered to buy shelled pistachios this time round as this contains a HUGE amount of pistachios! No more lonely hours spent cracking nuts in the kitchen or broken nails for me.

How many pistachios can you cram into one cake?
I was looking for an especially decadent cake for my friend’s birthday and the Iranian Pistachio Cake offers everything I was looking for. A delicious, moist, sweet sponge with a hint of exotic spice. I know Pistachios aren’t cheap, so you could try substituting them for your favourite nuts (or whatever you have in your cupboard) instead. Maybe almonds, cashews or even hazelnuts? They would also be gorgeous versions of this cake.

Start with beating the butter and sugar together…
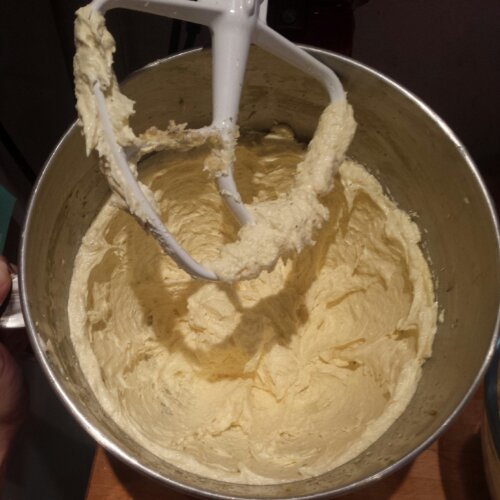
As with most cakes the Iranian Pistachio Cake begins with beating the sugar and butter together until light and fluffy. Adding as much air as possible to get that wonderfully tender sponge.

Grind up your nuts, salt and spices
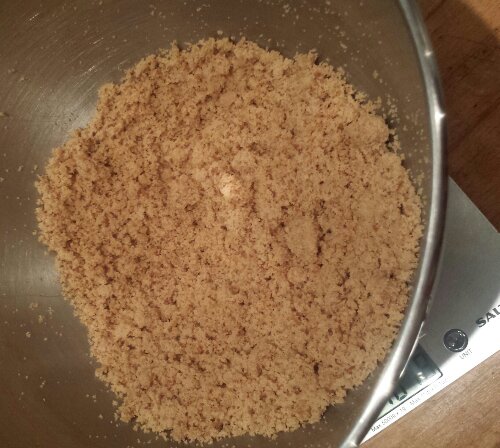
Then for the fun part, smashing up the nuts! Blitz the pistachios with an electric blender/food processor until they’re finely ground. Careful not to grind them too much though as the nuts will release their oils and end up as a pistachio paste which will deflate your cake (or if you keep going you could make your own raw nut butter). I ground my cardamom along with the salt for extra friction in a pestle and mortar and then added it to the nuts and blitzed them all together to ensure the spice was evenly distributed and fine.
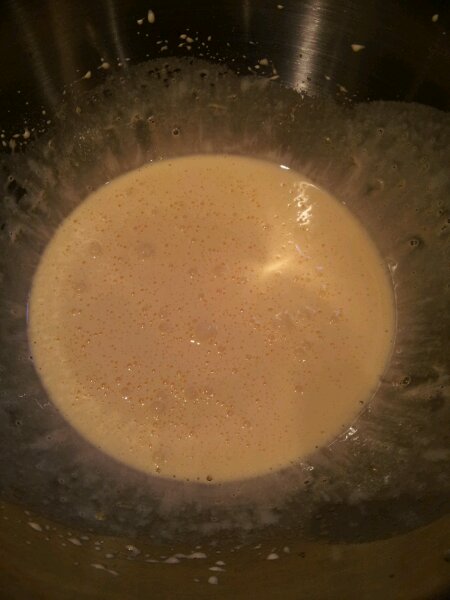
The eggs should then be beaten into the butter one at a time. Beat the mixture until very fluffy and increases in volume.

Whisk in the eggs one at a time
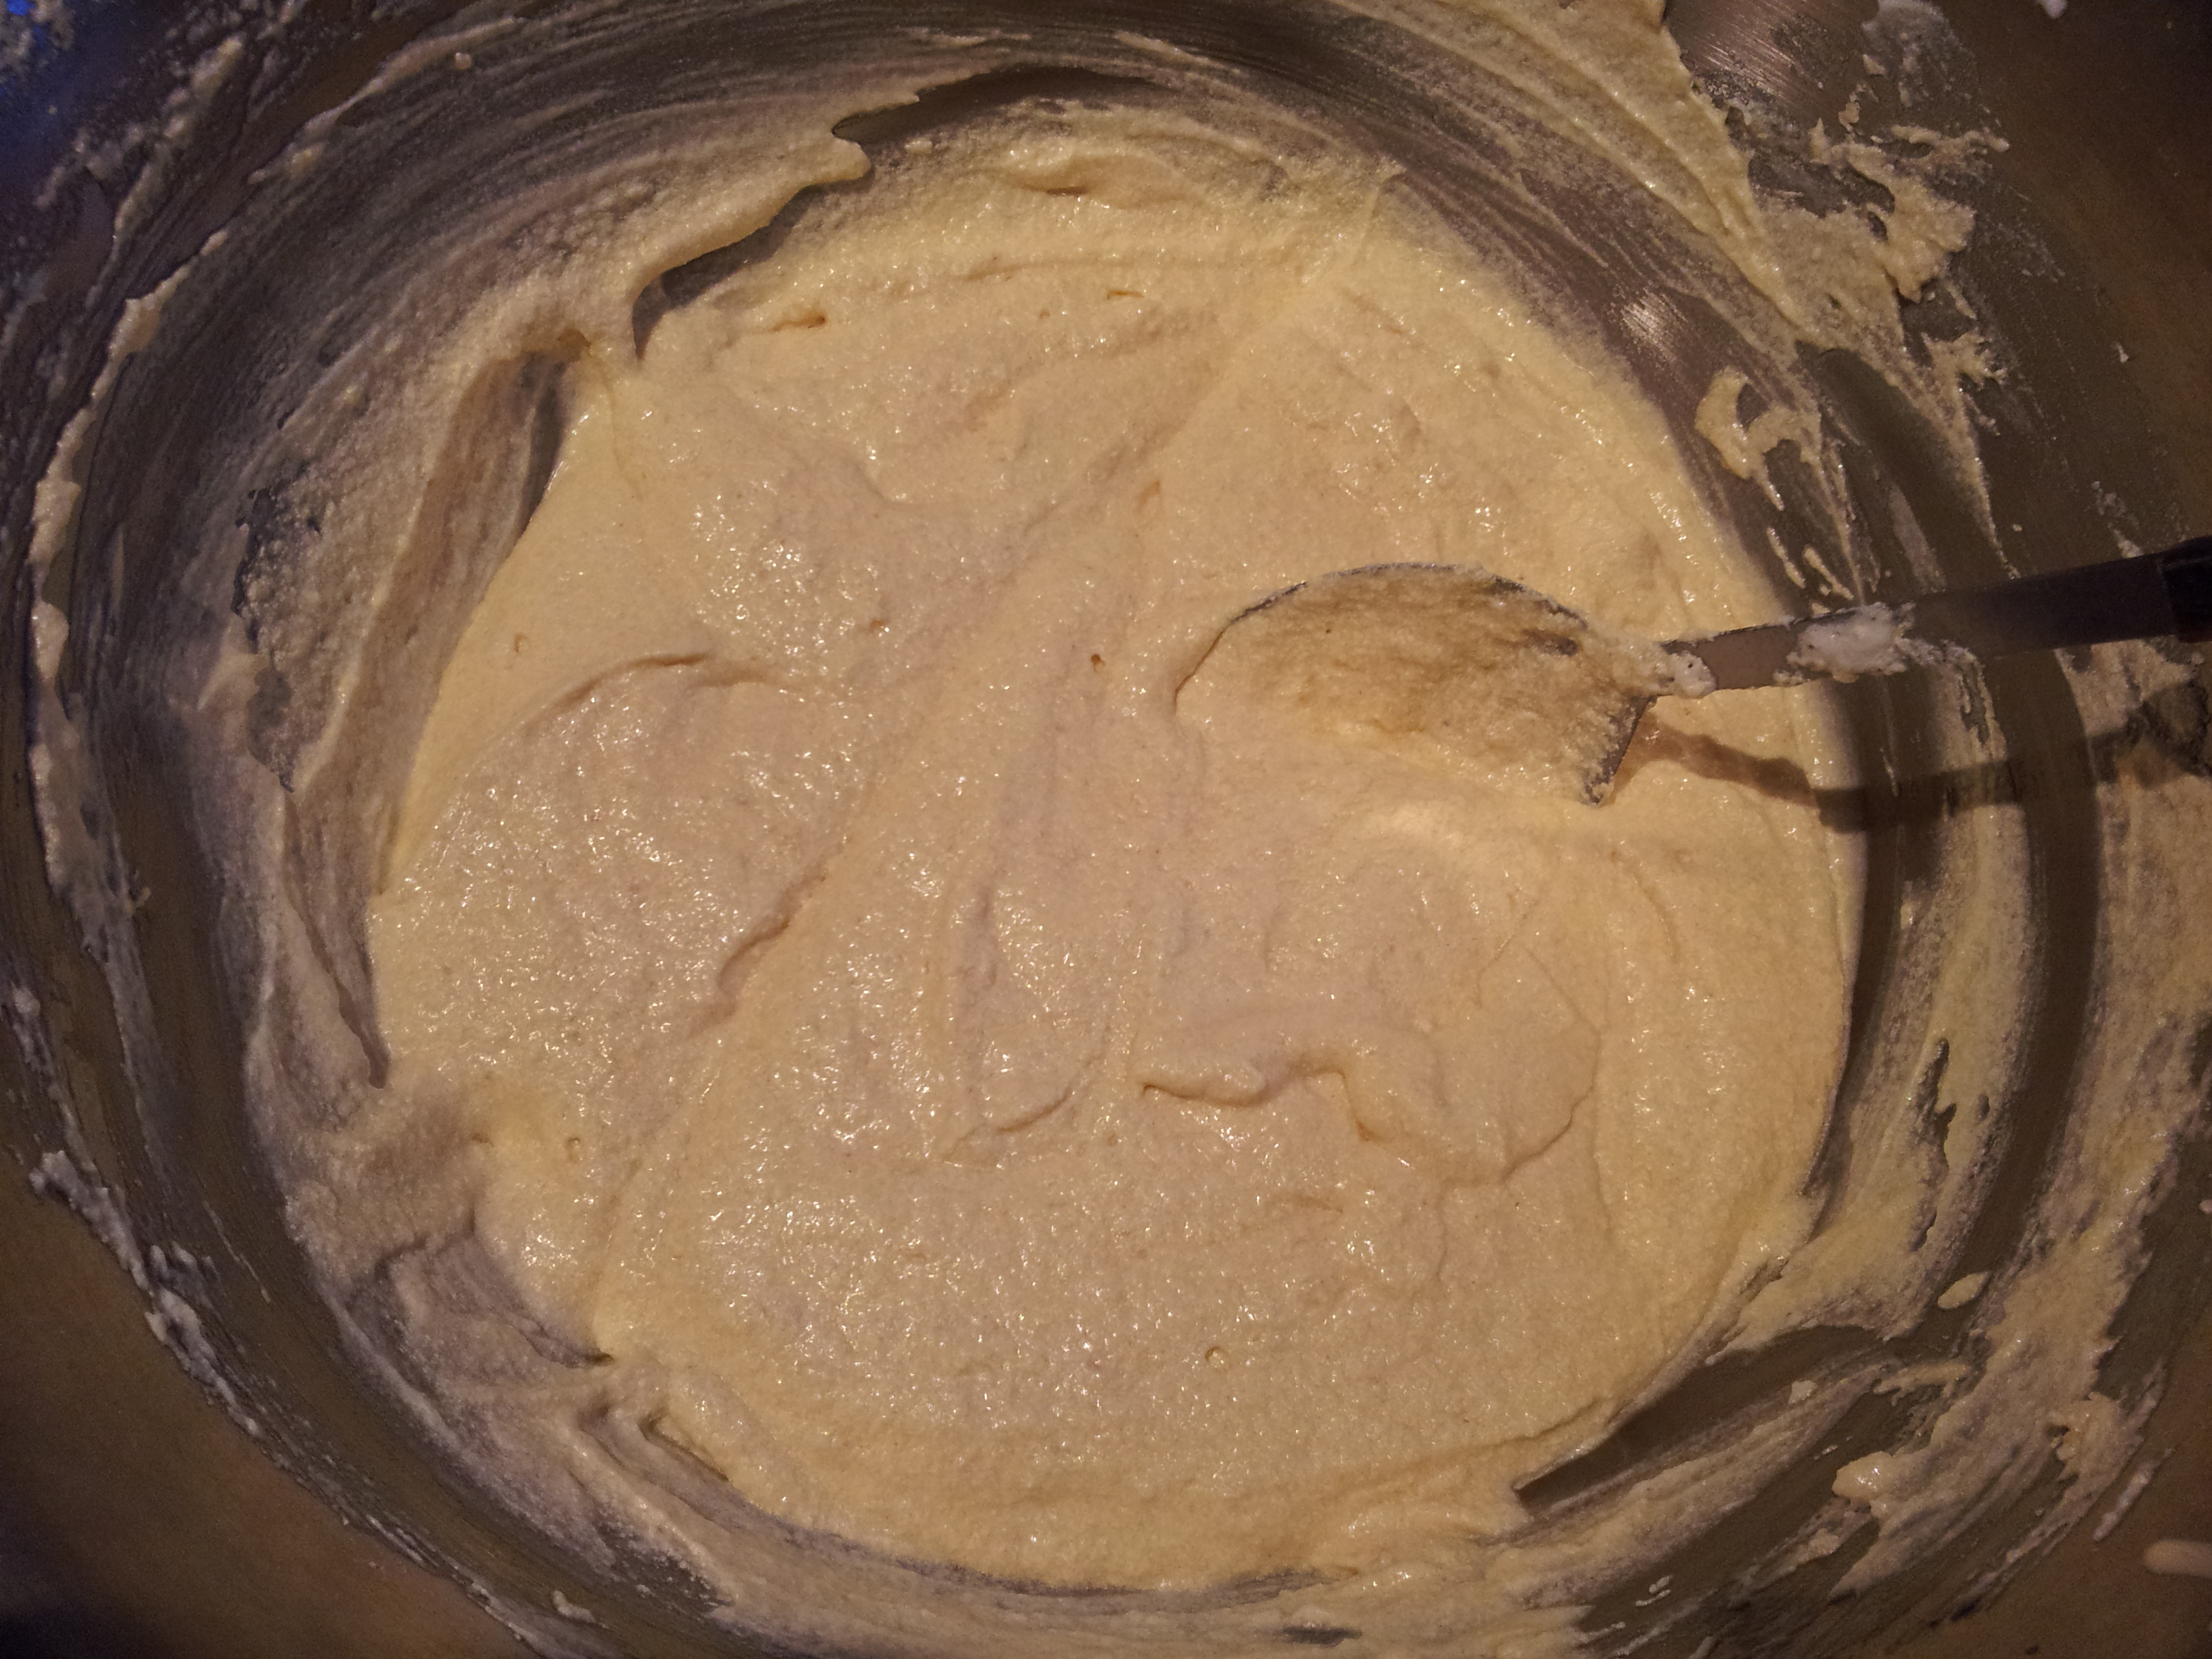
Combine the ground pistachios, spice and salt with the flour and baking powder in a separate bowl. Measure the milk into a jug and add the vanilla paste. Fold one third of the flour into the butter mixture followed by a third of the milk. Fold in a third of the flour followed by another third of the milk alternately until all of the ingredients are fully incorporated into the batter.

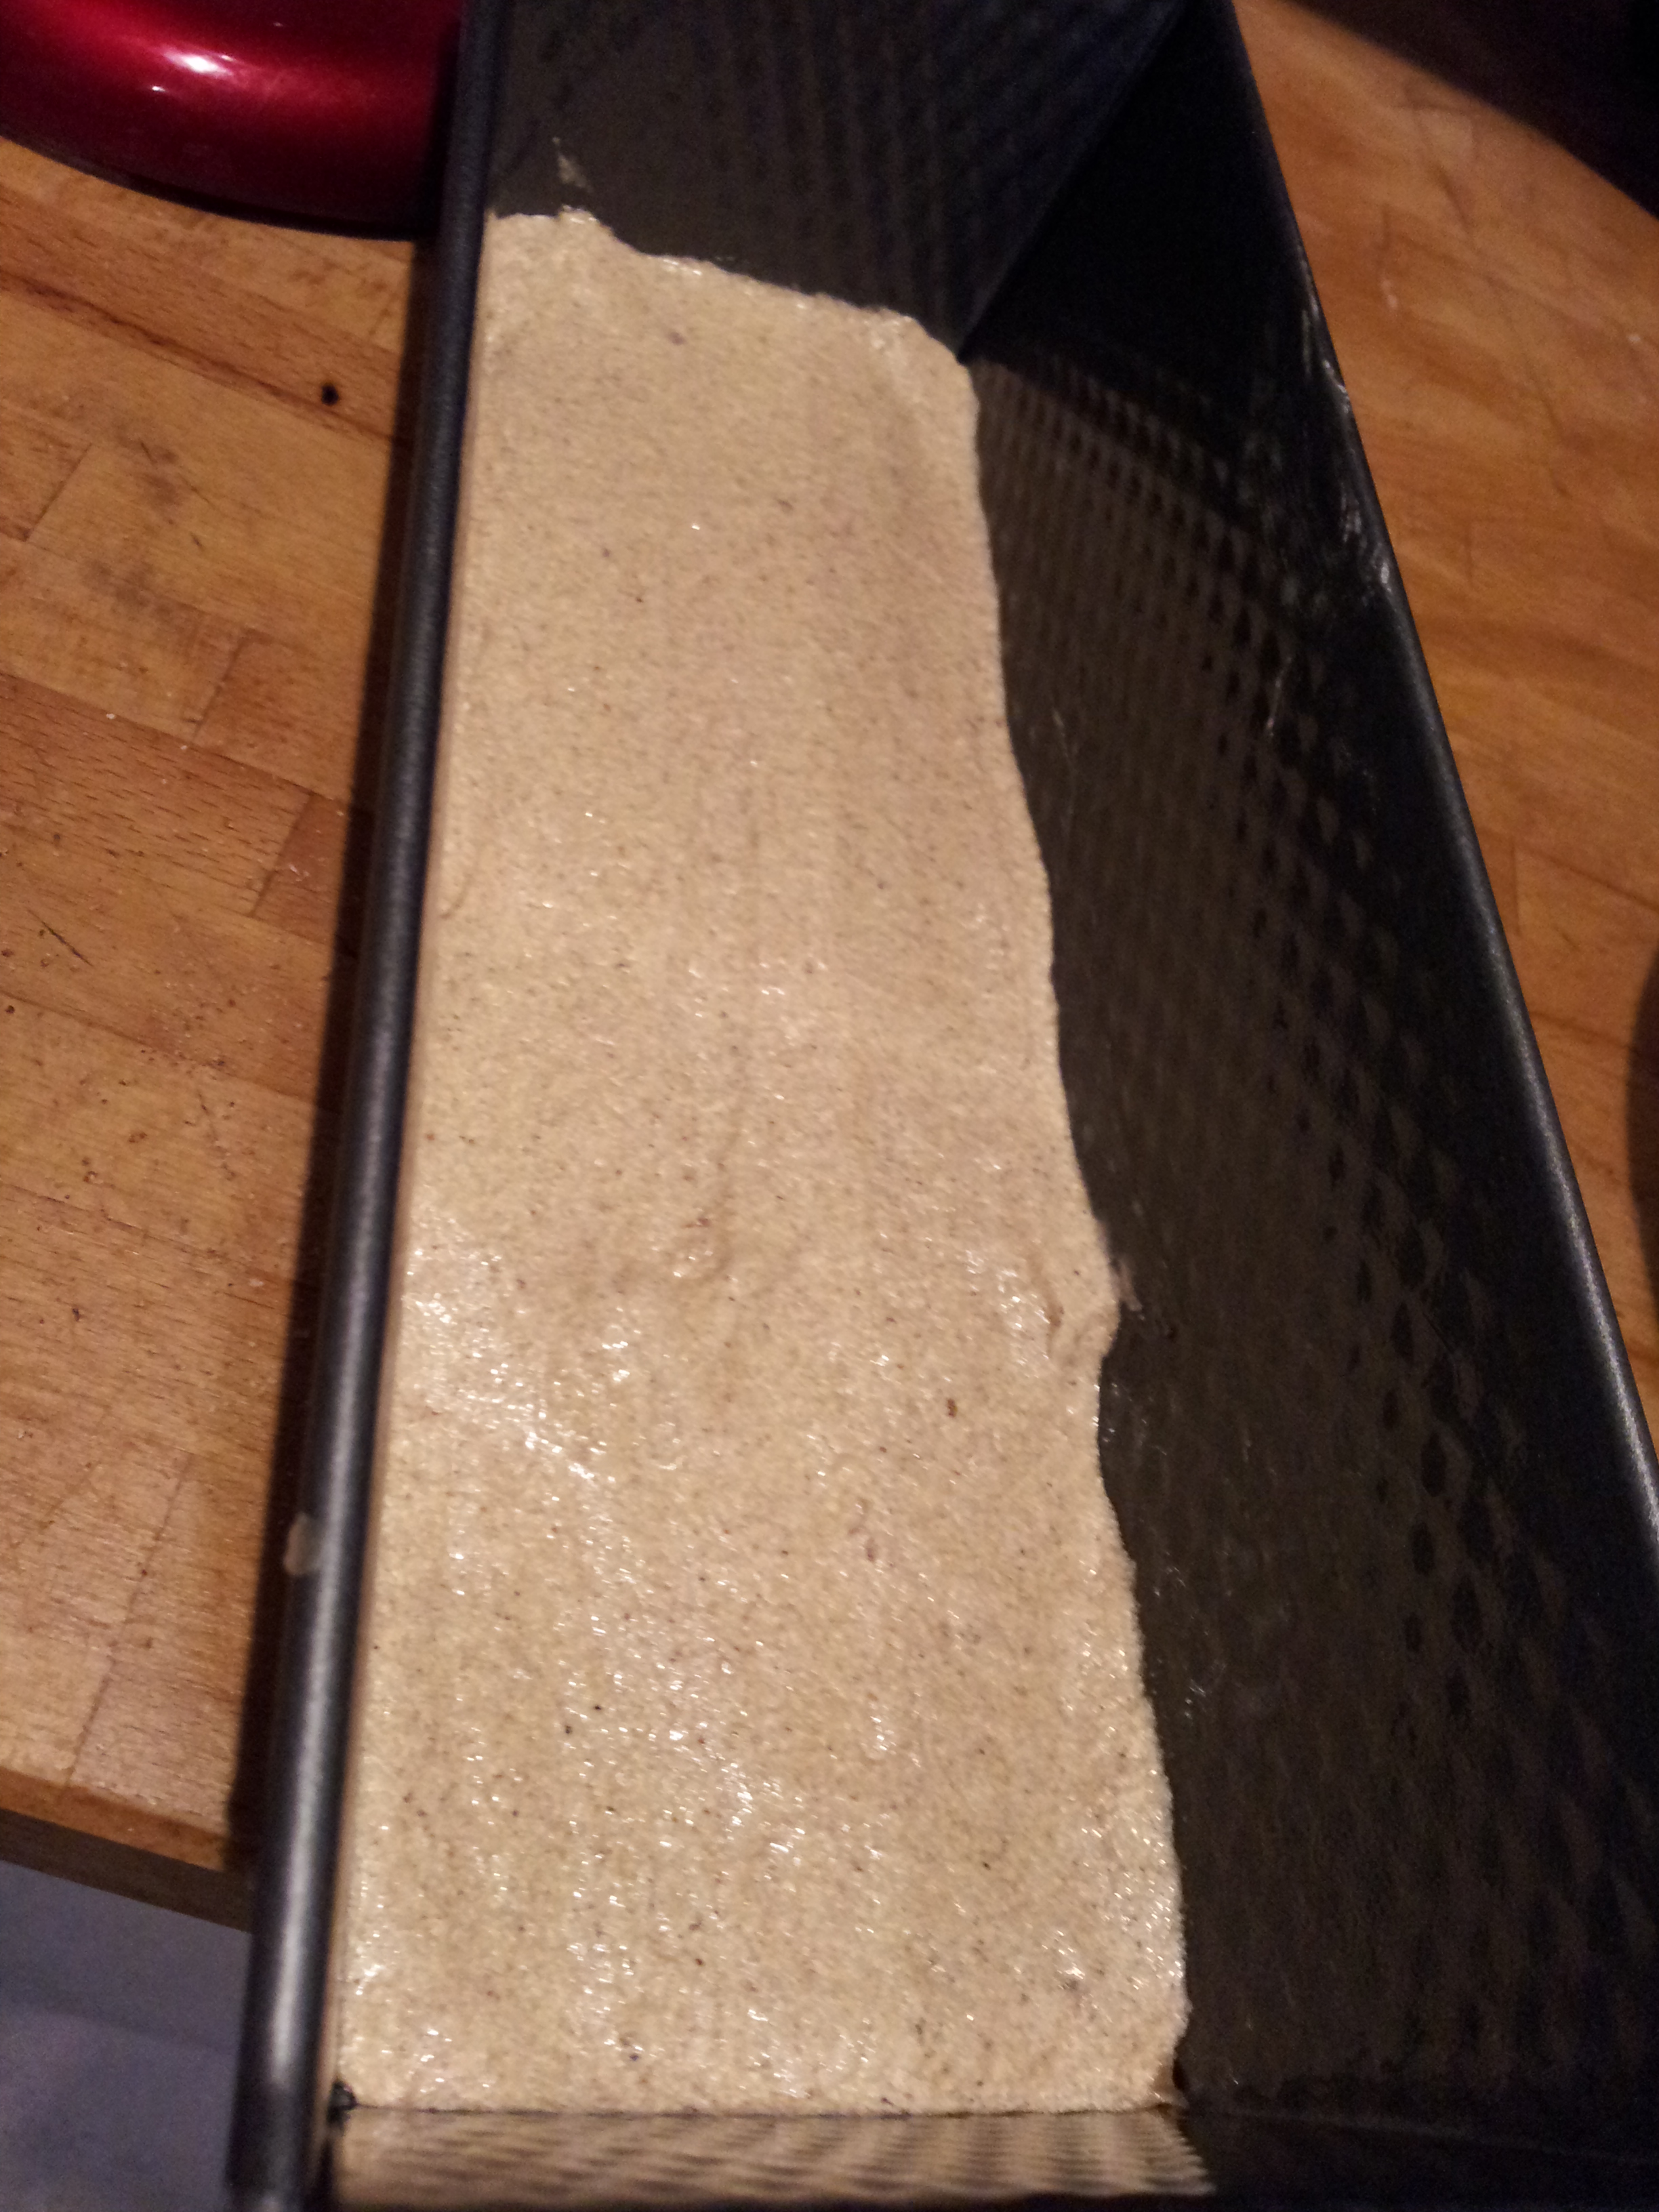
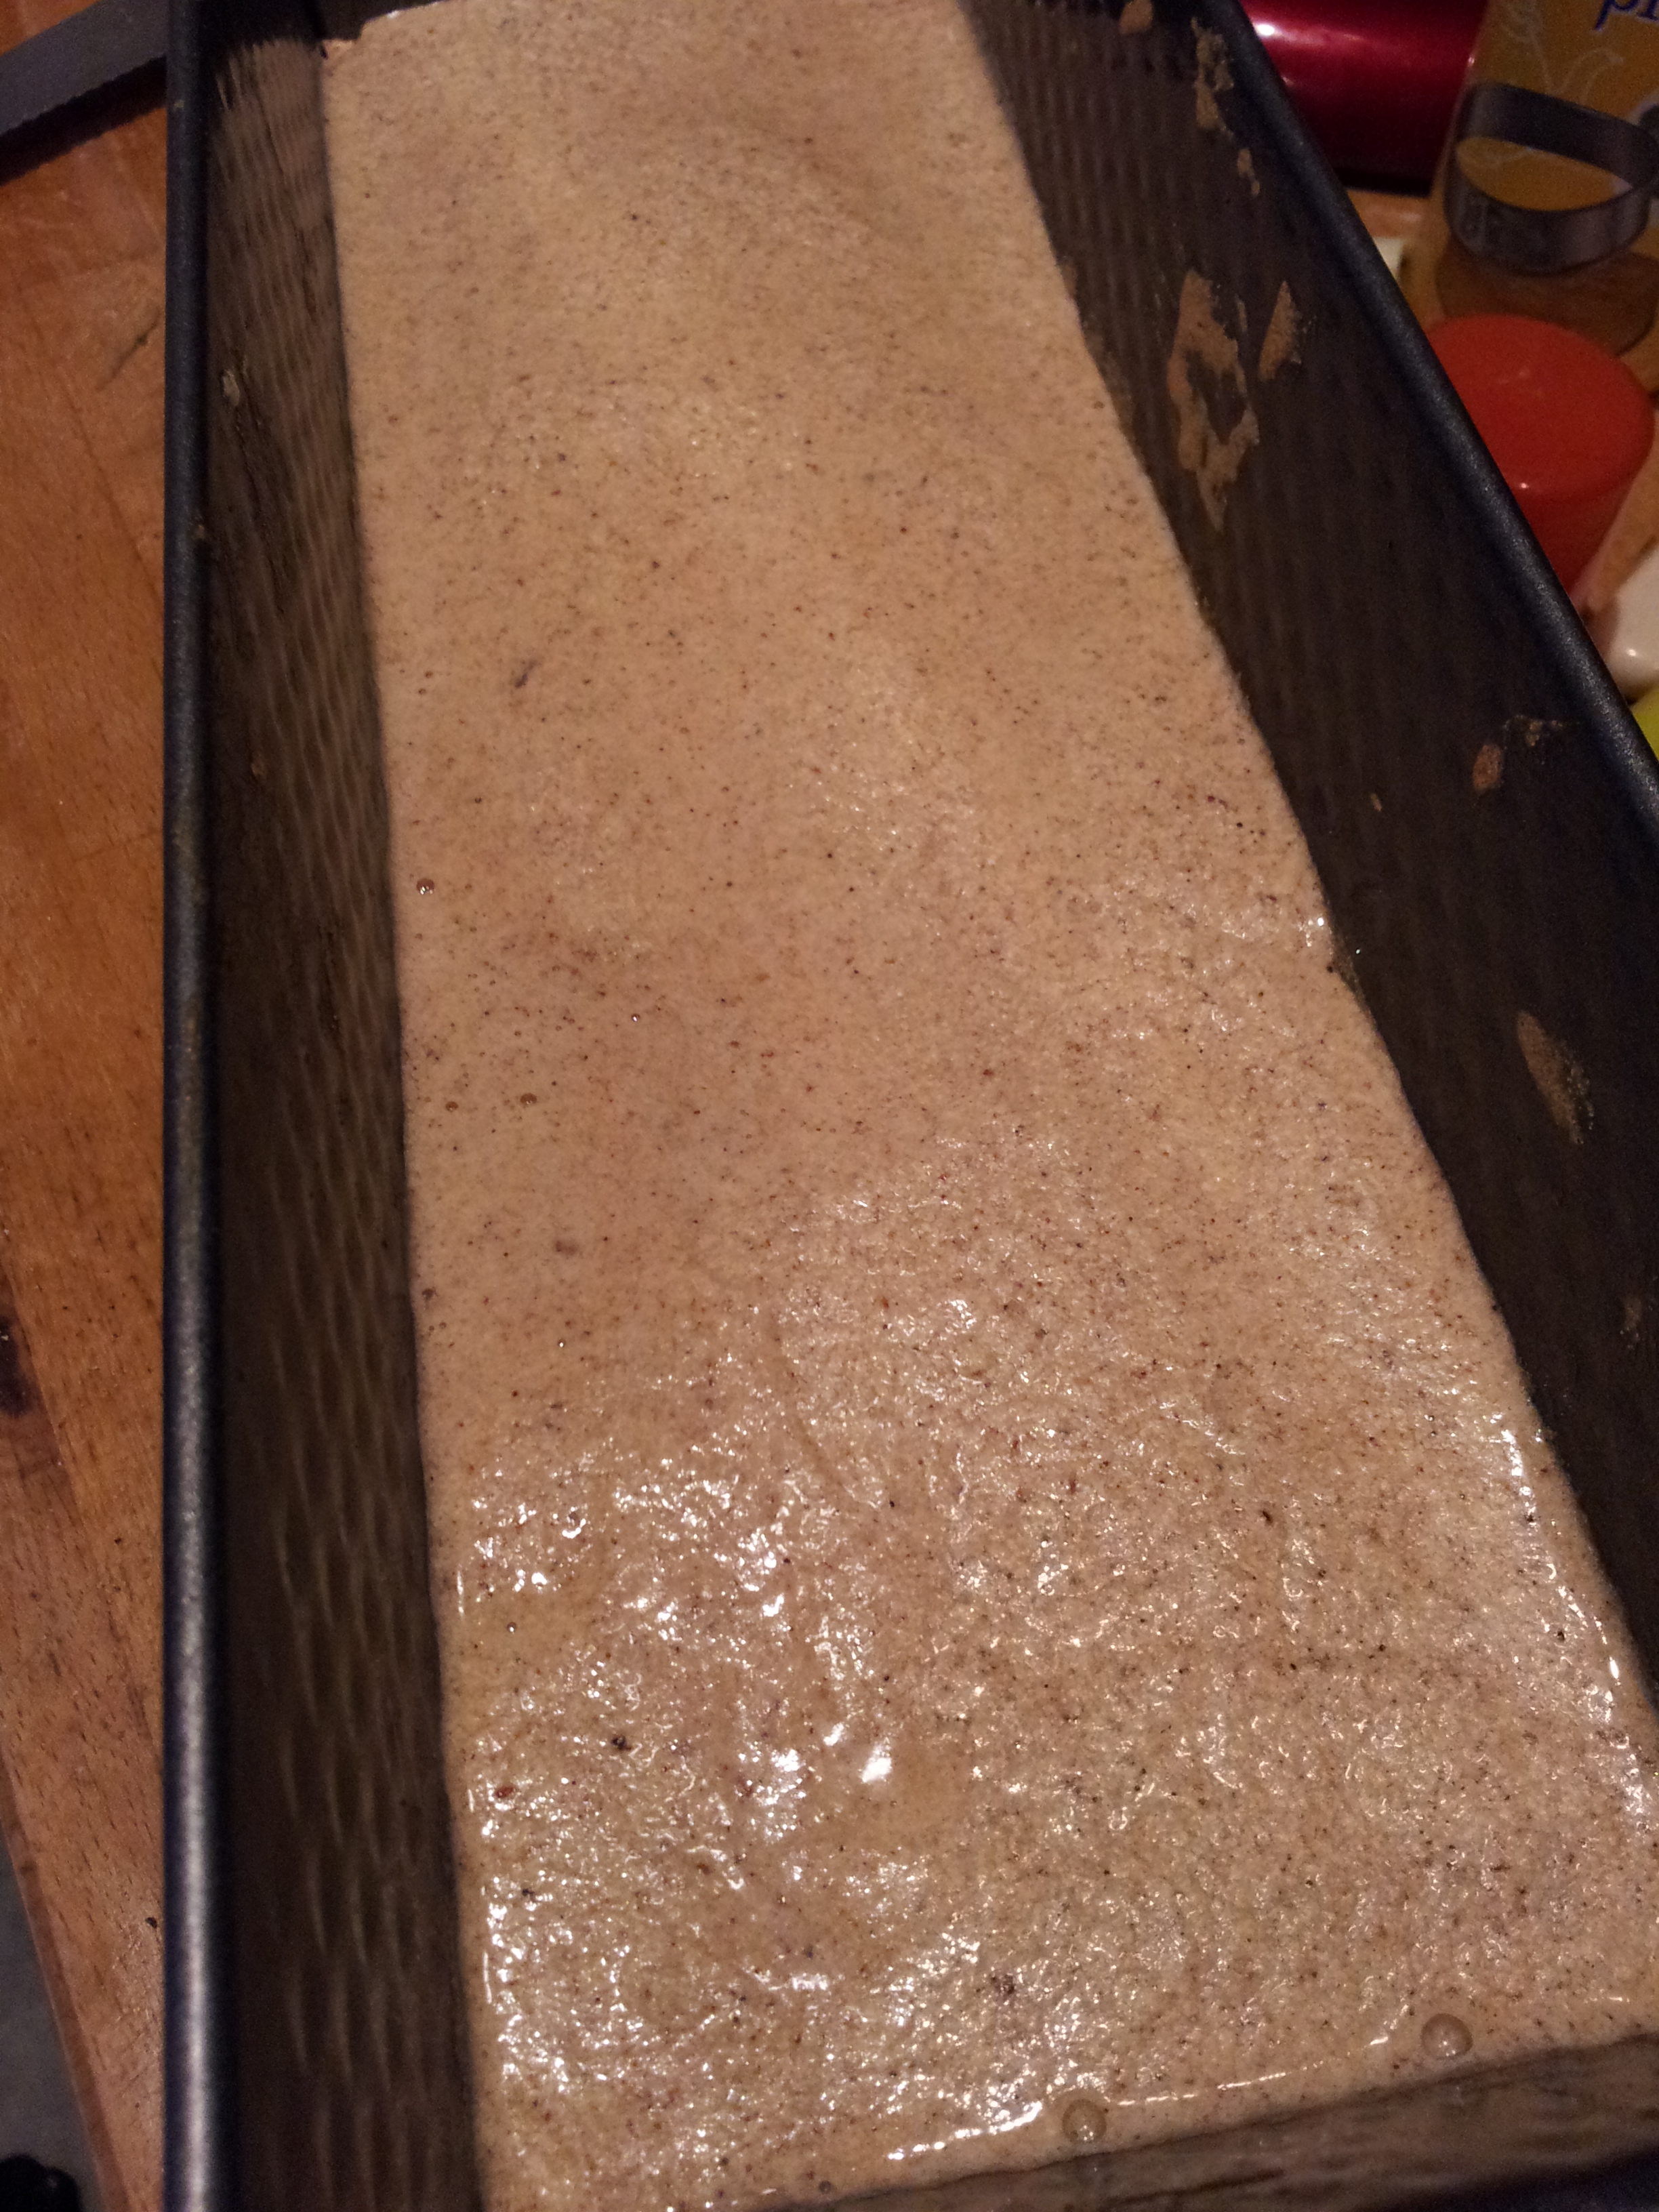
Pistachio Cake ready and waiting
Carefully pour the cake batter into a greased cake tin so you don’t knock any of the precious air out of the sponge. I wanted to test out my new fluted brioche tin to make the cake look a little more fancy. (Hope you like my holiday souvenir! I managed to squash 3 cake tins in my suitcase from Portugal! Is it just me who brings baking equipment home from holiday?) I love the moulded shape. Using a smaller tin means the cake requires a longer baking time in the oven but I think the dramatic shape is well worth the effort.

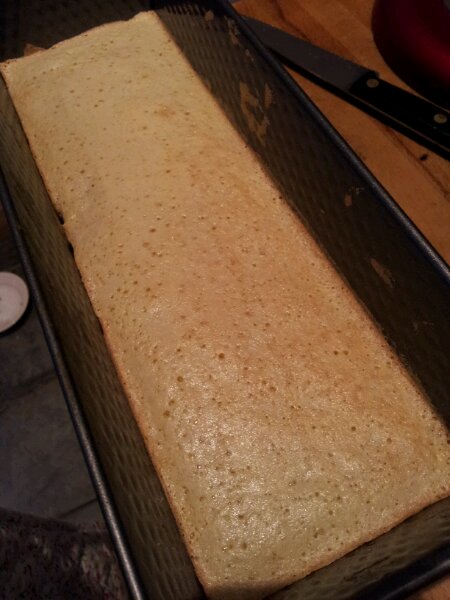
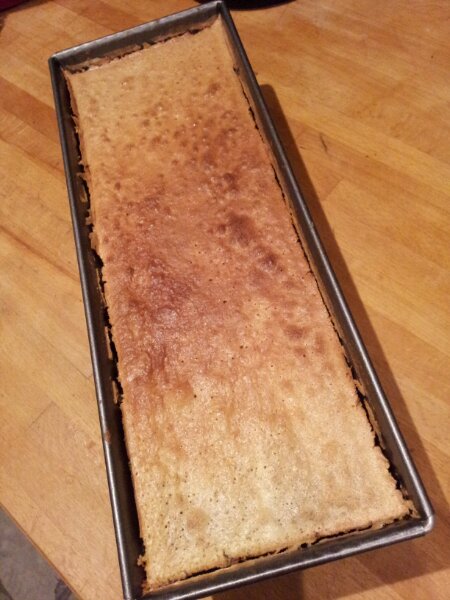
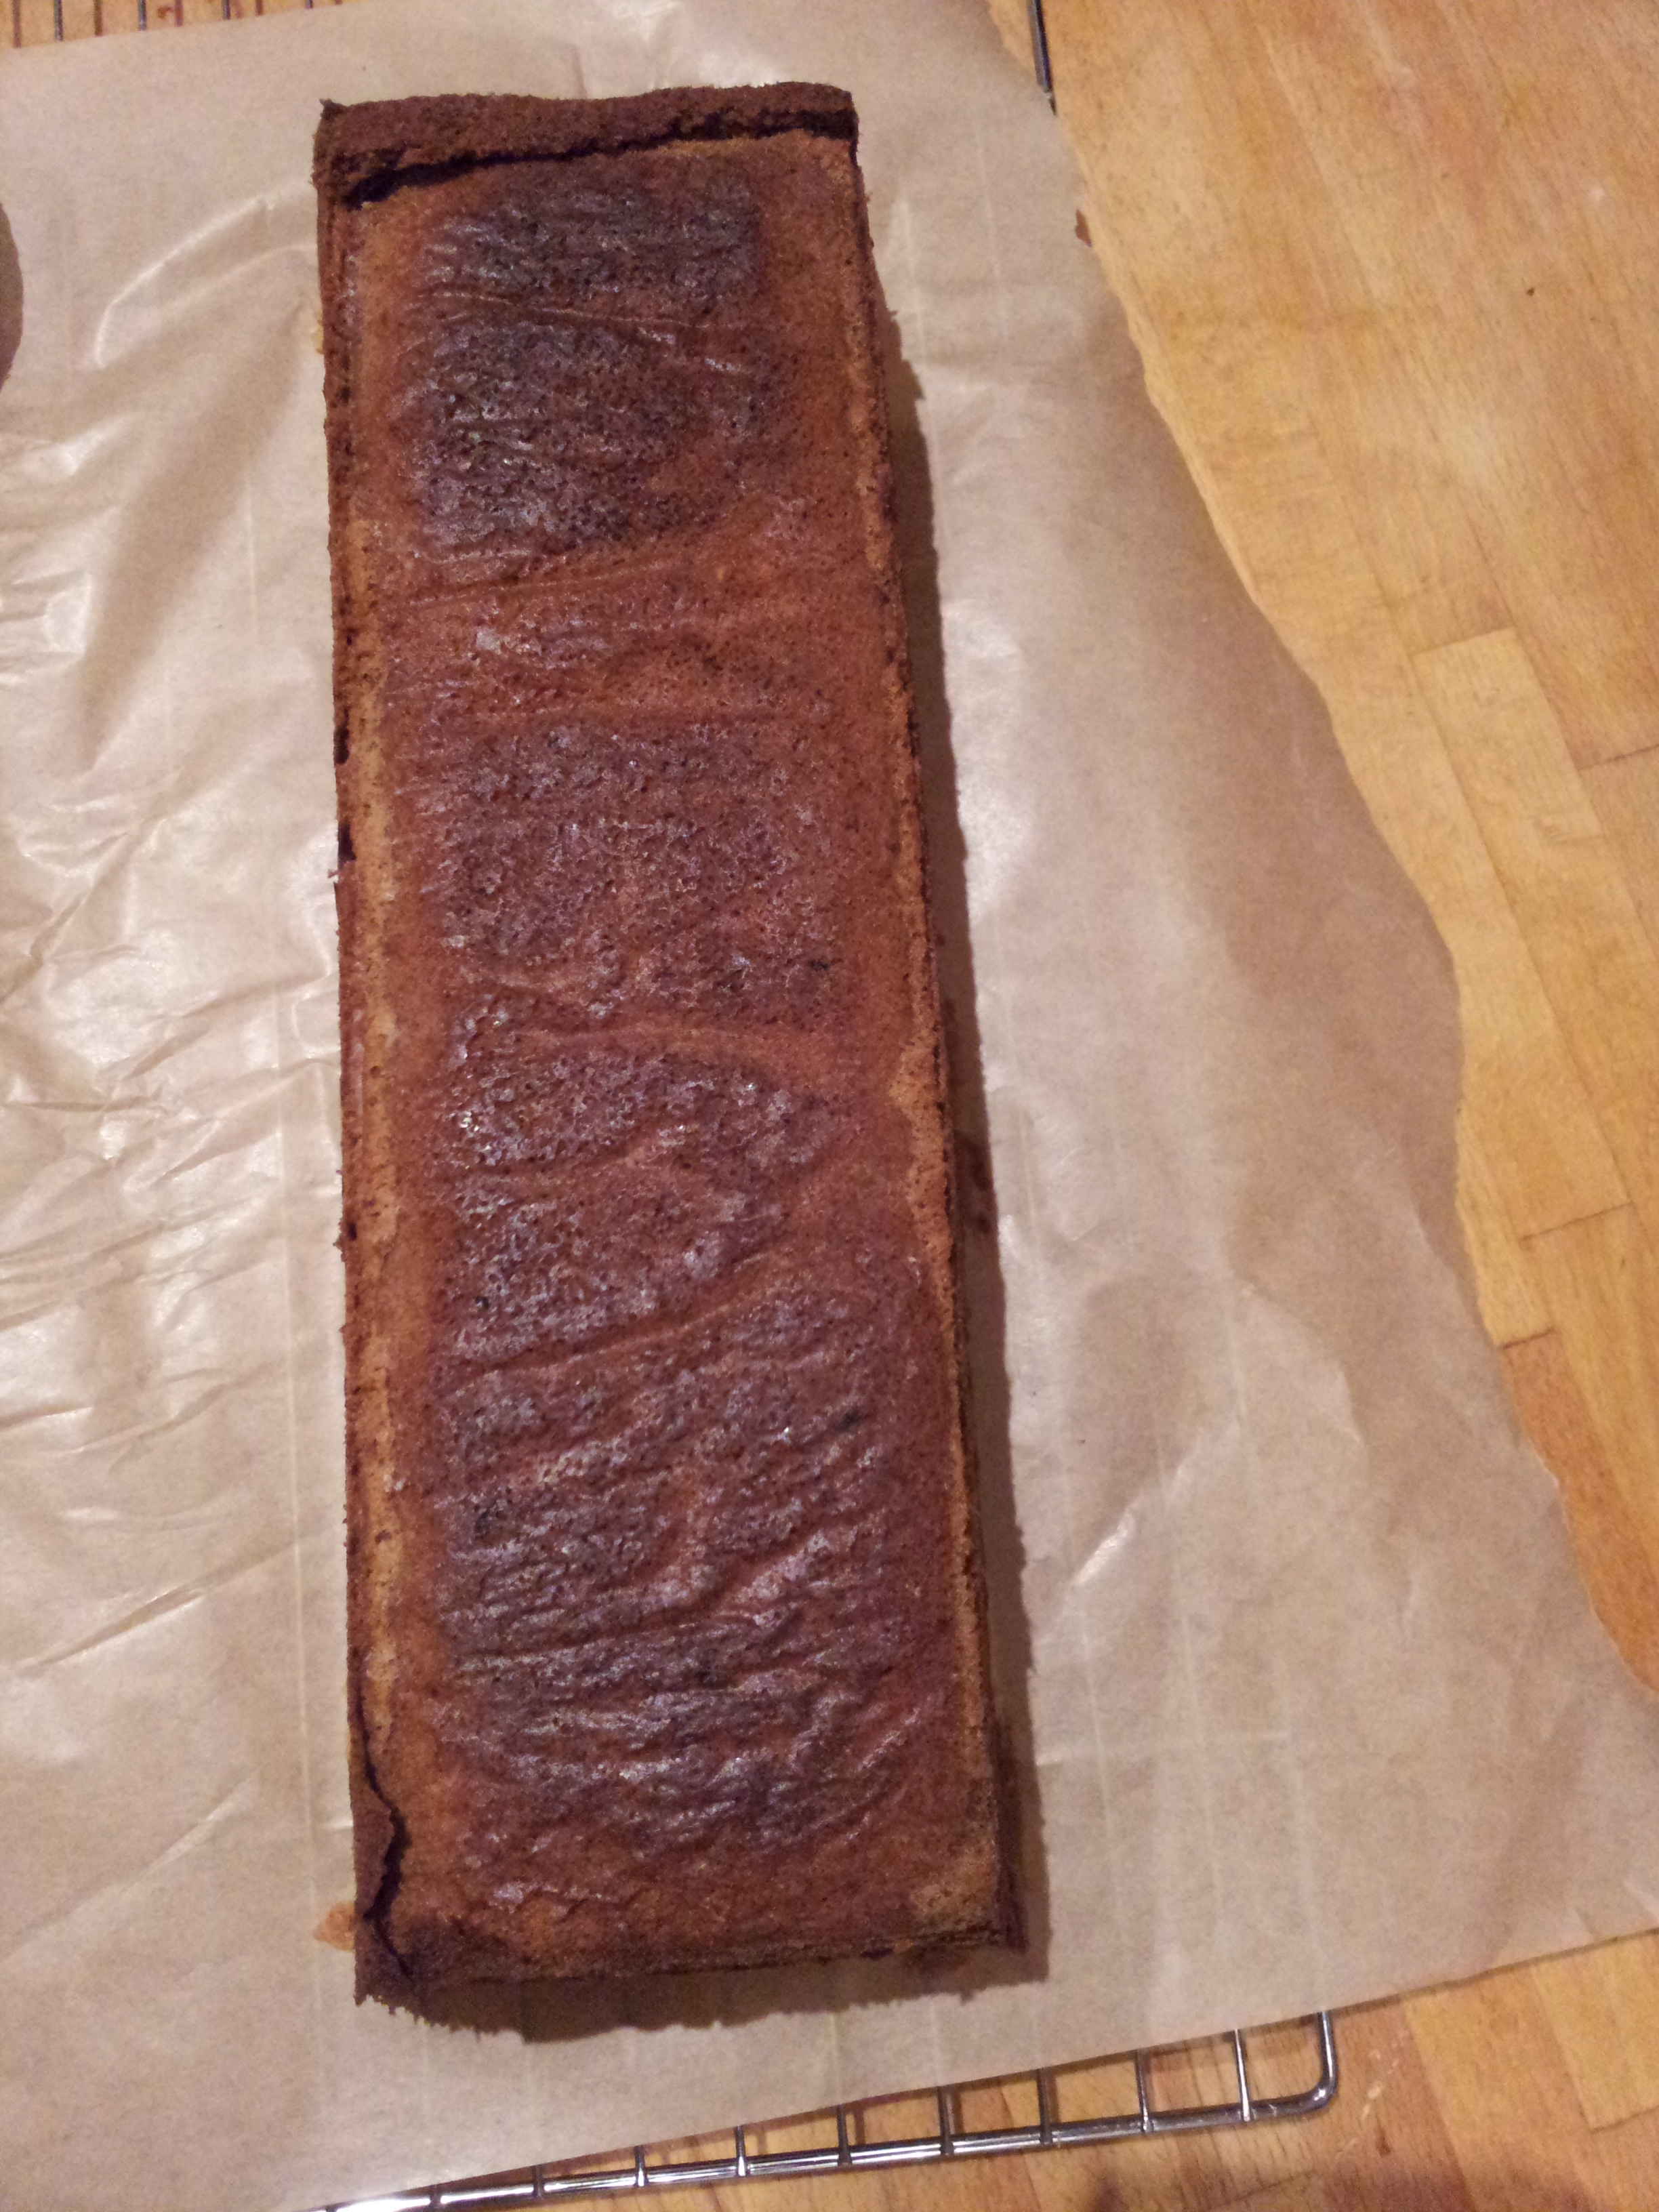
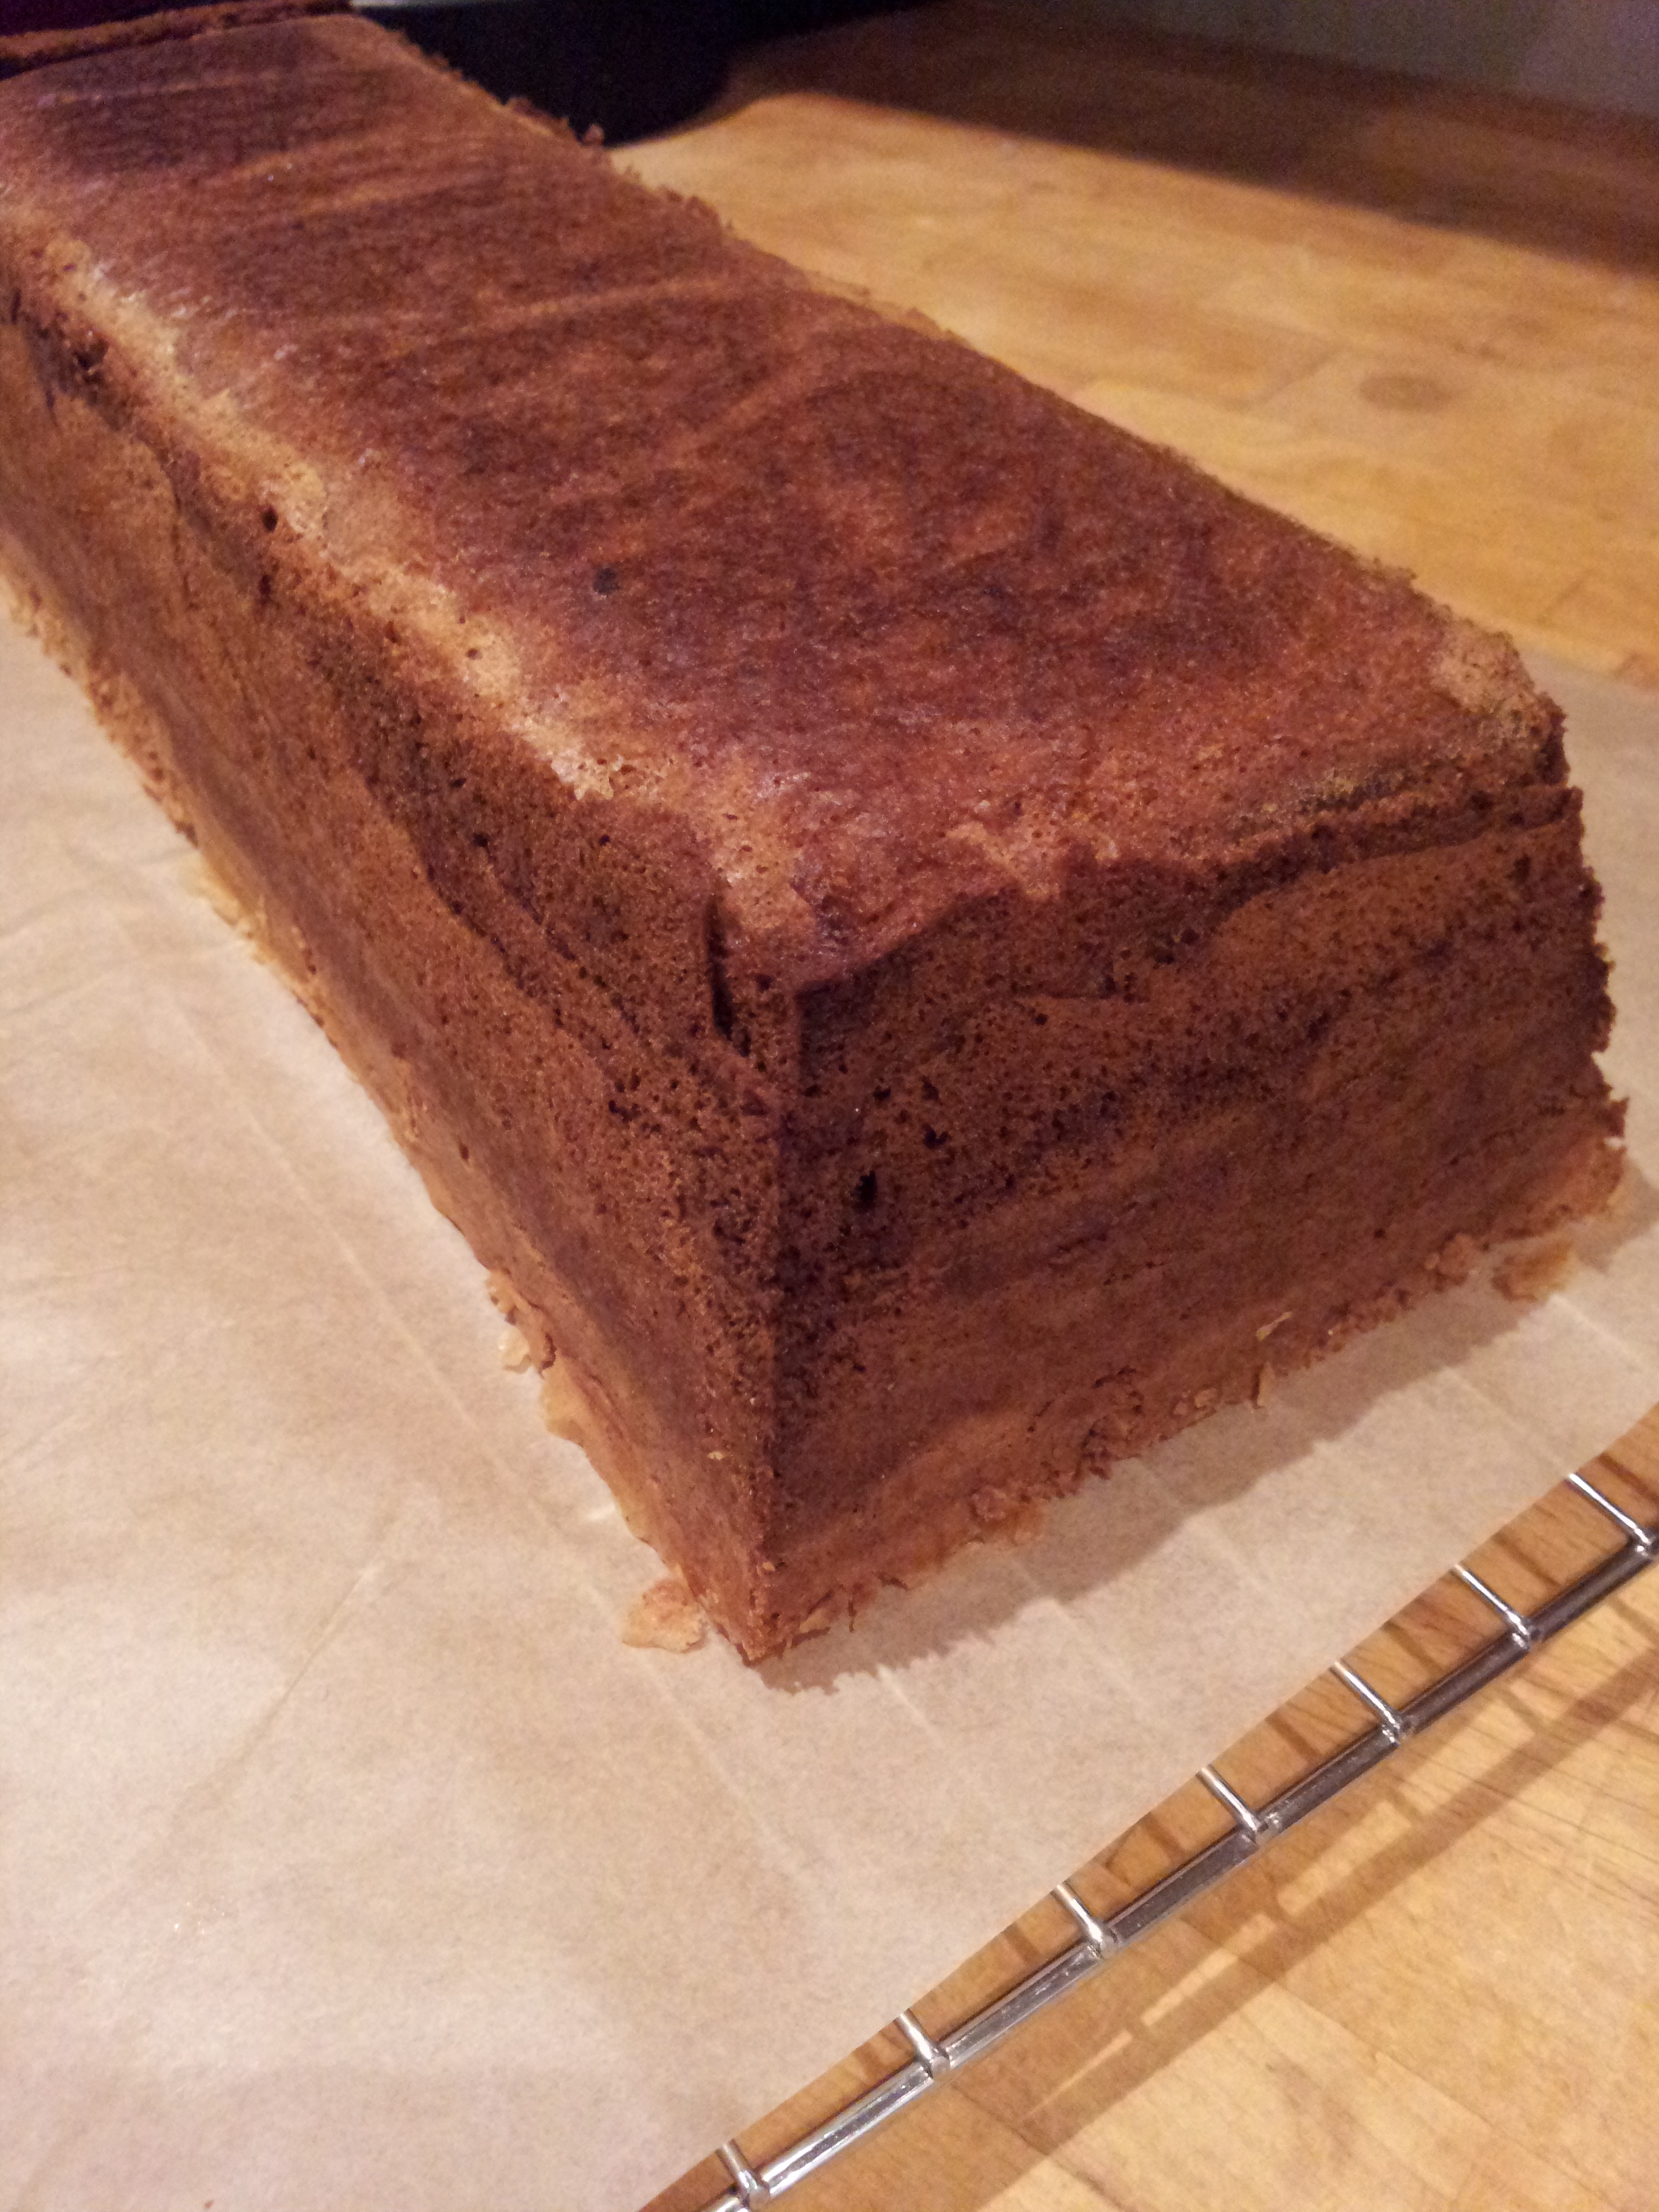
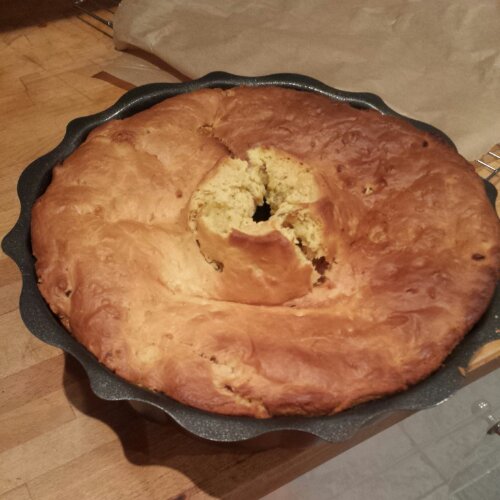
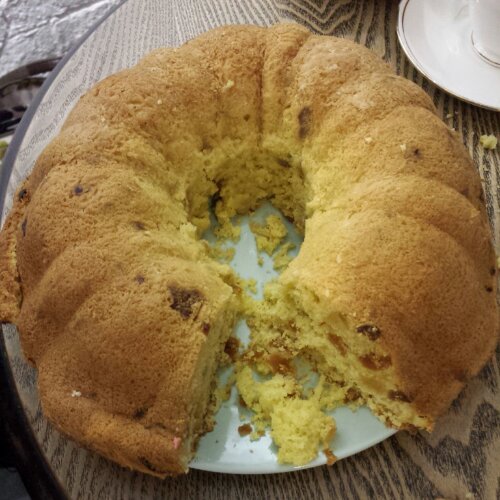
Fully baked Iranian Pistachio Cake chilling
After almost an hour in the oven the cake was thoroughly cooked. I patiently waited 30 minutes before tentatively opening the oven to check if it was done and continued to check every 10 minutes with a skewer that the cake was cooked. The edges did start to brown, so I resorted to a cap of tin foil to protect the top of the cake from burning. You could bake the cake in a bundt tin or a 9 inch round tin. and should take a little less time to cook. You will need to bake it for probably around 30-40 minutes if you’re using a larger tin as the cake will be thinner and require less cooking time. The final cake is a deep brown in colour and springs back when touched.

Rosewater sugar icing – the perfect consistency!
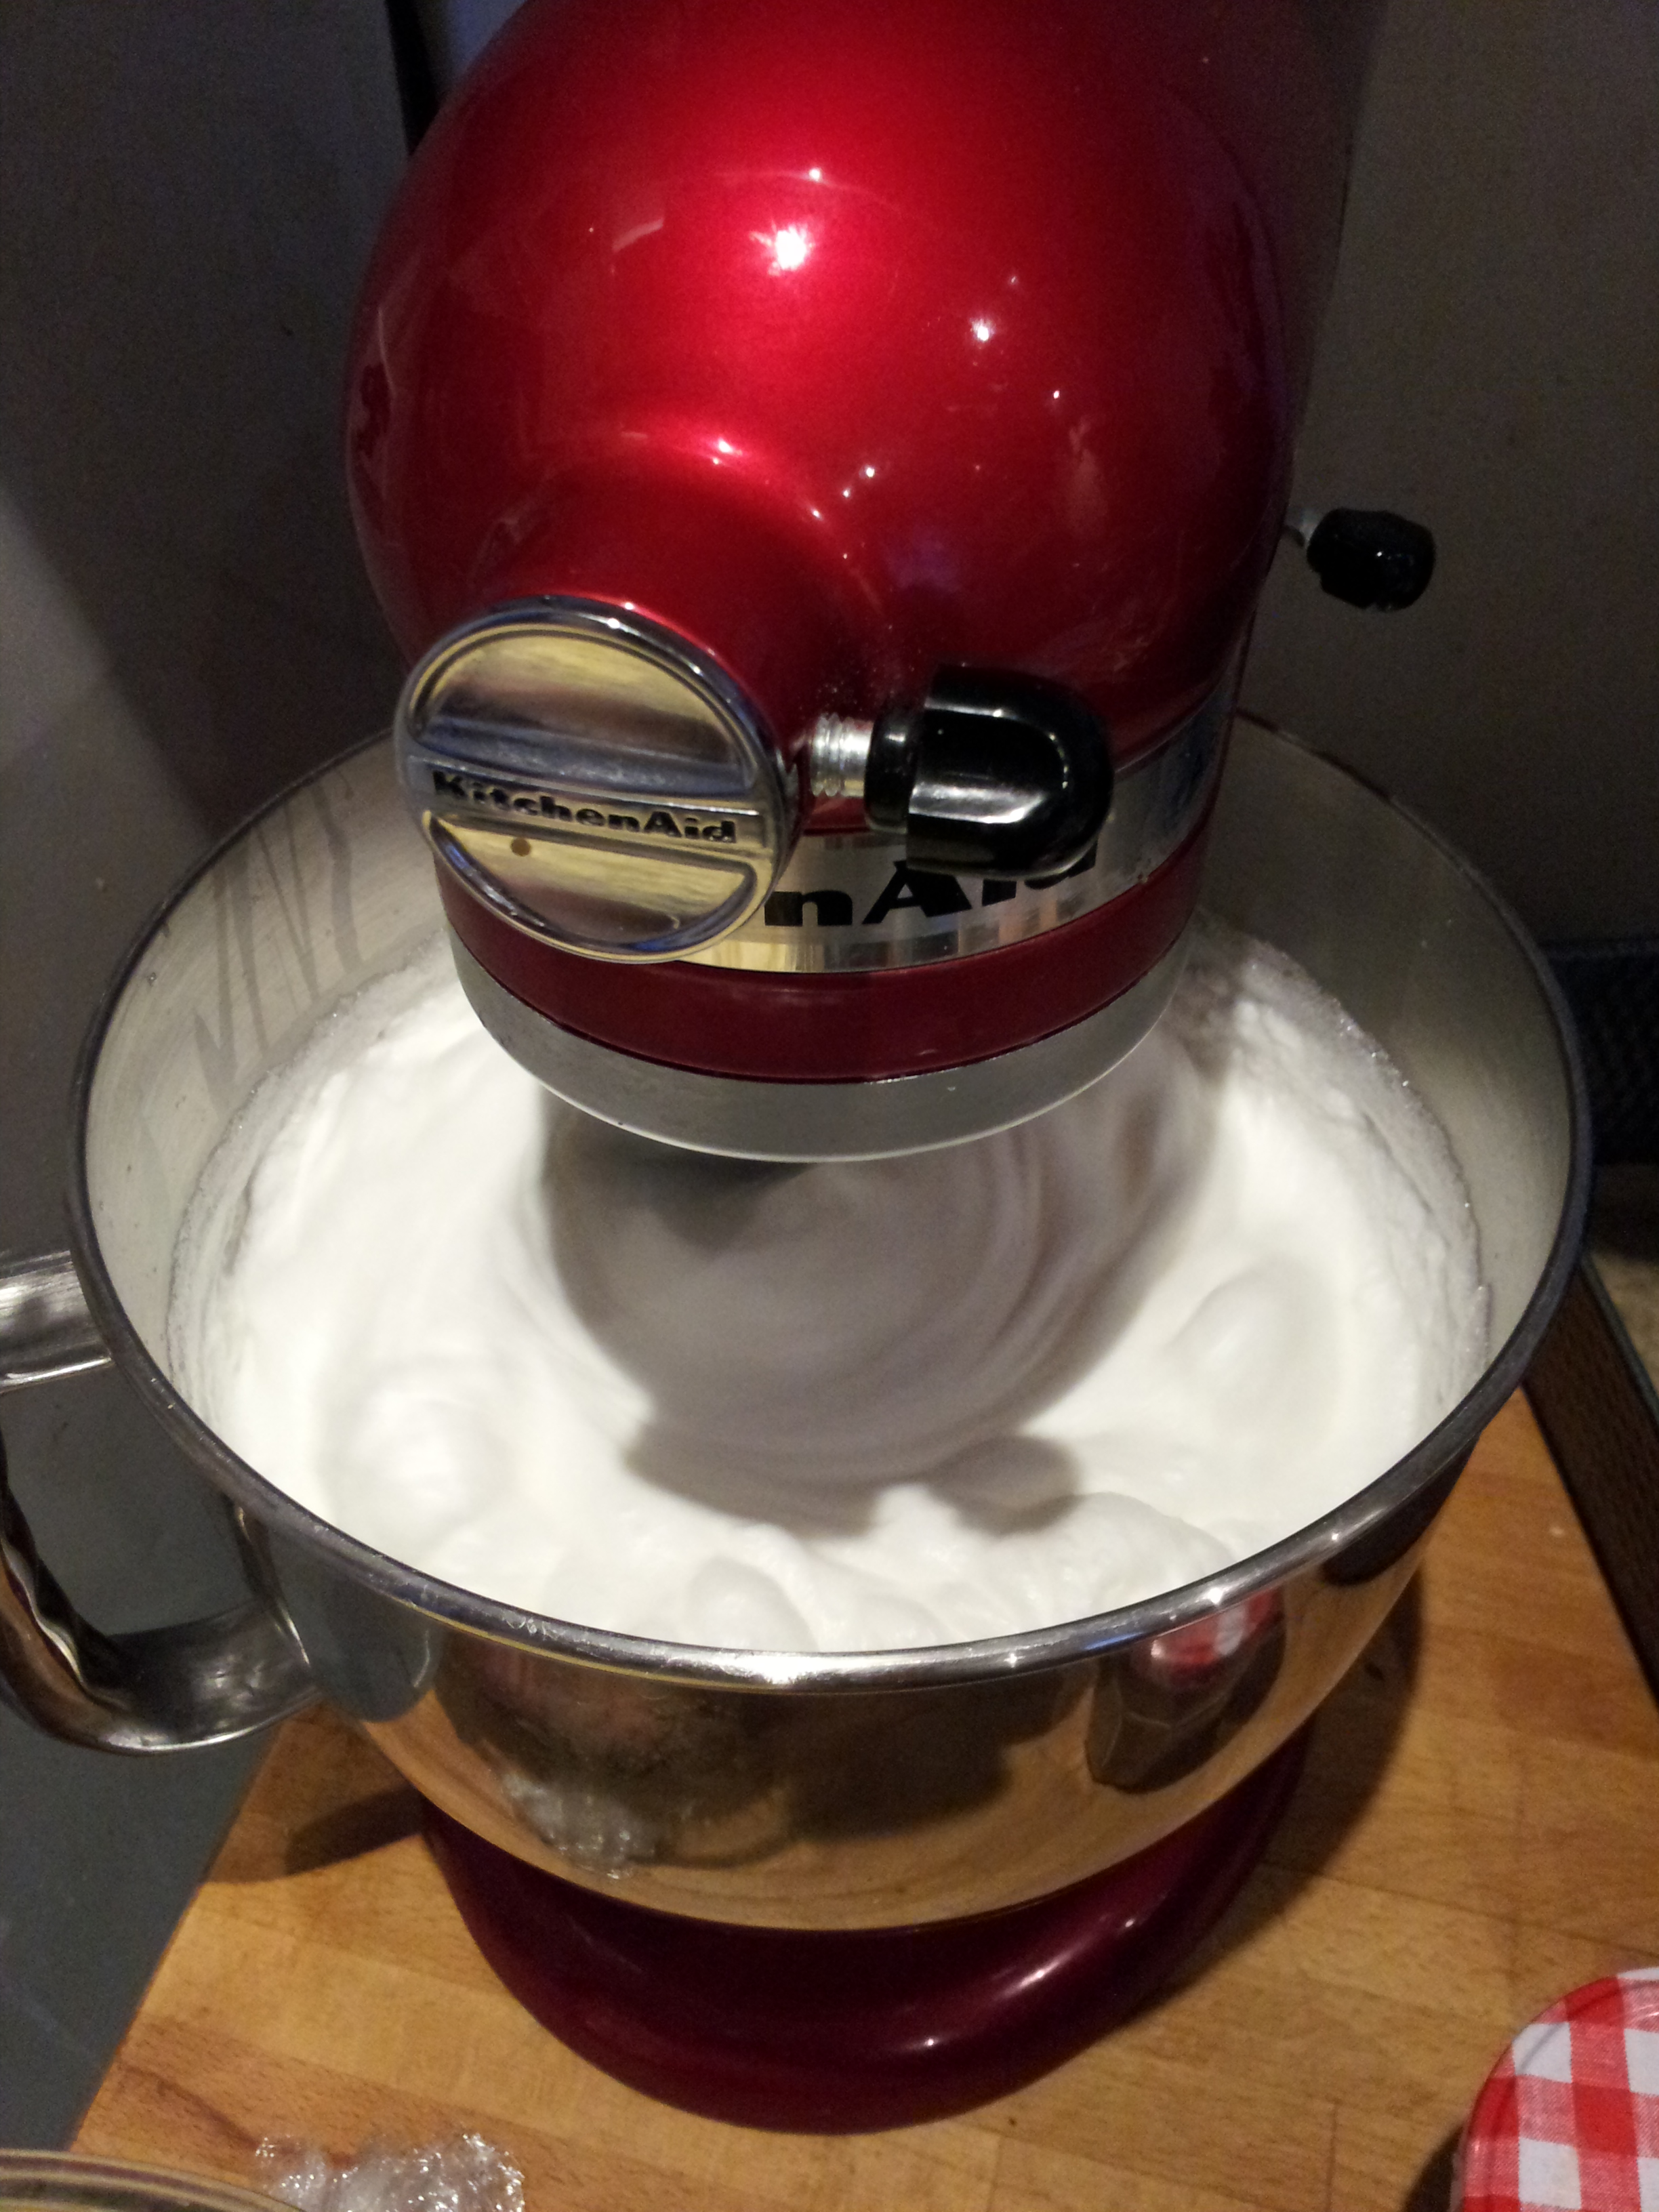
Cardamom is a regular character in Eastern cakes and desserts. It compliments the delicious pistachios with it’s subtle spice. Traditionally this cake doesn’t ask for any icing, but I thought something sweet would be a welcome addition. I added my own rosewater glace icing to sweeten the sponge. I always struggle with glace or water icing, with it often ending up runny, resulting in soggy cakes and never endingly wet icing. If I was hoping to make a syrup I would be able to do this with my eyes closed. Desperate to get it right, I actually measured my liquids before adding them to the icing sugar! Using my kitchen aid I beat the icing sugar adding the rosewater one teaspoon at a time to ensure I didn’t over egg the pudding, as I’ve learnt from experience you can’t take extra liquid out if you get a bit too enthusiastic with the bottle…

Genuinely thick rosewater icing
Triumph! I succeeded in making a thick pipeable rosewater icing for the first time ever!! Hurrah! If anything it could have been a tiny bit more runny so that it could run down the sides of the cake giving a natural trail in it’s wake. Next time I may add a smidge more rosewater to make it slightly more runny. But hey I’m not complaining! I was aiming for an rosey flavoured iced bun effect and that’s exactly what I got.

Crown of crushed pistachios
Smashing up a handful of pistachio in the pestle and mortar I got a bit artistic, adding a crown of crushed pistachios whilst the icing was still sticky so it holds the nuts in place once set. I didn’t want it to look too pristine, so I threw some nuts at the edges of the cake too allowing the crumbs to stick to the icing tracks too.

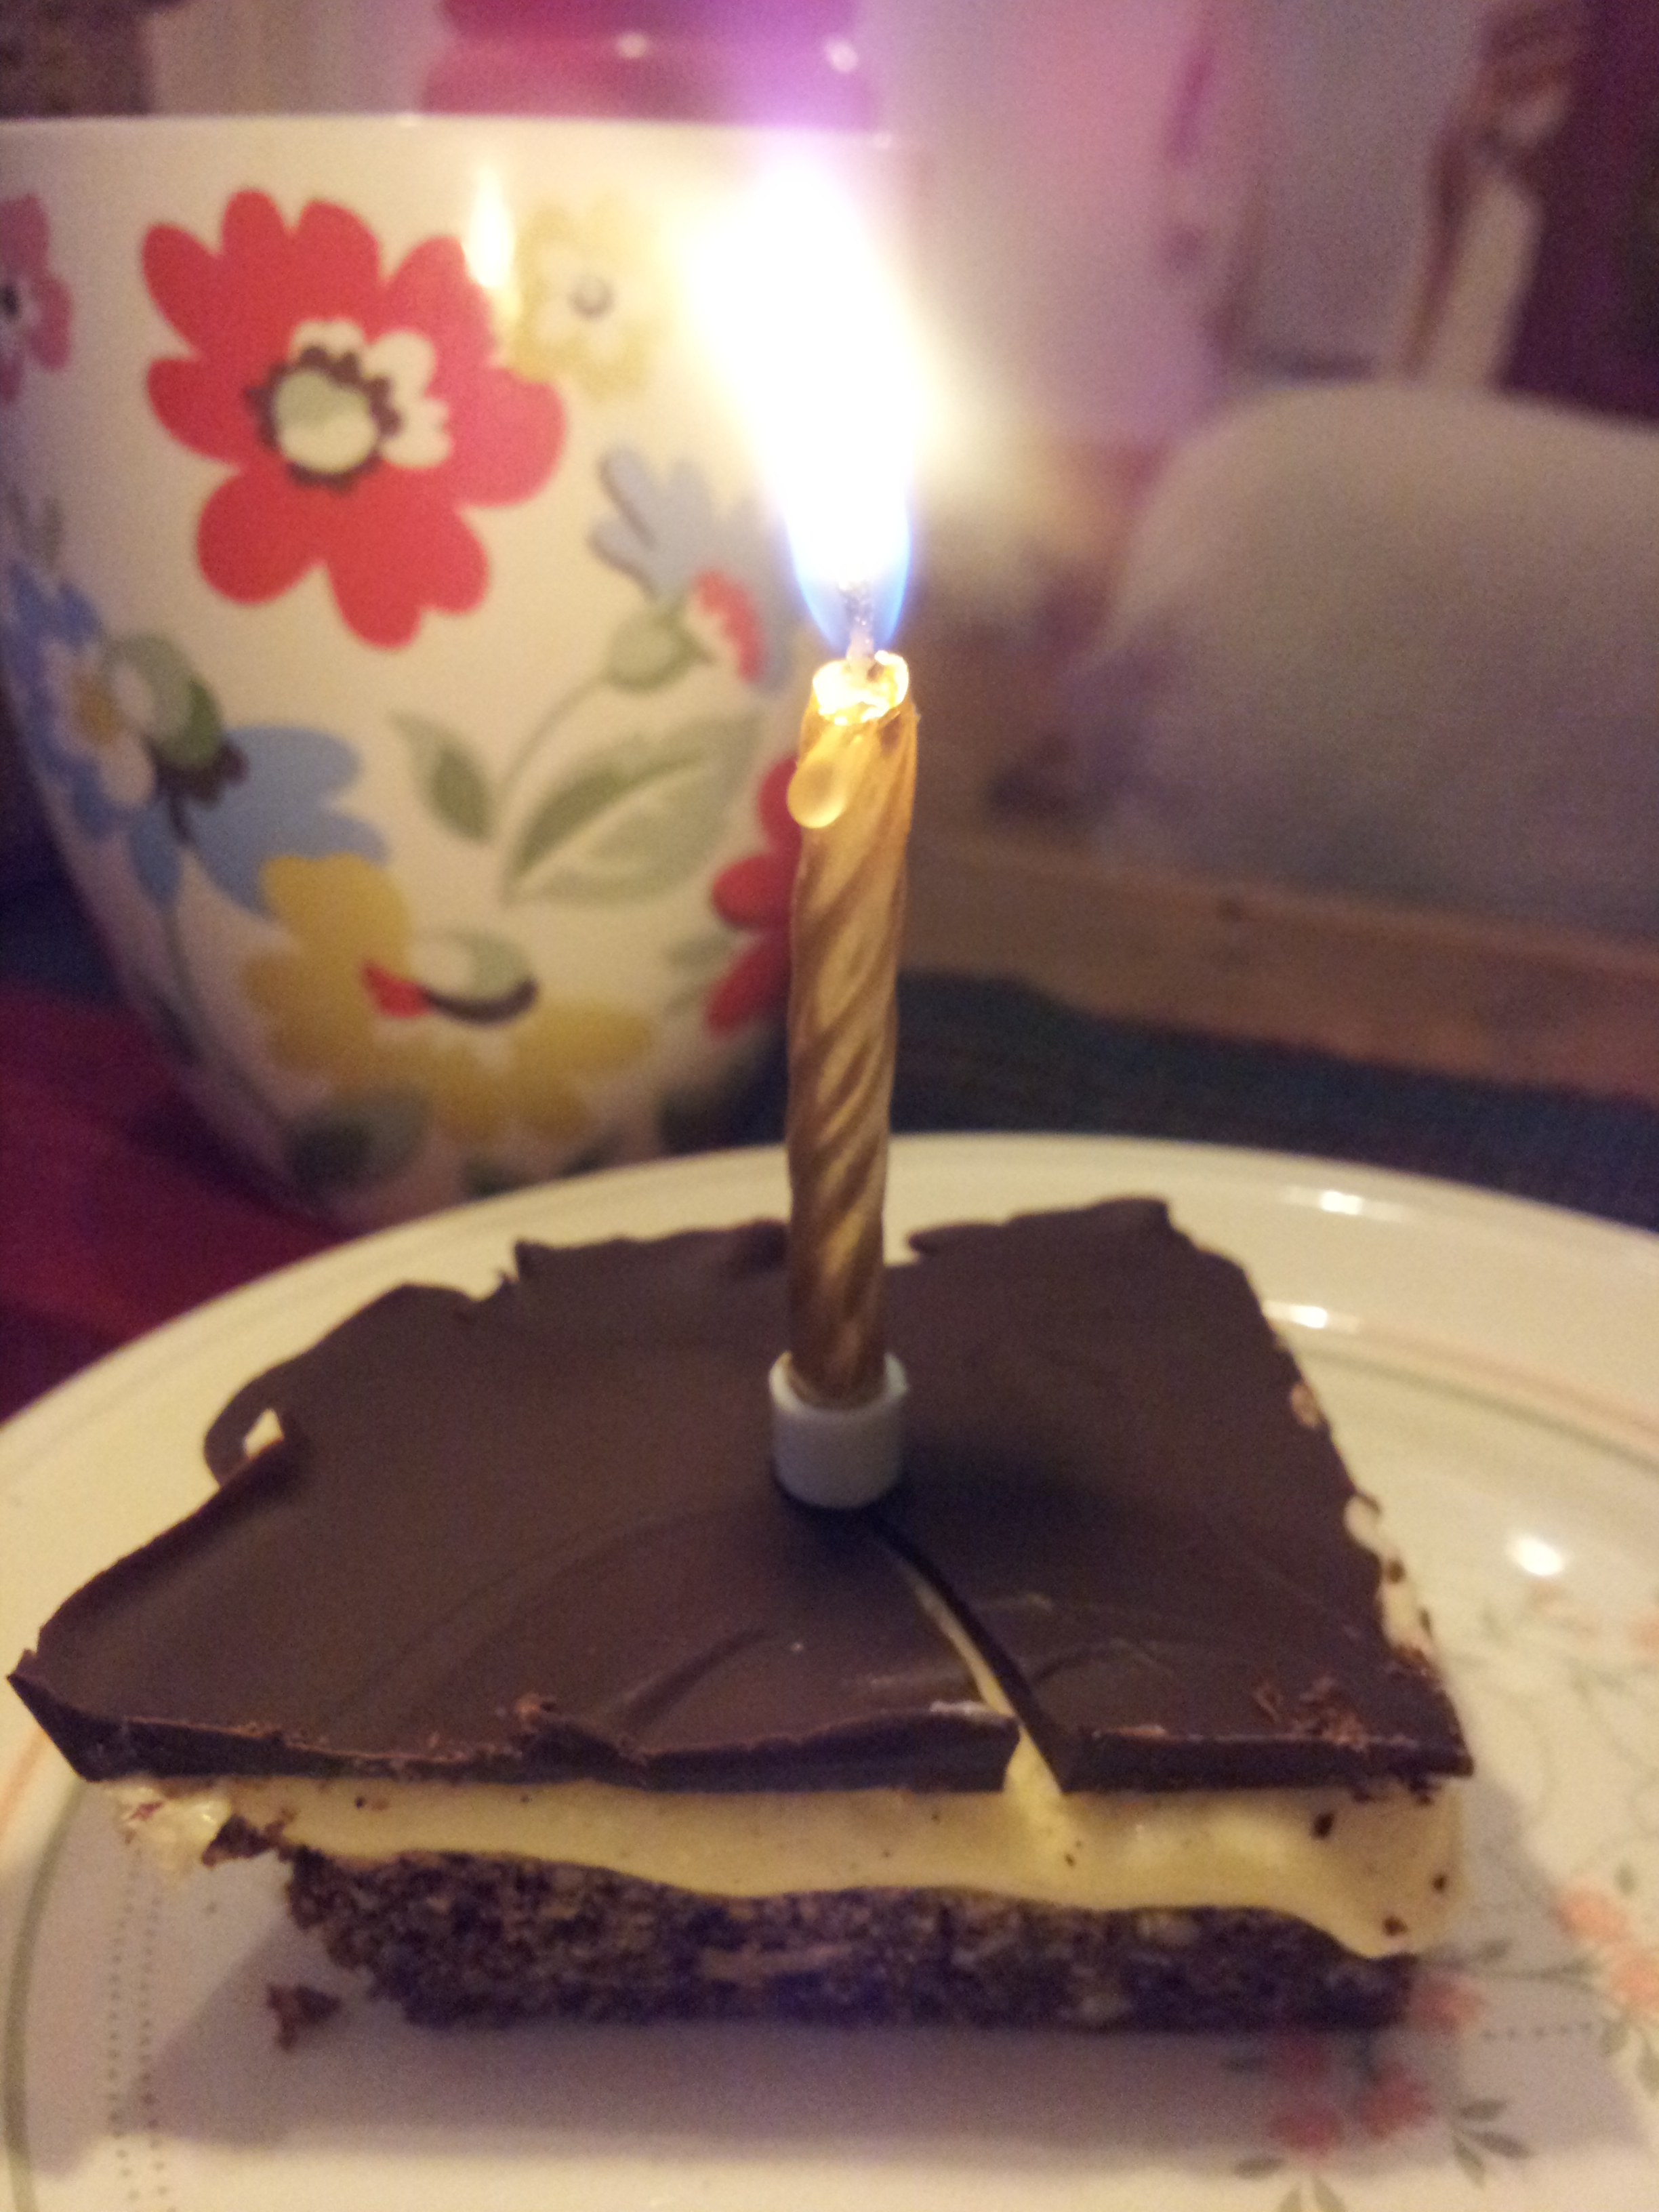
Happy Birthday Mel!
I loved this cake, so much so I helped myself to 2 slices. (Me? Greedy?) It makes a wonderful alternative to the traditional chocolate birthday cake. A grown up cake full of flavour. Sweet, light and spicy with a tiny crunch to it powered by pistachios. It feels wonderfully exotic with every waft of cardamom balanced against the gentle rose icing. I will most definitely be baking this cake again.

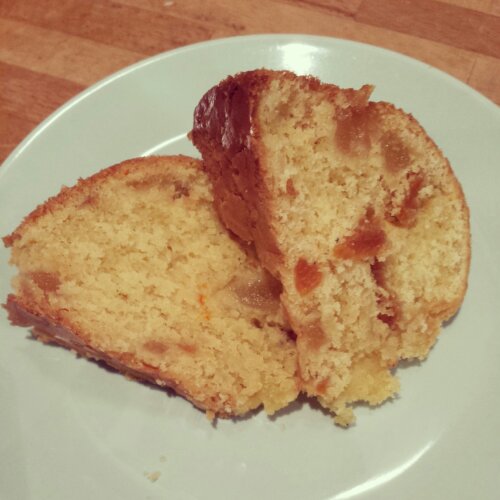
The perfect pistachio slice
Each slice glows with the subtle green flecks from the pistachios, contrasting beautifully against the white icing. The cake cuts smoothly and is really robust, so it travels well. (Just in case like me you end up regularly carrying cake around to surprise people with.)

Iranian Pistachio Cake
Things I used to make my Iranian Pistachio Cake
- 170g butter
- 200g sugar
Beat until light and fluffy
- 3 eggs
Beat in the eggs one at a time until pale and fluffy
- 180g (3/4 cup) of pistachios
- 1 tsp of ground green cardamom (this was 9 or 10 cardamom pods)
- 1/4 tsp salt
Blitz the pistachios, spice and salt together until finely ground
- 140g plain flour
- 2 tsp baking powder
Stir the pistachios into the flour and baking powder
Fold one third of the flour mix to the butter and eggs
- 110ml (1/2 cup) milk
- 1 tsp vanilla extract
Add the vanilla to the milk
Fold one third of the milk to the butter and flour mix
Alternate adding flour and milk to the mix and continue until all ingredients are incorporated
Pour into a greased (and lined if your tin will allow for this) tin and bake at 180 degrees C for 50-60 minutes until a skewer comes out clean from the centre of the cake. Put a tin foil hat on the cake if it starts to darken too much.
Icing
- 170g icing sugar
- 10 tsp rosewater
- handfull of crushed pistachios
- Beat the rosewater into the icing sugar one teaspoon at a time to ensure you get the right consistency. Thick yet runny icing.
- Smash the pistachios up to rough pieces and decorate the cake as you wish
- Devour with a glass of champagne (if it’s an especially decadent occasion) or proper cup of strong coffee would work wonderfully too. Enjoy!


")