48. Oh Canada! Oh Nanaimo Bars!

Happy Birthday to Chris  Nanaimo Bar

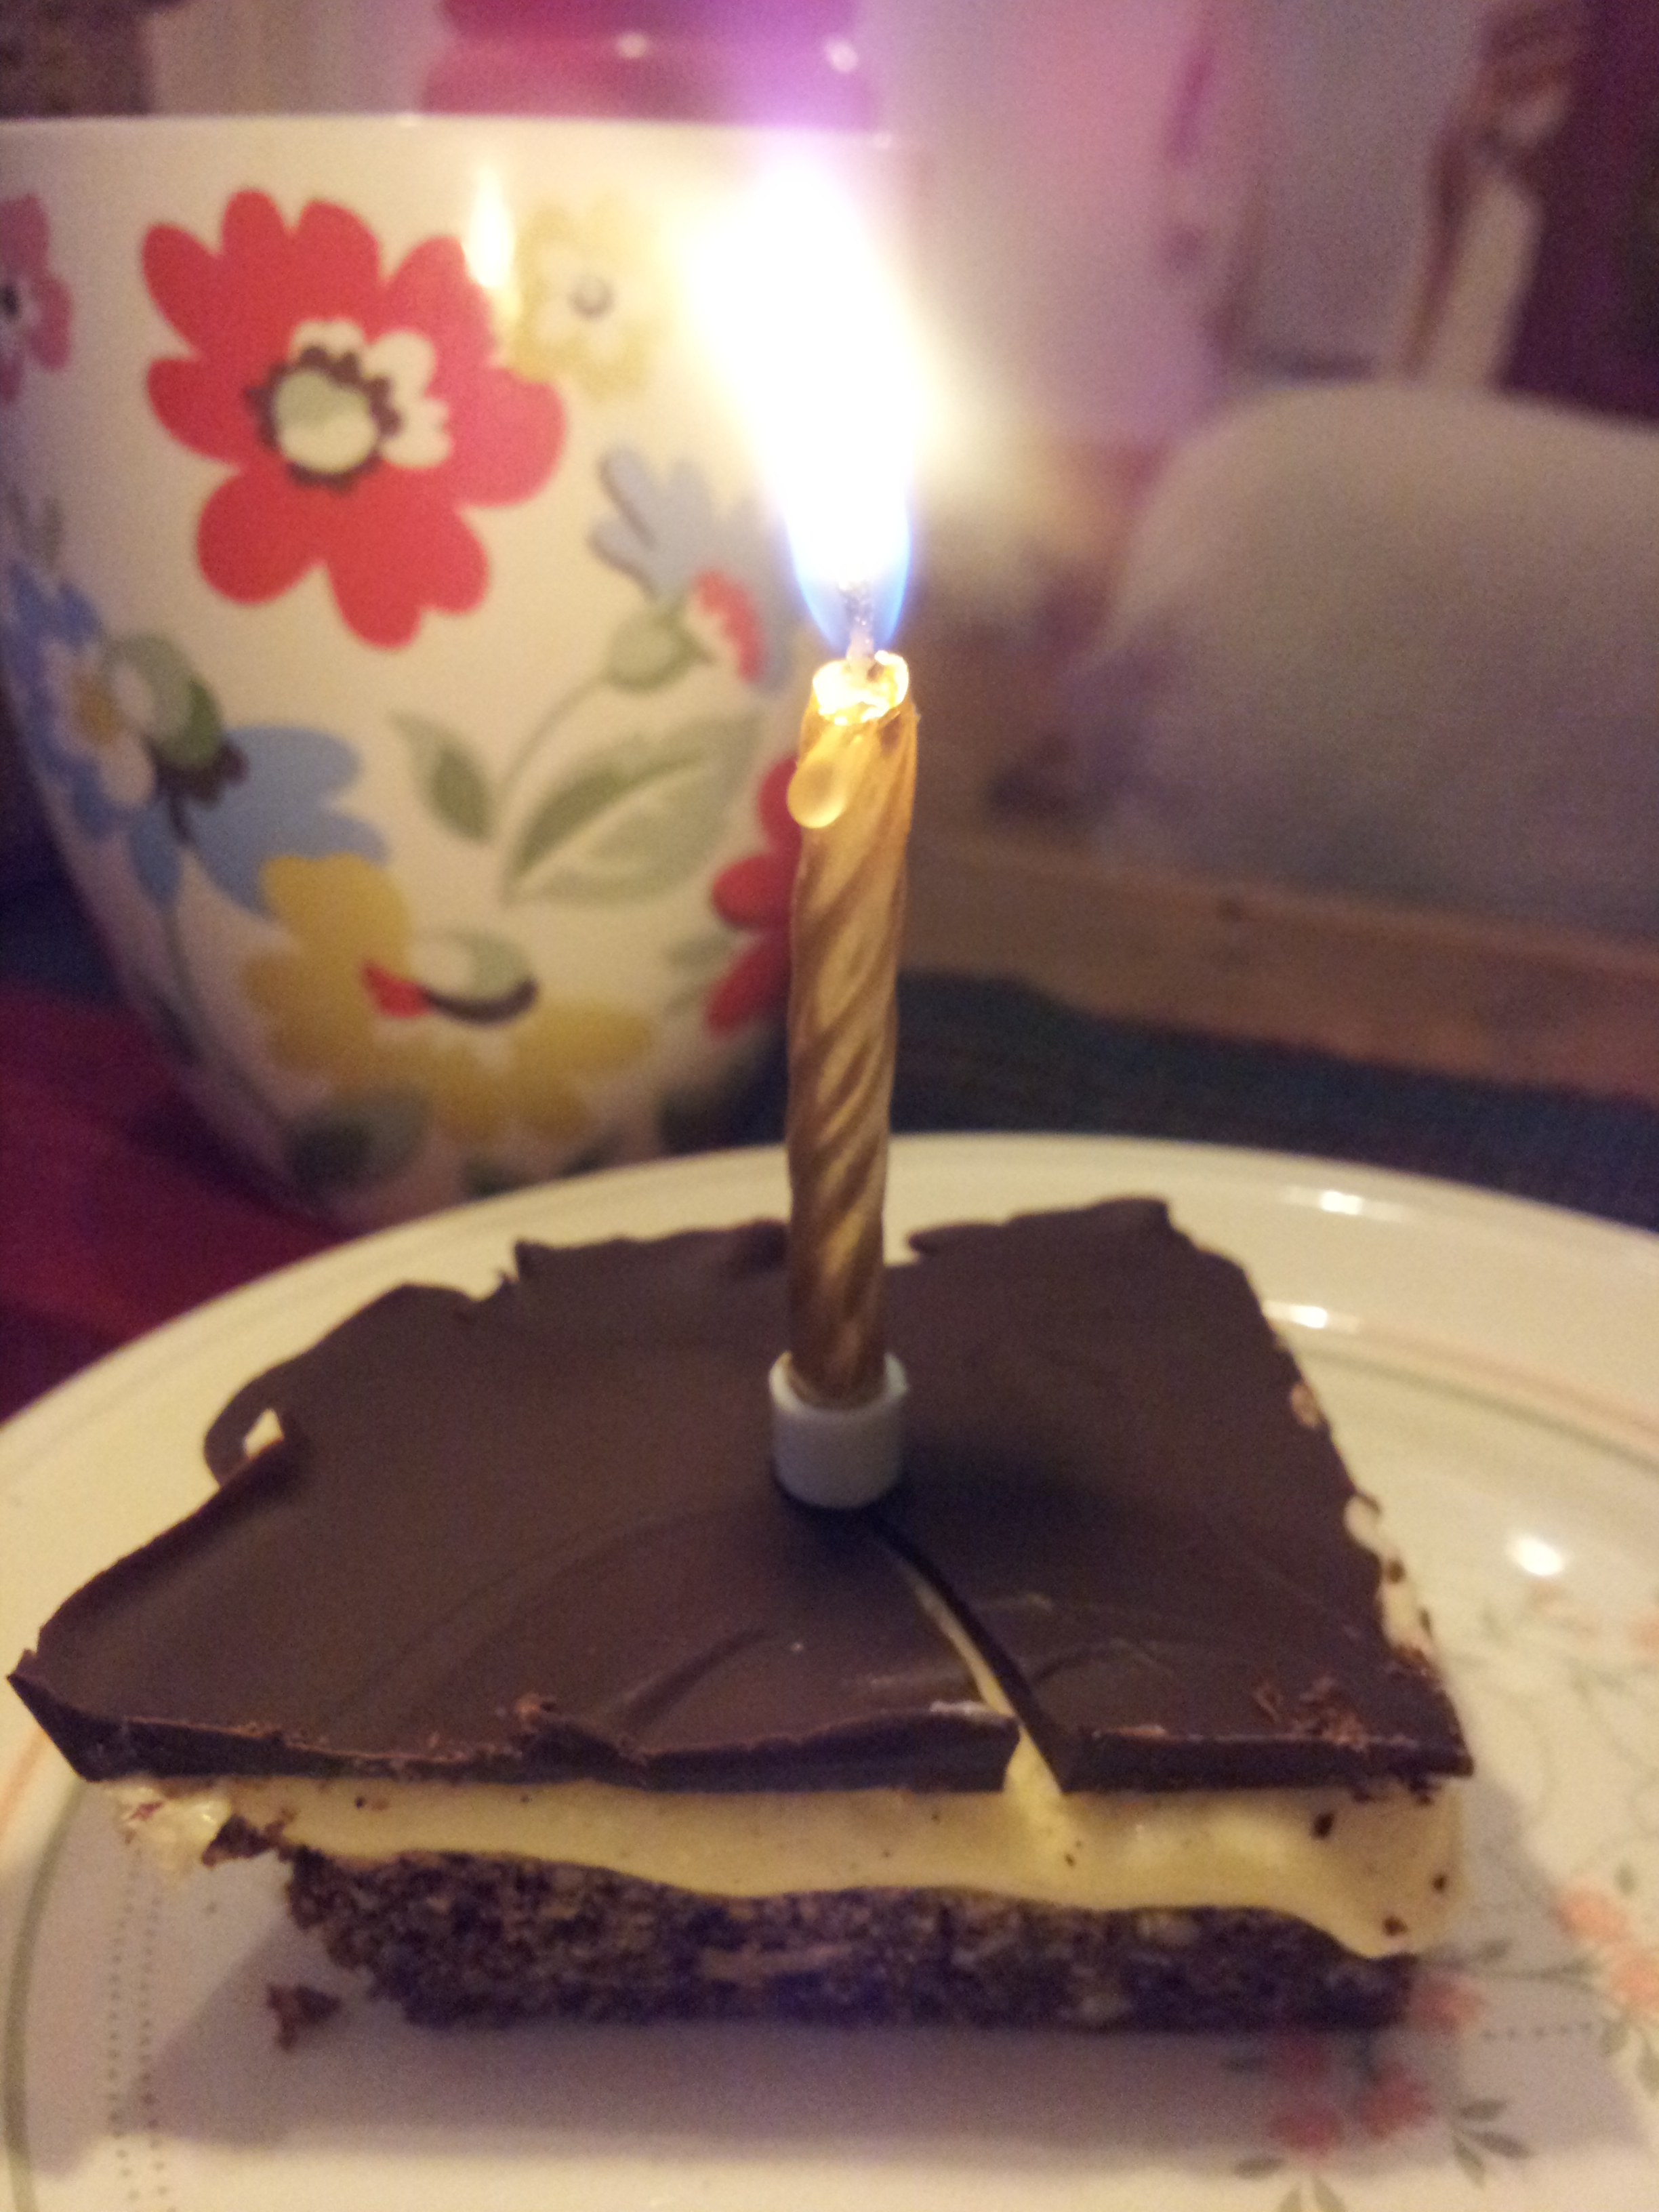
Happy Birthday to Chris – your own personal Nanaimo Bar

This blog has been a looooong time coming. I wanted to recreate a special treat from our Canadian travels for Chris’s birthday (last October…). My Aunty Carol in Canada recommended the quintessentially Canadian Nanaimo bar to satisfy my Canadian cravings.

Hike up Mount Doug

Hike up Mount Doug

We spent a glorious week with my family on Vancouver island. Taking in all the sites, hiking up Mount Doug, whale watching, exploring the ski slopes and of course meeting a Mountie or two.

Mountie Meeting

Mountie Meeting

Ziplining through the forests in Whistler

Ziplining through the forests in Whistler

So many beautiful sights to take in

So many beautiful sights to take in

Nanaimo bars are as popular in Canada as Tim Horton’s coffee shop. I still dream of those bear claw doughnuts. Unfortunately in England we don’t seem to know what Graham Crackers are or sell them in any shops… and they are an essential ingredient in Nanaimo Bars.

Smash up your biscuits with whatever's handy in a sandwich bag

Smash up your biscuits with whatever’s handy in a sandwich bag

My educated guess is that it’s some sort of spiced caramelised rich tea biscuit. So I did what I do best with limited store cupboard. I improvised. Smashing up a load of rich tea biscuits and adding in a combination of ginger and cinnamon to the mix.

The beginnings of the biscuit base

The beginnings of the biscuit base – combine sugar, butter, egg, biscuit crumbs, nuts and coconut

The base required a tasty combination of biscuits, melted butter, sugar, egg, cocoa powder, almonds, and coconut. It’s really quick to mix it all together. A 20 second blast in the microwave is all the butter needs to be fully runny.

Stir it all together until fully combined

Stir it all together until fully combined

Stir it all together until fully combined and comes together into a stiff mixture.

Biscuit base ready to be baked

Biscuit base ready to be baked

Once combined press the mixture firmly and evenly into all of the corners of a flat lined and greased 9 inch baking tray. Bake the biscuit base in the oven for about 10 minutes at 180 degrees C.

Whipping up the custard filling

Heating up the cream, milk and vanilla to make the custard filling

The next decadent layer is a lovely custard cream. At this point in my baking repertoire I was still yet to attempt custard concocting. Daunted yet undeterred I proceeded to my cupboard to retrieve the custard powder the recipe requires. Disaster struck when I discovered the custard powder was over a year out of date! Not wanting to poison Chris on his birthday I decided I had gone too far and didn’t have time to make another cake so I would have to proceed and whip up my own custard instead.

Thickening up the custard

Whisking up the eggs, sugar and cornflour

I decided a full custard recipe would be far too much for a small Nanaimo bar recipe so I adapted a Mary Berry recipe to make up my own sweet filling. As with gelato or ice cream you start off heating the cream and milk with a vanilla pod to infuse the custard. Then you whisk the eggs until fluffy with the sugar. Taking the cream off the heat and pour over the eggs. Continue to whisk until it thickens. Then return the custard to the pan and whisk over a low heat until it thickens.

Keeping whisking til the custard thickens

Keeping whisking til the custard thickens

The Nanaimo bar is quite a firm cake so I knew I would have to adapt the rather runny custard to make this work. I added the butter, vanilla extract and a lot of powdered (icing) sugar to the custard. Continuing to whisk it over the low heat until it reached the right thick consistency. You may need to add more powdered sugar to make your custard set firmly. It will end up a much paler custard due to the white icing sugar.

The baked biscuit base - nanaimo bar recipe

The baked biscuit base – look at those nuts!

Take the biscuit base out of the oven and let it cool fully. Once the custard has cooled you can then happily pour the custard over the biscuit and let it set in the fridge whilst you whip up the chocolate topping.

The custard layer setting - nanaimo bar recipe

The custard layer setting

Using a bain marie, pop the chocolate in a bowl suspended over a bowl of boiling water to allow the chocolate to melt gently. Save the last third of the chocolate back to add to the melted chocolate to help reduce the temperature of the chocolate. This tempering of the chocolate stops it from blooming or sweating when it’s cooling. It helps to keep your fingers slightly less sticky.

Gloriously gooey melted chocolate

Gloriously gooey melted chocolate

Pour the glossy melted chocolate all over the custard layer and simply let it cool and set.

The chocolate layer

The chocolate layer

But… just before it’s fully set quickly score the chocolate with a sharp knife to mark out the bar squares. You’ll thank me later. Once the chocolate sets fully it’s really difficult to cut through the chocolate and get properly portioned slices, as the chocolate cracks. (I wish I’d known this when I made Millionaire’s Shortbread!)

The scored Nanaimo Bar

The scored Nanaimo Bar

Then once it’s fully set you can take it out of the tin, chop it up and tuck in! I served Chris his for a special birthday breakfast. In hindsight it might not be the best breakfast food, but you can eat whatever you like on your birthday. That’s the rules. It’s a wonderfully sweet treat.  The coconut, custard and chocolate are a brilliant combination. That’s 3 of my most favourite ingredients all wrapped up into one cake. And even better,  it doesn’t take an age to make. I can see why the Canadians love it so.

Nanaimo Bar recipe

Nanaimo Bar

Thank you so much for the wonderful memories and for showing us the sights Aunty Carol, Uncle Malcolm , Kelly and David!

At the top - Whistler

At the top – Whistler

Things I used to make Nanaimo Bars

  • 1 cup or 250g rich tea biscuits smashed to fine crumbs (or if you have access to graham crackers go for it!)
  • 1 tsp ginger
  • 1tsp cinnamon
  • 1/2 cup or 125g desicated coconut
  • 1/3 cup or 75 g of flaked almonds
  • 1/4 cup or 60g cocoa powder
  • 1/4 cup or 60g sugar
  • 1/3 cup or 75g  melted butter
  • 1 egg

Custard Cream Filling

Custard

  • 285ml milk
  • 25ml cream
  • 1 vanilla pod
  • 2 egg yolks
  • 15g sugar
  • 1 tsp cornflour

*Or alternatively use 2tbsp custard powder if you have it!

  • 1/4 cup or 60g butter
  • 1 tsp vanilla
  • 2 cups 500g icing sugar

*add 30ml milk if you’re not using home made custard

Chocolate Topping

  • 200g plain dark chocolate
  • 1 tbsp butter

34. Chinese Egg Yolk Sponge Madeleines

What do you do with all of those egg yolks where you’re making macaroons? (Or in my case breaking an entire batch of macaroons??) Well I suggest you make some Chinese Egg Yolk Sponge Cakes, in the shape of Madeleines (of course, any excuse to use my favourite new tin!)

Chinese Egg Yolk Sponge Madeleines

I’ve eaten a lot of sponge cake in China and sampled a few egg yolk sponges at my favourite Chinese Bakery, Bread Point, in town. It’s not half as eggy as it sounds. In fact they are a lovely light and moist sponge cake. Almost like a Madeira Cake but a bit richer.

Up close and personal with Madeleines

In a bid to use up everything that I have in my fridge and cupboards I went on a baking spree. Baking 3 types of cake simultaneously, for my Mam’s birthday. I succeeded to use up EVERYTHING, and then went for a run in the rain. (I have to keep squeezing them in every chance I get!) What an achievement for a rainy Jubilee Bank Holiday weekend. Although I forgot to actually bake anything regal or jubilee related.

As I had used up the egg whites having another bash at macaroons I had 3 egg yolks left over to create the Egg Yolk Sponge Madeleines.

I started by whisking the egg yolks and whole egg together with my food processor using the whisk attachment for about 5 minutes until they became thicker and lemony coloured. (You could of course use a hand held electric whisk instead, I just used this as I already had it to hand from macaroon making…) This creates a lovely warm yellow liquid with all those egg yolks in it!

Fluffy and yellow and frothy

While the mixer is running, add the sugar gradually to the eggs and continue to whisk the mixture for about 10 minutes. While the mixer is running if you have your hands free, you can then use the time to measure out and  sift together the flour, baking powder, and salt in a separate bowl.

Breaking the rules and adding the orange zest to the flour

Admittedly I erred from the recipe at this point. I added the zest of an entire orange to my dry ingredients rather than folding them into the wet mix… I don’t think this made the slightest bit of difference, other than I could stir the flour more vigorously without the fear of knocking all of that wonderful air out of the eggy batter. I also couldn’t be bothered to juice my orange, so took the lazy option of adding some lemon juice that I had in the fridge already. Hopefully this added to the citrussyness of the sponge.
I then continued folding in the orange extract and lemon juice. I was also in a hurry so didn’t bother to sift the flour into the mix, but rather opted for the ‘all in’ method. Dumping all of the flour into the egg fluff and folding it in with a metal spoon.
I read somewhere that bakers are divided on this sponge making method. Some say to fold in a third of the flour at a time with a metal spoon to keep in all that lovely air in the whisked eggs. Others say put it all in, in one go, to minimise the amount of folding you have to do, but don’t drop the mixture into the eggs from a height as this will knock out the air. I have tried both methods and I think I have to agree with the latter. And it was quicker too! Whichever sponge making method you prefer the golden rule is always do not stir or beat the mixture and fold with a metal spoon to cut through the mixture. What do you prefer??

Folding in the boiling water one Russian Doll cup at a time

Then last but not least all that is left is to fold in the boiling water carefully to produce a fluffy and luxuriously thick batter.
I found it much easier to squirt the batter into the Madeleine tin last time and have now perfected my method…

Step 1. Carefully empty the batter into a plastic sandwich bag opened over a measuring jug. The jug helps to support the bag and you can fold the bag down over the edges. I also balanced the bowl onto the wide jug neck so to reduce how far the batter had to travel (and preserve the air content!). it also means you can get the spatula out and encourage the rest of the batter into the bag.

The jug helps to support the bag and you can fold the bag down over the edges. I also balanced the bowl onto the wide jug neck so to reduce how far the batter had to travel (and preserve the air content!). it also means you can get the spatula out and encourage the rest of the batter into the bag.

Step 2. Clip the sandwich bag shut with a peg or tie a knot in it so all the batter falls into one corner of the bag. (Hey presto an improvised and cheap cheap piping bag!)

Step 3. Snip the corner off the ‘piping bag’ and you’re good to go! Squeeze the bag gently to release an even flow of batter into your pre greased tin and use your spare hand to put your finger over the ‘nozzle’ when you have piped enough mixture into each portion of the Madeleine tin. Less mess and no waste!

I  found this much easier and quicker than trying to spoon the batter into the tin as it went everywhere and left lots of mess on the tin too. Don’t forget to grease your Madeleine tin well (I love my quick release spray!) and only fill each Madeleine well one third of the way up so they have room to expand. If you over fill, they will spill out and burn.

Egg Yolk Madeleines ready to bake – look at those flecks of orange!

Leave the tray on a flat surface to settle and let gravity do its job. The mixture will spread and level out, filling all of the shapely Madeleine grooves. You probably won’t need to put as much batter into each well as you think, but this allows you the option of topping up any wells that look a little low.

Baked Egg Yolk Madeleines

Bake the at 325 degrees F (165 degrees C) for 10 to 15 minutes. (You can make one large cake with this recipe but you will need to bake it for 60-65 minutes)
After allowing them to cool for a couple of minutes in the tray, turn the Madeleine tray over onto a wire rack and let the Madeleines fall out. Leave them to cool completely on the wire rack and re grease your Madeleine tray and pipe another set of Madeleines into the wells. This recipe is enough for a batch of 24 Madeleines. If you have any problems getting them back out of the tin, gently coax the edges with your fingers or while the tin is upside down gently tap it. They will eventually pop out, unless the tin hasn’t been greased enough…

Cooling down nicely – Egg Yolk Madeleines

I really love these cakes so zesty and sweet. Having baked them in the Madeleine shape, they have a wonderfully light and soft centre with a golden crust, with a nice bite to it. Not dry or tough in the slightest. I will be making these again for sure.  They are traditionally baked as round cakes or one large cake but I quite like how portable and hand sized the Madeleines are easy to eat on the move with a good cuppa!

Orange Egg Yolk Madeleines

If you’re feeling fancy you could even dust them lightly with confectioner’s sugar or frost with Orange Butter Frosting. But I think I prefer to see the shapely grooves of the Madeleine.

Mountains of Madeleines

Things that I used to make Chinese Egg Yolk Sponge Madeleines…
This was enough to make 24 Madeleines ir you could make one large round cake with this recipe
  • 1 2/3 cups plain flour
  • 1 1/2 teaspoons baking powder
  • 1/2 teaspoon salt
  • 3 egg yolks
  • 1 egg
  • 1 1/2 cups white sugar
  • The zest of 1 large zest
  • 1 tablespoon lemon juice
  • 1/2 teaspoon orange extract
  • 3/4 cup boiling water
  • Preheat oven to 325 degrees F (165 degrees C).
  • Bake madeleines for 10-15 minutes

** This recipe was lovingly adapted from the All Recipes website