Who hasn’t tried Speculoos biscuits?? Anyone?? These little beauties are often found sitting on the edge of your saucer in coffee shops and are a Dutch favourite. They’re crisp, carmelly, sweet and spicy. Perfect for festive celebrations. I’ve looked high and lo for the perfect Speculoos recipe and then decided to create my own. It’s very quick to make too!

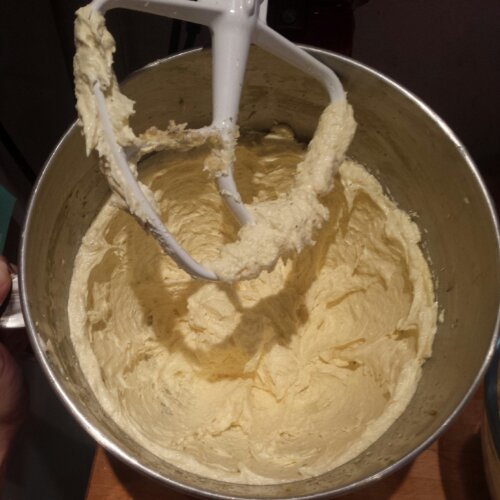
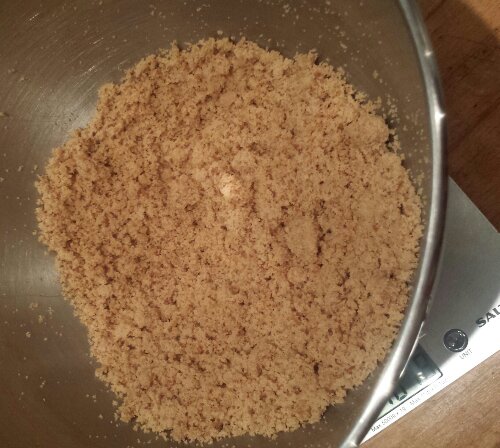
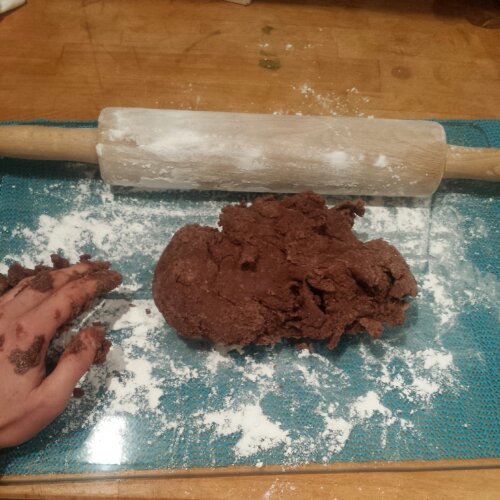
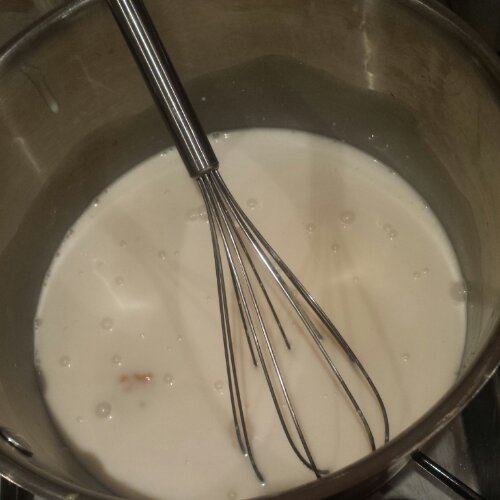
Beat everything together – very spicy!
All that’s required is a vigorous beating together of the butter, sugar, an egg, treacle, water, flour and copious amounts of spices (I’m always liberal with my spices) then it’s good to go. Speculoos spread is legendary in foodie circles too. I’ve even managed to incorporate it into my lazy Crack Pie too…

I finally get to try out my biscuit gun
Traditional Dutch Speculoos are usually rolled out and imprinted with pretty patterns and designs. I don’t own anything pretty to imprint them with so I finally got to try out my biscuit gun! Which promises over 100 different designs… considering I bought it for £2 I was’t convinced it was going to work. Oh ye of little faith.

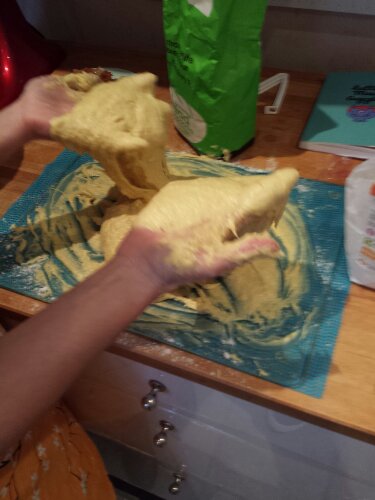
It needs to be a rather liquid batter to get it in the gun…
I knew that the traditional Speculoos recipe wouldn’t be suitable for use with a biscuit gun as the dough would be to thick to pipe through the patterned nozzles. I did what I always do and modified my recipe to my heart’s content. Adding treacle until I got the shiny, thick, gloopy texture I was hoping for.

Piped speculoos biscuits
The tricky bit is working out how to force the dough/batter into the biscuit gun. I squashed it in with a spoon and had to refill regularly as there isn’t much space in the barrel, but this gave me the opportunity to try out a few different nozzles. I quite liked the star and flowers shapes. Once the dough is in the barrel you just press down on the level and force the dough out the end onto a greased and lined baking sheet. As the dough is a bit sticky it can be a tad awkward to cut off the dough so you can pipe a new biscuit… hence some of the more ‘interesting’ shapes I produced. Occasionally I resorted to chopping the dough from the nozzle with a knife, pushing the gun into the dough and pulling it away again quickly or twisting the gun until the dough broke naturally.

Refrigerate your piped biscuits
Once you’ve experimented with a variety of patterns and piped the entire contents of your dough onto baking sheets, pop them in the fridge to harden for about 15 minutes. This means that the biscuits will hold their shape whilst baking, as the butter will be less likely to melt and spread.

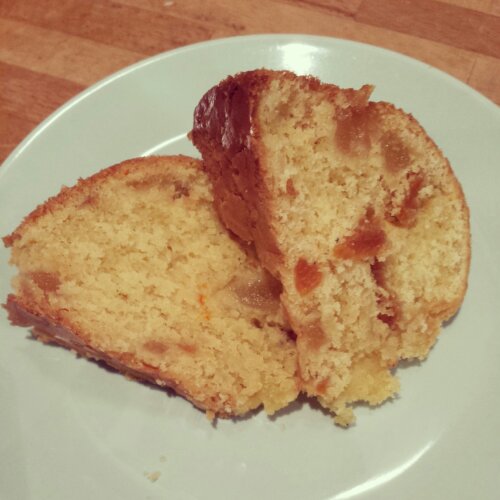
The baked speculoos biscuits
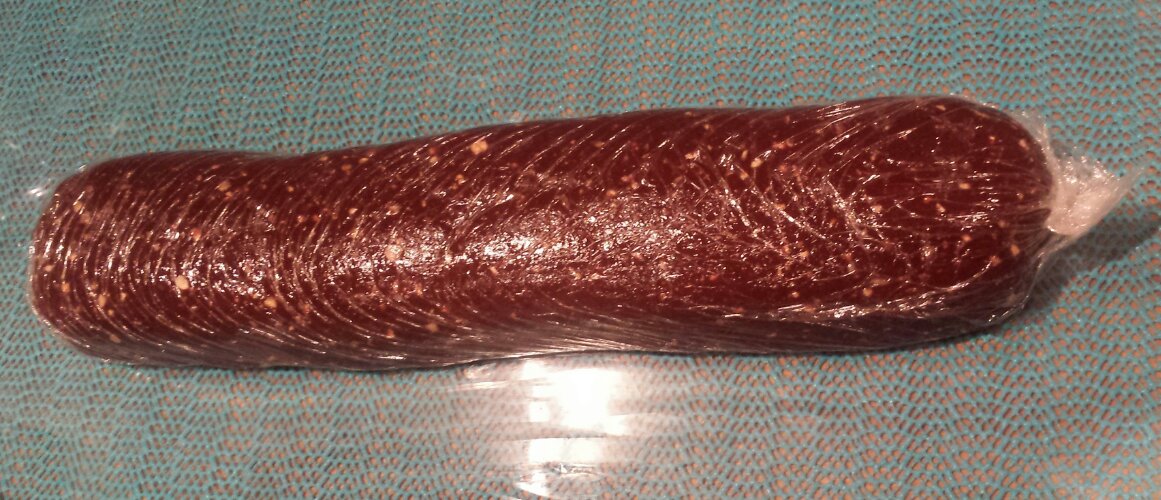
Don’t worry if you don’t have a biscuit gun, I also experimented with using a normal piping bag and star shaped nozzle which also worked rather well to make pretty swirls (even if I do say so myself). Or if you can’t be bothered with messing around making them look pretty and simply want to fill your mouth with speculoos goodness you could just use a spoon and whack a dollop of the mixture on the tray. Alternatively you could chill the dough/batter in the fridge so it’s much firmer (maybe overnight if needs be) and roll it out like you would normally with biscuits and cut them out with your favourite cutter. OR if that’s not enough options roll the chilled batter into a sausage, chill it in the fridge wrapped in cling film and then simply chop it into discs. Simple round biscuits with very little fuss or tidying up afterwards!

Teeny tiny speculoos
This recipe was enough to make at least 12-16 large biscuits and a multitude of mini speculoos biscuits too. (Sorry I shovelled them into my face so fast I didn’t get a chance to count how many I actually produced!)

Speculoos selection
I absolutely love these speculoos biscuits. The thicker the biscuit the more chewy they are. The blend of spices is full and comforting, which the added sweetness of the treacle makes it my perfect winter bake. In my haste to create Speculoos, I seem to have almost stumbled onto my own lebkuchen hybrid. The biscuits have a crispy sugar coating (without the need for any icing) and a chewy rich centre. Even the mini speculoos have a great snap and chew to them. Speculoos biscuits freeze extremely well too so you can reveal wonderfully festive biscuits at any time of the day or night when friends or family call round.

Tme for tea – Spectacular Speculoos
I plan on making my spectacular speculoos again very soon. Maybe for bonfire night and also when I perfect the recipe for rolling, I’m going to make speculoos baubles to adorn my Christmas tree with!

One speculoos or two?
Things I used to make Spectacular Speculoos Biscuits
Prep: less than 10 minutes (if you have ground spices to hand , it will take a bit longer if you’re grinding them yourself)
Chill time: 15 -30 minutes
Bake time: 10-12 minutes
Makes: lots of spectular speculoos! (Approx 20 biscuits- more if you make mini ones too)
- 110g margarine (is you want to use a biscuit gun marg will help!) or butter (if you want to roll them out)
- 250g caster sugar
- 2 tbs cinnamon
- 1tsp ginger
- 1/4 tsp cardamom
- 1/4 tsp ground cassis bark (optional)
- 1/4 tsp ground star anise
- 1/4 tsp rock salt
- 1/4 tsp white pepper
- 1/4 tsp black pepper
- 1/2 tsp nutmeg
- 1/4 tsp bicarbonate of soda
Beat it all together until fluffy then beat it
- 1 egg
- 1 dessertspoon black treacle (molasses)
- 1and a half tsp vanilla paste/extract
- 300g plain flour
Pipe biscuits and refrigerate for 15 -30 minutes or chill dough then roll and cut biscuits out
Place on greased and lined tray and bake at 190 degrees c for 10- 12 minutes until firm to touch
Let them cool (if you can!) and eat with a proper cup of tea.
They will keep in the freezer for a good month or so too if you want to save some for a rainy day,


")


")