
Rosca de Reyes – 3 Kings Cake
I’m so excited! I’ve been invited to join an online bake off with 4 amazing bloggers, including the wonderful Yasmin Lambert from the Great British Bake Off! We’re all baking the Spanish festive bake, Rosca de reyes and the baker with the most votes will win £500 worth of holiday holiday vouchers! (which would come in very handy for our honeymoon which are still yet to arrange following our wedding in less than 3 weeks…) I’m so happy to also be able to offer you the chance to win £50 of vouchers to spend on the very.co.uk Christmas Shop, perfect for finding those last minute Christmas gifts! My first ever competition on aroundtheworldin80bakes!
If you would like to enter this competition all you need to do is vote for my Rosca de Reyes (aroundtheworldin80bakes) on the Cosmos Holidays website by leaving a comment at the bottom of the article and a 5 star rating. This would be very gratefully appreciated! You can see the full Rosca de Reyes in all it’s glory over on the Cosmos holiday website. The closing date is Wednesday 19th December. Then please let me know that you have voted by leaving me a comment on (any or all!)
This means I can then contact you if you are the lucky winner. I will choose one winner at random from all of those who vote for me. You could tweet something like “I’ve voted for @laurenprince #roscadereyes to win£50very.co.uk vouchers http://aroundtheworldin80bakes.com #bakeoff #competition Vote to enter”
Now for the bake itself! I hope you like it!
Rosca de reyes (Kings’ Cake) is a traditional Spanish cake with an amazing story. It’s eaten on 6th January, the day that the 3 Kings (or wise men) reached the stable to visit Jesus. This is also known as the religious holiday the Epiphany, a day where Christians celebrate the Son of God taking on human form as baby Jesus. In some countries this is the day that children open their presents rather than Christmas Day so this day definitely needs a special cake to celebrate! A little figurine or a bean is usually hidden inside the cake to represent baby Jesus fleeing from King Herod who was trying to kill Jesus. Whoever finds the baby bean/figurine is blessed as ‘King’ or ‘Queen’ of the banquet and should take the figurine to church with them on February 2nd. In Mexican cultures this person also has to throw the Epiphany banquet party for their families and friends the following year!
I’ve never eaten a Rosca de reyes despite all of our family holidays in Spain as a child. We always visited Spain in the Summer holidays where we contented ourselves eating ice cream and custard filled donuts whilst basking in the sun on the beaches instead. Some of our best family holidays were in Spain, so this recipe intrigued me. I’ve never attempted to hide things inside my cakes before and was unable to find a figurine in my house small enough, or that wouldn’t poison us all so I decided to make one out of sugar paste instead and hope that it doesn’t melt in the oven!

My marzipan interpretation of the baby Jesus…
Looking for a suitable recipe I discovered there are quite a few variables. The Rosca de reyes is usually a ring shape or it could also be an oval (depending on how many people you’re baking for!). The festive dried fruits usually include wonderful reds, greens and oranges so you could use cherries, apricots, figs, cranberries, or mixed candied peel. The choices are endless.
This is essentially an enriched dough, shaped into a bejewelled festive wreath. It’s a bit of a cake/bread/pastry hybrid and stuffed with beautiful dried fruits.

Whizz up the flour and yeast
If you’re using instant dried yeast you can throw it straight into your flour and mix it evenly through the flour. Using my Russian Doll measuring cups makes life a bit easier than weighing things out on the scales.
As it’s almost Christmas (we’re celebrating on 15th December this year as our wedding is just around the corner…) I wanted to make light work of this recipe. I struggle to knead dough for a long time, I’m simply not tall enough to put enough weight into it! So I whacked it all into my food processor to ease the process. If you don’t have a food processor you can mix it together by hand instead.

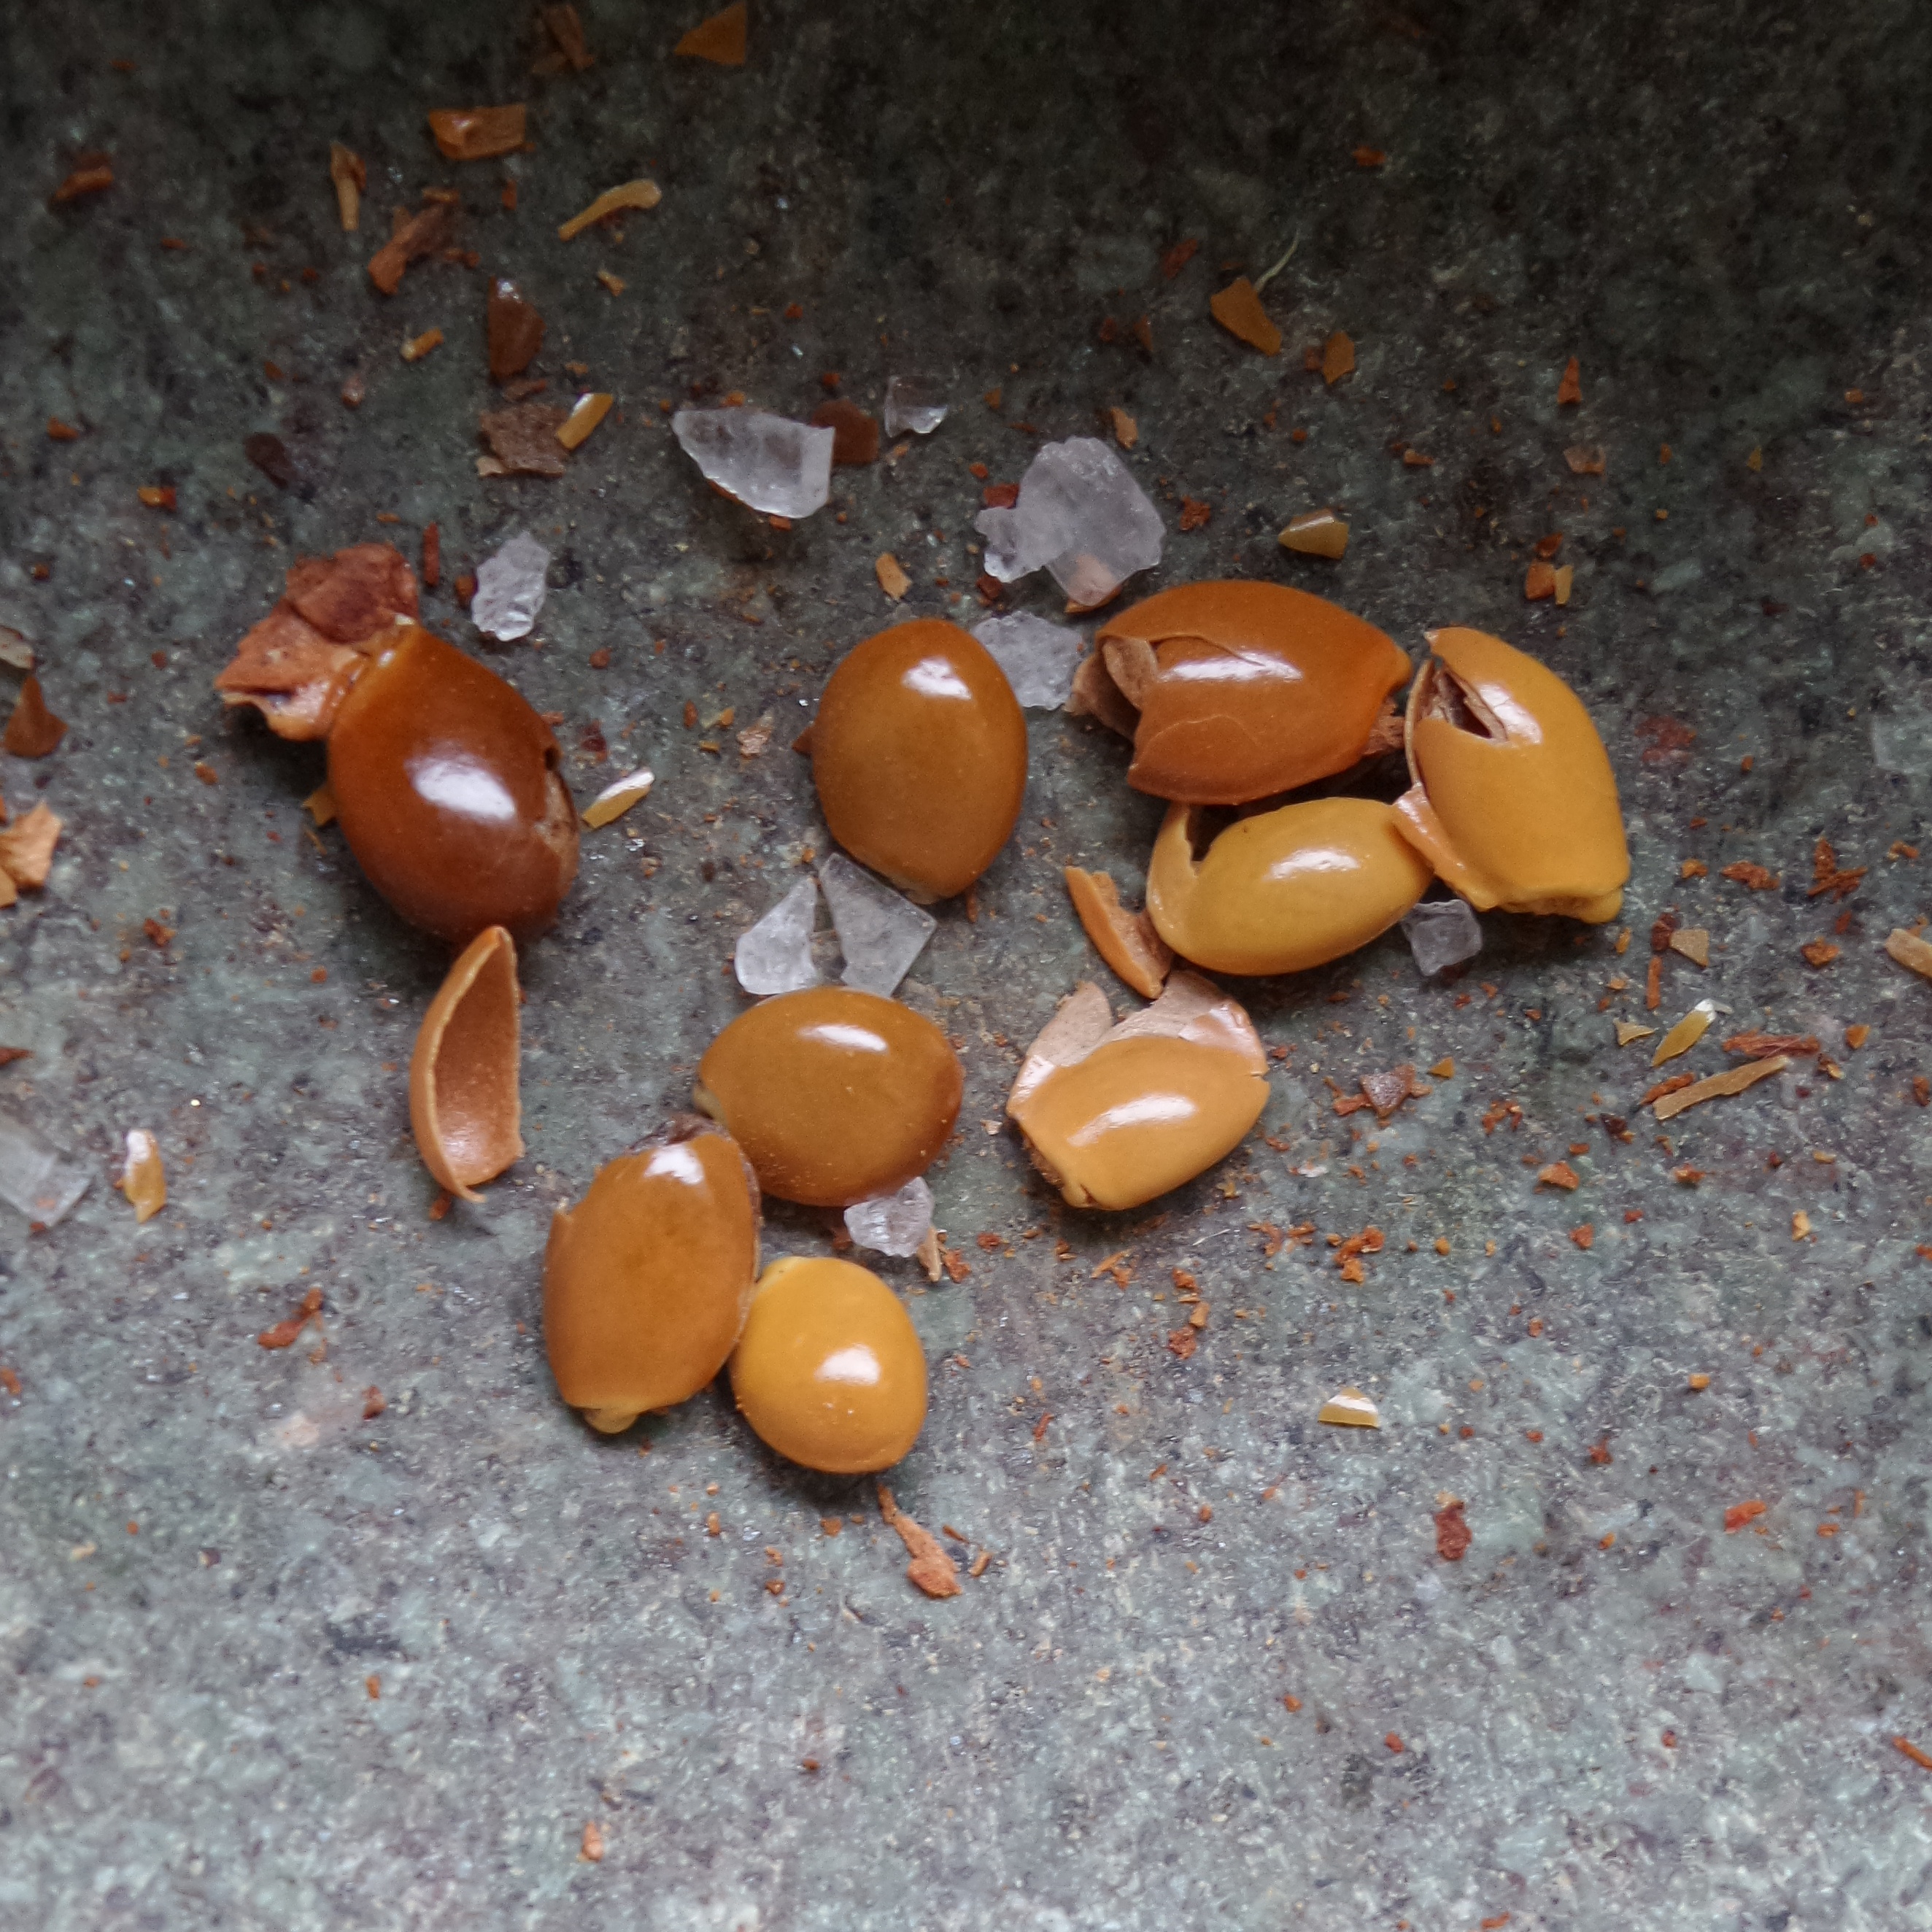
Grind up a star anise
I whizzed the yeast and the flour together first to make sure the yeast is evenly distributed throughout the flour. Then while the food processor was running I added the dry ingredients first, the sugar, salt, cinnamon and ground star anise. The spices really enhance the colour of the dough giving it a wonderful brown hue.

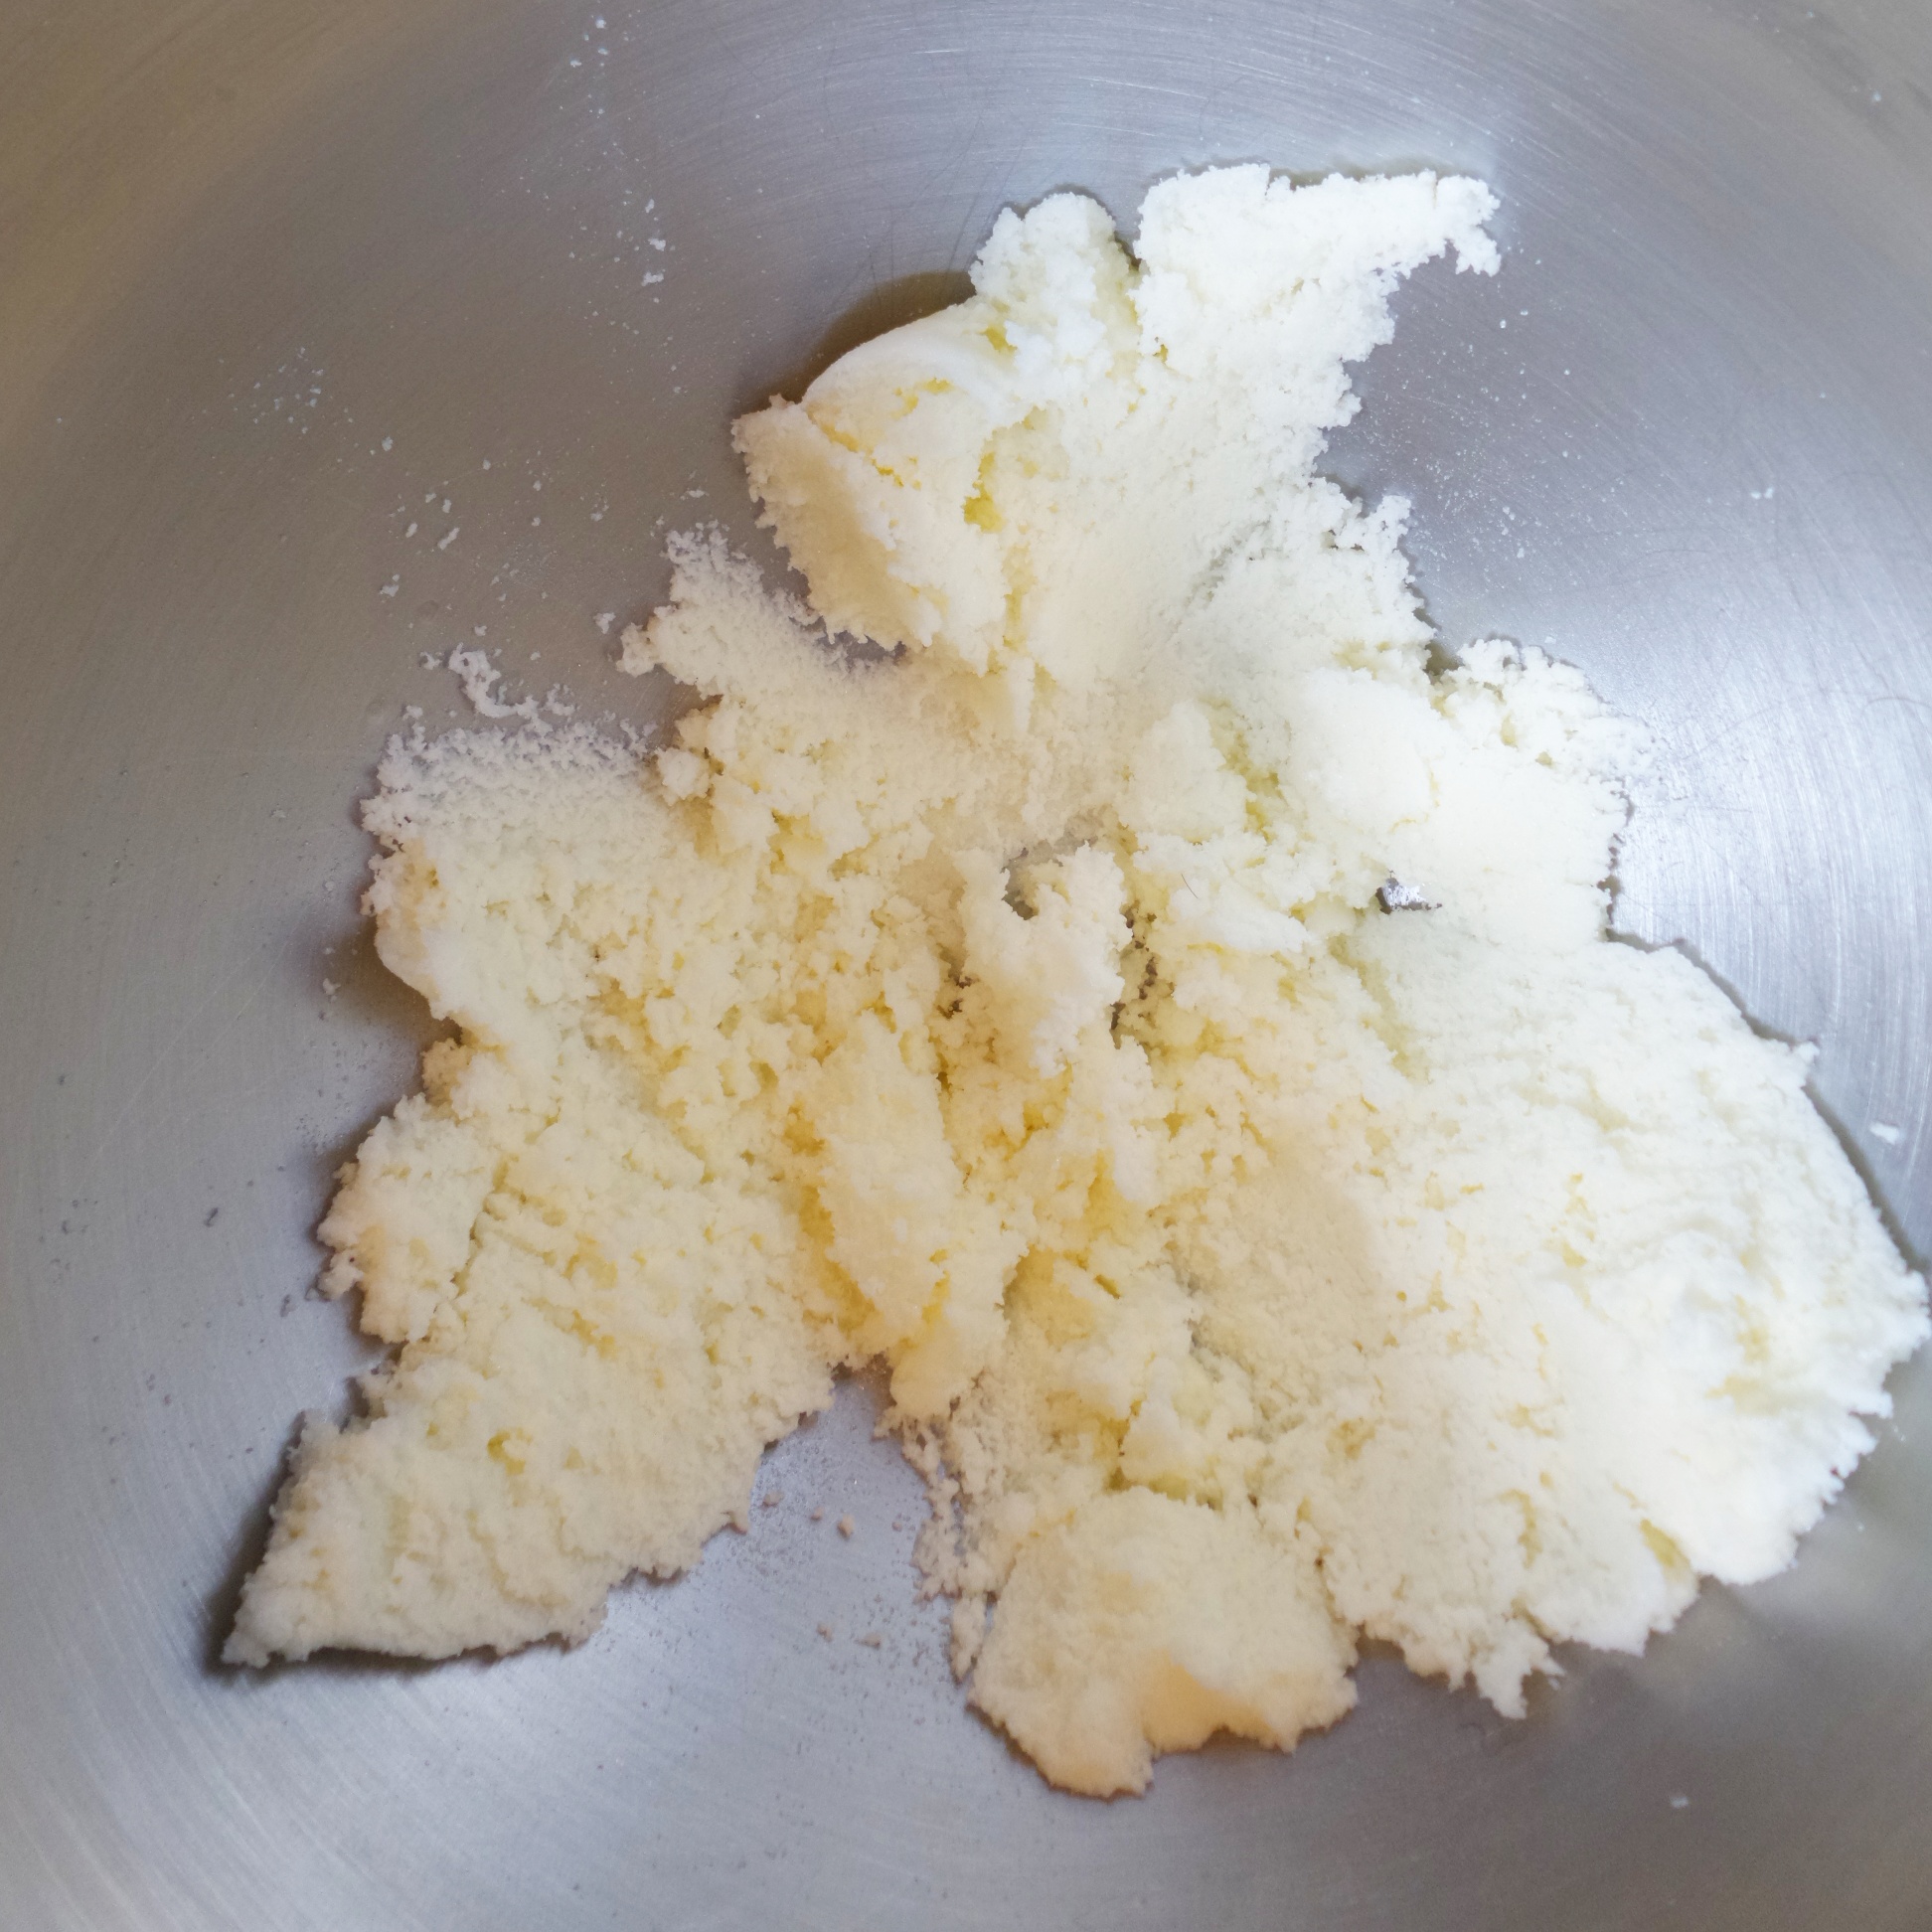
Rub in the butter
Once this is combined I popped the butter in and rubbed/blended it into the flour.

Rub in the butter until it looks sandy
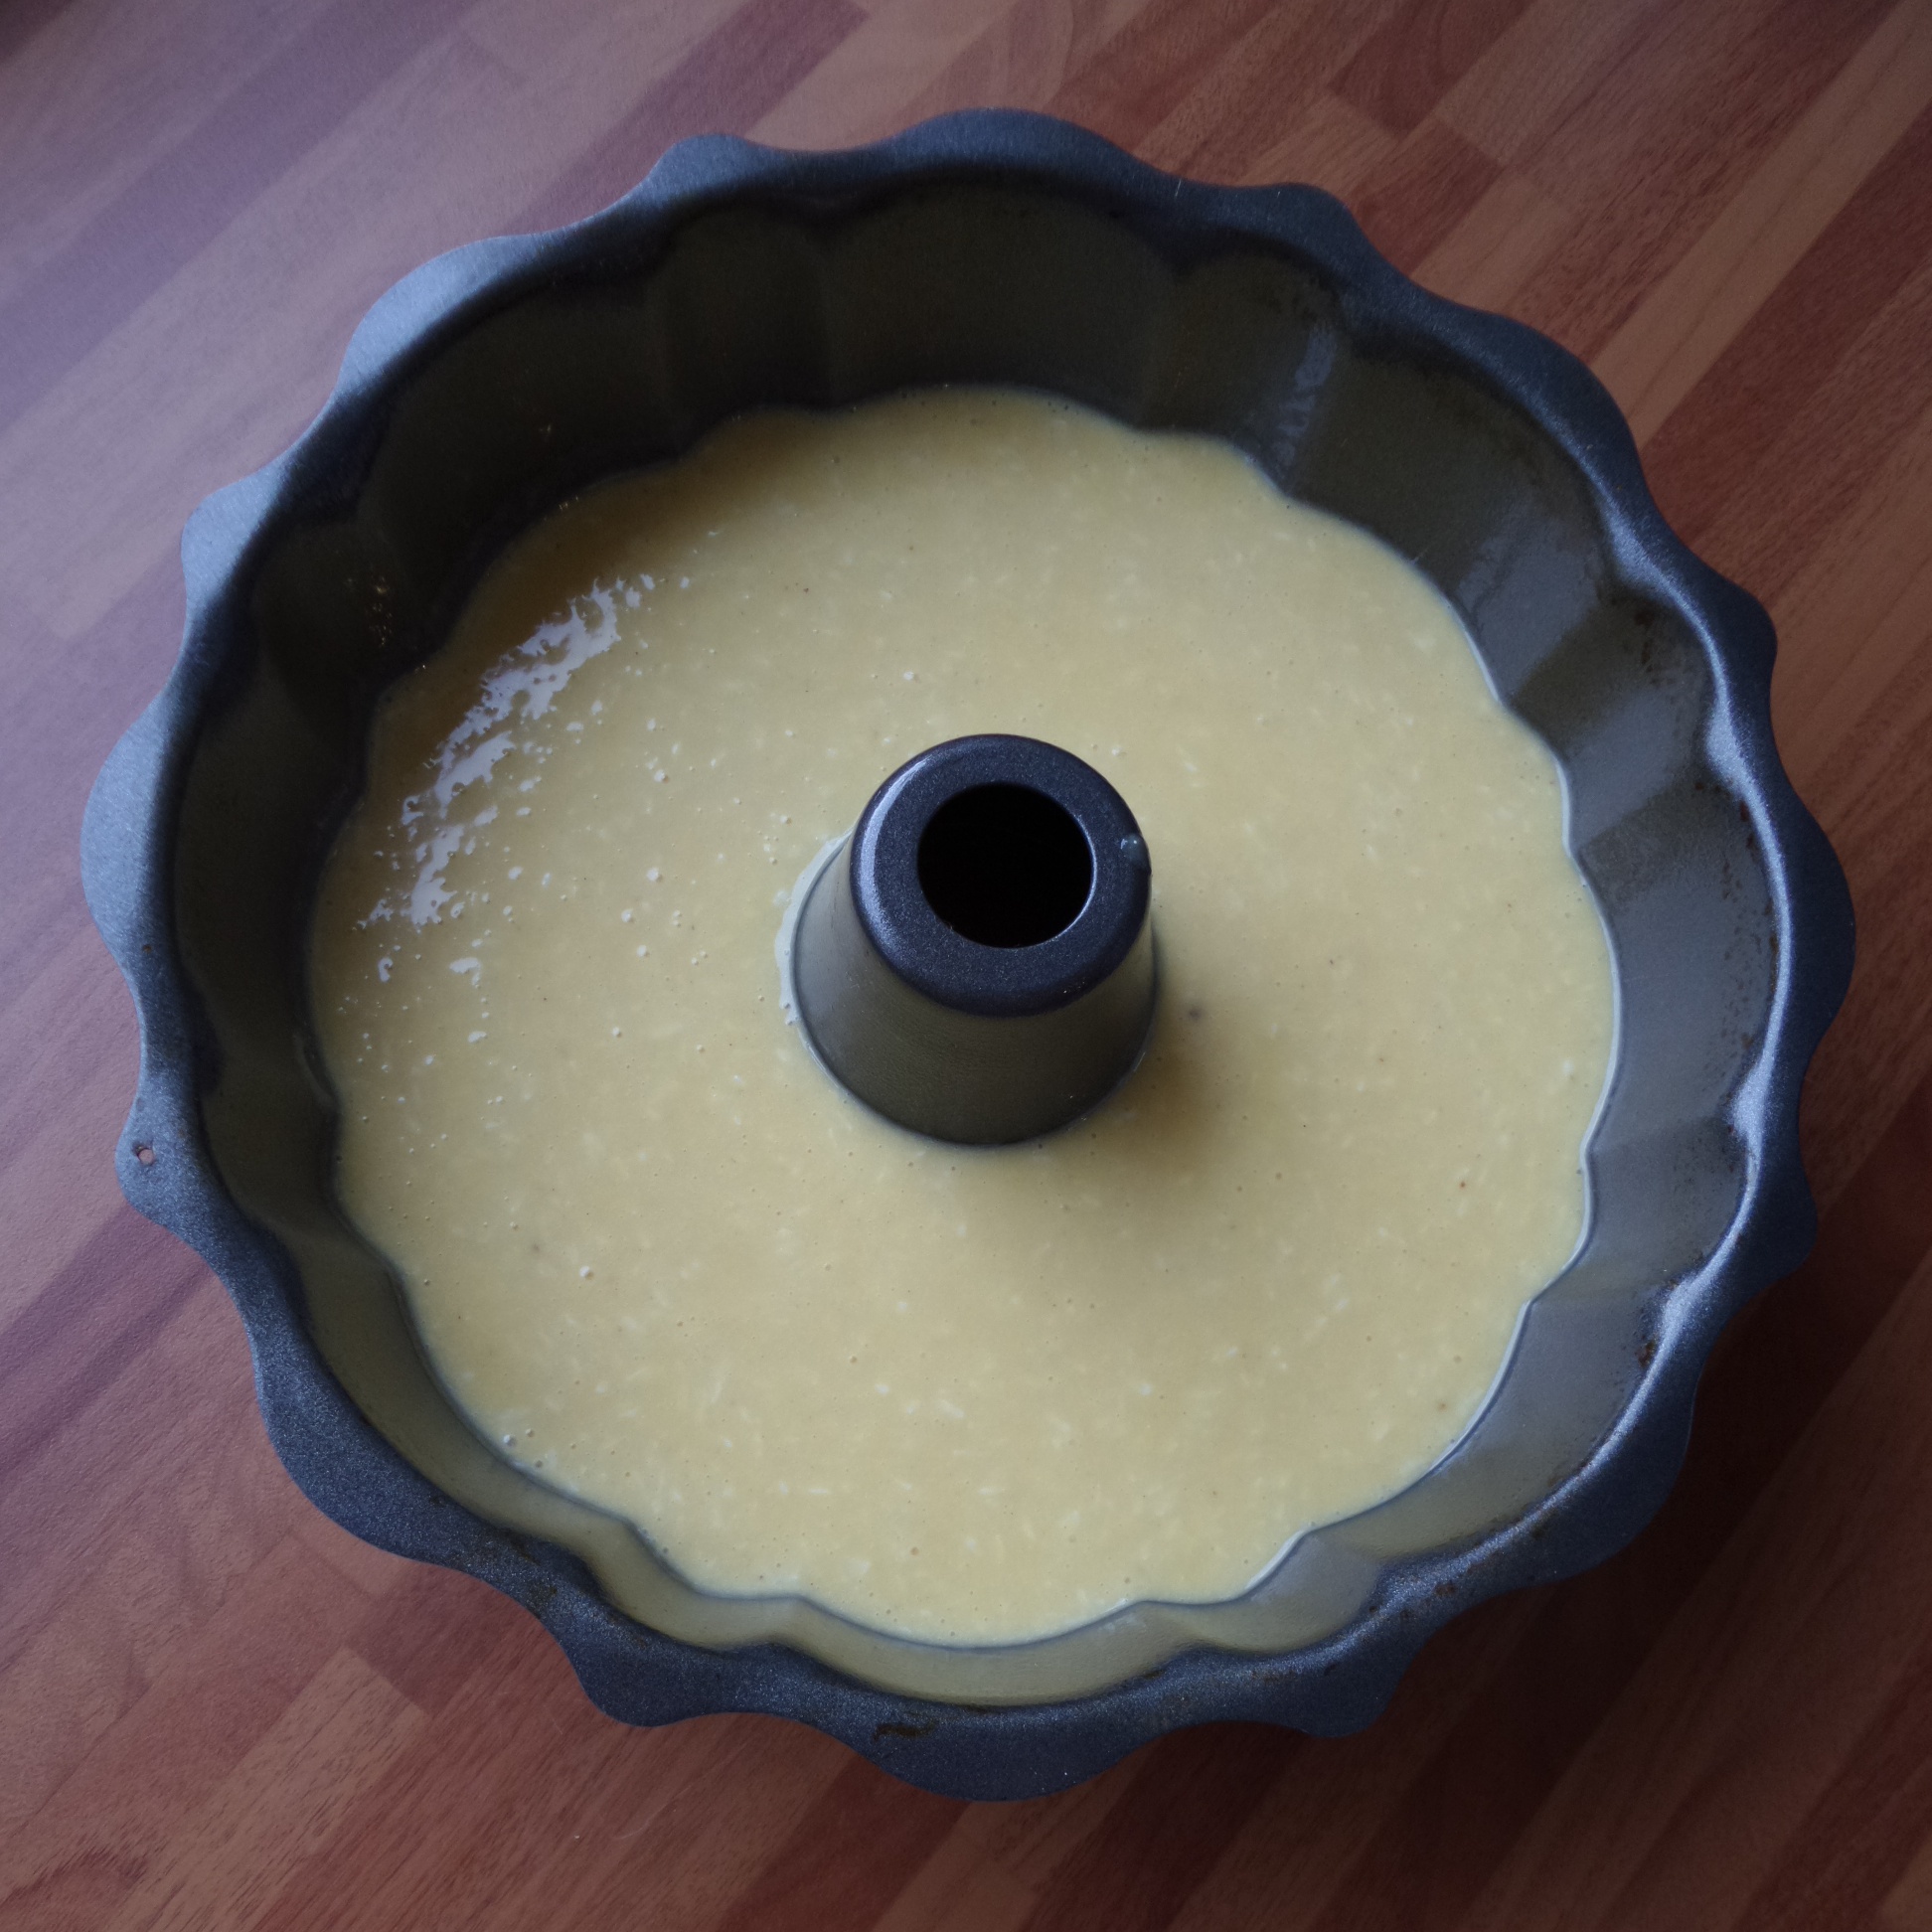
Followed quickly by the beaten eggs, vanilla pod seeds and water. In the future I probably wouldn’t add any water as this made an extremely wet and sticky dough which meant my food processor went into over drive and actually caught fire! The poor food processor didn’t make it but the dough was thoroughly kneaded!

Beat in the eggs
The food processor may screech a bit in protest but it can (usually!) knead the dough (using the dough hook) for a good 3 minutes before it starts to rock out of control and dance off the work top.
I had to add a little more flour in order to knead the dough by hand as it was more of a paste at this stage.

Once it becomes a firm dough it’s ready for a final knead on the work surface for 5 minutes or so until it bounces back when pressed lightly with a finger.

Then to rest the dough for 2 hours in a greased and covered bowl in a warm place until it’s doubled in size. Or if like me you like to do things in stages feel free to let it rise slowly over night in the fridge and shape it at your leisure the next day.

When the dough has risen, punch it down and knead it thoroughly before starting to shape it into a ring or wreath. This really reminds me of my Swedish Tea Ring attempt. Roll it into a rectangle about 30cm by 20cm. I oiled the board to stop the dough from sticking rather than dusting it with flour.

Roll it out to an even rectangle about 5mm thick
Spread the melted butter all over and give a generous coating to the outside edge of the dough.

I found I had an extra bit of dough which I trimmed off to make my rectangle extra straight. I used this to make another plaited version of Rosca De Reyes later on.

Line the dough with an even covering of candied fruits, cinnamon and sugar.

Take your figurine/bean (or in my case a hand crafted marzipan baby Jesus) and hide him amongst the fruit.

Then roll it up into one long sausage, from the longest edge to the longest edge.

Once you have you sausage shape you can add a smattering of melted butter to one end and coax the 2 edges together to form a ring. Feel free to pop a small greased pudding dish in the centre of the ring to ensure the ring has a hole in the middle as the dough rises.

A final egg wash and decoration with your chosen candied fruits, I used glace cherries and mixed peel, and it’s ready for the final proving.
 and dotting with cherries")
Cover your ring with greased cling film to prevent it sticking and leave it for an hour to double in size on a baking tray greased and lined with greaseproof paper.

After 40 minutes in the oven at 170 degrees C the Rosca De Reyes will have taken on a golden tinge and be firm to the touch. You can check it’s cooked through by tapping the bottom, of the ring, it should sound hollow.

Once it’s cooled completely I carried on decorating my Three Kings Cake. I’ve been saving my gold lustre spray for a special occasion and this seemed to be the perfect time to use it! I thought the gold would add a regal touch to the ring and additional symbolism as one of the 3 Kings brought gold as a present for baby Jesus. So I’m presenting a very gold Rosca de Reyes to you!
Then it seemed a bit too gold… so I added a sprinkling of marzipan stars with a dab of brandy on the back of each star to hold it in place. The original plan was to add just the one star, as the 3 Kings followed the star to Bethlehem to find baby Jesus in the stable, however I got a bit carried away with my cutters and made an entire starry night of marzipan instead. Resulting in a very decadent Rosca De Reyes!

With my left over dough I created a plaited Rosca De Reyes and smeared cinnamon, butter and sugar in between the plaits and dotted a few more glace cherries on the top. I hid one whole cherry underneath and tucked it into the dough.

Once it was baked I also gave it a liberal coating of edible gold lustre.
This bake feels so festive and is a wonderful cake to share with friends and family. It’s a bit like hiding a silver sixpence inside your Christmas pudding, waiting in anticipation to see who finds the baby Jesus inside their piece of bread. I loved this bake and think it may become a regular festive creation in my house. The egg wash gives the outside a fantastic bite to it. I love warming spices and this definitely packs a punch, with the cinnamon and star anise spices in the dough, carried through to the spicy sugary fruit inside. It is also rather reminiscent of a sticky Chelsea bun but even more festive and sparkly!

Marzipan is not traditionally found inside Rosca de reyes, but I adore it and try to fit it into everything that I possibly can. The addition of marzipan made the rosca de reyes slightly stollen-esque and what’s not to love about stollen? (It’s another of my favourite festive bakes – as if I don’t have enough already?!) I try not to waste any ingredients and wanted to put my left over marzipan to good use from icing my Wedding and Christmas cakes. You can adapt this recipe to suit your own favourite ingredients and play around with the shape too. Have fun and hope you enjoy it as much as me!
Things I used to make Rosca De Reyes:
Bake for approximately 45 minutes at 350 degrees F or 170 degrees C
- 1/3 cup warm water (only add as much as you need)
- 1 packet of yeast (7g dried instant yeast)
- 4 cups flour
- 1 cup sugar
- 4 large eggs, beaten
- 3/4 cup butter, room temperature
- 1/4 teaspoon salt
- 1 1/2 teaspoons cinnamon
- 1/2 teaspoon ground star anise
- 4 teaspoons vanilla extract
Filling
- 2 tablespoons unsalted butter, melted
- 1/2 cup sugar
- 2 teaspoon cinnamon/mixed spice
- A marzipan baby Jesus (or you can use a small figurine or toy or a bean)
- Dried/candied fruit (about 2 cups of assorted fruit cut into small pieces such as sultanas, orange/lemon peel, mango or cherries)
Decoration
- Large dried fruits (so they don’t burn in the oven) such as glace cherries
- Beaten egg (to wash over the whole ring)
- Edible gold lustre spray (or glitter) if you wish!
- Marzipan and star cutters


 and dotting with cherries")


