Lemon seeded cookies just asking to be eaten
Cookie, cookie on my plate what will be your delicious fate? Lemon conjures up memories of spring time, Easter and fresh starts. As we’re nearing the final 20 bakes of my around the world in 80 bakes venture I’ve accumulated a lot of random ingredients that seemed like the most essential purchase at the time.

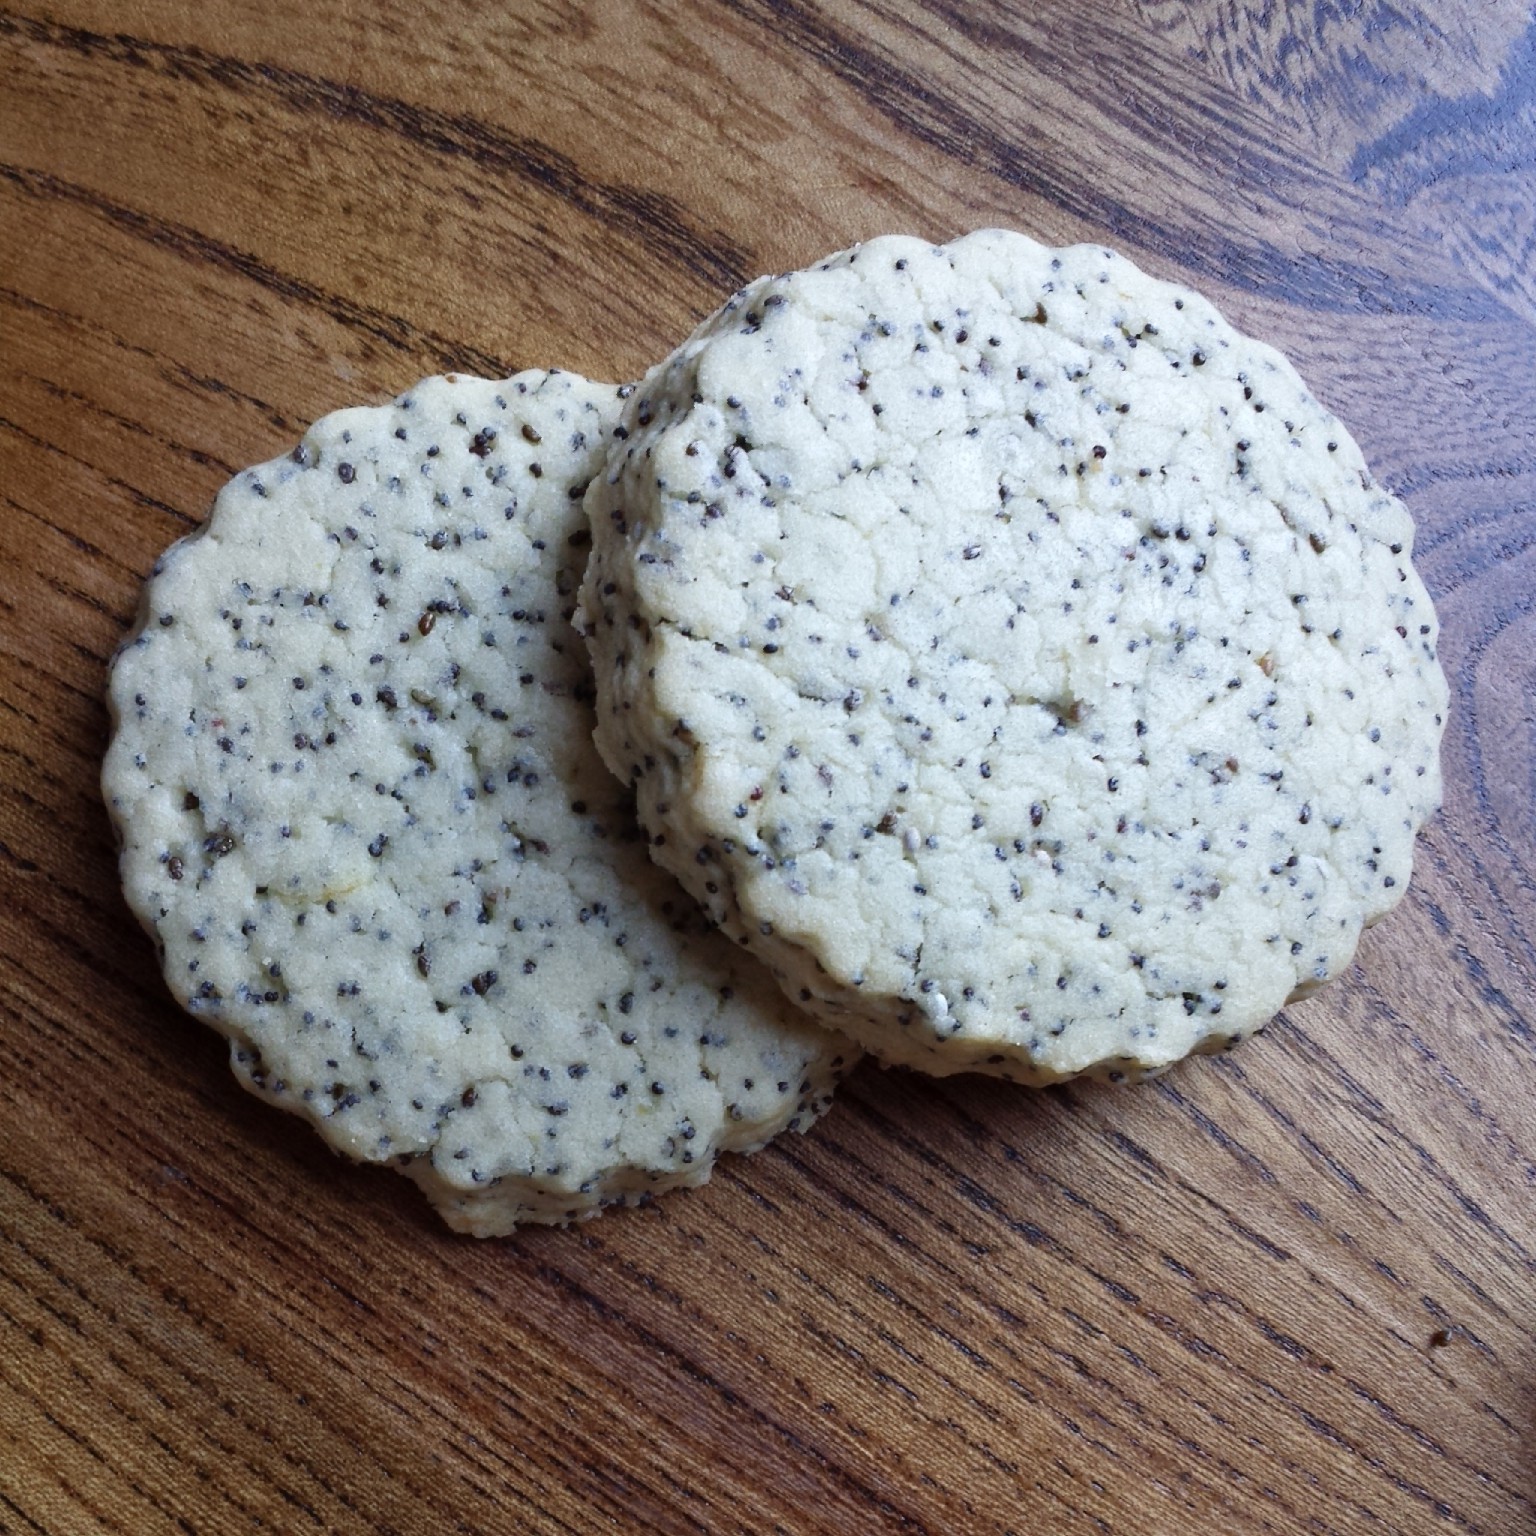
Stacks of glimmering white Poppy Seed Cookies
Like I’m ever going to use that pomegranate powder, gram flour, black mustard seeds and 4 bags of poppy seeds… So I’m getting creative. Working with what I have to make some new recipes, tweaking more traditional bakes to suit my more interesting ingredients.
Eat Me!
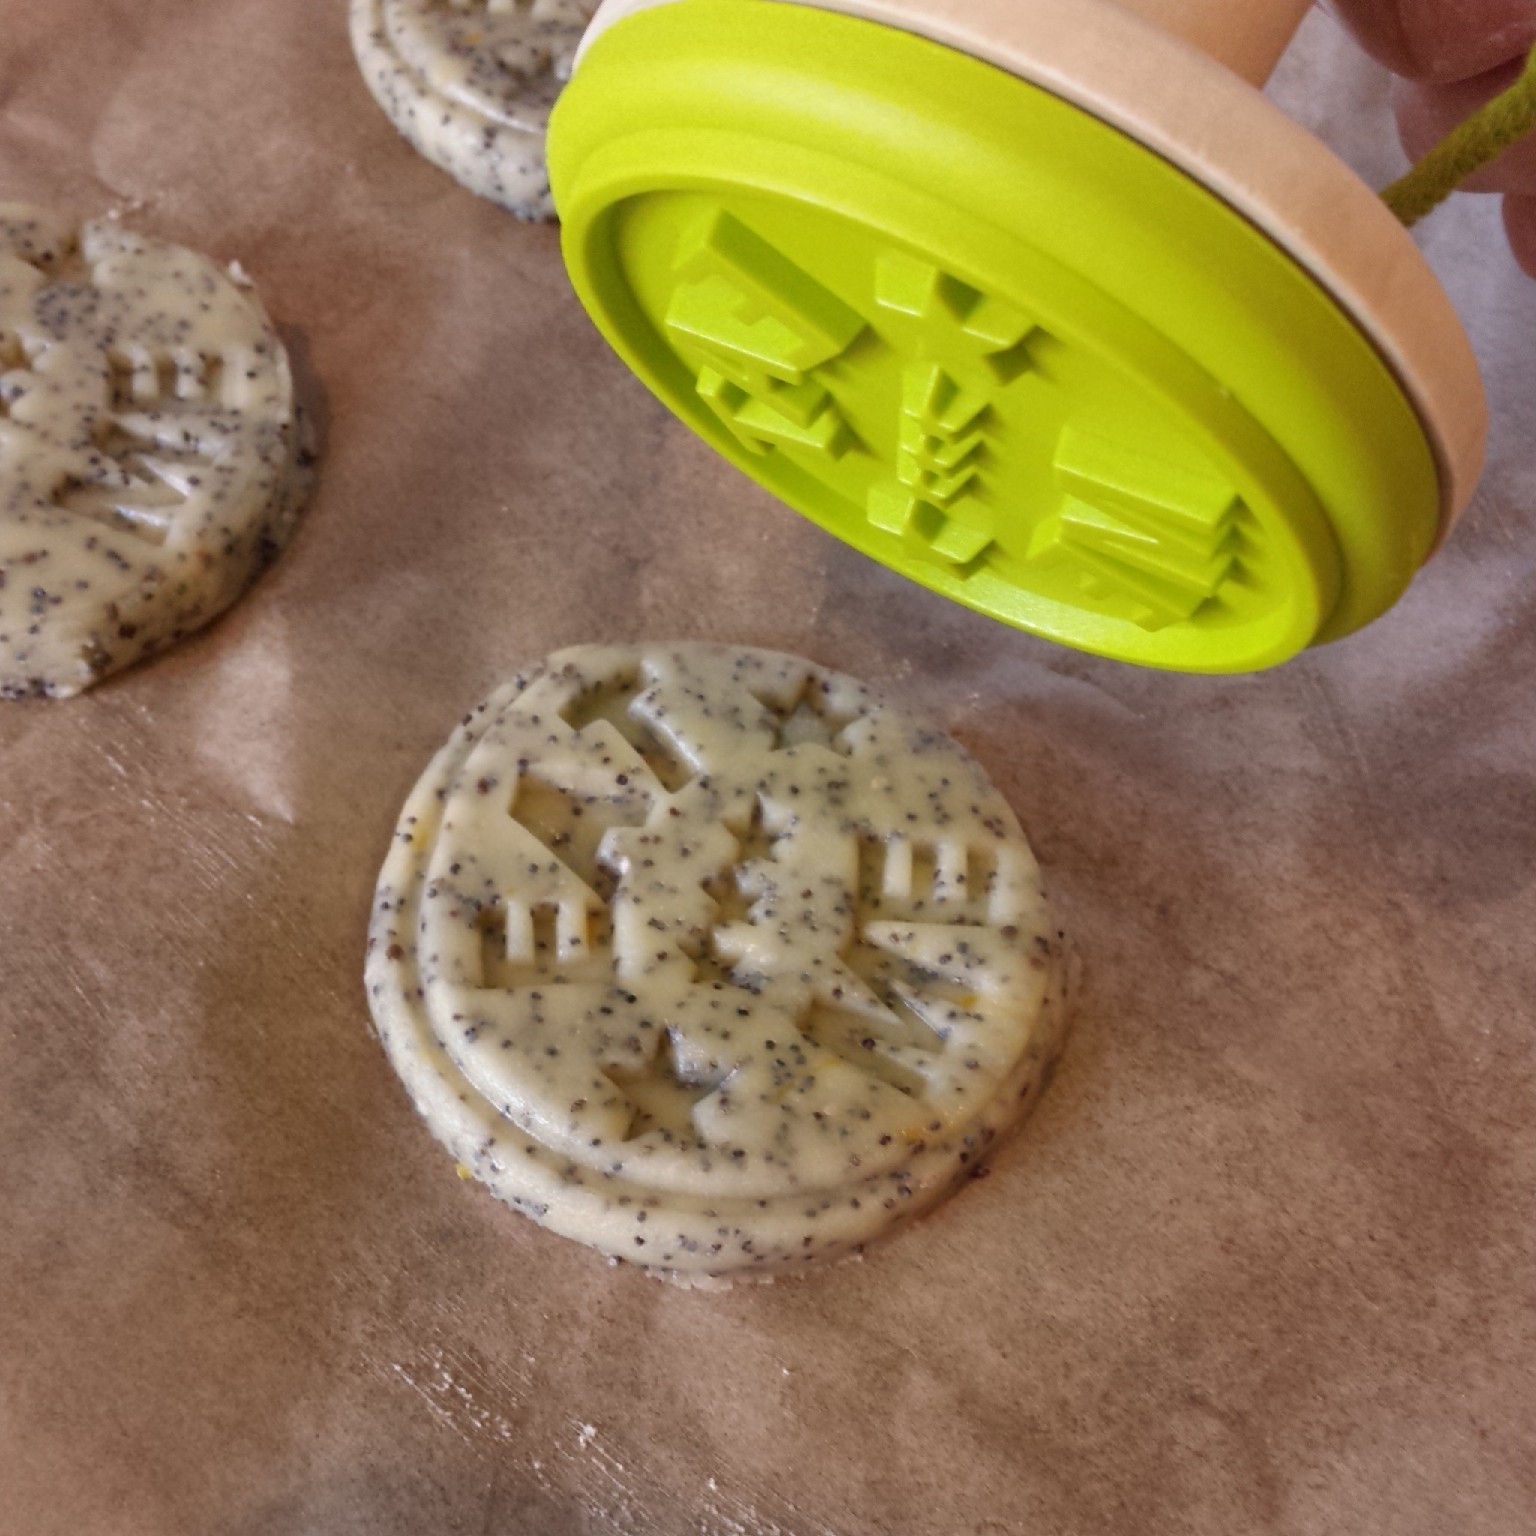
All the recipes I found for Hungarian Lemon Poppy Seed Cookies were rather wet doughs, which had to be dolloped onto the baking tray or pinwheels with a poppyseed spiral running through them. I’m usually a fan of any recipe that doesn’t require a rolling pin but I received a beautiful cookie stamp for my birthday so I wanted to make a rollable dough so I could stamp away.

Poppy seed speckled dough
This recipe had to be tweaked gently to avoid creating too firm a dough as I would end up with a basic shortbread recipe, which is rather more Scottish than Hungarian. I took inspiration from Munn Cookies which are a traditional Jewish recipe. My Lemon Poppy Seed cookies are a Hungarian Munn Cookie hybrid! They’re a slim cookie (or biscuit to me) with a comfortingly crisp and crumbly texture.

Wrap your dough in cling film before chilling it for 30 minutes (or so a little longer won’t hurt!)
To make my recipe more mouldable I added more of everything. Calculating it carefully to get the balance right between the flour, sugar, seeds and butter. Creating a smooth buttery dough which rolls out beautifully once chilled.
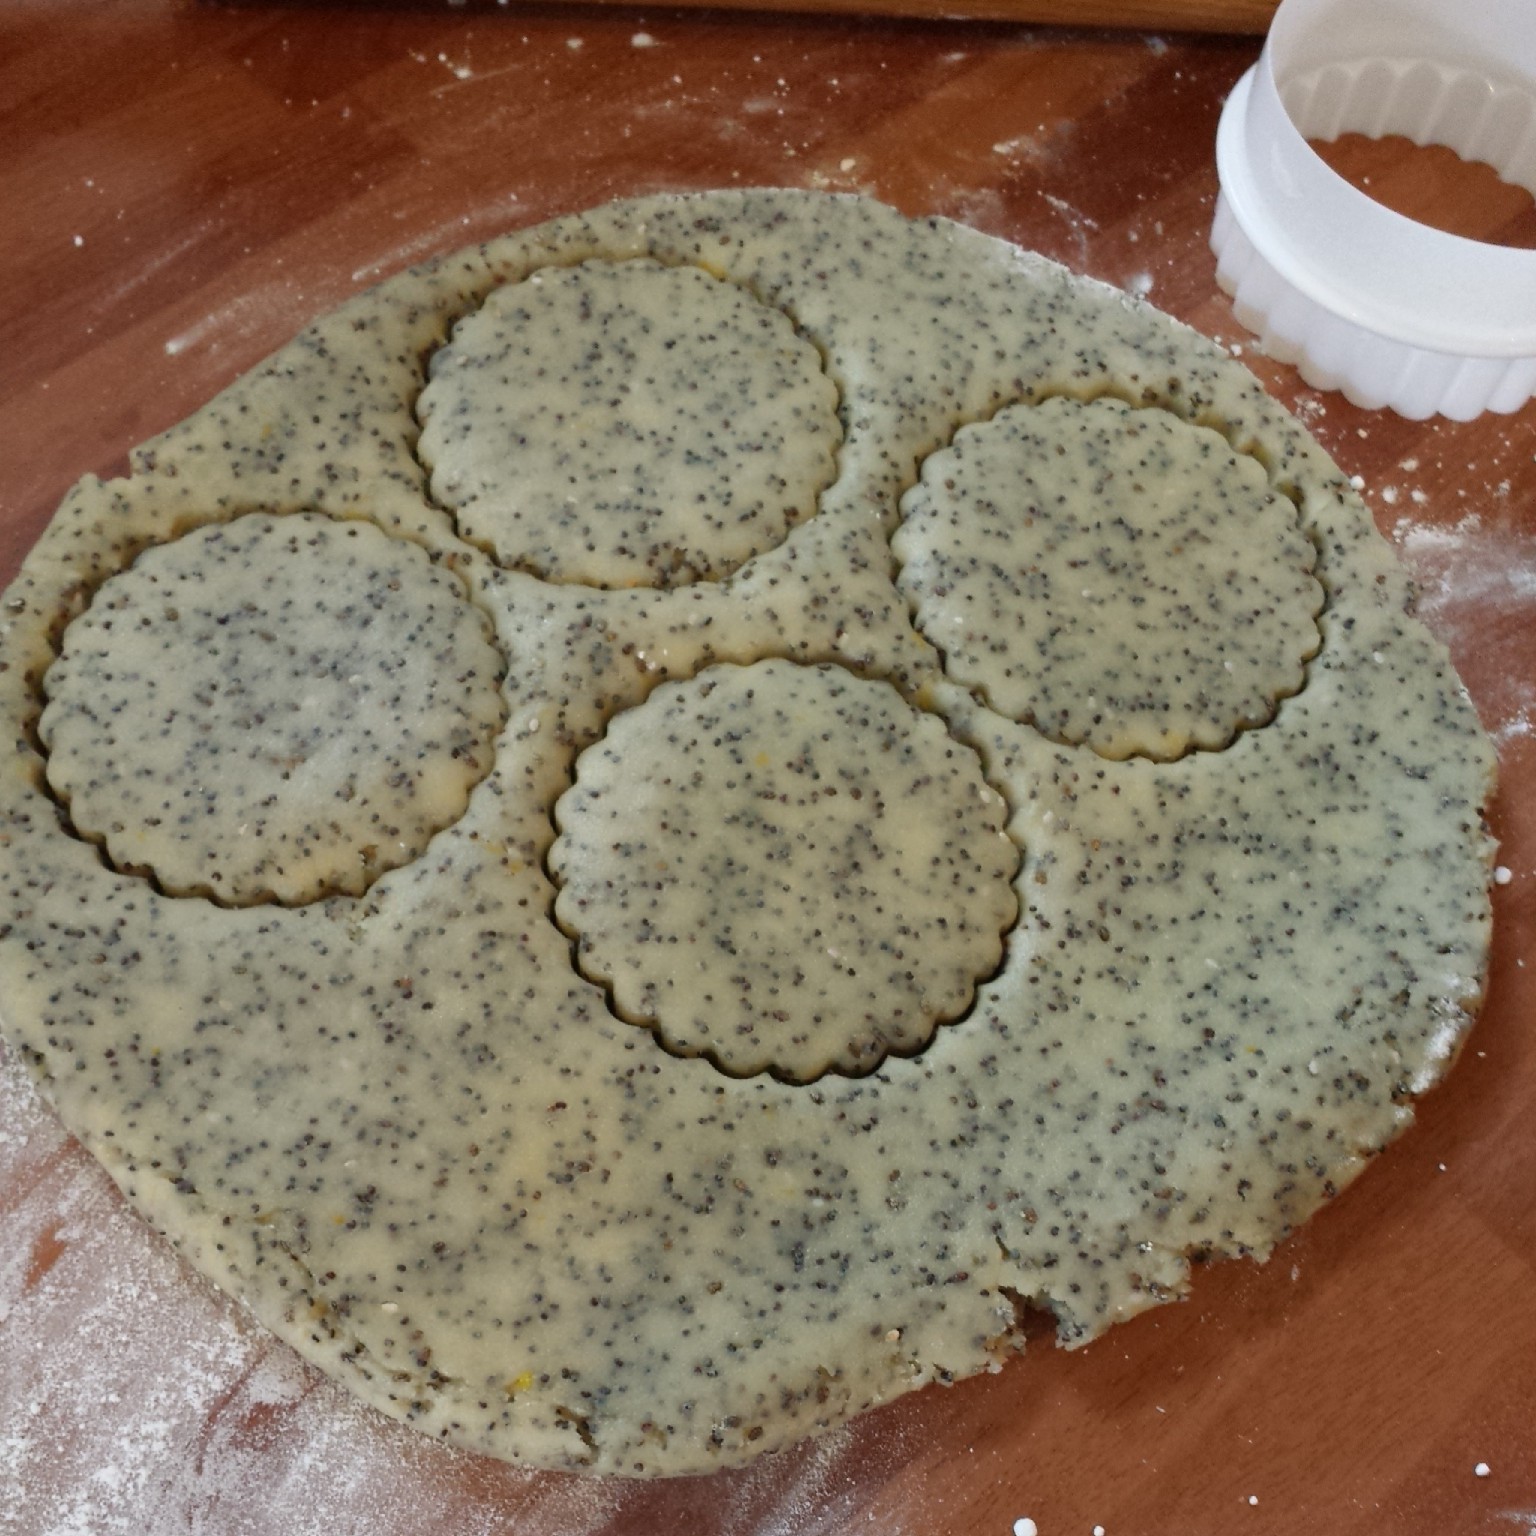
Fancy fluted biscuit shapes: Cutting out the Lemon Poppy Seed Cookies
Chilling the cut and stamped cookies is the key to holding the shape and preventing too much oven spread.
These biscuits are pretty quick to bake. They take less than 15 minutes to whip up (especially if you’re using an electric mixer) and only 12 minutes in the oven. They spend longer in the fridge chilling than they do in the oven!
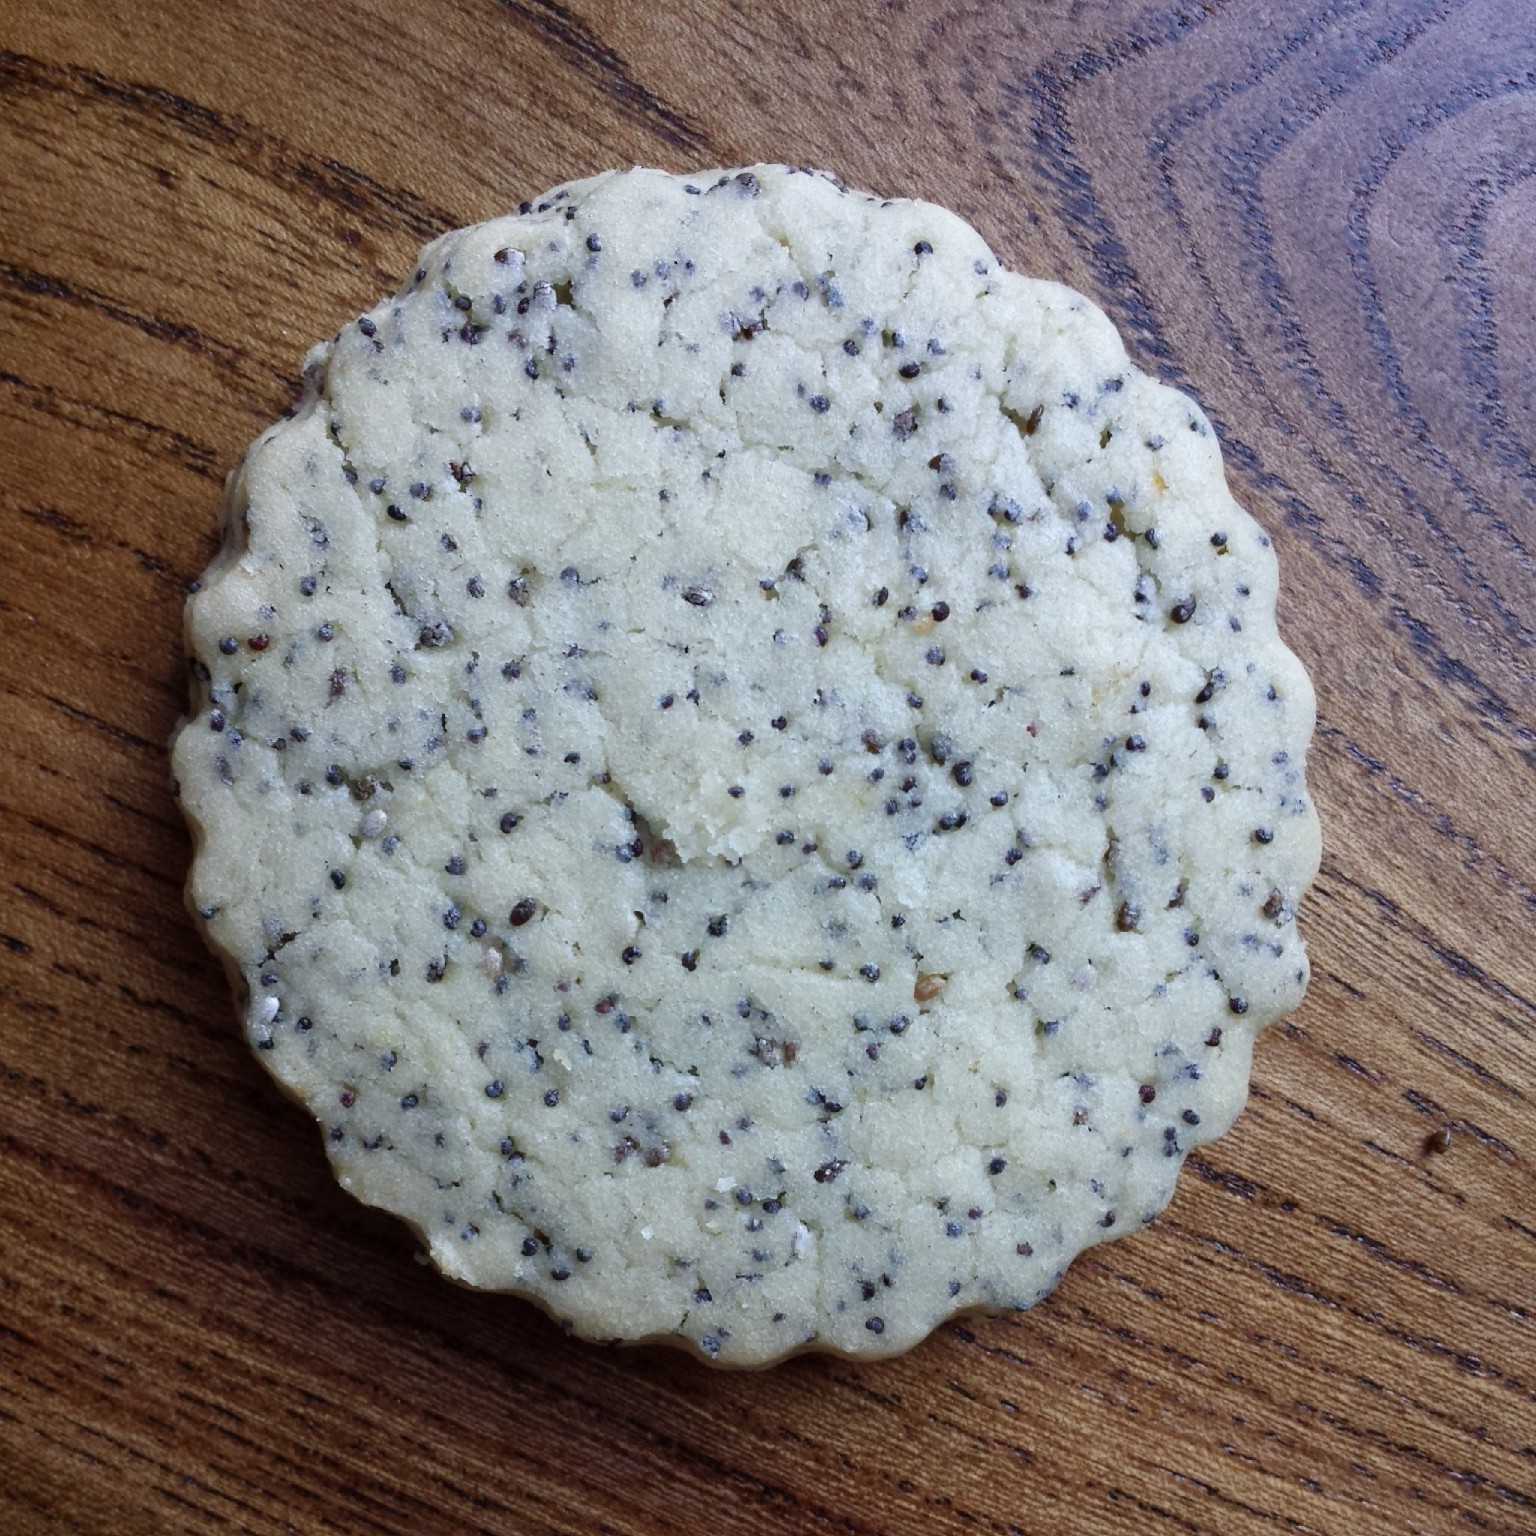
Poppy seed speckled and lemon zest flecked cookie close up
In addition to tasting great and looking pretty the poppy seeds bespeckling the cookies add an extra healthy dimesion. Poppy seeds are very common in many European baked good from bagels to seed cakes. They were traditionally incoporated into many desserts and breads as they are packed with nutrients, minerals and fibre. It’s suggested that Poppy Seeds can help with nausea and stomach upsets too. I also added some Chia Seeds for their superfood qualities to make these cookies a more health conscious snack.

Go on.
The Lemon Poppy Seed Cookies are lovely. They retain their pale colour after baking so don’t expect them to develop a golden oven tan! They puff up slightly in the oven, leaving a smooth and shiny finish. They’re crisp and crumbly with a great crunchy texture owing to the seeds. You could add fewer seeds if you prefer, but I wanted to pack as many in as I could! The finished cookie reminds me of slices of dragonfruit.
Hungarian Lemon Poppy Seed Cookies
If you prefer your cookies soft, bake them for 12 minutes at 175 degrees c. If you like a snap to your biscuits bake them for about 15 minutes. I feel rather refined sitting back in my chair with a poppy seed cookie to nibble on and a cup of Earl Grey to sip. The citrus in the tea brings out the lemon zest in the biscuit. A perfect combination! (Note: you may wish to share these with a friend who will point out any poppy seeds lodged in your teeth.)
Lemon seeded cookies just asking to be eaten
These biscuits are subtle in flavour and high in texture. The lemon flavour cuts through the crunch for a perfect Spring/Summer snack. They’re light and not too sweet. (But if you like sweeter biscuits you could add some water icing or melted white chocolate.) They freeze really well too (uniced), so you can keep a constant supply to hand.
I’m very tempted to make another batch and I’m very tempted to jazz them up even further, perhaps with a splash of lemon extract and a handful of chopped aromatic green herbs. Rosemary, Basil, Thyme, Verbana, or Mint would be amazing with the Lemon. Adding another level of sophistication to this already refined biscuit. Lucky I have 3 and half bags of poppy seeds left to go…
Someone’s trying to tell you something…
Hungarian Lemon Poppy Seed Cookie Recipe
- 220g (1 cup) Butter
- 220g (1 cup) Sugar
- 1 Egg
- 450g (3 cups) Plain flour
- 1 1/2 tsp baking powder
- 1/4 tsp salt
- Zest of 2 lemons
- Juice of half a lemon
- 80g Poppy seeds (I used 70g poppy seeds and 10g chia seeds)
- *A splash of lemon extract
- *A handful of finely chopped green herbs (fresh or dry) such as rosemary, basil, thyme, mint or verbana
*Optional
How I made my Hungarian Lemon Poppy Seed Cookies
1. Beat together the sugar and butter until light and fluffy.
2. Beat in the egg until fluffy
3. Beat in the zest of 2 lemons
4. Beat in the flour, salt and baking powder
5. Beat in the lemon juice. Until the dough comes together in one ball.
6. Beat in the poppy seeds (and chia seeds if you’re adding them too, or just stick with poppy seeds!)
*Beat in the lemon extract and herbs if you choose to add them too
7. Wrap the dough in cling film and chill for at least 30 minutes
8. Roll out the dough on a surface dusted with icing sugar
9. Cut out 3 inch rounds (or whatever shape you prefer). I used my stamper here, gently pressing it into the dough.
10. Place on greased lined baking tray, cover with cling film and chill in the fridge for at least 30 minutes (or longer)
11. Bake for 11-12 mins at 175 degrees c for a soft cookie or 15-17 minutes for a crisper biscuit. The cookies won’t take on any colour during baking so if they start to turn brown they’re more than ready!