

Meeting James Morton – the King of Sourdough
My friend Kate very kindly offered to drive us to Glasgow for James Morton’s ‘Stollen Moment’ show. Armed with James’s new book, a cheese board, a selection of homemade scones, sticky buns and a flask of tea we trotted off merrily to Glasgow to enjoy the show and meet the lovely Great British Bake Off finalist in person.

My new favourite bread book and now it’s even signed by James
What a great show. James patiently answered our questions whilst demystifing the art of bread and sourdough baking and making a lovely sourdough stollen on stage for us to sample. He explained how it’s not really scary and you don’t actually have to knead your bread all that much to get a brilliant loaf! You can prove it in the fridge and save your energy for more important things like eating the bread. Music to my ears. We even got to take away a bit of James’ sourdough starter home with us.

My first attempt at sourdough bread where the lid has stayed intact! Check out that golden crust and even crumb! Success at last!
Mine is merrily bubbling away in it’s jar fed with equal amounts of flour and water with some sultanas thrown in for good measure. (You take them back out again once the starter is bubbling and frothy again. Yet another great tip on reinvigorating a tired sourdough starter from James)
I’ve tried and failed so many times before to make sourdough. I now realise where I’ve been going wrong, I never threw any of it away! I was merely accumulating large quantities of floury water. Resulting in a very weak yet well fed sourdough which produced rubbish flat, doughy bread. My loaves were rather mishapen and usually split along the side so the top normally fell off. Yum. Delicious (!)

Christmas morning breakfast. Sourdough mince pie cinnamon buns. They’re rather filling!
I’m now wise to it. You’ve got to dispose of a third of your starter before you feed it, every time. This gives a much stronger and active sourdough. One that can actually rise bread and give a glorious sour note to the loaf too. I’m simply using a cup measure to throw in a cup of flour (any flour, strong, white, rye, malted, plain, brown etc. will do) and a cup of water. Then I give it a good stir with the handle of a wooden spoon. (My jar is quite tall so the handle works best)

Mincemeat sourdough crown
I feel a little guilty pouring large amounts of sourdough down the sink, so have started sharing my cast off starter with friends too which they can just feed as normal. Do let me know if you fancy a bit! I can provide sandwich bags and I’m than happy to share the sourdough joy. (But it’s not that difficult to make your own too… have a look below.)
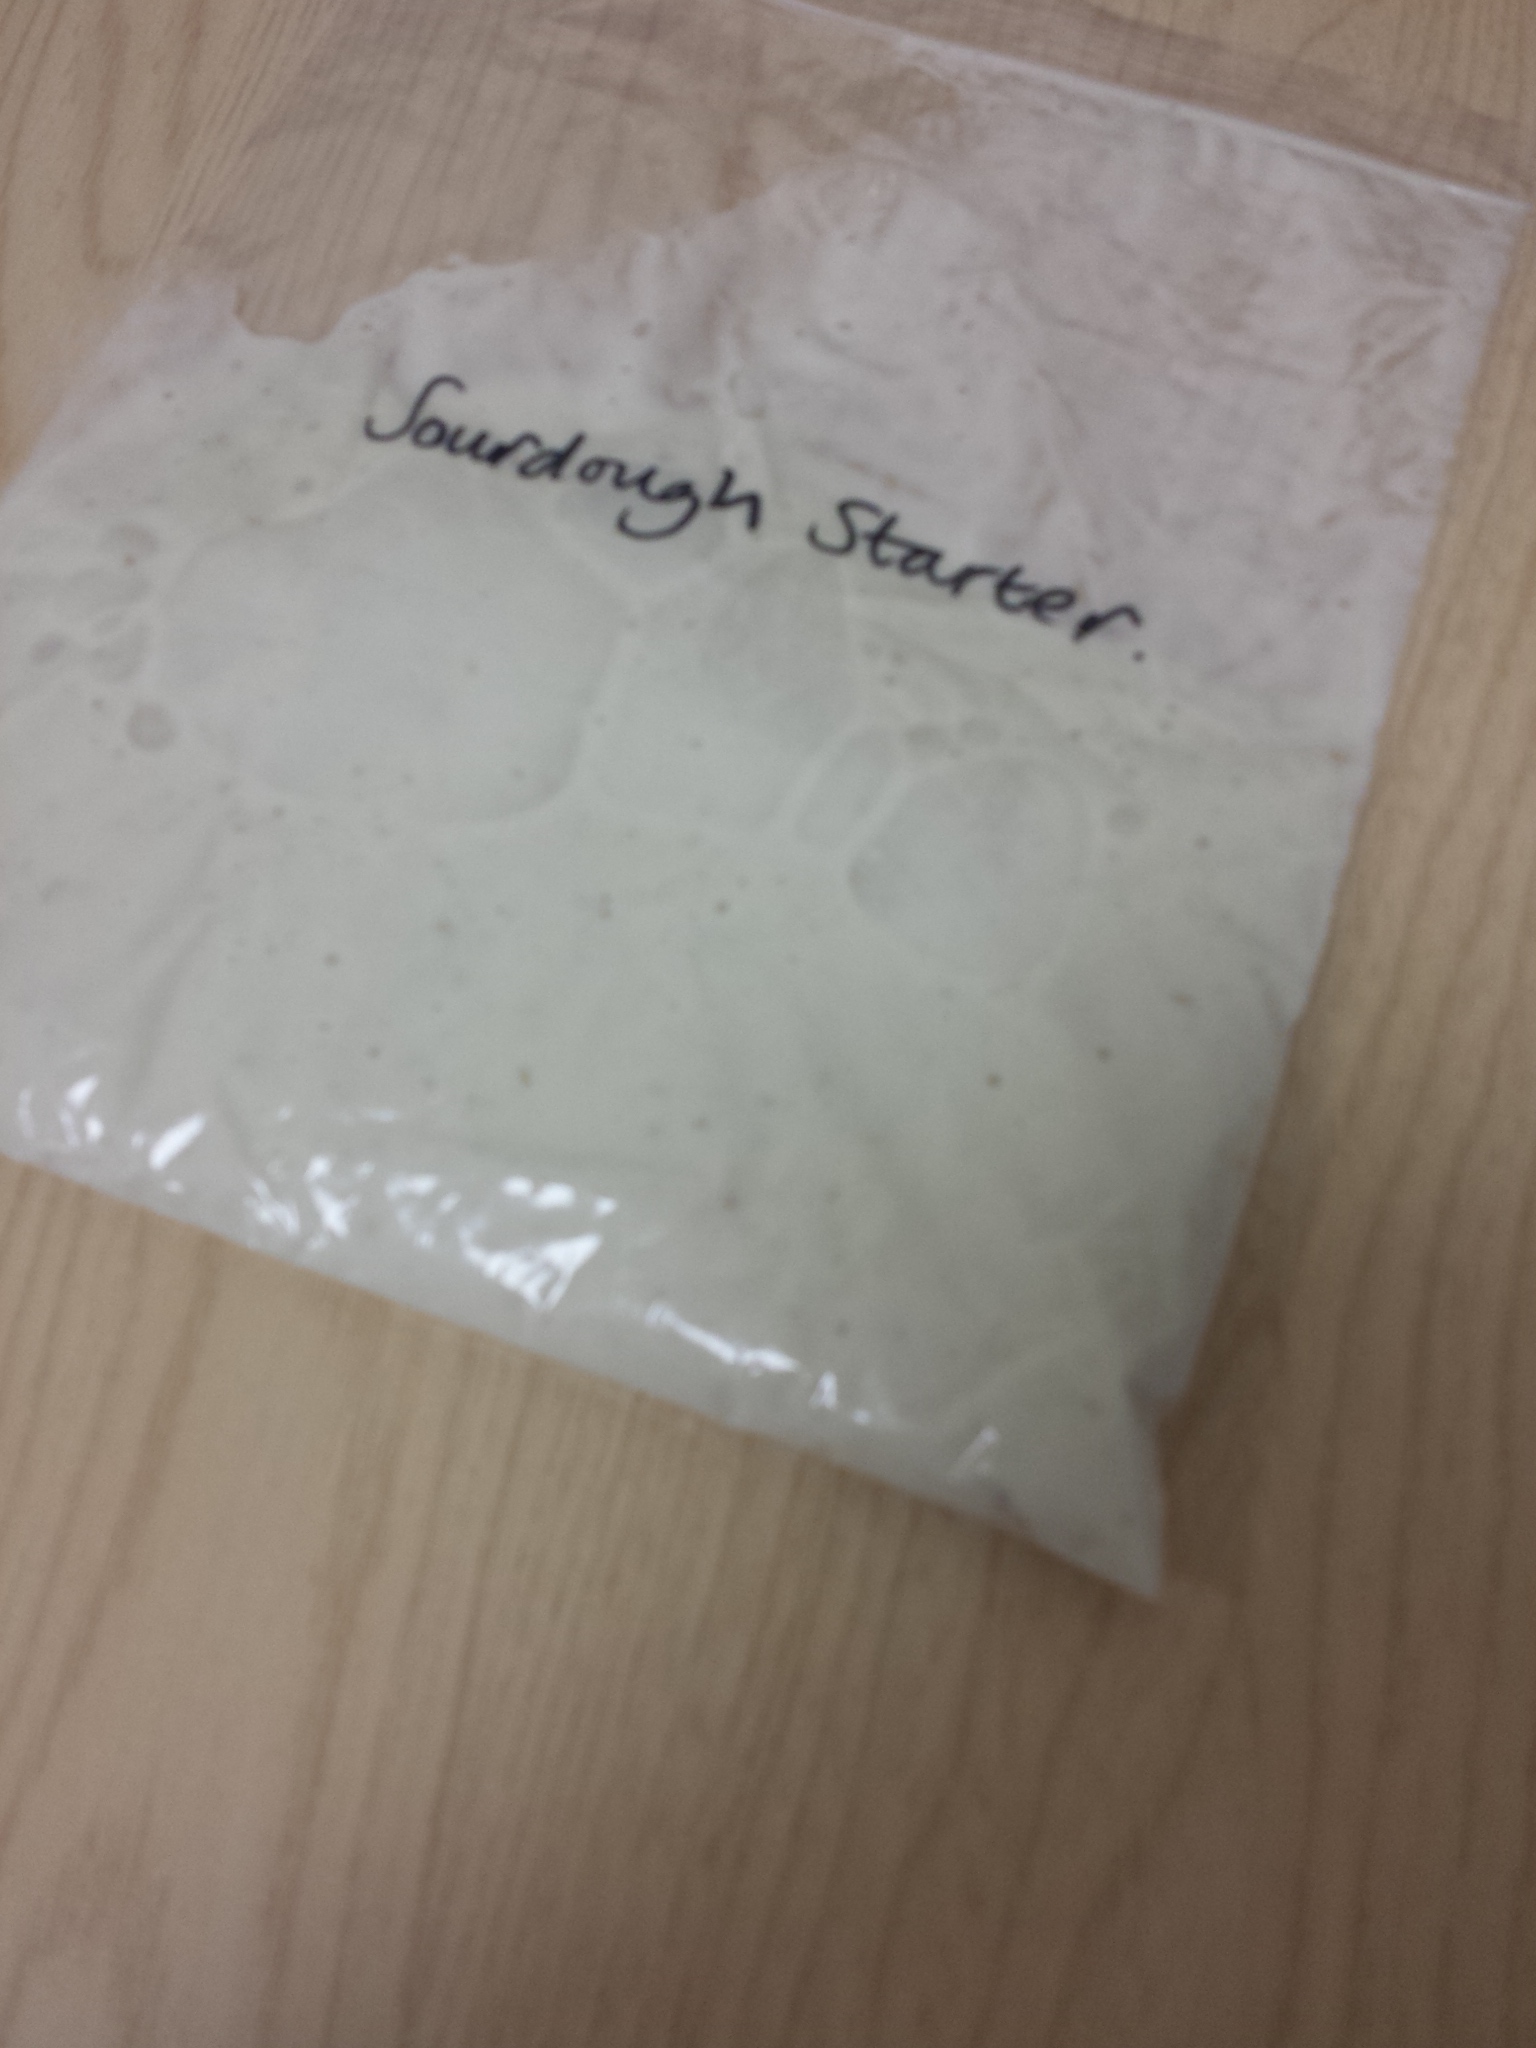
Sourdough Starter bagged up and ready for sharing.
Apologies for my lack of bloggage over the last few weeks. I’ve been very busy, painting decorating and moving house, celebrating our first wedding anniversary (where has the time flown!?) and baking vast quantities of Christmas puddings and sourdough bread in all forms over the holidays. (Think rosemary foccaccia, wholemeal pizzas, buns, loaves and rolls!) The freezer is full of enriched doughs, mincepie rolls and scones. I can’t wait to try out the rest of the recipes. I think we’re going to need more flour!


My Basic Sourdough Starter
It’s still going strong one month on!
- 1 cup of flour (any flour, strong, white, rye, malted, plain, brown etc. will do)
- 1 cup of cold water
- store in a non air tight container at room temperature (Take the rubber seal out of a kilner jar to avoid nasty sourdough explosions with all the built up gases!)
- discard a third of the mix and feed every day if you’re baking regularly
- or store your starter in the fridge and feed once a week if your baking less frequently
- feed it the day before you want to use it (or when it’s really bubbly)
- stir in some sultanas to reinvigorate a tired (flat) starter. (pick them out again if you don’t want sultanas in your bread)
- use 200g of sourdough starter in your dough when wanting to make a full sourdough loaf
- or add 100g of sourdough to other breads alongside instant yeast to give a subtle sourdough flavour
Basic Sourdough Bread
Since this post I’ve experimented more and created another sourdough recipe ‘Hot Pot Sourdough’ which also works a treat.
- 500g strong flour (I like to use a combination of whatever I have in the cupboard which is usually strong white flour, rye flour, malthouse brown, and some wholemeal chapatti flour)
- 10g salt
- 200g sourdough starter
- 300g (or ml it’s the same if you’re using a electronic scale) water
- Knead the mixture together and allow to prove over night in the fridge. (Yet another life changing tip from James. You don’t have to knead your bread very much if you leave it for a long first prove. Chilling it means the bread proves slowly and allows the bread to develop a more rounded sour flavour!) My fridge is now always filled with a loaf proving, ready for the next day.
- Knead the dough to shape it and add some seeds for more texture (I like to use linseed, sunflower and poppy seeds)
- Allow it to prove at room temperature for an hour or so, or over night in the fridge
- Bake at 220 degrees C for 10 minutes then reduce to 200 degrees and bakes for a further 20- 25 minutes
- wrap in a tea towel whilst still hot, to soften the crust and eat with whatever your heart desires! Maybe, hot soup, butter, jam, nutella.
Please note: I’ve taken elements from a couple of my favourite bread recipes here to make something that I know I and my oven can handle. It’s a slightly wet dough which compensates for the drier brown/wholemeal flours but not too liquid so it can be handled and shaped. I can’t recommend James’ book enough if you haven’t already bought it. I’ve learnt so much from it and I’ve only read the introduction and tried a couple of recipes so far. (And I haven’t been paid to say that!) I’m still yet to master some of the more advanced bread recipes in James’s book but I’m enjoying practising and getting a lot of dough up the walls and in my hair in the process.
Happy New Year! Thanks for reading my blog! I promise there are more international bakes to come as soon as possible once I’ve got the hang of my new oven which unfortunately no longer has the temperatures on the dial! An oven thermometer is winging it’s way to me now as I type.


 throw in the dessicated coconut and Bob's your uncle you've made coconut custard!")


 this time WITH the sugar, fruit and spices!")


")


")


