Sweet Chestnut Babka
Seinfeld introduced the idea of the Babka to me. It’s an enriched sweet dough usually flavoured with chocolate popular in Eastern Europe. The episode focuses on Jerry and Elaine’s desperation to get their hands on the last Babka in the bakery. I’ve wanted to find out what all the fuss was about for ages. It was definitely worth the wait.

Sweet Chestnut Babka
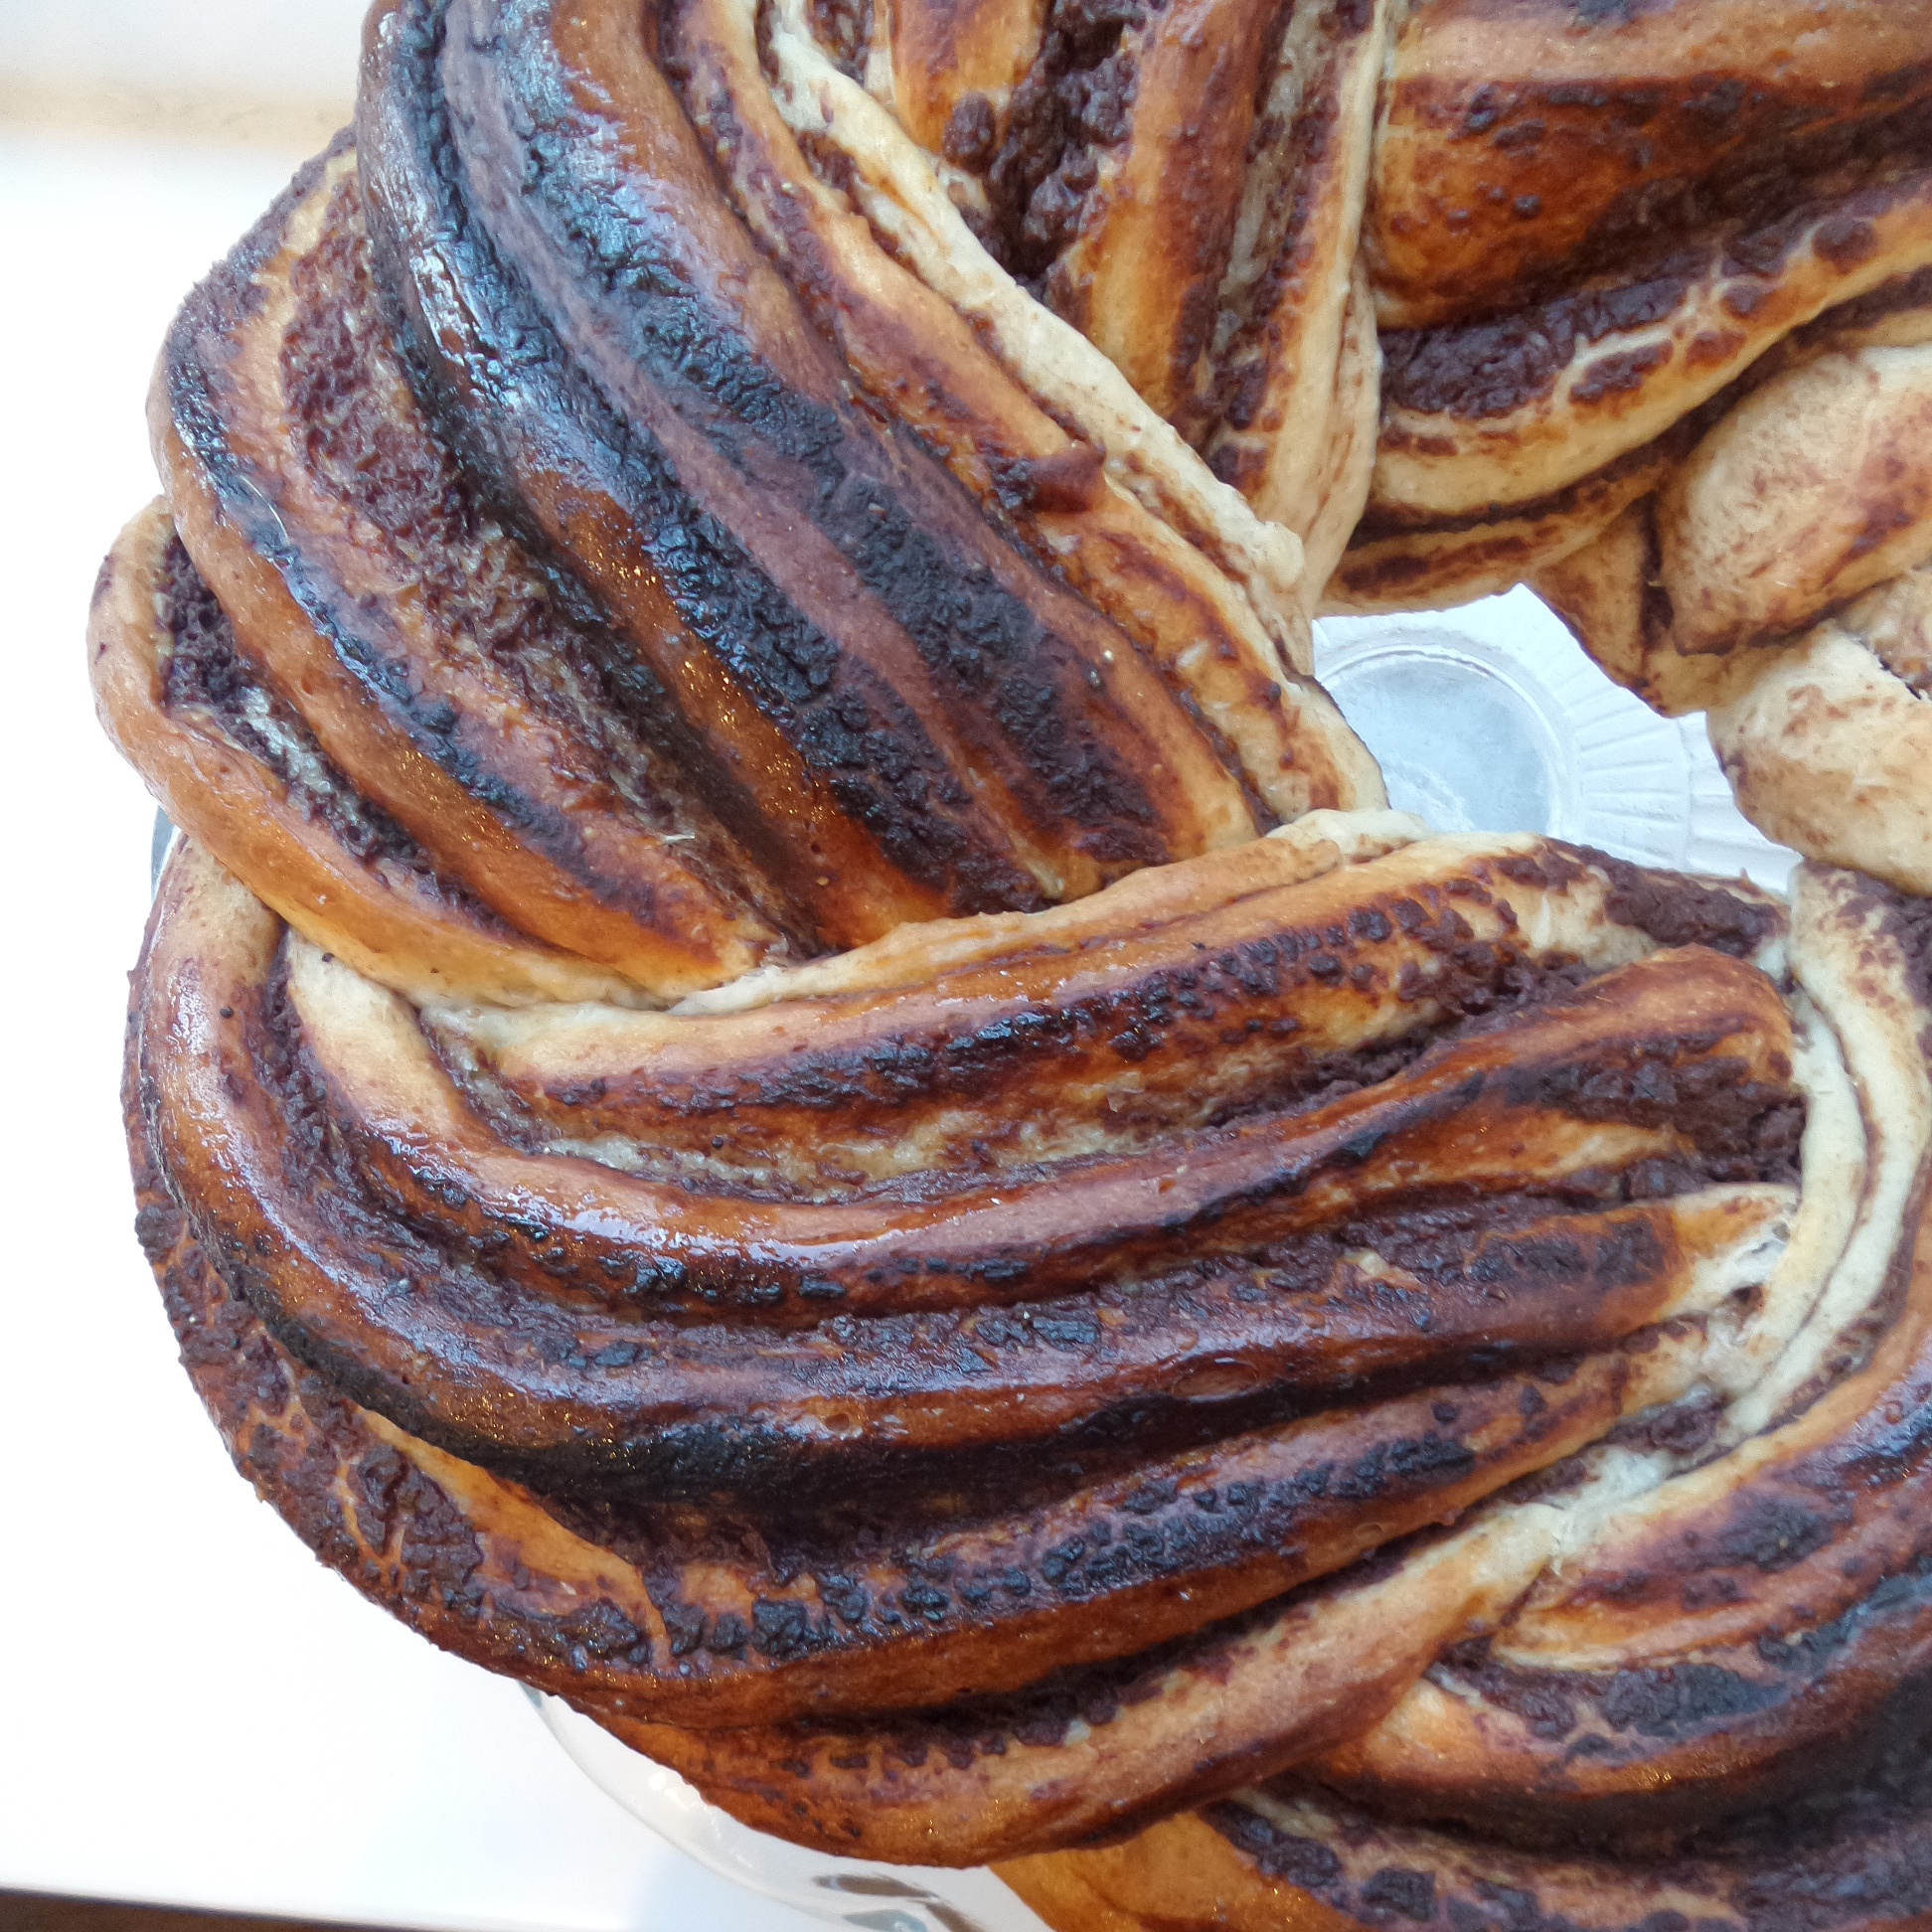
I love how beautiful the Babka looks in all it’s braided glory. Dark brown sweet chestnut stripes peeking through the sweet dough, glistening in their honey glaze. I also love how complicated and impressive it looks too! I’ve plaited bread before, before but this was my first attempt at a braid and it’s not as difficult as you’d think.
Traditionally Babka, which means Grandmother in Polish, is a comforting bread flavoured with chocolate and baked at Easter time. As I like to do things differently (and I had ran out of chocolate) I found a tin of chestnut paste in the cupboard and thought I would put it to good use.

Babka swirls
It’s absolutely delicious with it’s soft light texture and not too sweet, although you can add more sugar if you wish. I added cocoa powder to my chestnut paste along with poppy seeds to give a nod to the traditional chocolate and nut versions. The cocoa added depth to the chesnut paste and poppy seeds feature heavily in many European bakes and give a lovely crunch.
Having never baked with chestnut before, I was so happy with the result. I bought the tin on an impulse and it’s lay at the back of the cupboard forgotten until now. It’s an unusal flavour, rich nutty and rather savoury. Do check your can to see if it’s sweetened or natural. If unsweetened you’ll need to add sugar to you get your preferred level of sweetness. You could add chocolate chips, or use chocolate spread or nutella (or anything you fancy!) if you prefer.
How I made my Sweet Chestnut Babka
-
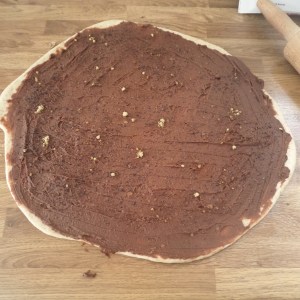
- 1. Roll out the dough and spread with chestnut paste
-
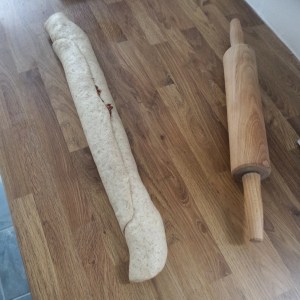
- 2. Roll up the dough from the longest edge to the longest
-

- 3. Split the dough down the middle with a sharp knife
-
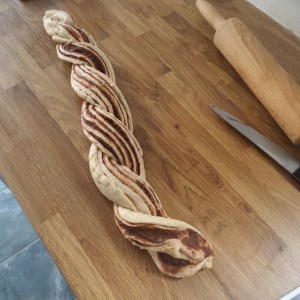
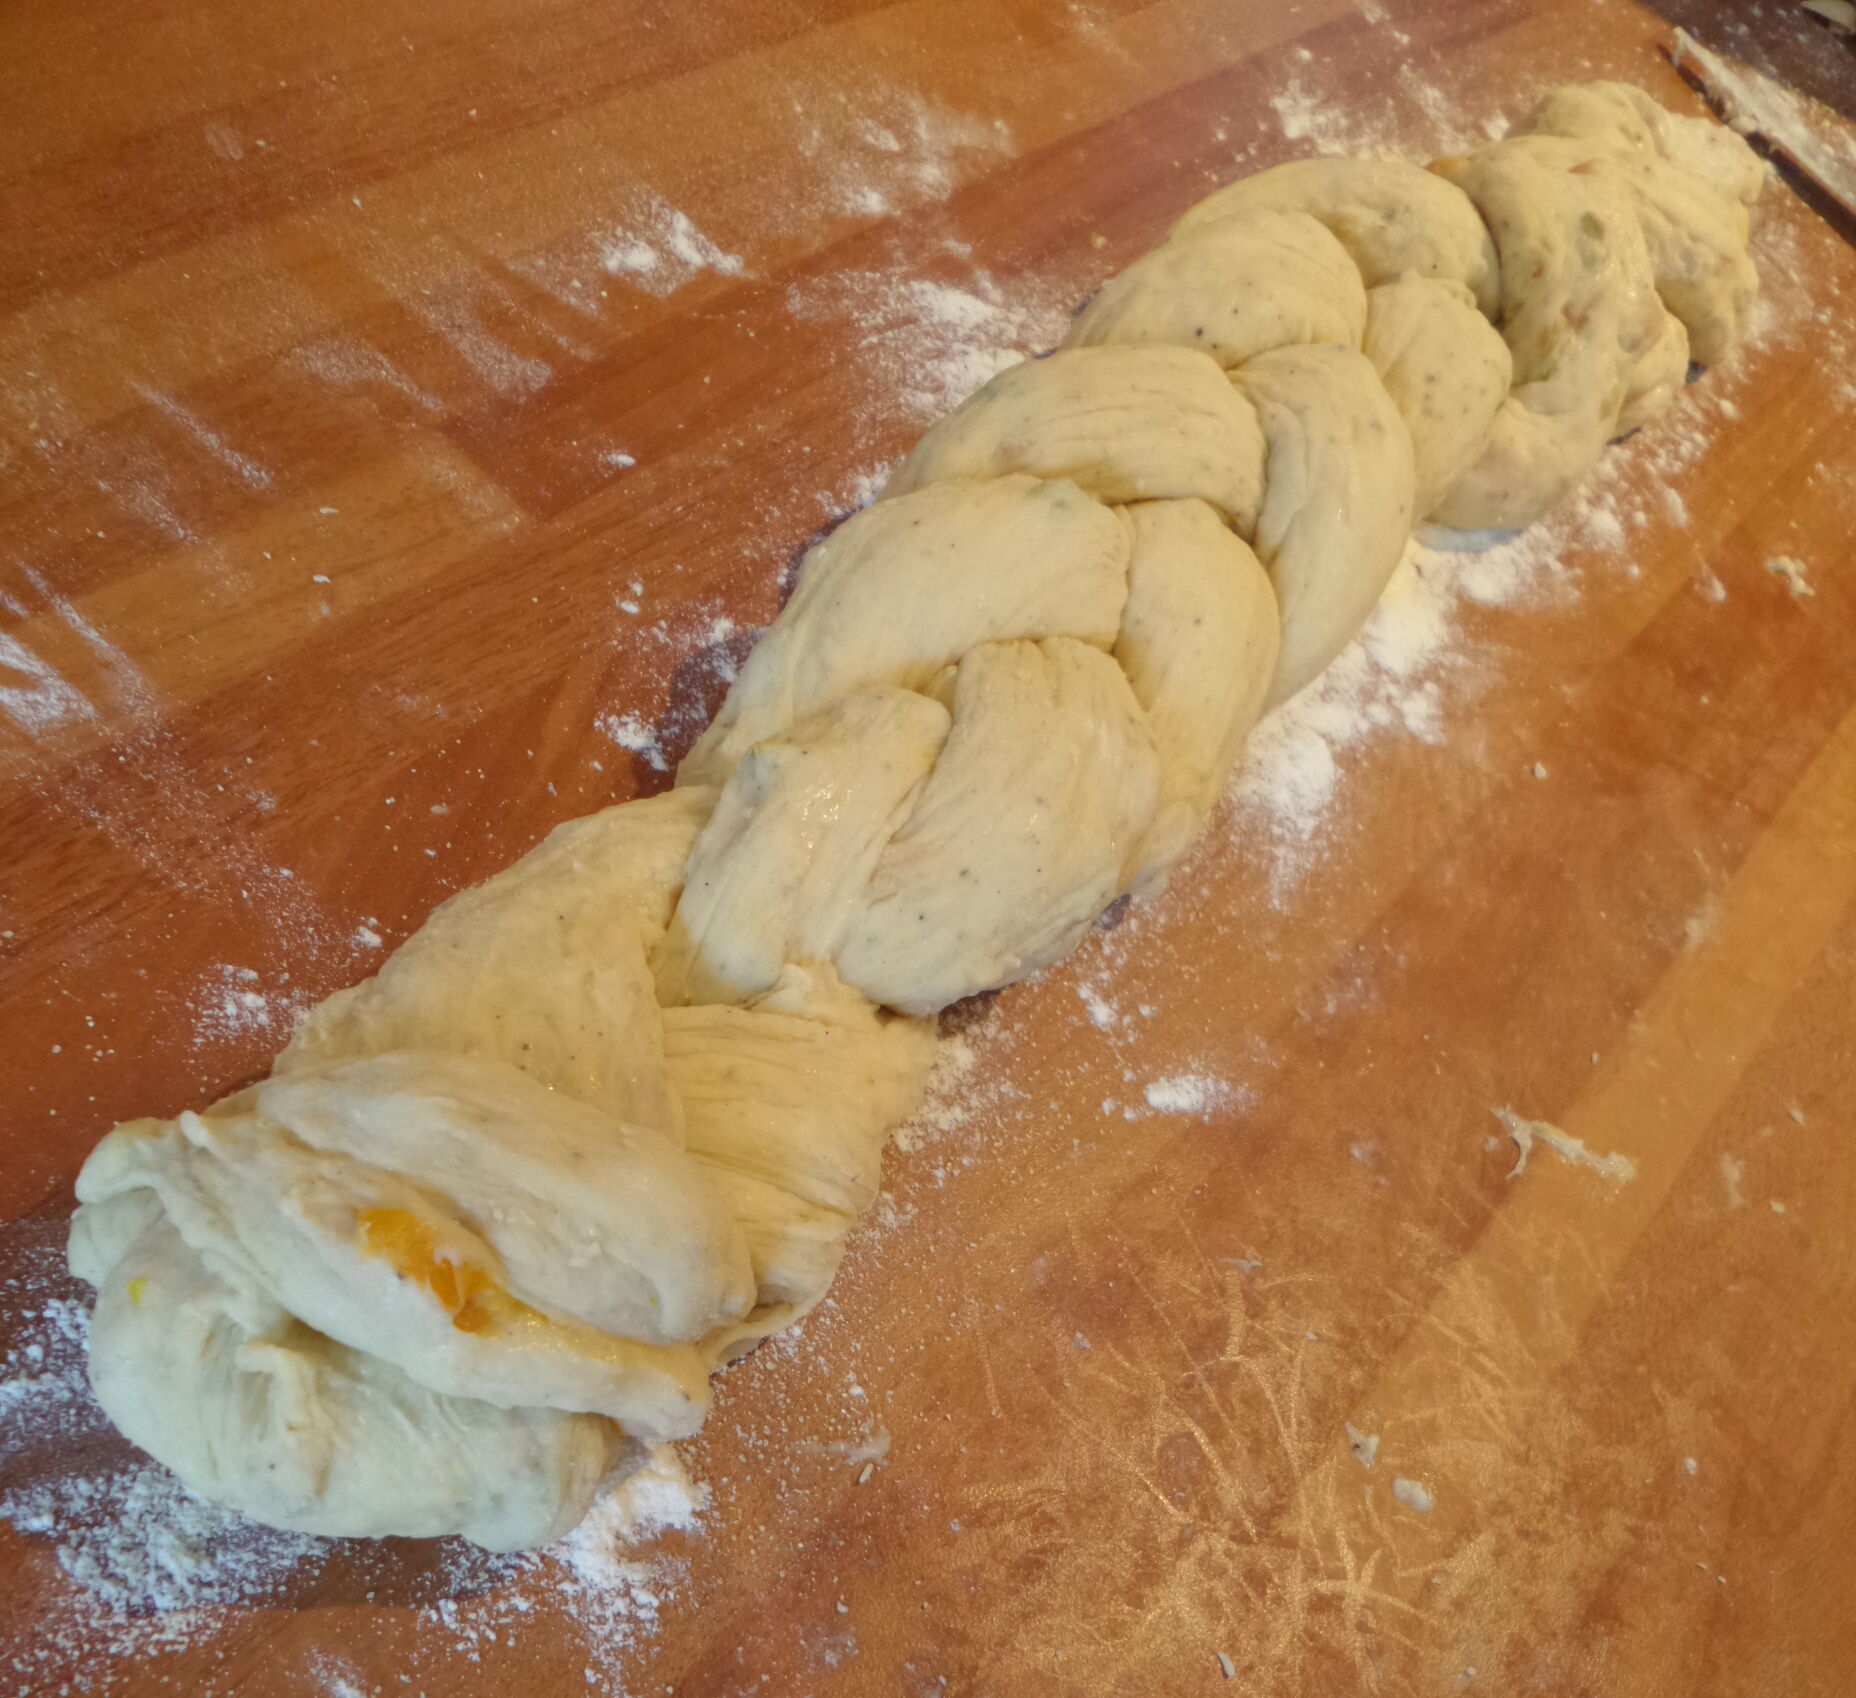
- 10. Twist the two halves together, folding one half of the dough over the other keeping the stripes of filling in the outside
-
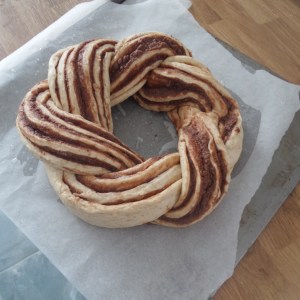
- 5. Join the two ends together and seal them to form a ring
-

- 6. Prove for 2 hours and bake
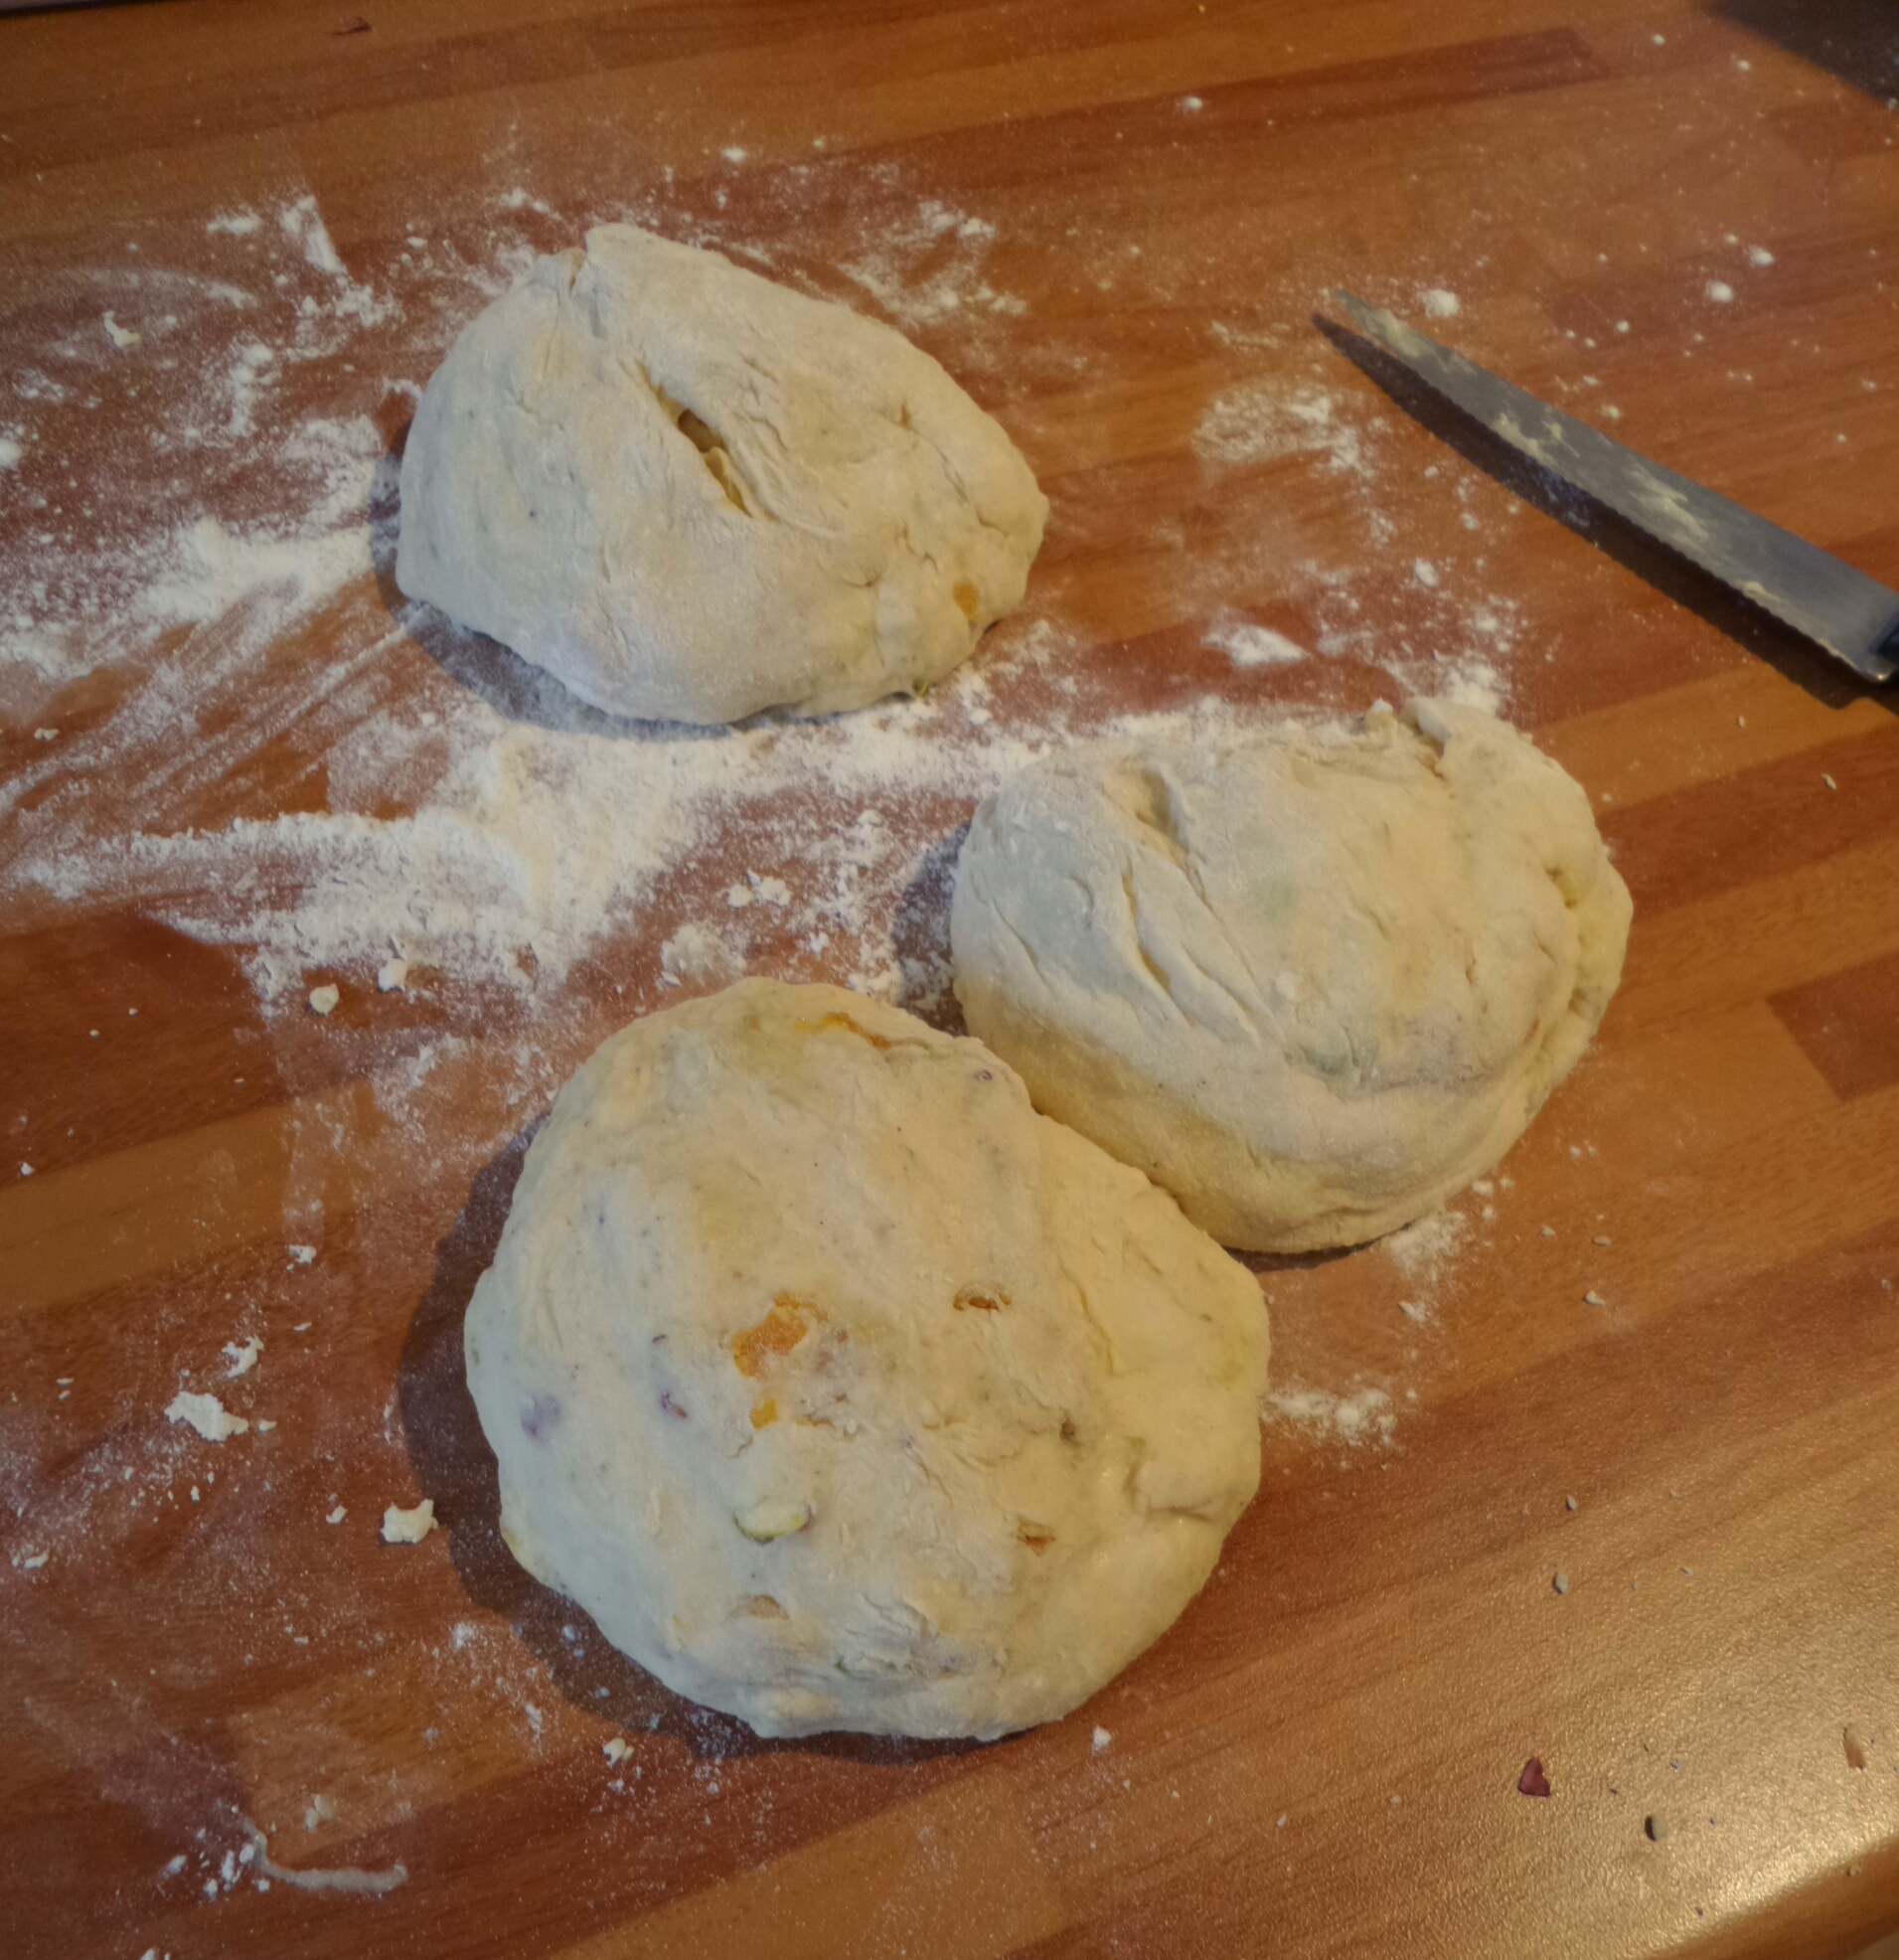
- Mix ingredients together til fully incorporated
- Knead for 10 mins until the dough is smooth and springs back when pinched
- Place in bowl, cover with cling film and leave to prove for 1-2 hours till doubled in size.
- Knock back the dough.
- Knead lightly on oiled work surface and roll out to a rectangle approx 5mm thick. 30 cm by 20cm.
- Spread even layer of chestnut paste over the dough and sprinkle lightly with Poppy seeds and light brown sugar.
- Roll dough up from long edge to long edge to form a sausage of dough with a spiral of chestnut running through the centre
- Cut the dough sausage with a sharp lightly oiled knife lengthways all the way along the sausage. Cut all the way through the dough to spilt it down the middle and expose the filling.
- Seal the strips together at one end
- Twist the two halves together, folding one half of the dough over the other keeping the stripes of filling in the outside
- Seal the other two ends together to form a braided ring. You can trim the ends of the Babka with sharp knife to seal the twists together before joining the ends to form a ring
- Lift carefully onto a greased and lined baking sheet.
- Cover with greased cling film and prove for 1-2 hours till doubled in size
- Bake for 25 minutes at 200 degrees Celsius.
- Brush all over with honey syrup whilst still hot
- Cool and eat!
Things I used to make my Sweet Chestnut Babka
Dough
- 350g strong white flour (you could use all white strong flour if your prefer)
- 115g strong wholemeal flour
- 25g butter
- 1 tablespoon sugar
- 1 tsp salt
- 1 1/4 tsp instant yeast
- 300ml milk
- 1/2 tsp vanilla extract
- splash of water and vegetable oil if needed to bring the dough together into smooth ball
Sweet Chestnut Paste
- 300g chestnut puree (unsweetened)
- 30g cocoa powder
- 50 g light brown sugar
- splash of milk to mix the paste together until smooth and spreadable (not too runny or thick)
- *1 tbs sugar to sprinkle over paste
- * 2 tsp Poppy seeds to sprinkle over paste
Honey Syrup
- 2 tbs runny honey
- 30ml water
boil gently for 1- 2 minute to thicken syrup