
We have been busy bees recently. I put some of our wedding present vouchers to very good use and invested in a beautiful Candy Apple Kitchenaid Mixer. I have christened her Joni and she has already proven her weight in gold.

Introducing Joni my candy apple buttercream dream making machine
My 30th birthday was approaching fast and wanting to mark the occasion my friend Jill (who’s birthday just so happens to be the day before mine!) and I decided to have a little soiree at our local pub. Cupcakes seemed to be a good option for a gathering, so we didn’t have to worry about plates, knives and such like. It also meant that we could go a bit mad with the flavour combinations too.
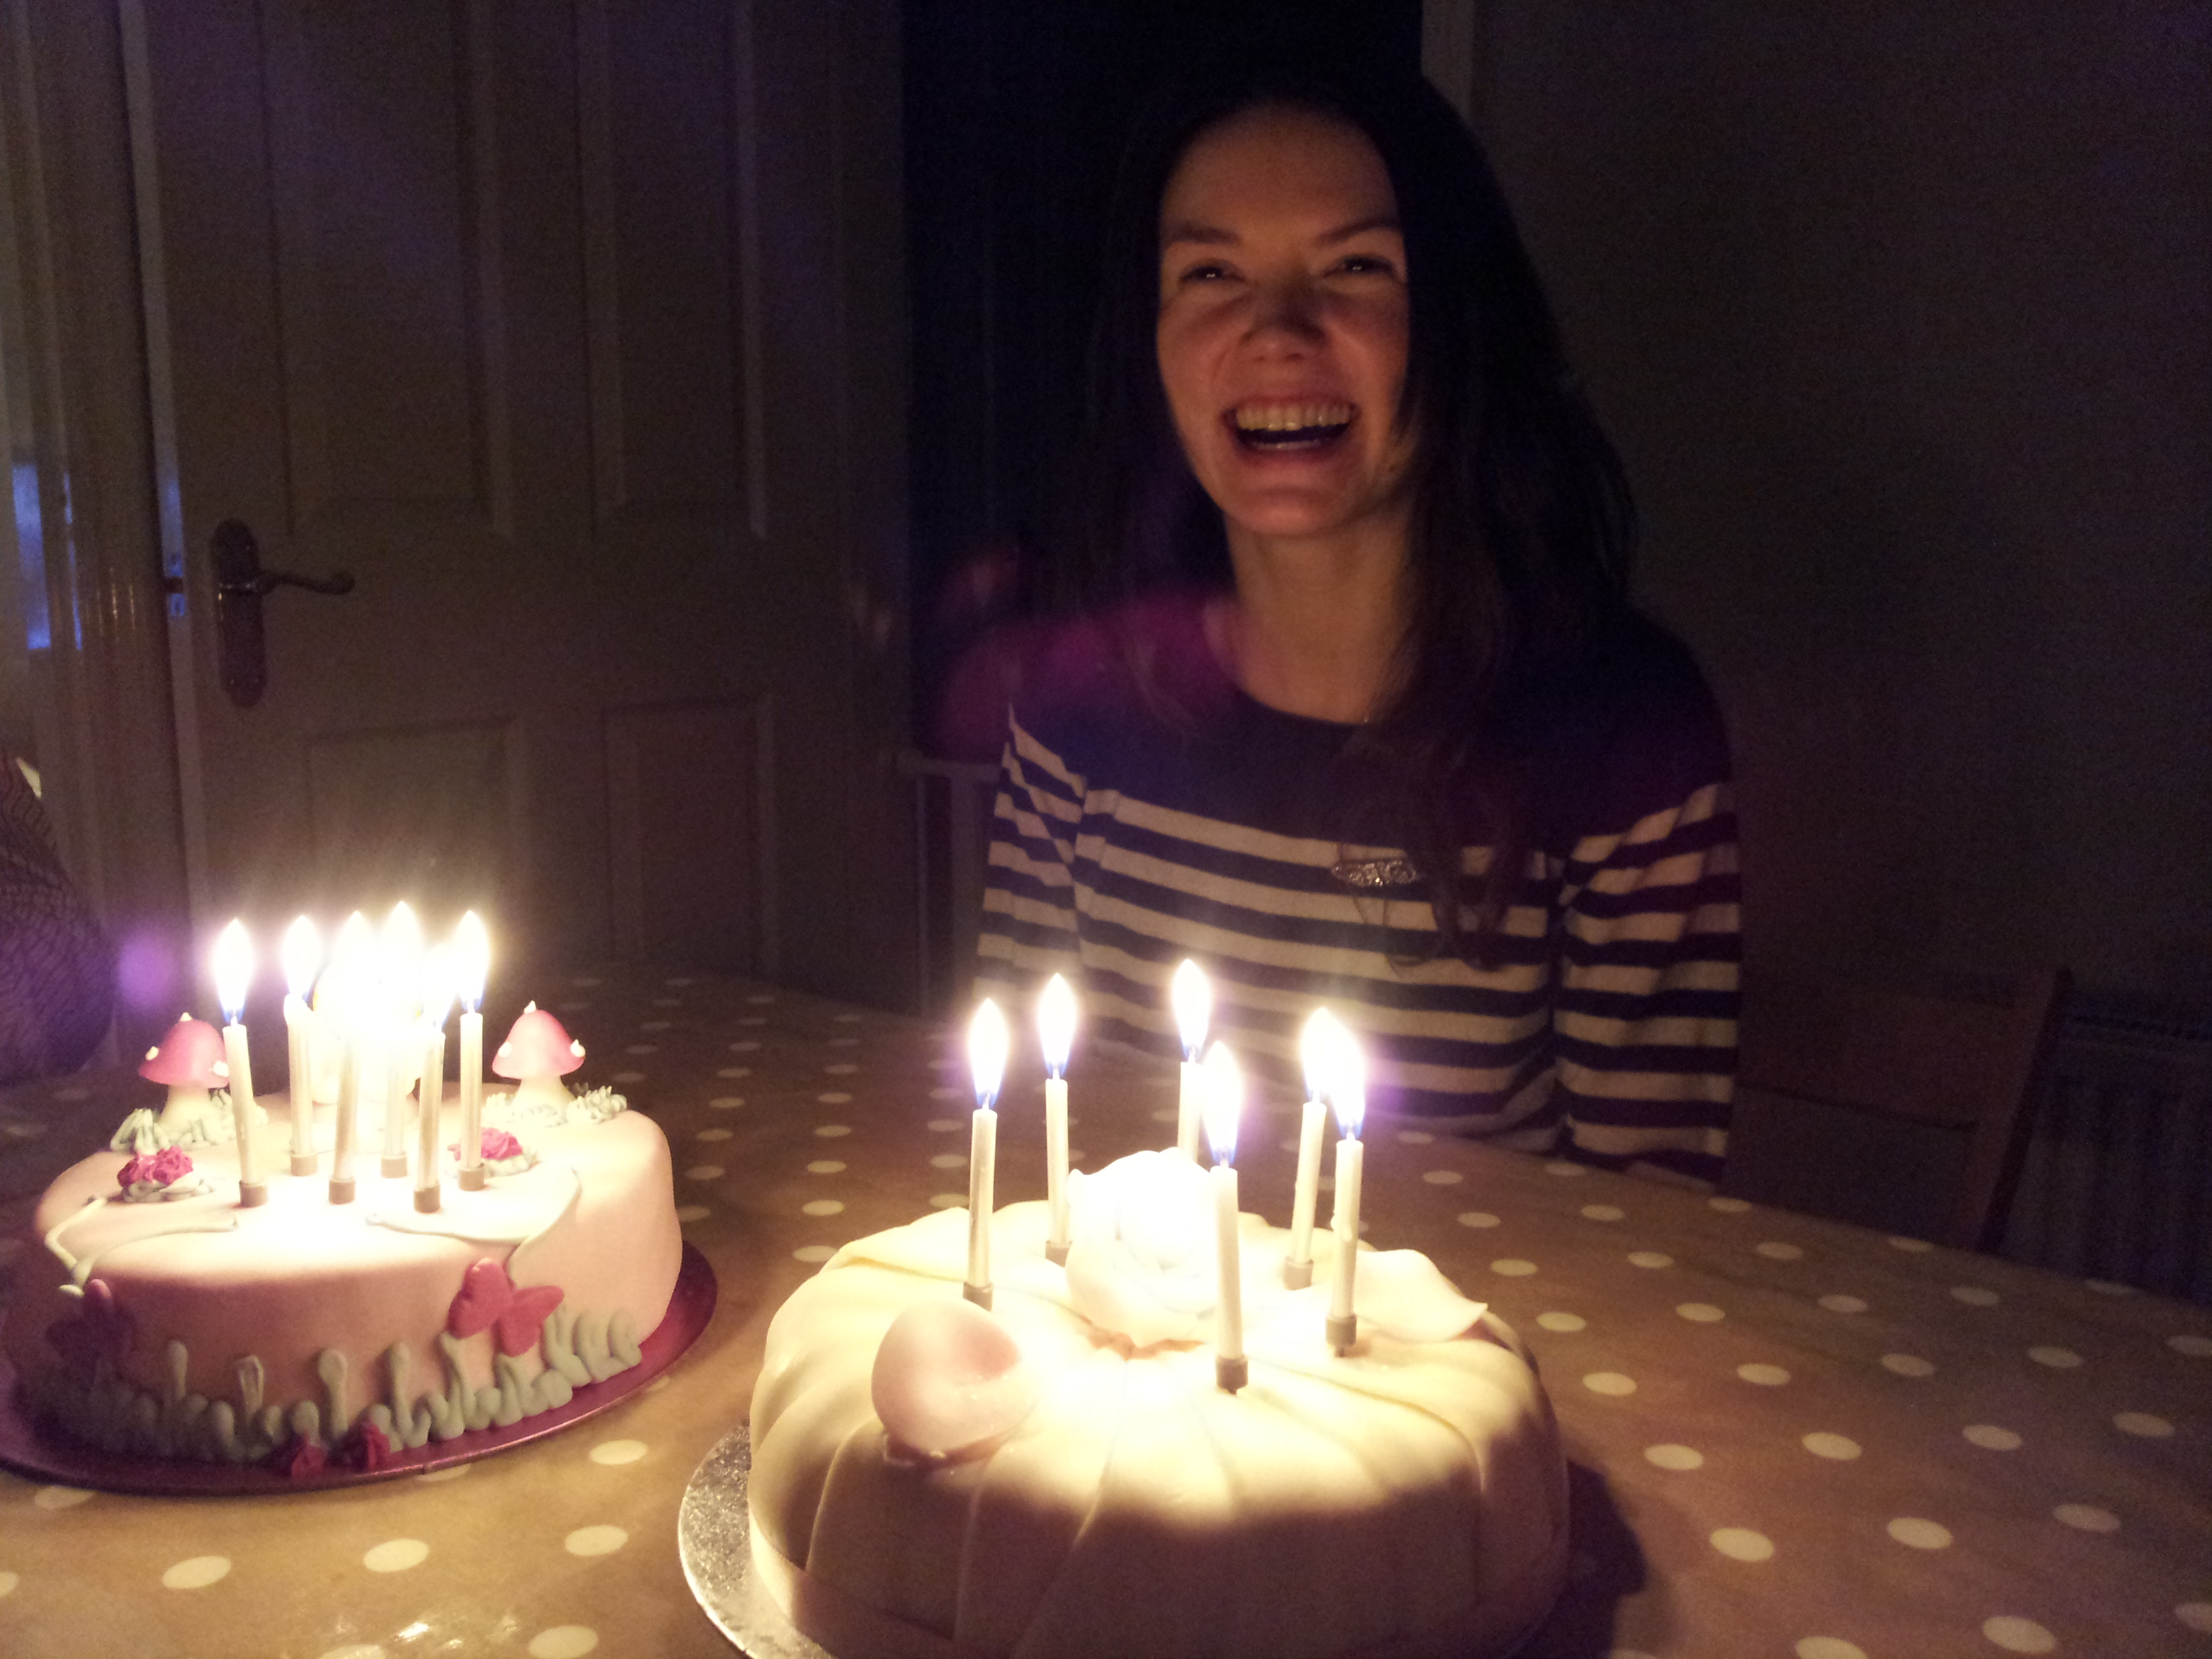
On my actual birthday! What a lucky birthday girl I am with 2 surprise birthday cakes from my mam and my sister. We’re not going to go hungry. EVER.
The week before our birthdays, Jill and I spent a merry evening baking everything in sight. Modifying Hummingbird Bakery recipes to our hearts content. It’s amazing what can be achieved in 3 hours by two 29 year old girls, armed with a Kitchenaid and a bottle of prosecco. We got very creative indeed.
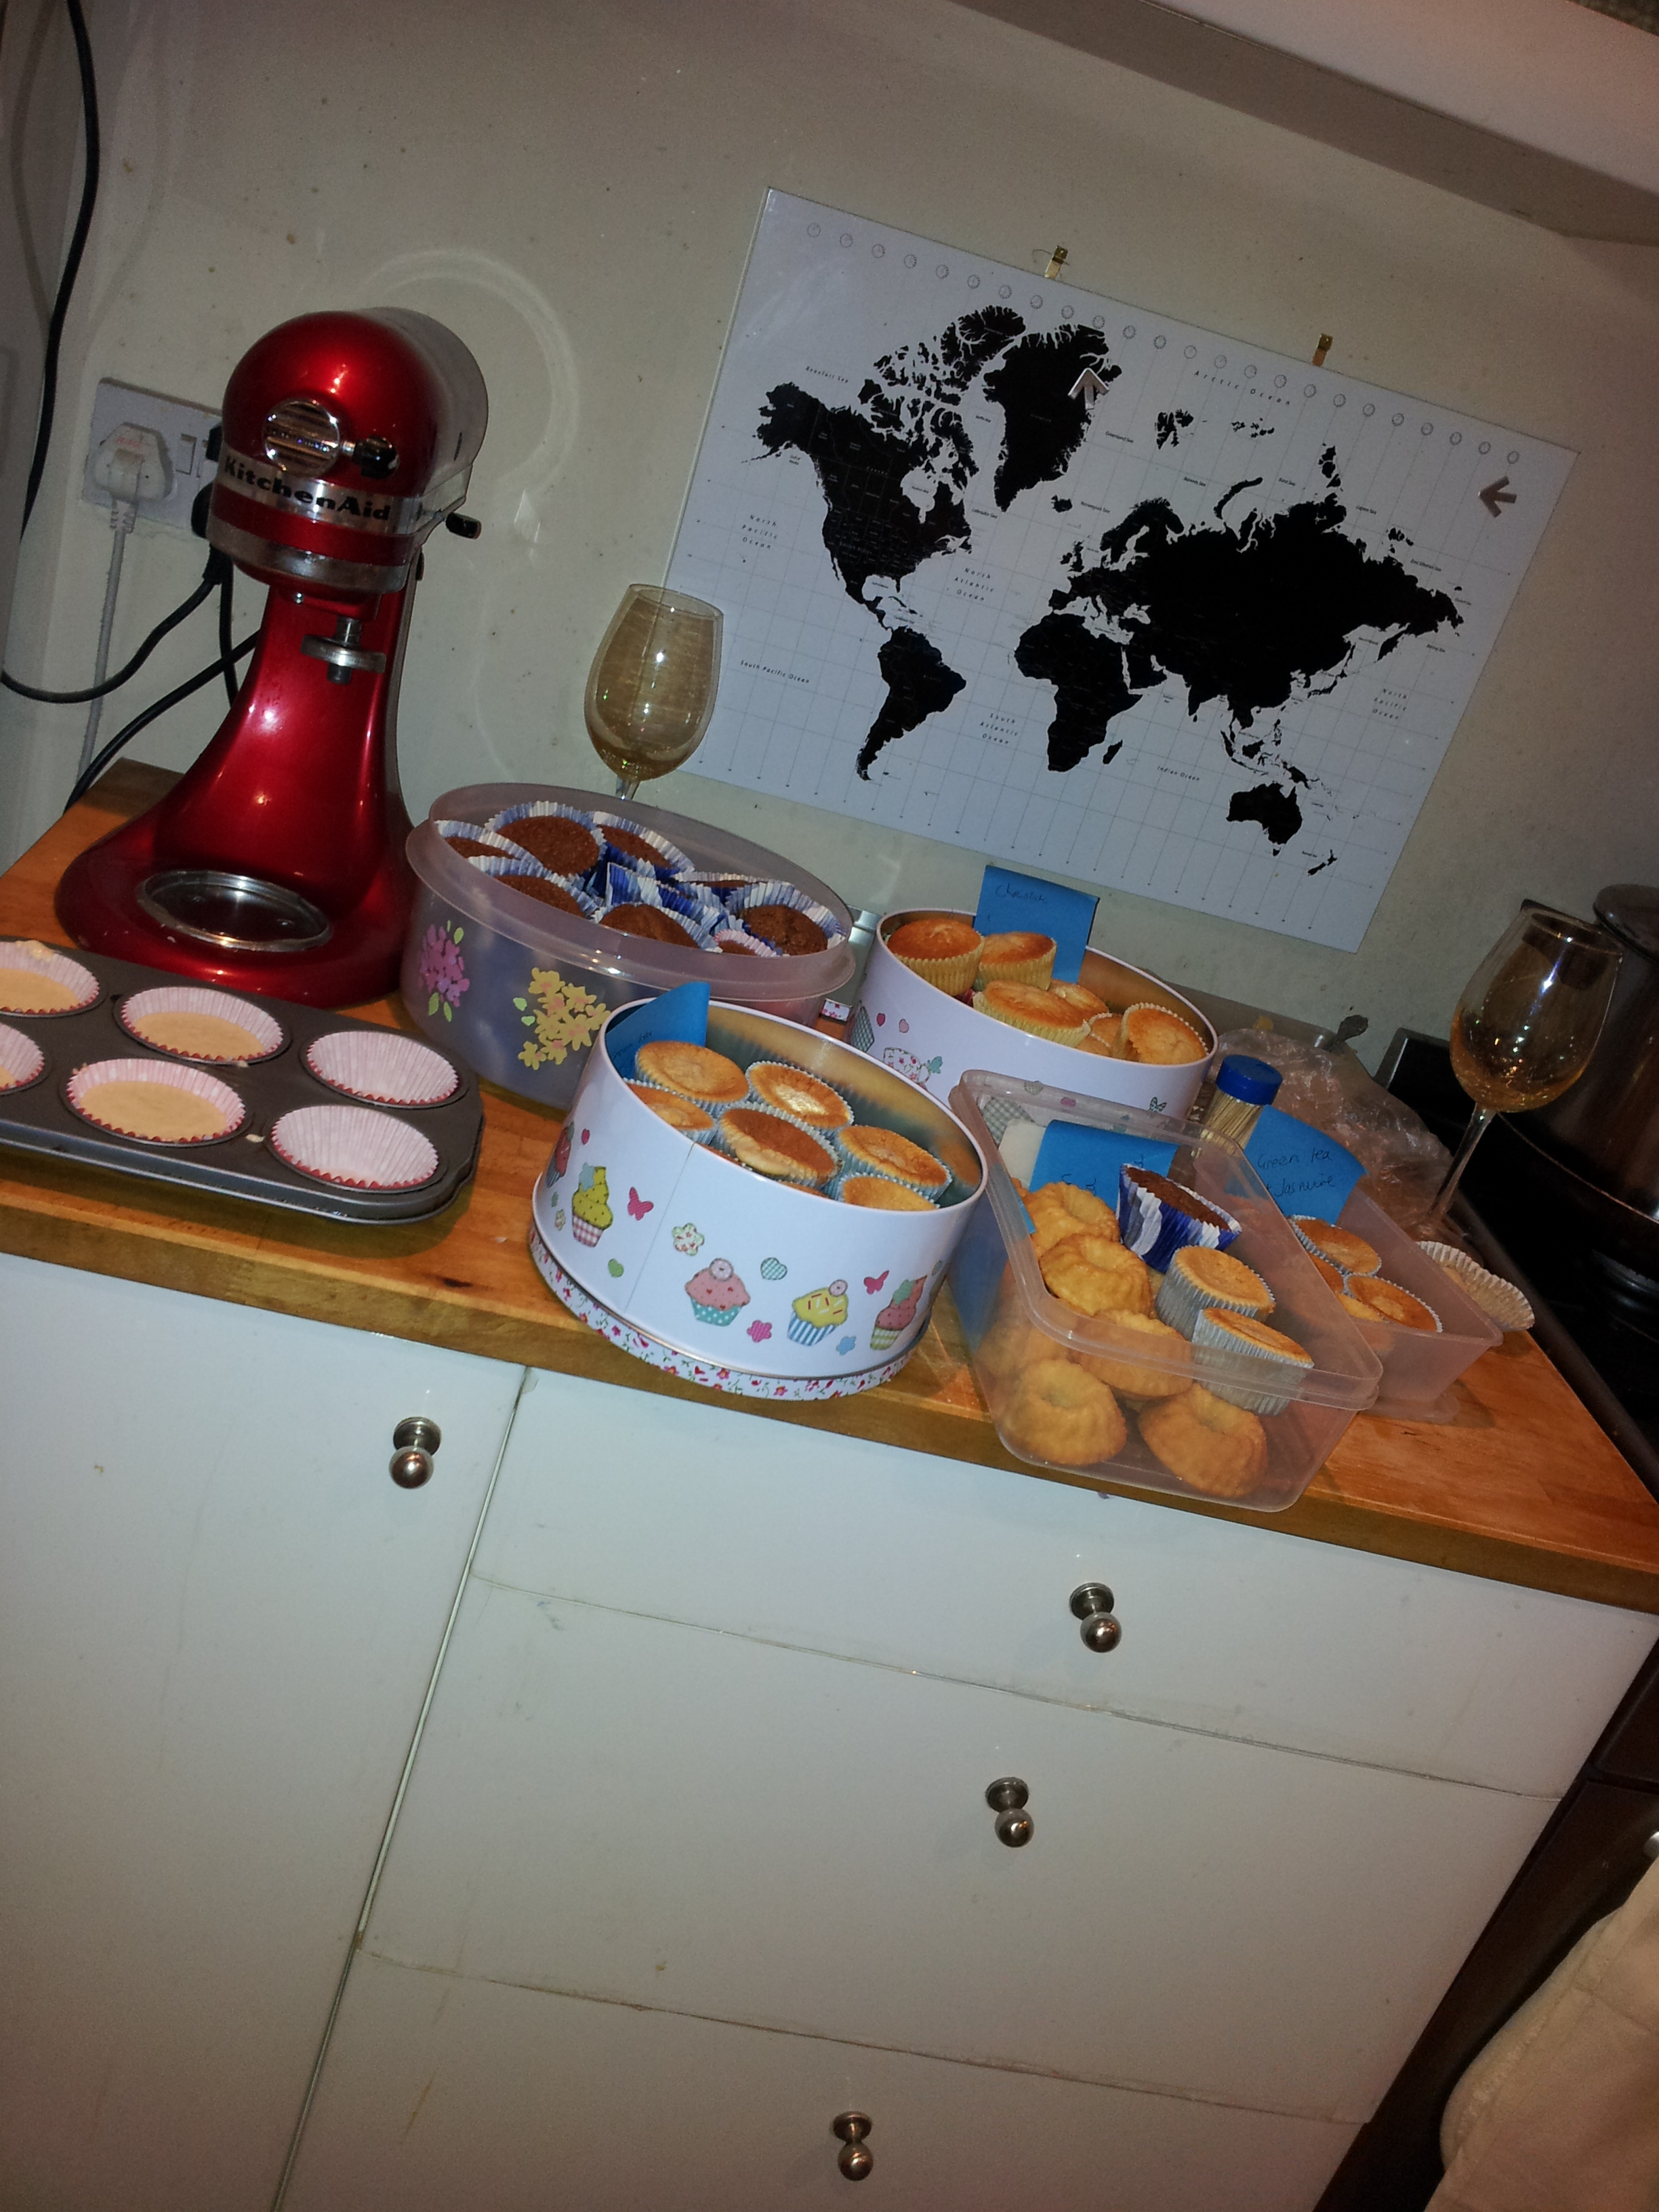
How many cupcakes can 2 girls make in less than 3 hours whilst drinking a bottle of fizz?? There’s still more in the oven…
We baked well over 100 cakes and still made it to the pub afterwards to meet our husbands. I must admit we sampled rather a few along the way so not all of the cakes made it into our freezers to await their icing. It’s hard to resist when you’ve got cupcakes hot out of the oven dancing in front of your eyes.

The beginnings of Pina Colada Bundt cakes from a genuinely German Gugelhupf tin! Soaking in white rum syrup
The following week we defrosted our cupcakes and spent an entire day icing the lot, with lashings of buttercream, glitter and ganache. The results were very well received by our friends and the bar staff! The Jasmine green tea cupcakes were a surprise success after I accidentally emptied the entire bottle of Jasmine Extract into the cupcake batter… They are the most fragrant cupcakes I’ve ever created. Perhaps an acquired taste for some and definitely an excellent air freshener accessory.
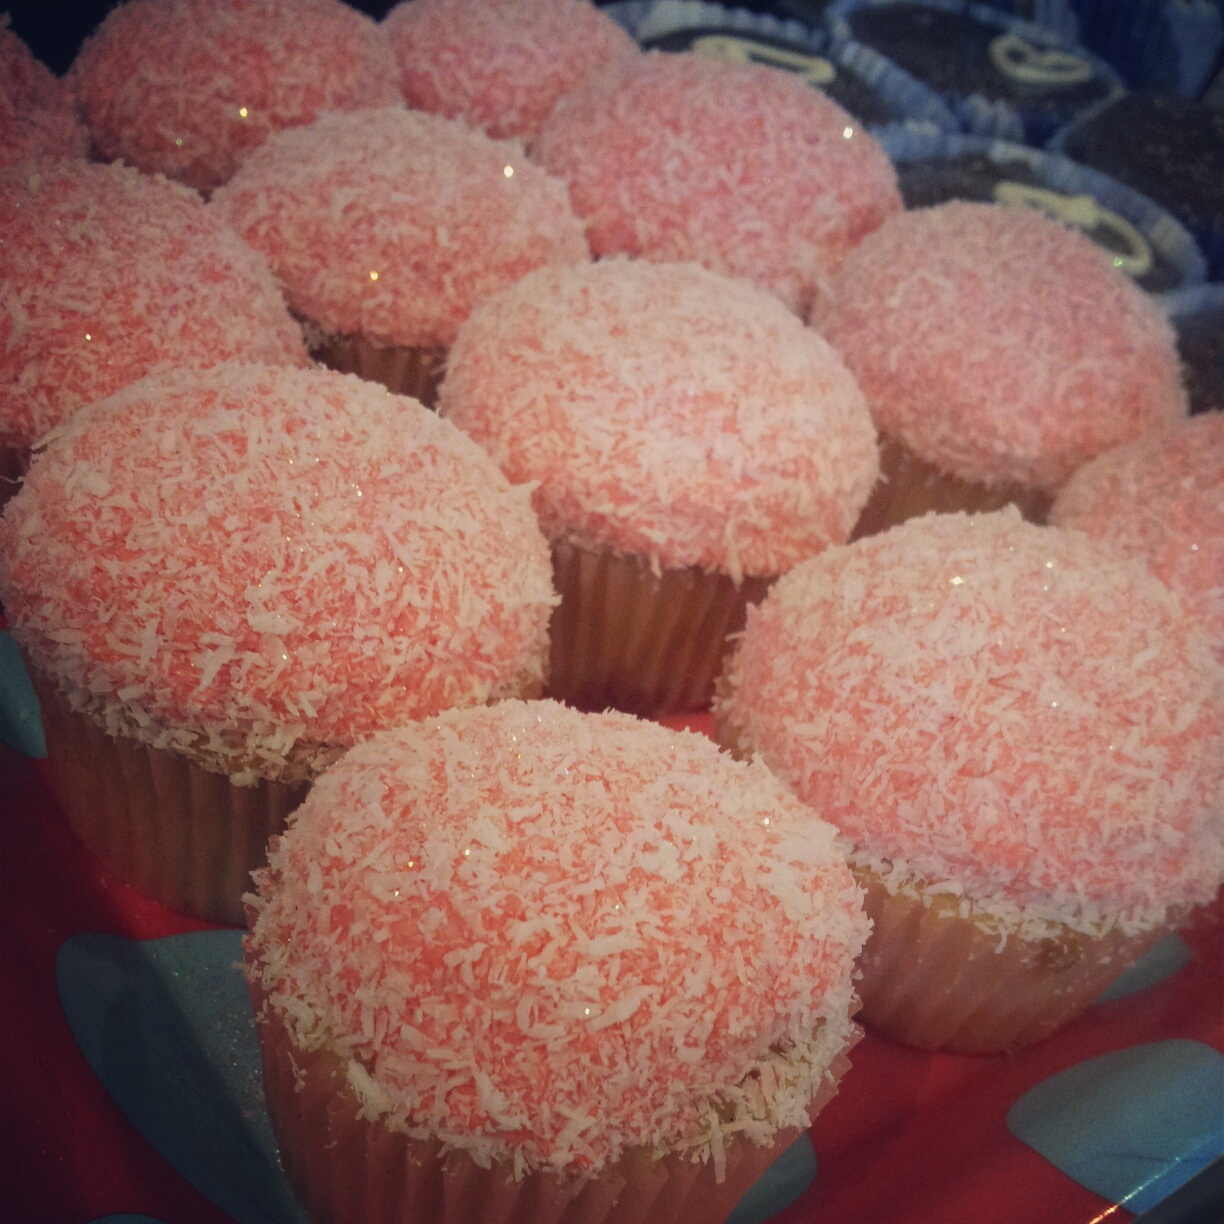
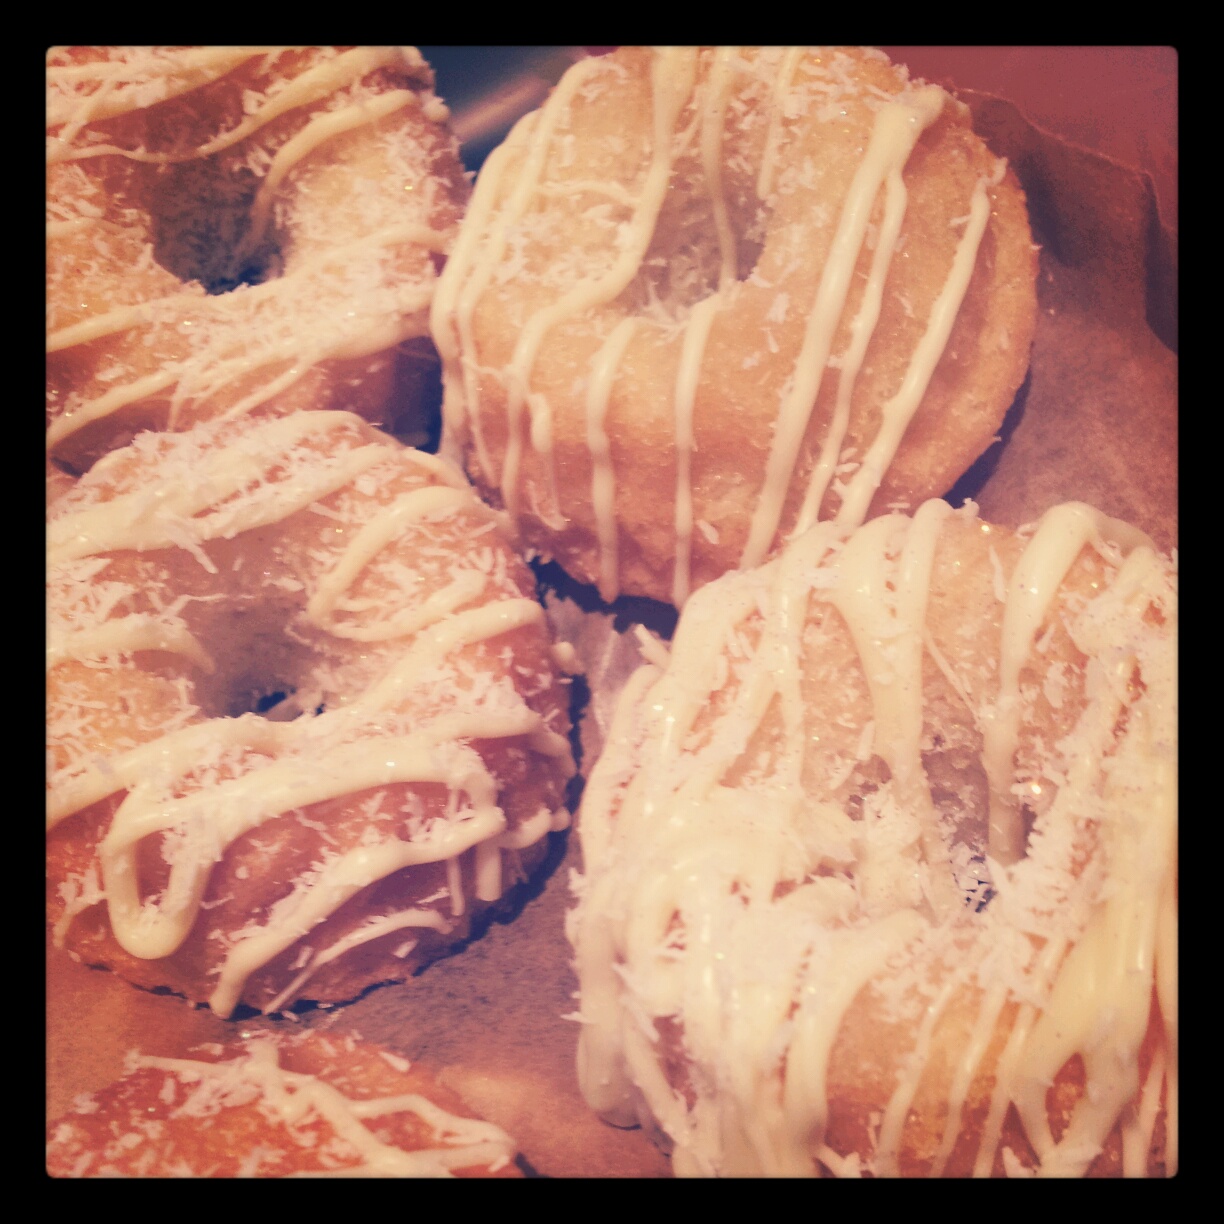
Amaretto and Coconut Snowball cupcakes – my personal favourite. I shall be rolling many more cakes in coconut in the future
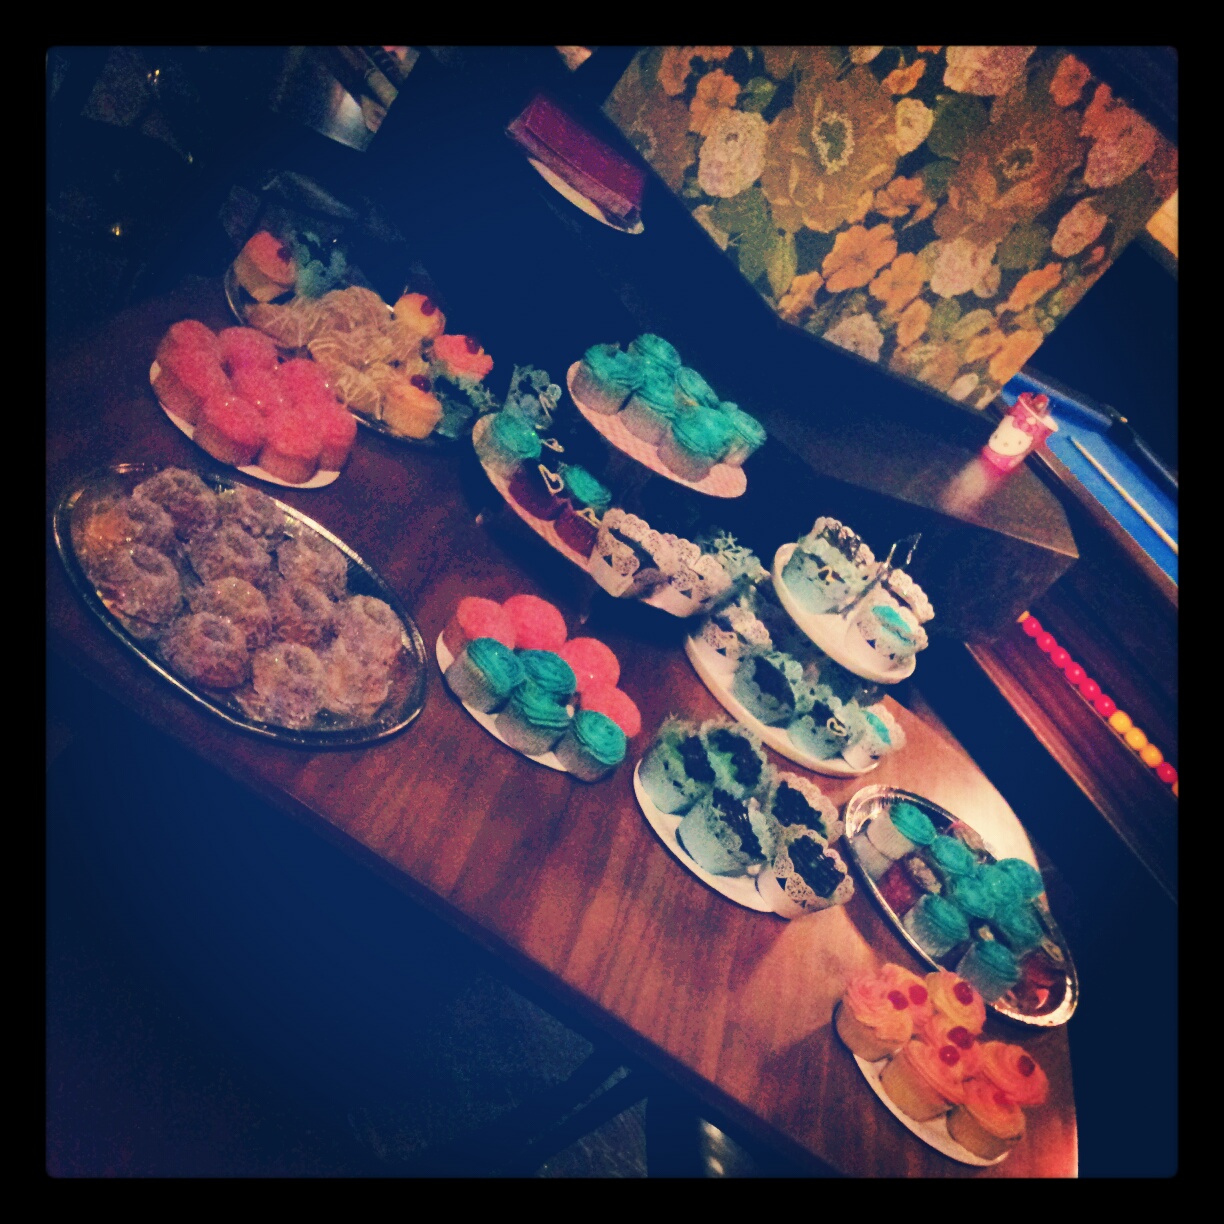
Our 30th birthday party cupcake table! (From left to right; coconut mini bundt cakes, amaretto snowballs cakes, pina colada bundts, jasmine green tea, double chocolate, more jasmine green tea, amaretto sours, and peppermint cream cupcakes,)

Amaretto Sour Swirl Cupcakes
Pina Colada Bundt (Gugelhupf) cakes
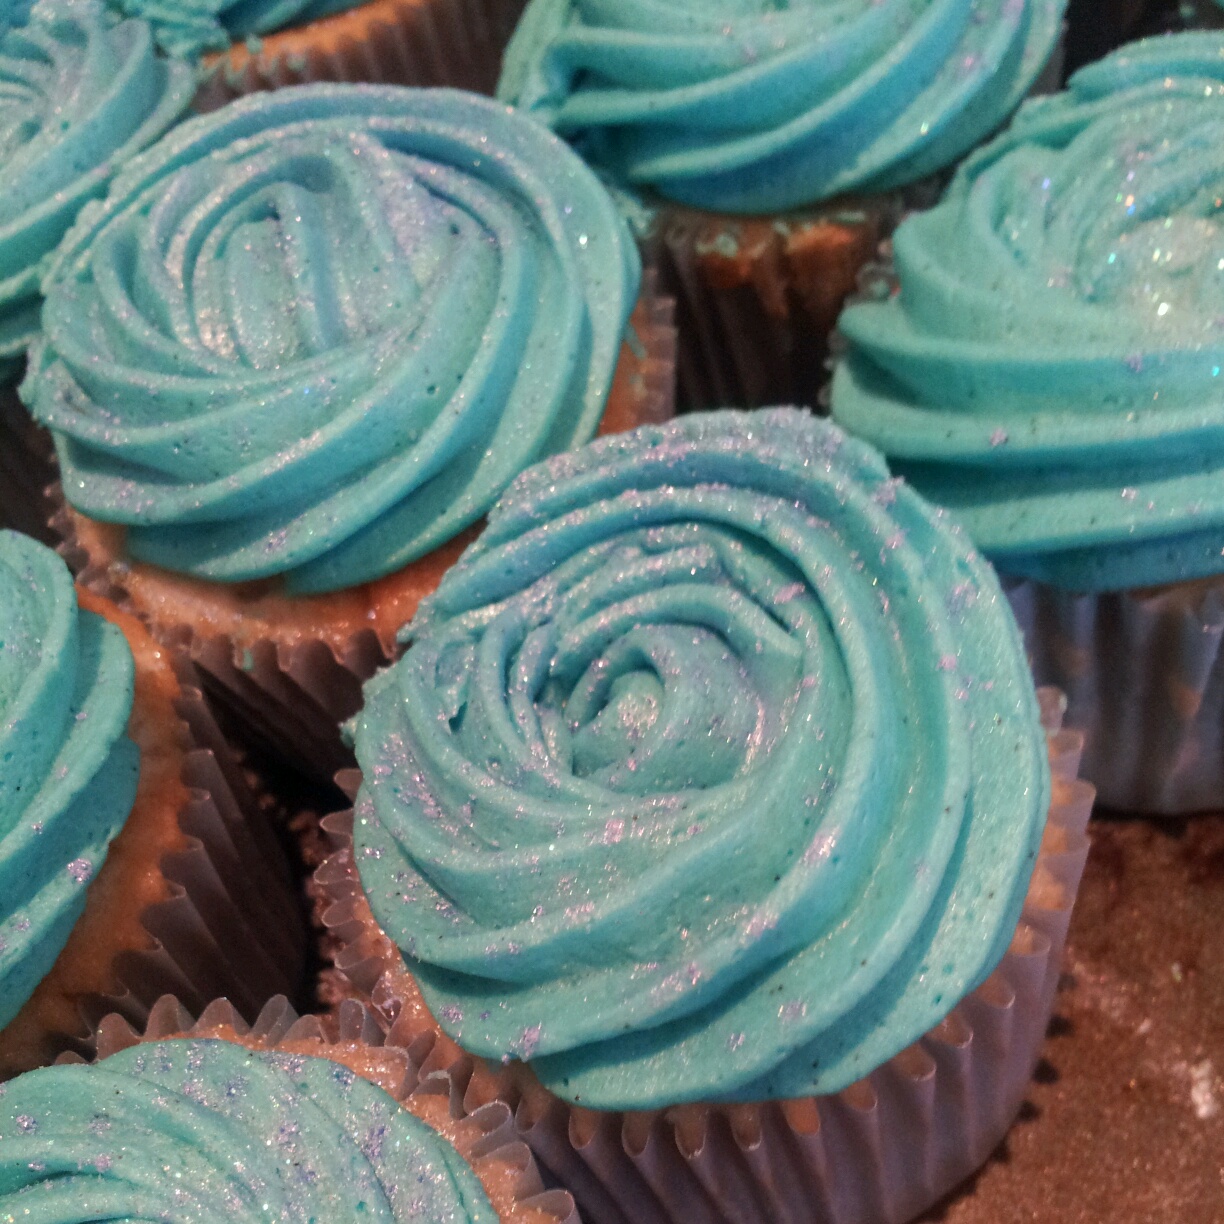
Extremely fragrant Green Tea and Jasmine Vintage Rose Swirl Cupcakes (With obligatory birthday glitter and lustre powder)
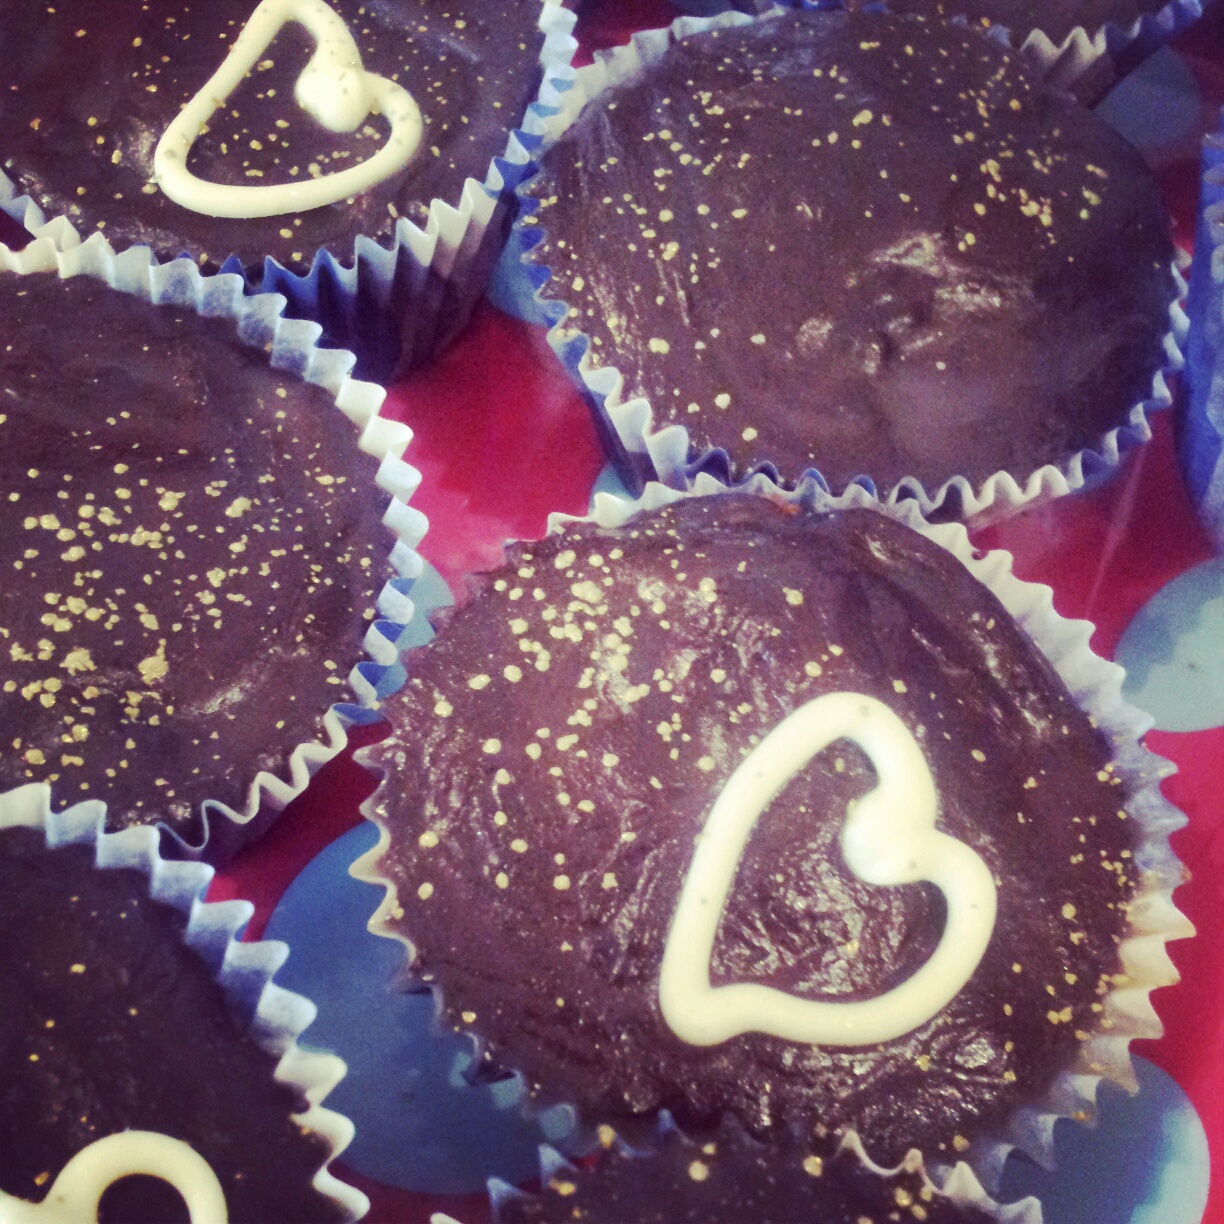
Double chocolate Cupcakes complete with golden lustre, glossy ganache and white chocolate hearts

Chocolate and Peppermint Cream Cupcakes
Happy birthday to us! What a wonderful start to the new decade!
The Creative Cupcake Modification Method
I’m not entirely sure if this is the scientific way to create your own recipes but it seems to work for me. My basic understanding of creative baking is to find a recipe that works for you then add and subtract from it. Experiment to the extreme! My general guidelines are
- Don’t alter the specified oven temperature (unless you have to because you’re using a fan/non fan oven) cupcakes bake at around 170-180 degrees Celsius and should take about 20 minutes depending on the size of your cases
- Maintain the combination of wet to dry ingredients
- Use whatever is in your cupboards
- Feel free to double the quantities if you need to bake lots but be prepared to bake them in stages
- Naked cupcakes freeze really well and can keep for a month. Freeze them as soon as they’re cooled in freezer bags/Tupperware and this holds all of the moisture in sponge. Leaving you with a wonderfully moist cupcake when you choose to ice it later on.
- You normally need more buttercream than you think so again feel free to make a double batch!
- The more you beat buttercream the better it is.
- Feel free to experiment with shapes if you have a Madeleine tin, Gugelhupf or mini bunt tin they work really well too
- A squiggle of melted chocolate works wonders if you can’t be bothed to whip up buttercream to top your cakes and a sprinkle of coconut and glitter hides a multitude of sins
The Basic Cupcake Recipe
Makes 12-16 cupcakes (using cupcake not muffin sized cases)
For the sponge:
Rub together (using an electric whisk if you have one) the sugar, butter, flour salt and baking powder. When it all looks quite sandy beat in the wet ingredients including your choice of flavouring!
Then pour the smooth liquid batter into prepared cupcake cases in a muffin tin.
Bake for 20-25 minutes in the centre of the oven at 170 degrees celsius until golden brown and springs back when pressed. To be extra certain they’re cooked insert a cocktail stick and if it comes out clean it’s definitely done.
The Basic Cupcake Sponge Ingredients
- 120g (4½oz) plain flour
- 140g (5oz/) caster sugar
- 1½ tsp baking powder
- A pinch of salt
- 40g (1½oz) unsalted butter, at room temperature
- 120ml (4½floz) milk
- 1/4 tsp vanilla extract
- 1 egg
Cupcake Roulette!
Choose from an array of flavour combinations such as
Green Tea
- 3 Jasmine Green Tea bags steeped in 3tbsp just-boiled water (reduce the amount of milk by 3
- Replace 30 ml of milk with jasmine extract
Vanilla
- 1 vanilla pod
- Replace caster sugar with vanilla flavoured sugar (if you have pre-prepared some but if not don’t worry!)
- 1 tsp vanilla extract
Amaretto
- Replace 40ml of milk with amaretto
- You can also add almond extract for extra oomph
Amaretto Sour
- Replace 40ml of milk with amaretto
- Add 1 tsp lemon extract
- Add zest of one lemon
Coconut
- Replace 25g of flour with desiccated coconut
- Use coconut milk instead of normal milk
Chocolate
- Replace 20g of flour with cocoa powder
Lavender
- Steep the milk in 1 tbs of dried lavender flowers overnight
- Infuse the sugar with 2tbs of dried lavender flowers for a week
- Sieve the lavender petals out of the sugar and milk before use
- Blitz 1 tsp of lavender into the sugar before use
Rose
- same as lavender but using dried rose petals
- Replace 1 tbs of milk with rose water
Piña Colada
- Replace 40ml of milk with Malibu
- Replace 25 g of flour with desiccated coconut
- Use coconut milk instead of milk
- (soak cupcakes in rum syrup whilst still warm)
Chocolate Brandy
- Replace 40ml of milk with brandy
- Replace 20g flour with cocoa powder
Orange
- Use orange extract instead of vanilla
- Add orange zest
The possibilities are endless! Create your own flavour combinations!!
You could choose your own favourite liquor, (Gin?) cordial (sasparilla, blackcurrant), extract (Orange Blossom, violet), and just follow this idea. I’m very tempted to create some Brandy Alexander cocktail cupcakes very soon…
Then to choose your topping to enhance your flavour combination even further…
The Basic Buttercream Recipe
Depending on your style of icing you may want to double the quantities of buttercream. Piping swirls and roses uses a lot more icing than creating a palette knife swirl.
- 25 ml milk
- 250g icing sugar
- 80g unsalted butter, softened
Icing Flavour Options
Vanilla
- 1 tsp vanilla extract
Amaretto Sour
- Replace 25 ml milk with amaretto
- 1 tsp lemon extract
- Zest of 1 lemon
Coconut
- use coconut milk
Peppermint
- Use 1 tsp peppermint extract
The General Buttercream Guidelines
You can see here the rules are simple. Add whatever flavour extracts you like. Substitute milk for liquid or boozy flavourings. Zests are good to add as they are dry so won’t effect the consistency of the buttercream. If your icing is looking a bit sloppy beat in some more icing sugar and return it to the fridge to set a bit if it’s too runny.
Use a piping bag and star shaped nozzle to pipe swirls, Mr Whippy peaks, stars or roses onto your cupcakes. Or use a palette knife to smooth a swirl of buttercream onto your cakes.
Syrup
If you would like extra moist cakes you can add a syrup to the sponge whilst it’s still warm.
Tropical White Rum Syrup
- 200ml white rum
- 60g sugar
Warm the sugar and rum in a pan over a low heat. Simmer it until it’s reduced by half in volume. Once cooled pour over your cakes. Allow it to soak in before icing your cakes. Feel free to use other flavours too! Lemon juice, rose water, cordial etc make a really good syrup!
Colourings
Using a cocktail stick add a couple of drops of your food colour gel of choice and beat until its fully incorporated. You can always add more if needed.
If you want to swirl 2 colours together, split your buttercream in half. Colour each half whatever you fancy. Pipe one colour buttercream down one side of a piping bag and then pipe the different colour down the other side of the bag. You will then get a lovely swirl of colours on you cupcakes when piping the two colours simultaneously from the same bag!
Chocolate Ganache
- Heat up 300ml of double cream to just about boiling
- Take it off the heat
- Smash up equal amount of dark plain chocolate 300g
- Stir the chocolate into the hot cream until completely smooth
- Spoon a generous blob onto cupcakes and let gravity do the work to create a smooth level shiny ganache top
You could use white chocolate if you add more white chocolate to the mix as it contains less cocoa solids so it won’t set until there’s more chocolate than cream in the mixture.
- 150ml double cream
- 250ml white chocolate
Decoration
Arm yourself with a selection of…
- Sprinkles
- Glitter
- Desiccated coconut
- Chocolate shavings
- Hand made chocolate swirls (melt chocolate squiggle it onto some grease proof paper allow it to cool and hey presto fancy looking chocolate bits)
- Lustre powders
- Popping candy
- Pearls
- Cupcake wrappers (if you have some)
And go wild!
Cupcake Combinations That Work Well
- Chocolate sponge and peppermint buttercream
- Jasmine green tea sponge and vanilla buttercream
- Chocolate sponge and chocolate ganache
- Amaretto sour sponge and amaretto sour buttercream
- Piña colada sponge and coconut buttercream
- Amaretto sponge and coconut buttercream


")

")


")


 the disaster disappears! Magic!")

