

Armenian Orange and Almond Cake
This Armenian Orange and Almond cake almost screams health (in a rather pretty way). It contains 2 whole oranges! (yes that’s right the pith and peel and everything), no butter, a relatively small amount of sugar and a whole bunch of almonds. Of course almonds are full of minerals and vitamins (vitamin E and Bs) and healthy fats that you need to live a lovely life, so surely this is a cake that you should be eating as part of you balanced healthy lifestyle! Oh and I did I mention it’s also gluten free? No flour required so even better for those with gluten intolerances/allergies too.

A very moist slice of Armenian Orange and Almond Cake
We’re flying into the final 28 bakes of my aroundtheworldin80bakes adventure now and what a cake to take us up to bake 52. This recipe was very kindly given to me by a fantastic lady that I work with who is from Armenia. I asked if she had any traditional cake recipes that I could try as it’s another country that I’m still yet to visit and she produced this from her repertoire.

I Heart Cake. Do you? You could win a lovely cake mould if so!
I lovingly recreated the handwritten recipe in my kitchen using a pretty heart shaped mould that Mustard Gifts sent me to try. Thank you very much! I love my heart shaped cake mould. Next on my list of things to try is a heart shaped jelly. Not only does it look pretty whole (part of me wanted to decorate it like a flower!) but when you cut yourself a nice wedge it comes out as a perfect heart shape. The cake will make 6 heart shaped slices or 12 finger shaped sliced (depends on how much you love your friends and family as to how big a slice you’d like to give them…) You could also win one of these gorgeous cake moulds worth £15! (Competition has now closed.)

My orangey bakey heart
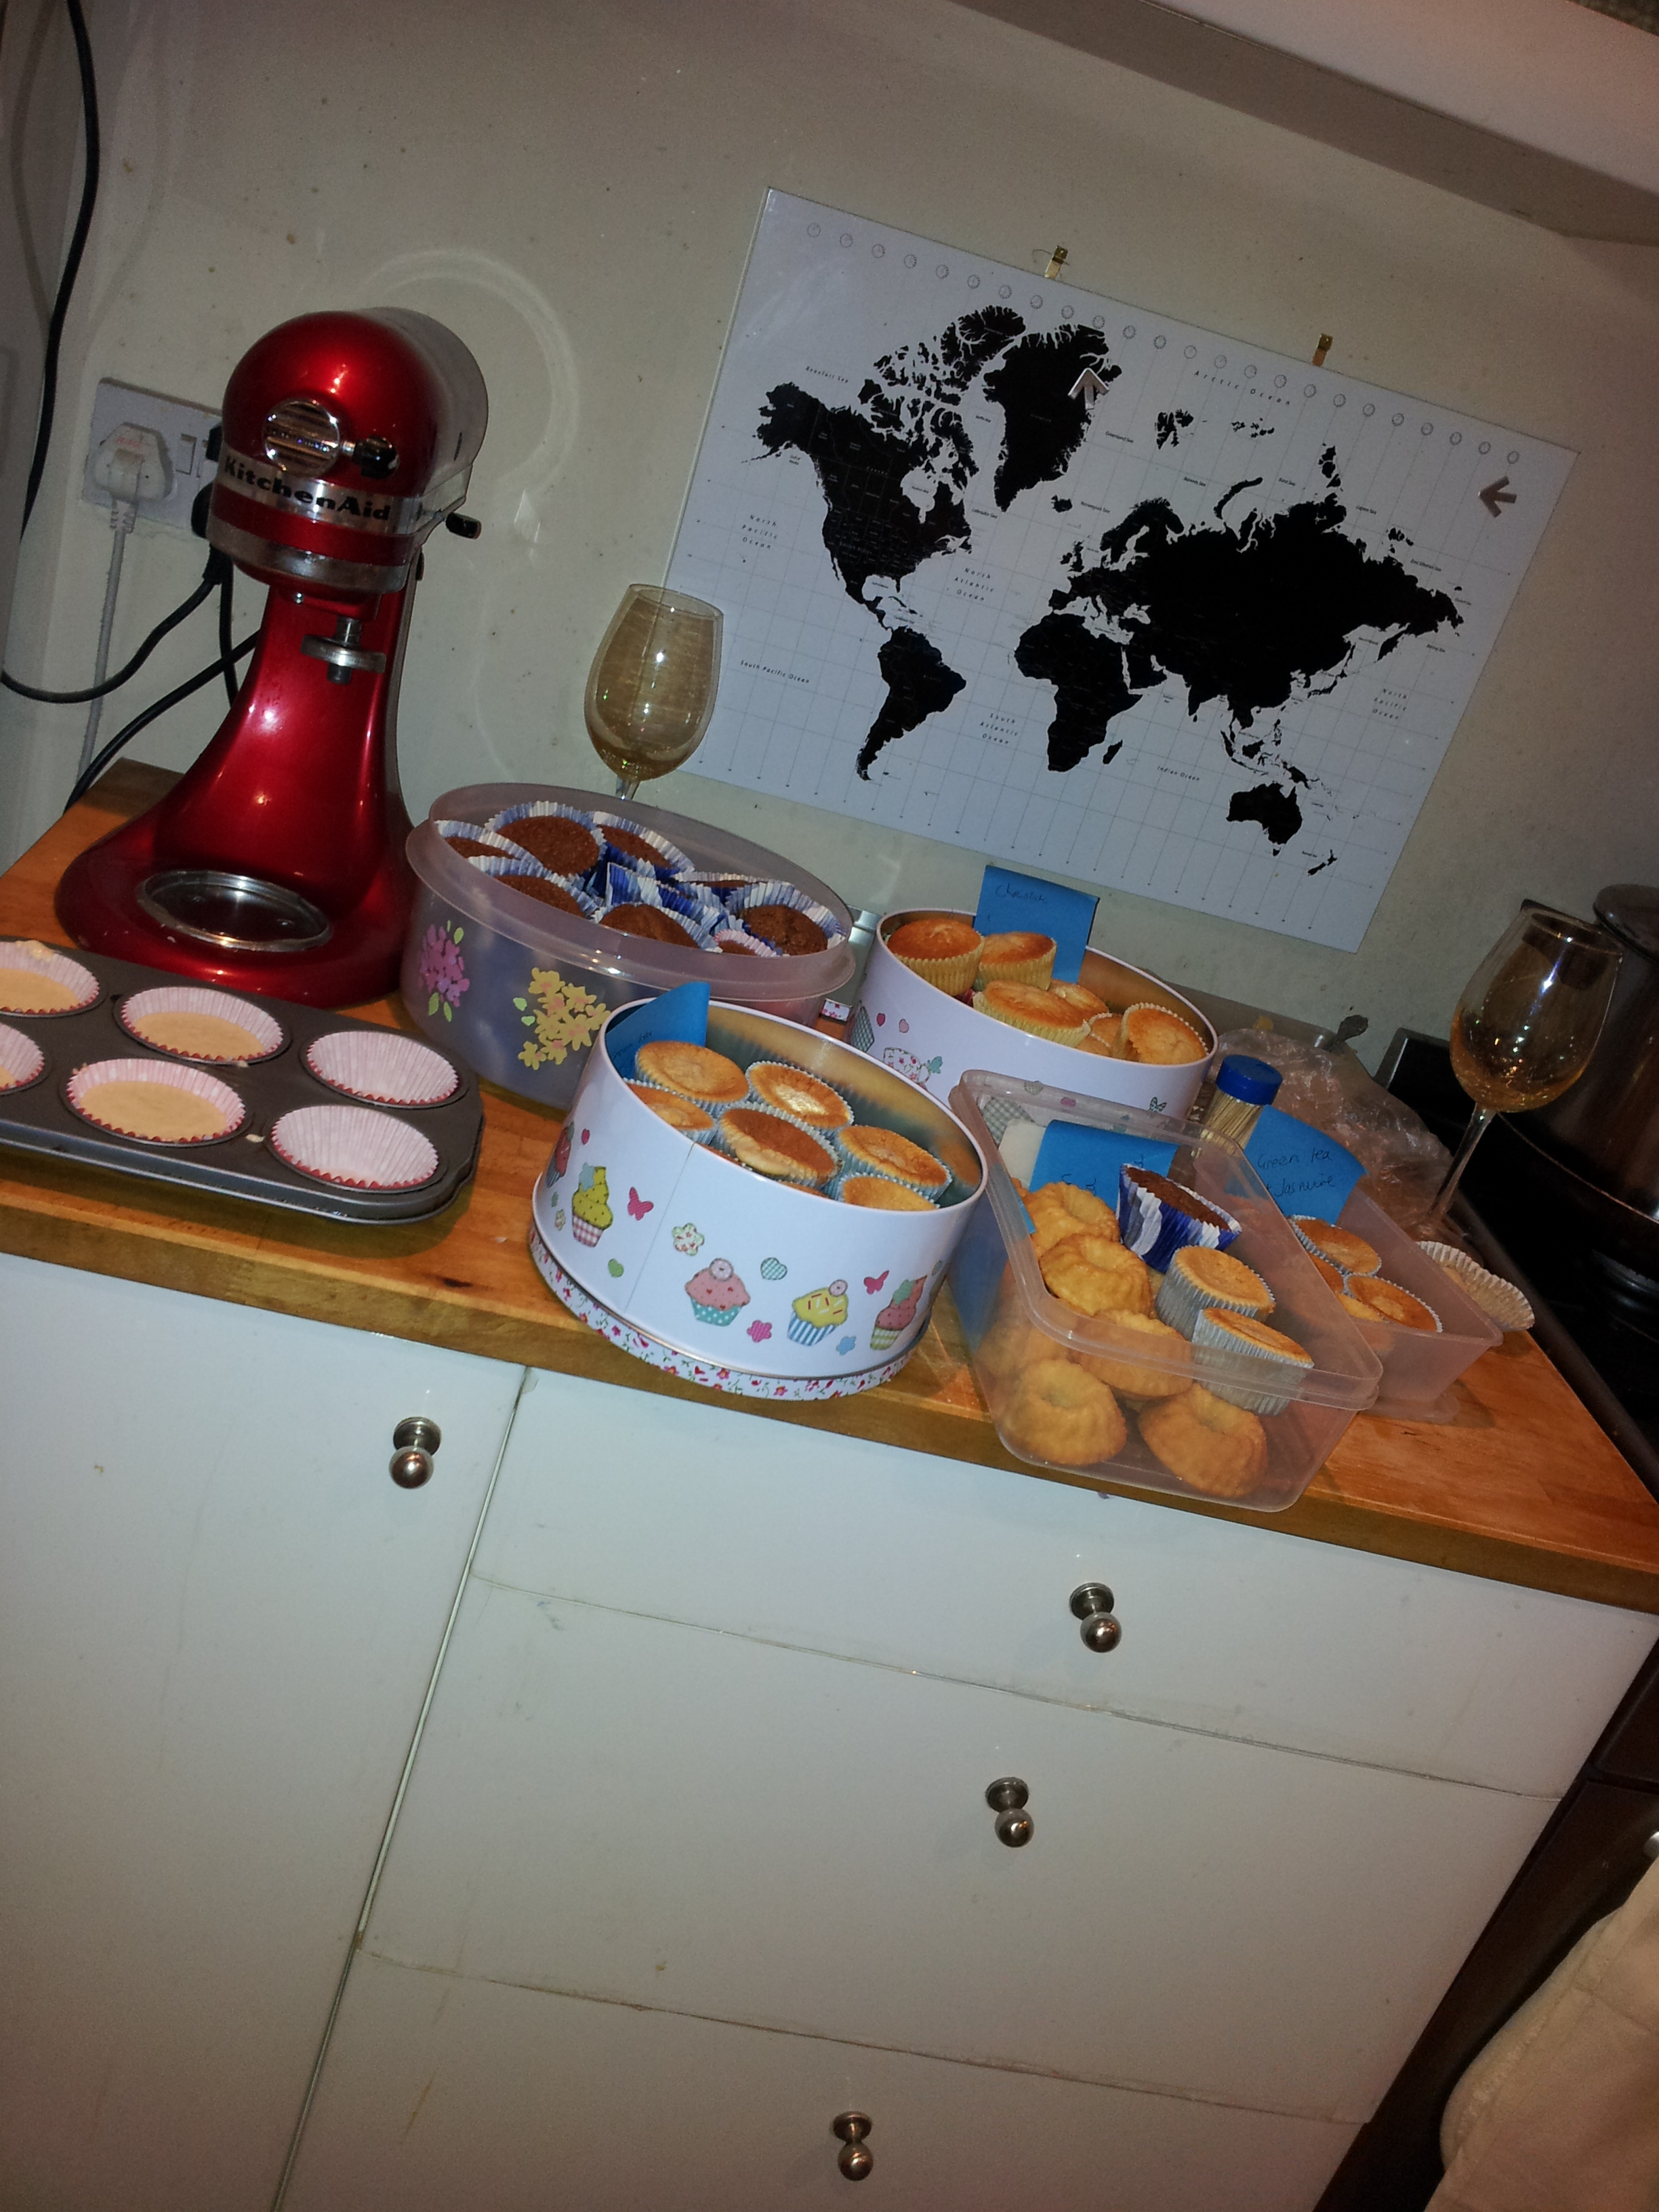
I knew I had to bake this cake to take along with me to the Clandestine Cake Club gathering this week, at the Knit Studio at Blackfriars. Our theme this week was history. I thought the Armenian Orange Cake would be a great recipe for me to use, full of Armenian tradition and handed down to my friend through her family. It did not disappoint. I managed to work my through the entire cake collection sampling a wonderful array of cakes along the way. I love Cake Club!

A fine selection of cakes at our History themed Clandestine Cake Club Newcastle, at the Knit Studio, Blackfriars
One of my favourite things about this cake is that it’s really quick to make. Boiling the whole oranges is the most time consuming part of this entire cake. They need to be boiled for 2 hours, covered in water and with a lid on the pan to help retain the heat. I boiled my oranges the day before so I was extra prepared.

Boil 2 whole oranges for 2 hours. Simple
Once the oranges have reached boiling point allow them to simmer on a low heat for the full 2 hours. The oranges smell amazing, and it floats around the house carried by the steam from the pan. Leave them to cool (so you don’t burn yourself) and then blend them up to a pulp.

Soft boiled oranges
They’re so soft and tender they pretty much fall apart in your hands. I used a stick blender to blitz mine into a thick smooth orange paste. You could also use a food processor.

Blitz the boiled oranges to a smooth paste
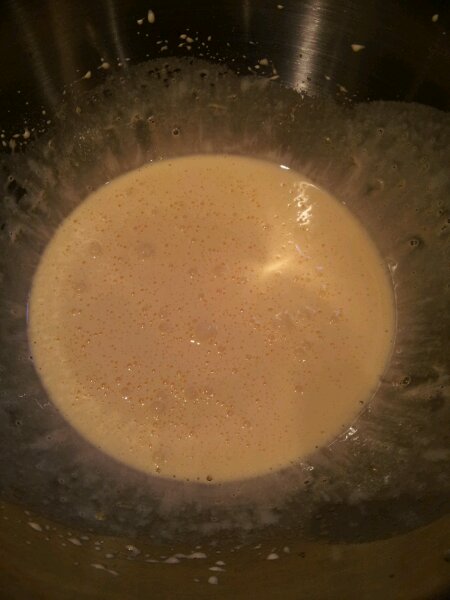
Next thing is to basically whisk all of the eggs together with the sugar until frothy and a little air is incorporated. Then whisk in the ground almonds and baking powder. Then whisk in the orange paste. No fuss, just whisk the entire thing in one bowl. Even better there’s not a lot of washing up involved in this cake!

Whisking up all the eggs and sugar
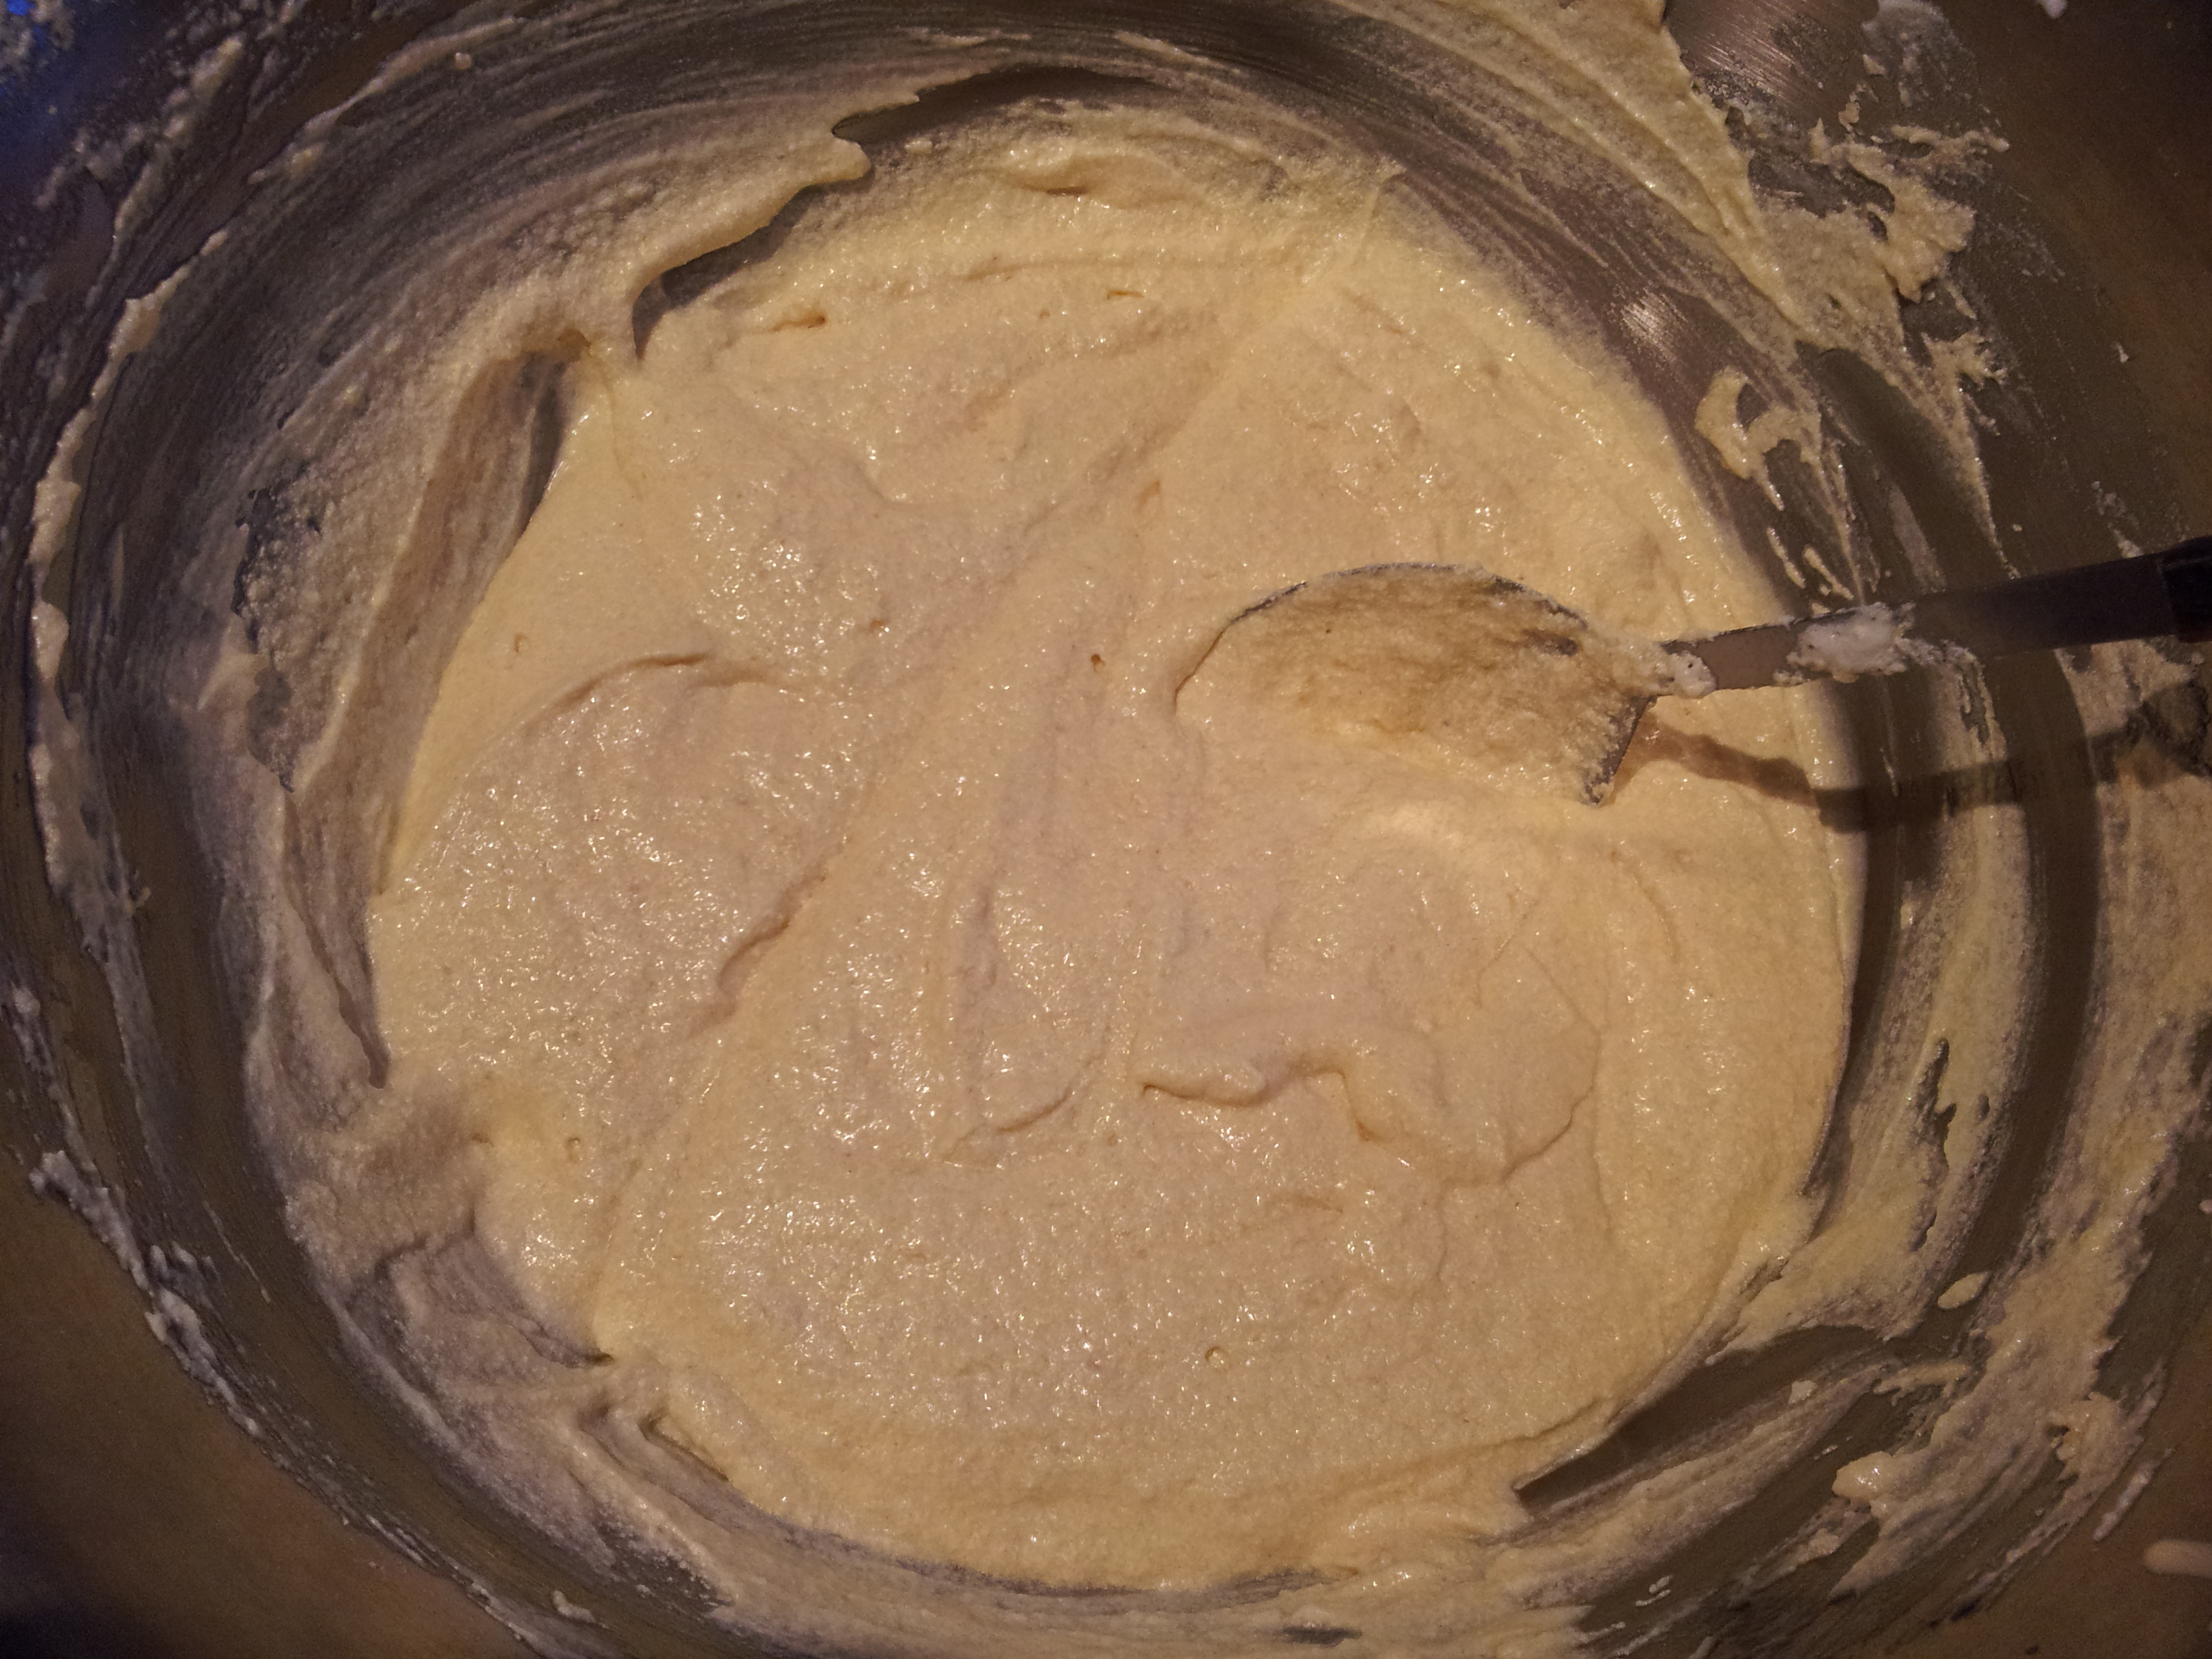
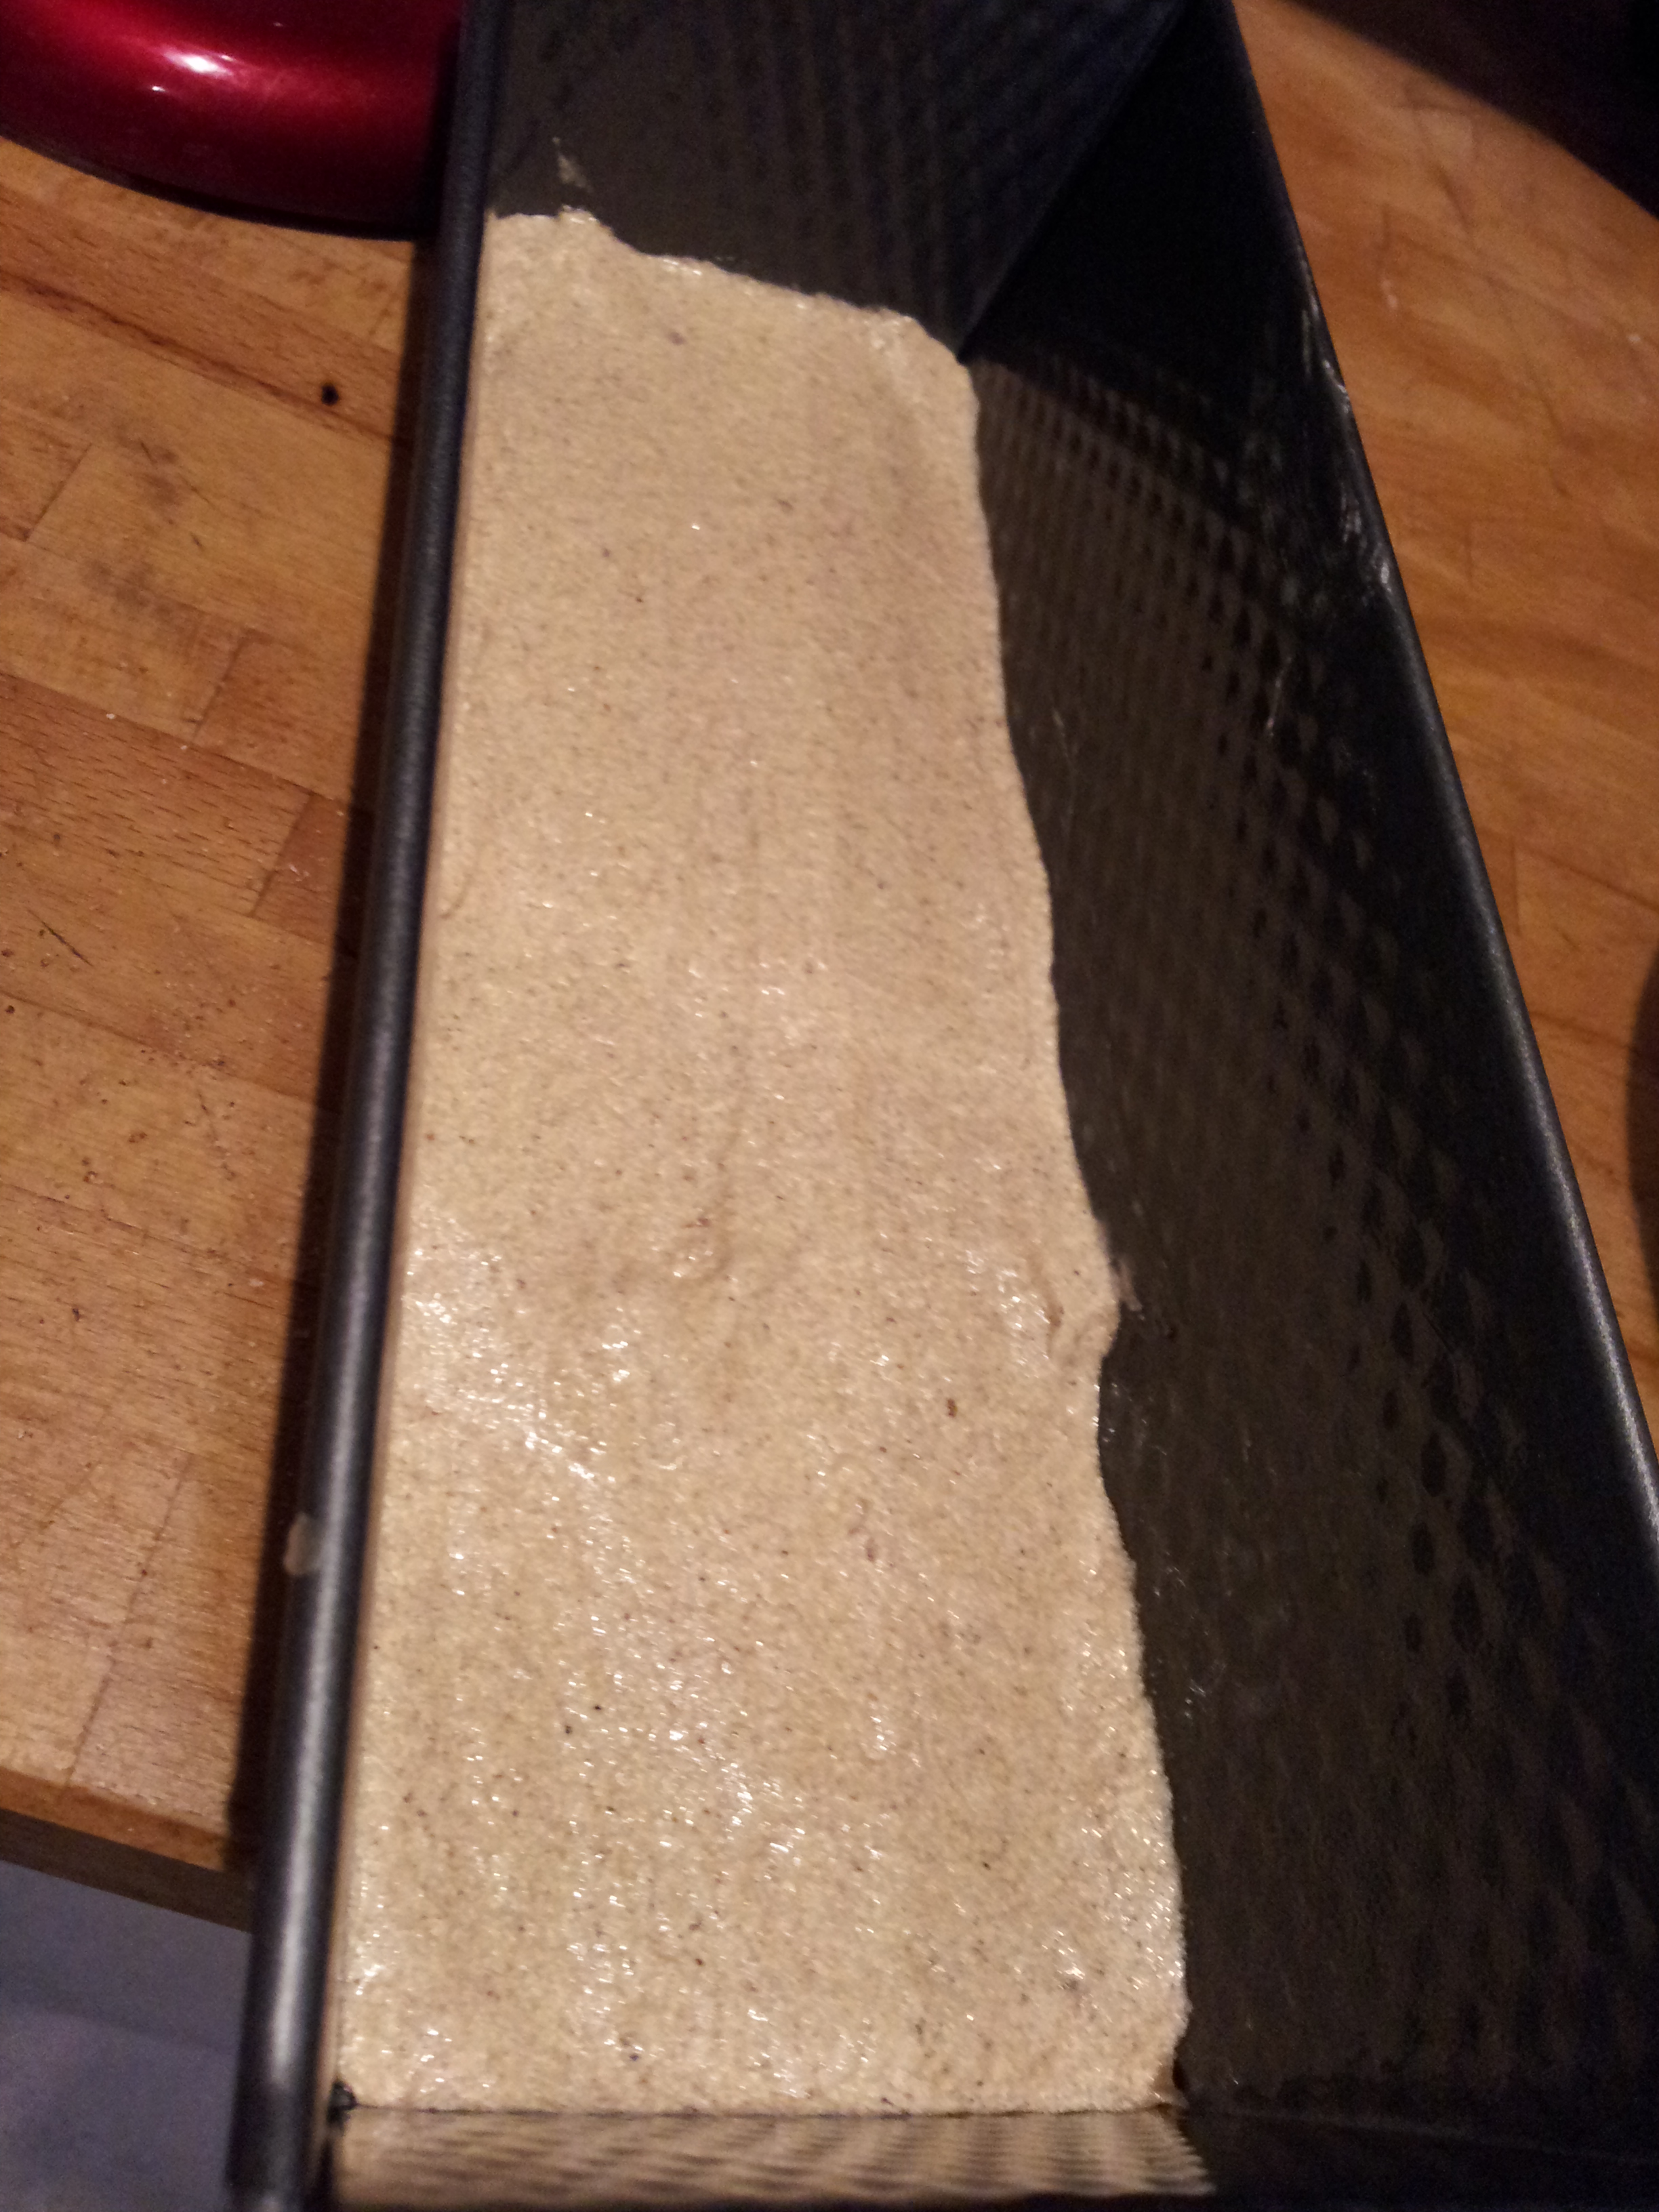
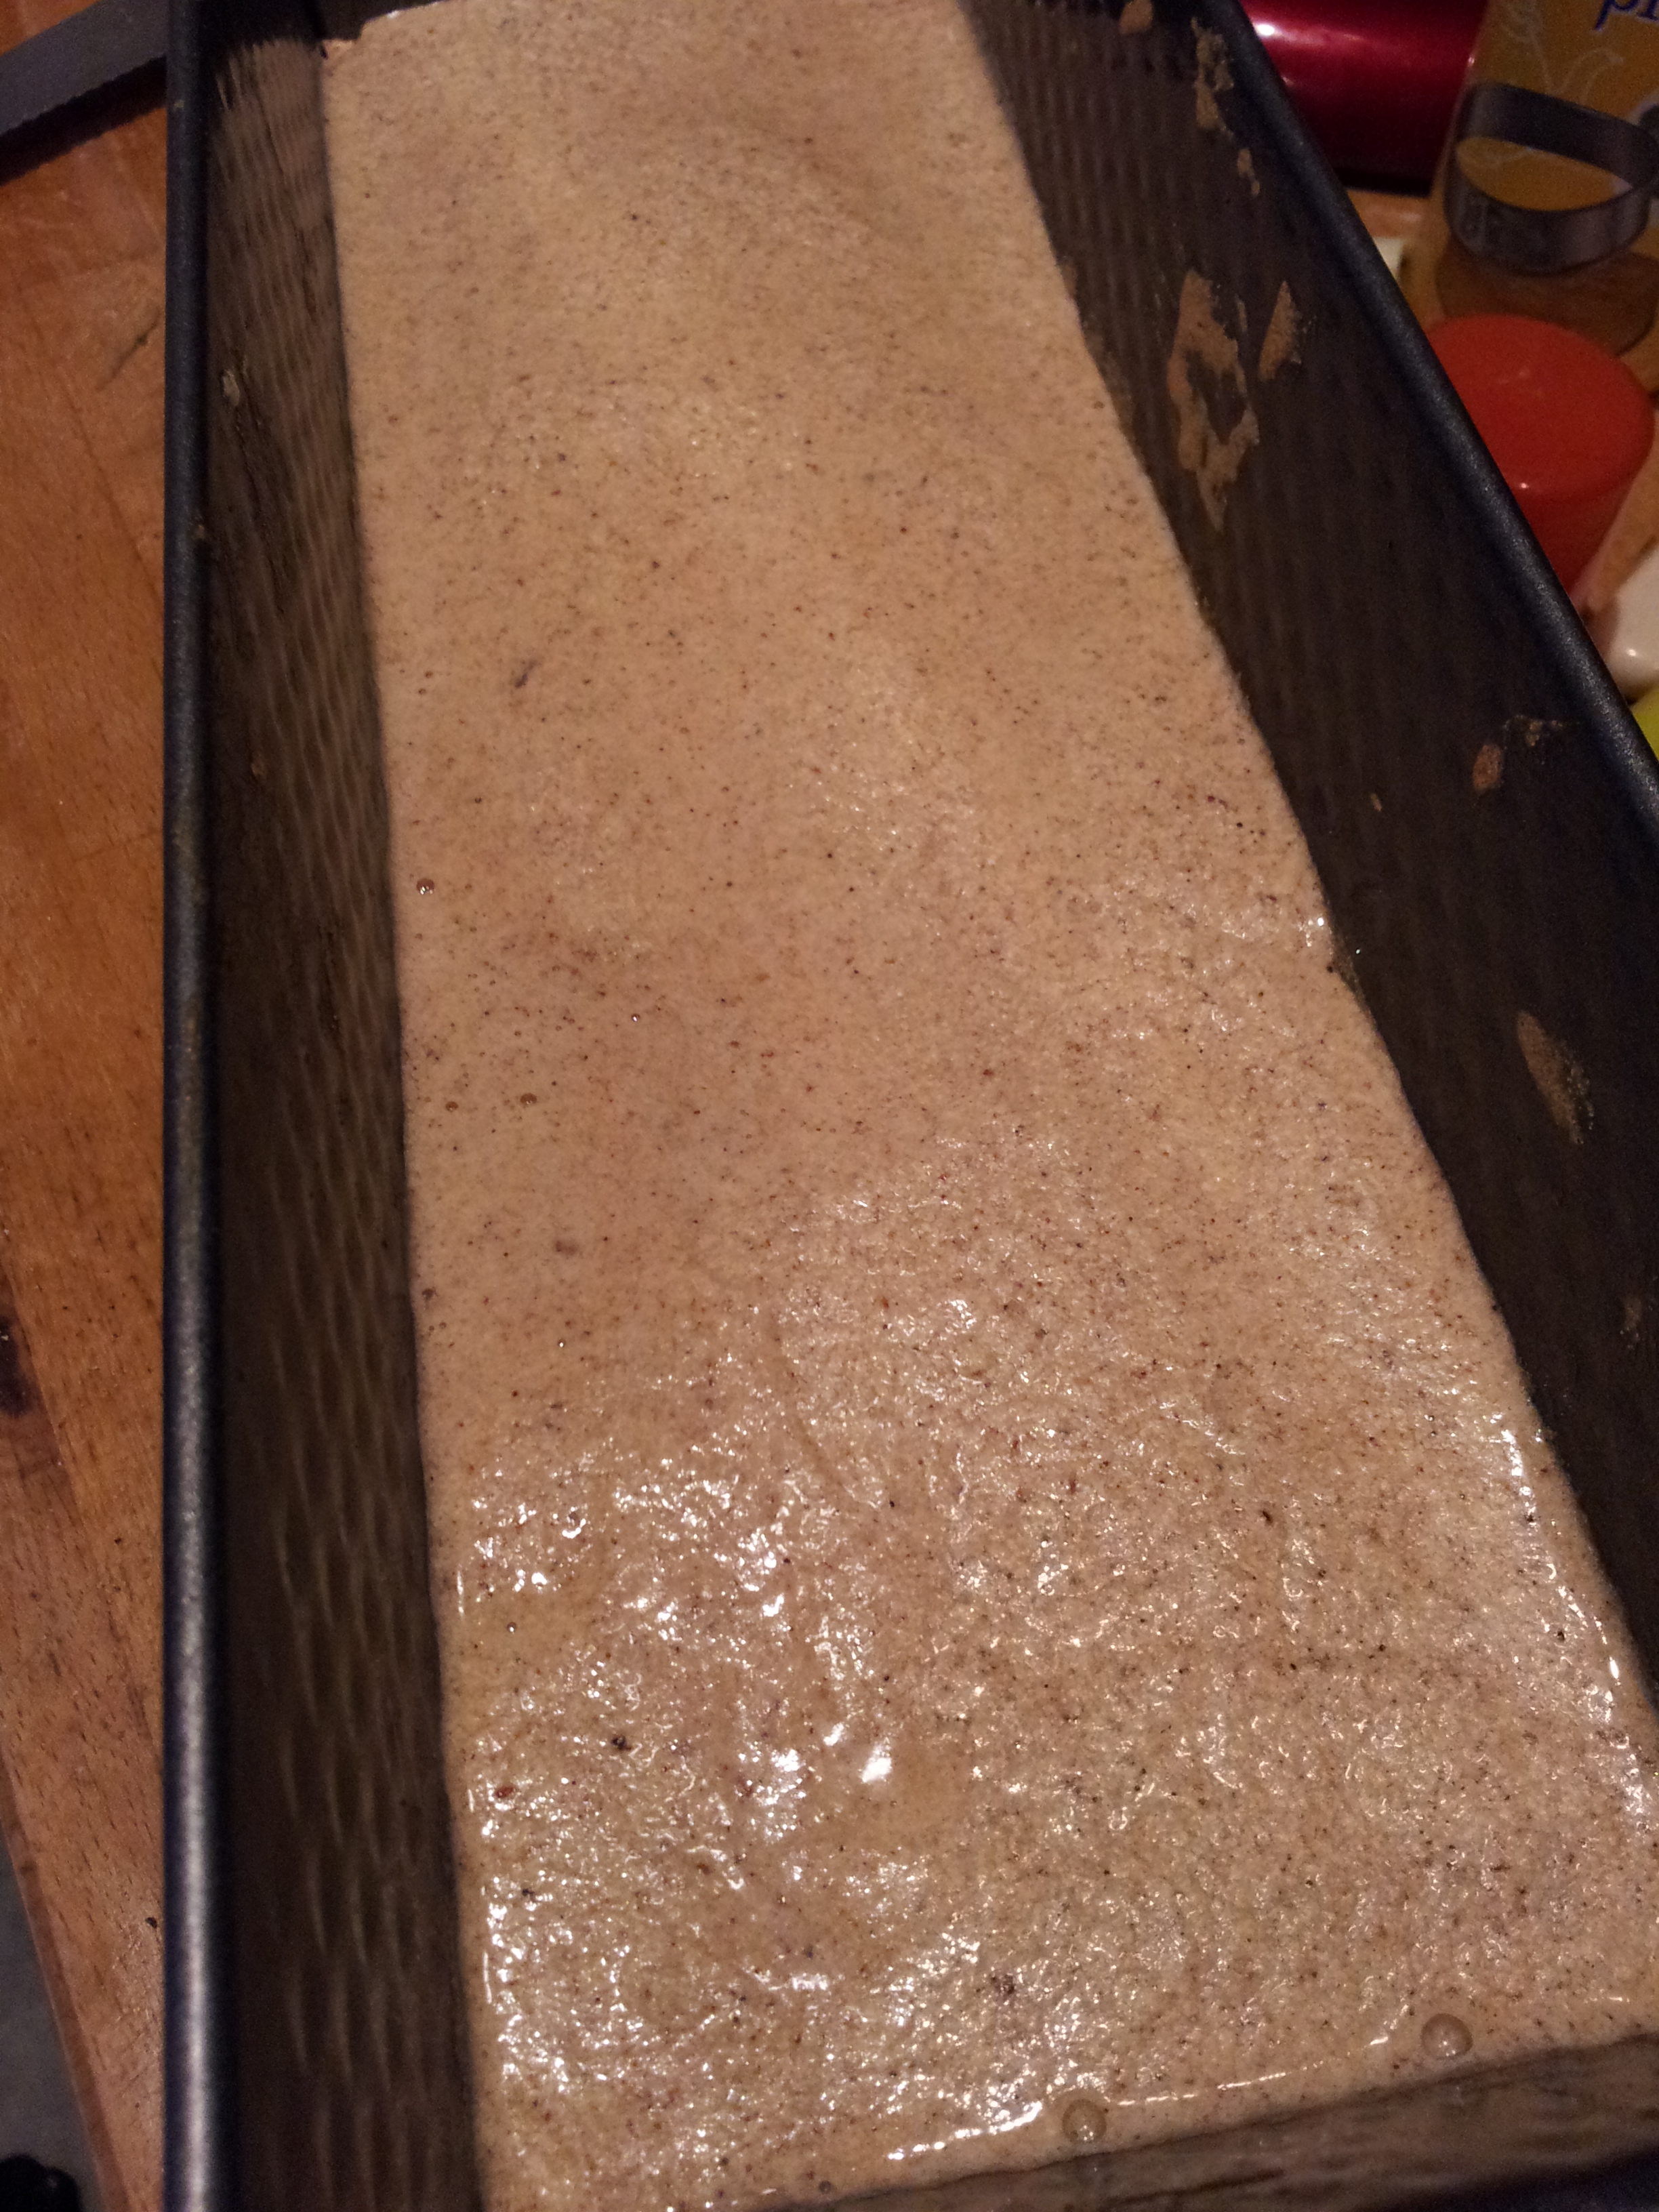
The cake batter doesn’t take long to whisk together. Whisk it until it is a beautifully smooth, thick and glossy. You will see the gorgeous orange flecks throughout the batter. It’s very easy to pour and spread into the shapely mould.

A thick, glossy smooth orange flecked batter. Easy to pour and spread into the shapely mould
Once everything is fully incorporated simply pour it into your greased baking tin/mould and bake in a preheated oven for 30-45 minutes at 200 degrees C /400F

Thoroughly greased I Heart Cake Mould
I like to use spray on cake release to grease my cake tins and having not had much success with silicon bakeware in the past I may have gone a tad overboard with the old grease spray here. The I Heart Cake mould worked like a dream, the cake baked evenly and not a single bit of the cake stuck to the mould. Success!

Ready for the oven on a pre heated baking tray
One way to ensure your silicon mould is supported and heated evenly I’ve found, is to pop it directly on to a baking tray that has been heated as the oven warms. This makes it even easier to lift the supple mould in and out of the oven and ensures the heat touches the mould evenly.

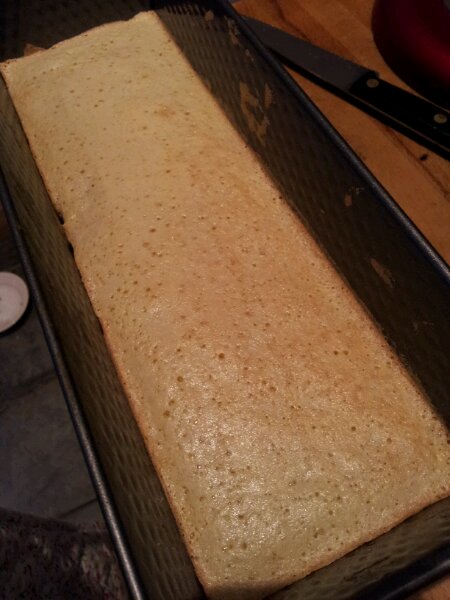
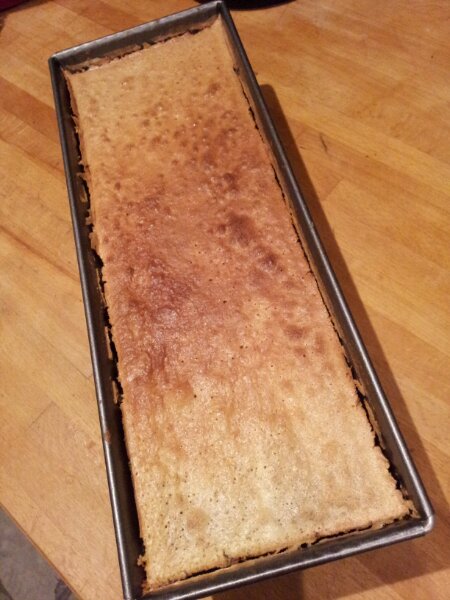
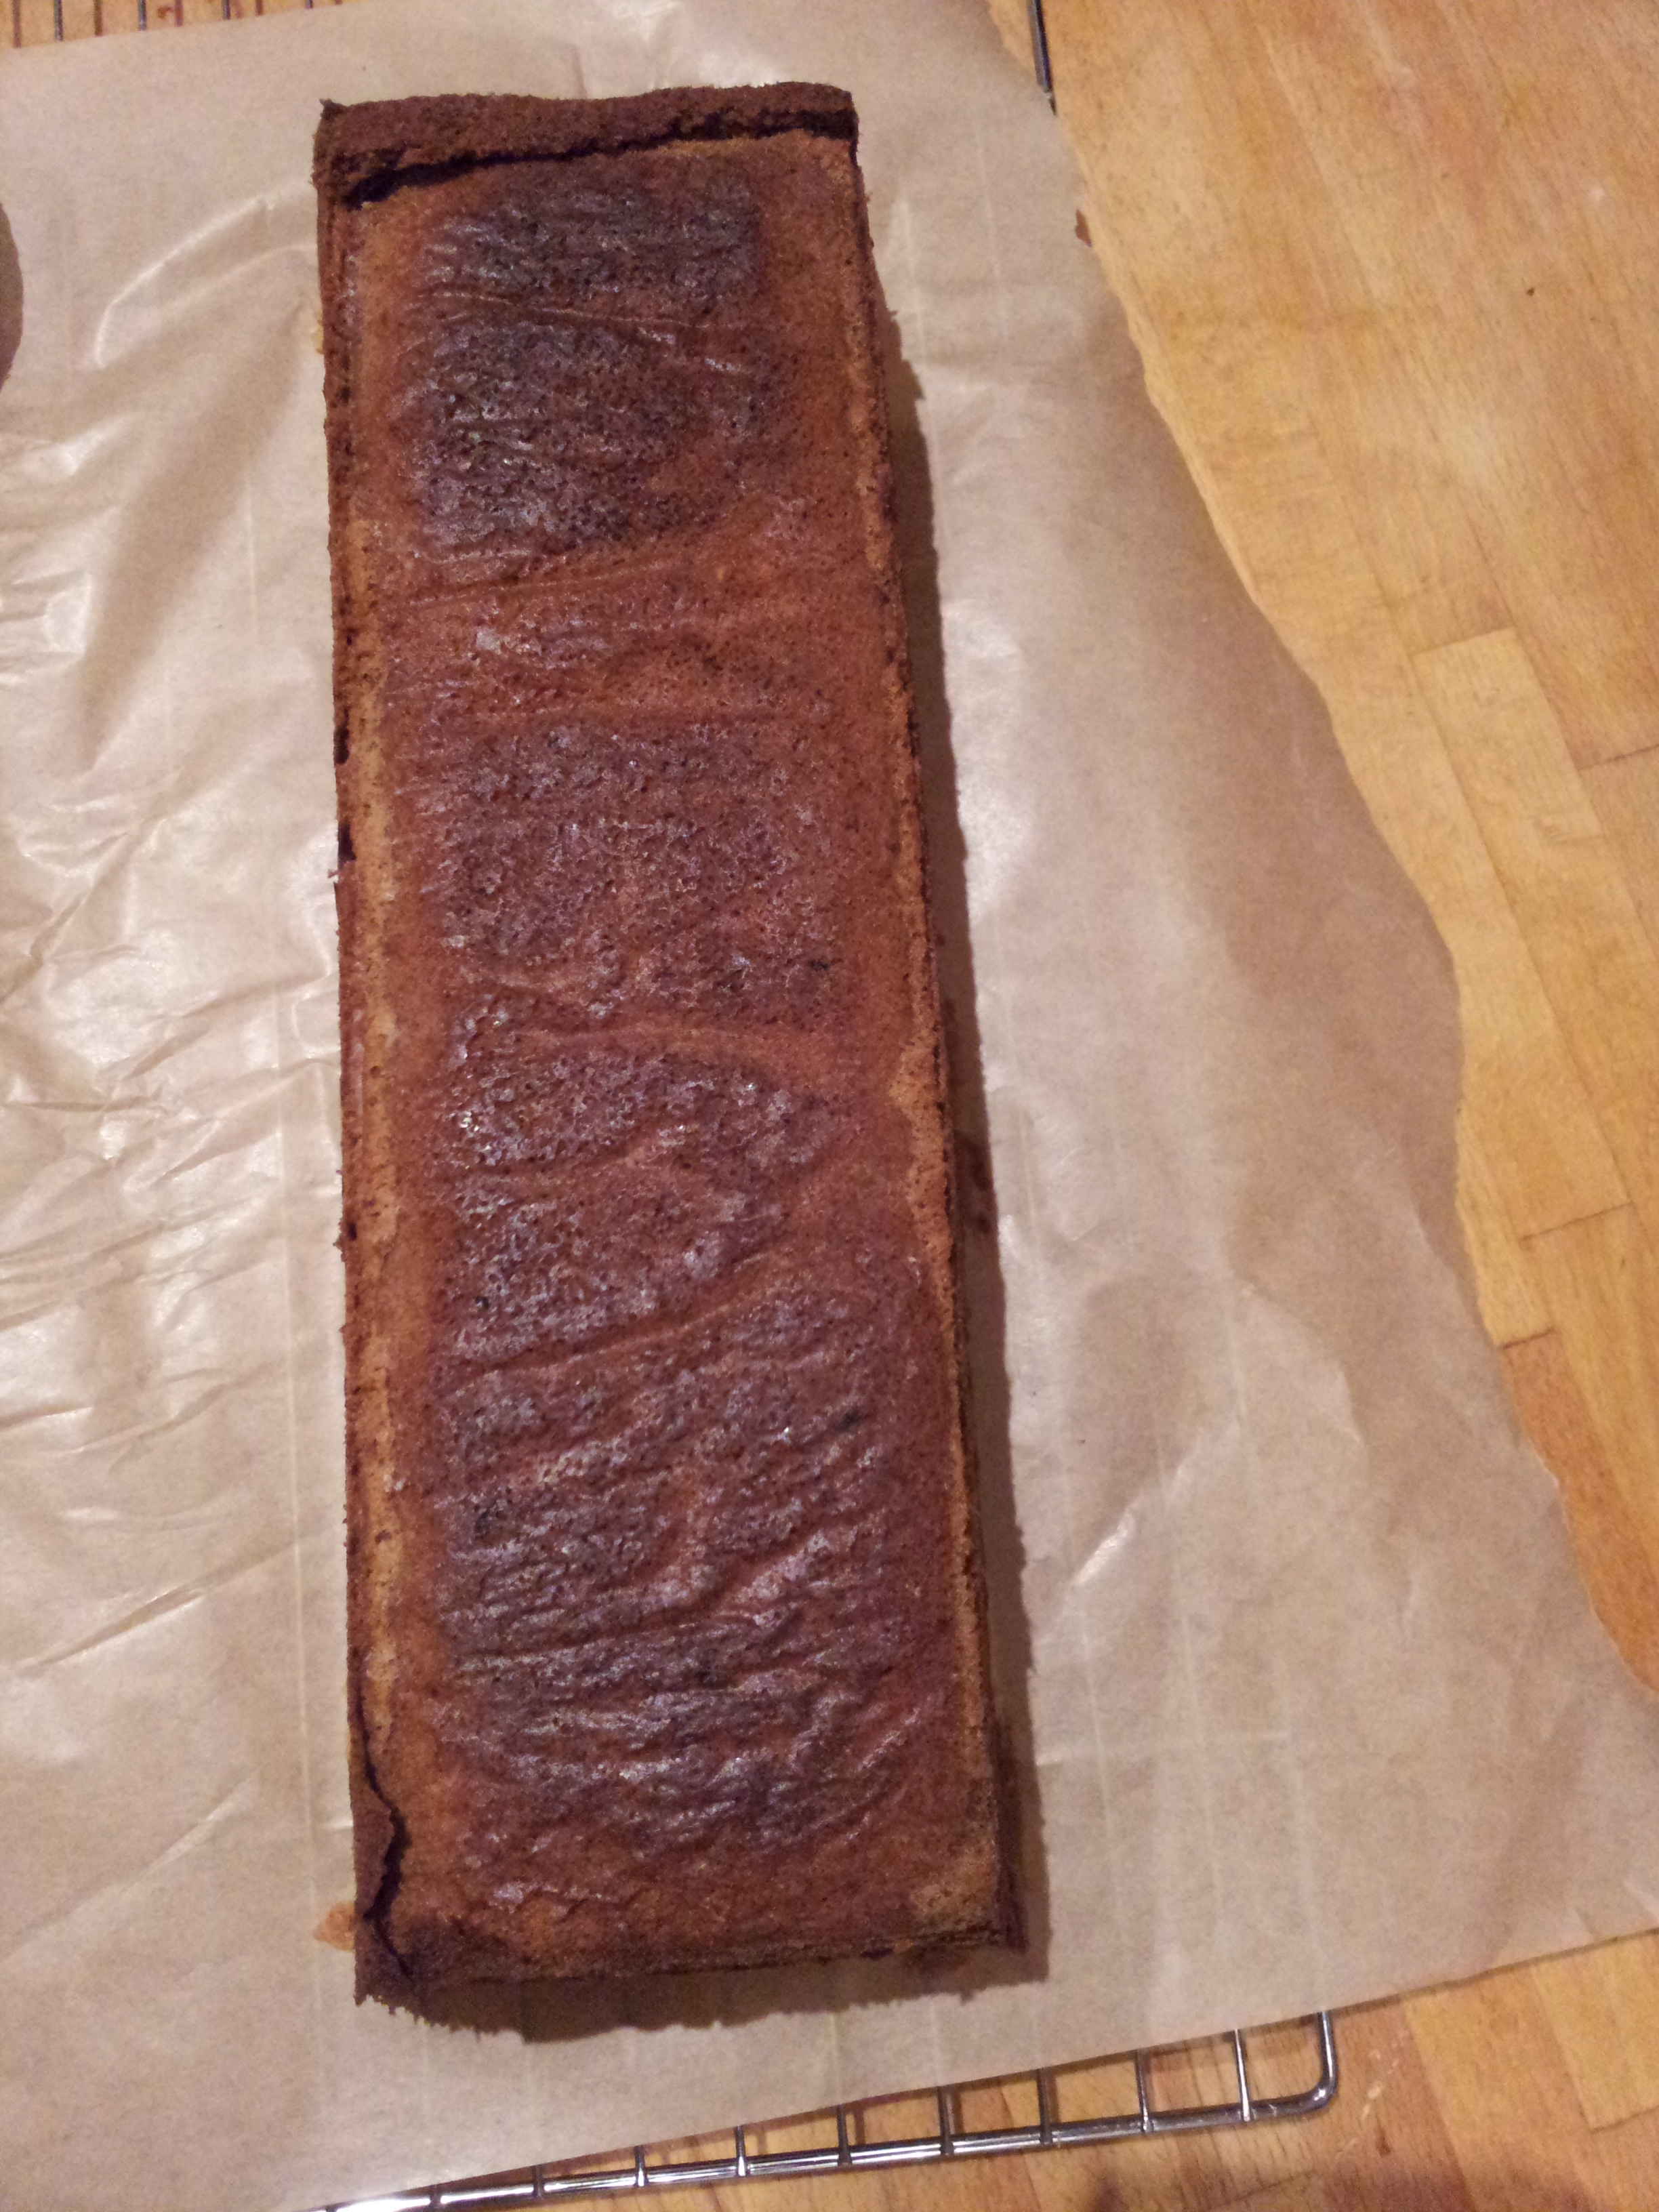
Fresh from the oven – Armenian Orange and Almond Cake
Now I did think when I read the recipe that 200 degrees C is rather a high temperature for a cake, normally a sponge with baking powder might bake at 180 C as a maximum. 200 C is more like a bread baking temperature which can take that kind of heat, however I wanted to follow the recipe to the letter. I was slightly alarmed to see how dark the cake had turned in the oven however it didn’t make the slightest bit of difference, it tasted perfect and was moist all the way through. Not a dry edge in sight, but just for peace of mind I might reduce the heat next time to 180 after the first 15 minutes of baking.

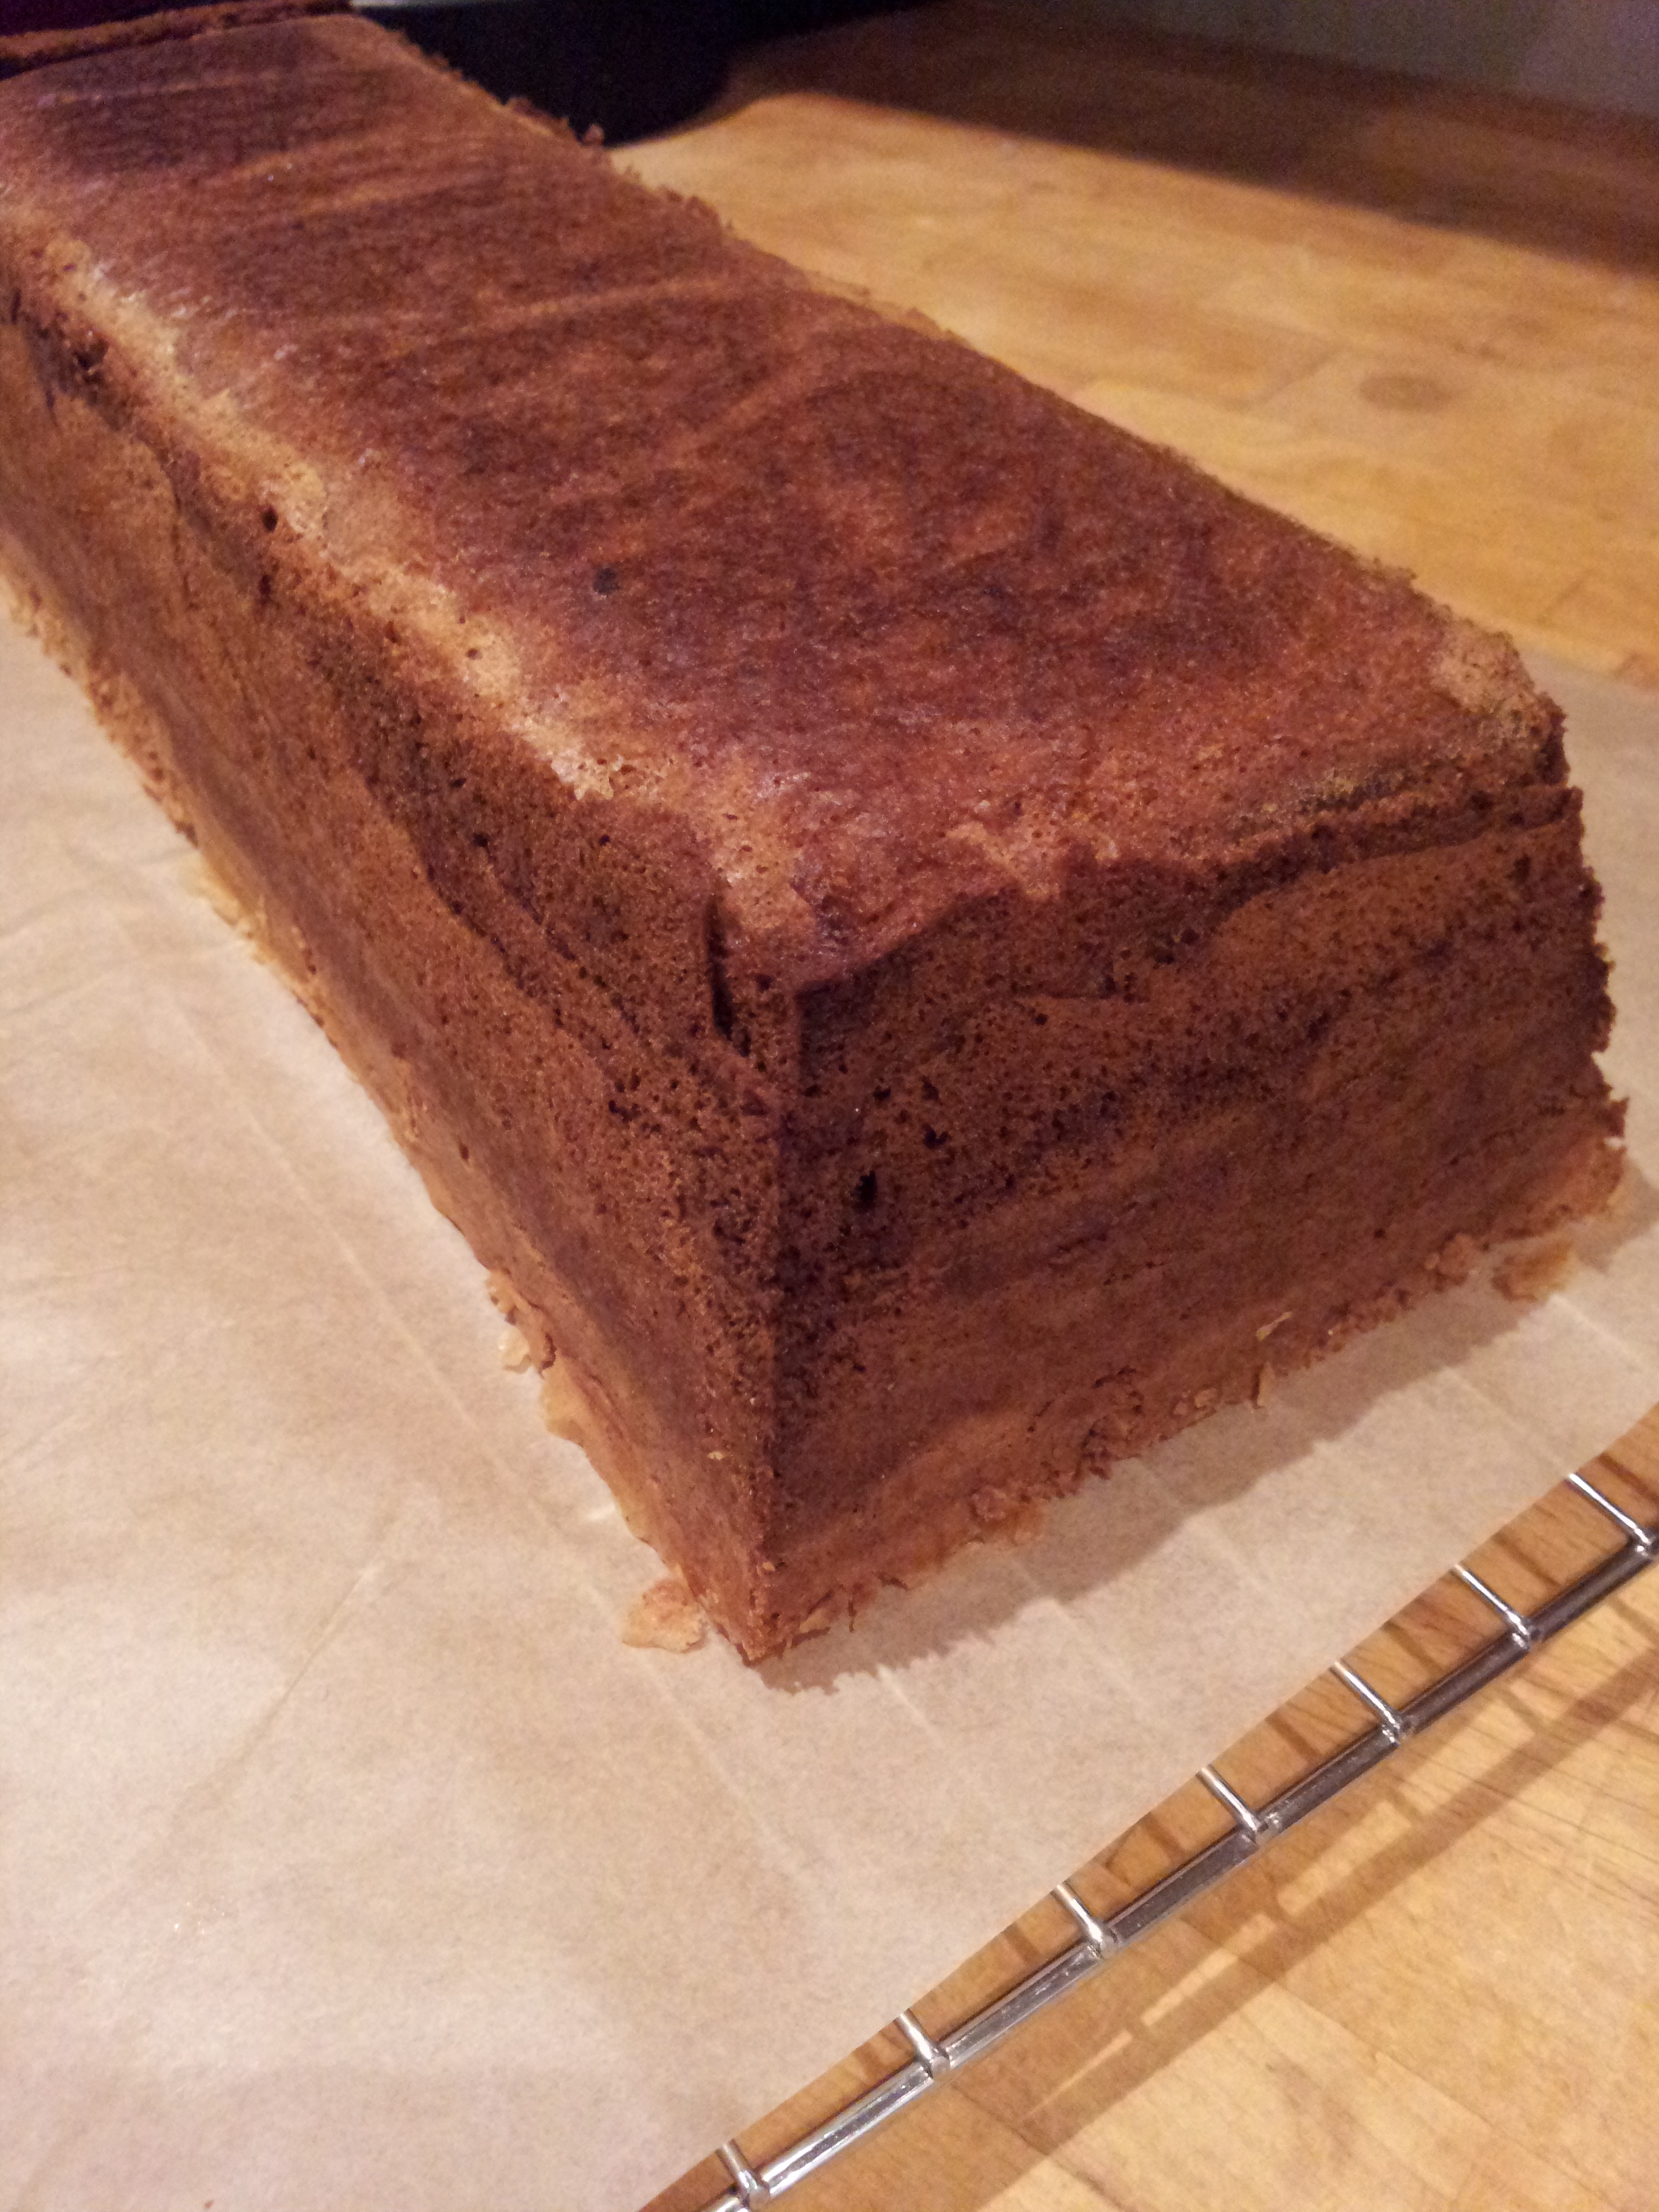
Cooling gently on a greaseproof covered cooling rack
I left the cake to cool slightly in the mould to retain it’s shape and merely tipped it out onto a greaseproof covered wire cooling rack (to stop the cake marking or falling through the gaps). It’s quite a robust cake with all of the almonds in so it can take a bit of handling. The cake slid smoothly out of the mould and looked impressive before I even added a layer of icing to it.

A good layer of Orange Blossom Water sugar icing
I’ve never really been successful with making my own glaze icing and yet I continue to persevere. I decided to add a layer of icing to the cake to add a little more sweetness. I clearly got the measurements wrong (yet again when will I learn!) as the icing wouldn’t set despite being left over night!) so I ended up scraping it off and leaving the cake with the syrupy goodness from the icing seeping into every pore instead. This made one extremely moist cake. Similar to some of my other Arabic creations Baklava and Basboosa.

One orange blossom water syrup soaked Armenian Orange Cake
Icing sugar is probably not the best choice of decorative tool when dealing with a syrup soaked cake, however I wanted a quick white decoration to contrast with the golden sponge. Armed with a paper doily, icing sugar and my trusty tea strainer I placed the doily on the cake and dusted it liberally to ensure the cake got a good coating. I think its a brilliant (and cheap!) way to create an impressive decoration. I think I may be a little obsessed with this now as you can see with my Crack Pie stencilling

Doily decorations all round – Armenian Orange and Almond Cake (ps. no one will notice the dent I put in the top of the cake when scrapping off the icing with a spoon will they…)
To continue the heart theme I sliced up some homemade candied orange peel into dinky heart shapes and placed one in the centre. As Mary Berry always says it’s good to decorate your cake with a little of what’s on the inside to give a hint of what it’s offering

Practice makes perfect – slicing candied peel into hearts. No fingers were lost in this process
Armenian Orange cake is the most intensely orange cake I’ve ever tasted. Perfect if you like a fruity cake that’s not too sweet. The almonds give it a wonderful texture and the added sweetness from the icing lifts the slightly bitter tang of the orange peel. An interesting cake with a healthy twist, it’s a wonderfully moist and light summery bake. The full oranges give the cake a whole other level of moisture and depth of flavour. Another cake that would be perfect with a strong cup of tea or an espresso. This is great cake for those who enjoy a good pound cake and who aren’t a great fan of buttercream icing. Although you could ice this in any which way you prefer if you’re a buttercream fan go for it. I heart all cake! Yum!


Armenian Orange and Almond Cake
Things that I used to make my Armenian Orange and Almond Cake
- 2 oranges
- 6 eggs
- 230g sugar
- 230g almonds
- 1 tsp baking powder
- Boil the oranges for 2 hours
- Blend the soft oranges into a paste
- Whisk the eggs and sugar until frothy
- whisk in the almonds and baking powder
- Whisk in the orange paste until all is combined
- Bake for 30-45 minutes in a 9 inch tin at 200 degrees C or 400F
Icing
- 150g icing sugar
- 2 tbs orange blossom water
- the zest of one orange
- a little water to thin the icing if need
Mix it all together until smooth and thick. Pour over the cake.
*Or dust with icing sugar! The choice is all yours


")


")


