After you’ve spent an inordinate amount of time baking 8 enormous boozy fruit cakes, how do you decide which wedding cake design to go for? Do you opt for a classic look, a fashionable design or something to match your colour scheme?? For those that know me, you will know that there has never been a colour scheme in my life. I don’t manage to match things very well. In fact if things clash that’s probably for the better. (
I couldn’t bring myself to decide on just one colour for my bouquet, as I love so many colours so I went for a bit of everything. It was only a last minute decision to leave out the bright pink roses from the bouquet. I decided it may be a little bit too much. You can even see the blue hydragena flowers peeking out between the hyacinths. It was touch and go as to whether these flowers would bloom with it being a December wedding. It was clearly meant to be!

My wedding flowers – a little bit of everything
Part of me longed for a classic cake that I would love forever and part of me me wished for an entire room of different types of cake from around the world. Unfortunately there is not enough space in my freezer to create such an awesome display unless I baked them all the day before the wedding which in reality, was never going to happen.

Petite Italian Lavender Meringues
As a compromise I baked as many extras as I could possibly manage. Opting for petite Lavender Meringues

Table Treats – Mini Brownie Bundts and Madeleines
and mini bundt brownies and madeleines to adorn the tables with.
I found so many gorgeous cake designs flicking through endless pages of Pintrest and magazines but many were way out of my skills set. One favourite was an impossibly beautiful white damask lace design on a pale green fondant I made many many trips to my local cake decorating shop and experimented with different technniques, I was never going to be able to use a stencil. (I practiced with a little one I had in the house and I always managed to smudge it or it oozed out of the sides.) I was then going to make millions of sugar roses, but I made about 4. It took me ALL night and I felt angry. It was way too fiddly and my roses always turn out ridiculously enormous and ‘rustic’ looking.

Green Damask Lace Cake – The Cake Parlour
Another of my favourite designs was a tiered cake with a cascade of hydragena blossoms. Little did I know that both of these cakes were designed by the same woman the amazing Zoe Clark. (I have since purchased her books as I love her designs!)
I continued in an experimental vein ordering lots of plastic sugar tools online and waited a month for them to arrive. I attempted to make fondant pearls by hand but didn’t think about how they needed to dry so ended up with one lump of sugar pearl. That would never do.

Just the one lump of pearl for me please
Back to the drawing board and my two favourite designs. My Mam invested in a hydrangea cutter and mould for me (thank you Mam) rather than watch me struggle with trying to do everything for myself.
Zoe Clark’s design used pink blossoms which is lovely but I’m not much of a pink girl. Instead I experimented with a few different colours including, lilac, baby blue, teal and finally decided upon ‘hydrangena blue’. I coloured some florists paste with food colouring and added a little more to get the right colour. I also left some to dry for a couple of weeks to see how the colour developed as it can fade as it dries out fully. I had found my winner. I made 3 slightly different shades of hydrangea blue paste to give the flowers more of a natural look and variety in the final cascade.

Using a tooth pick add a dot of your chosen food colour gel to the florists sugar paste and knead it until it’s the colour you need. I chose hydrangea blue. Beware adding too much colour in one go, once it’s in you can’t take it out! You may need to colour your paste in advance to allow it to dry a little so it’s not too sticky!
When adding food colouring gel to sugar paste it always makes the paste sticky. I find it much easier to handle if I colour it a few days before I need to use it.

Roll out the colourful florist’s paste on a lightly dusted surface
You can add a little icing powder to the worksurface when you’re rolling it out but not too much as it will dry the paste out and it will crack. Florists paste isn’t cheap but it has a special ingredient (albumen) which allows you to work it into much thinner and more delicate shapes than normal sugar paste. It also dries really hard quite quickly so it keeps it’s shape. I tried to make my own (I know this was not my best idea!) I thought it would be cheaper to buy powdered albumen and knead it into sugar paste. In reality this was an extra faff on that I didn’t have the time for. It was much easier to just buy pre made florists paste and mix my own colour. If you’re feeling extravagant you could even buy yours in the shade you really want.
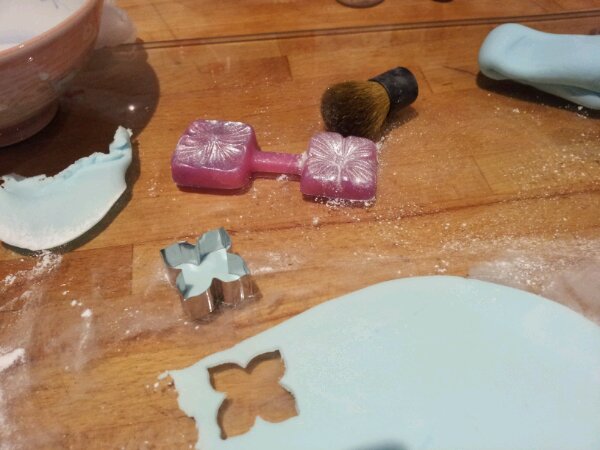
Strategically press your cutter into the paste and carefully lift it away from the paste
My hydrangea cutter and mould instructions informed me that I needed vegetable fat to smear on the silicon mould to prevent the paste from sticking to the mould. It was late, I was all ready to cut out some flowers so I wasn’t going to make it to any shops. Improvising I took some pearl lustre powder and popped it in a shallow bowl.
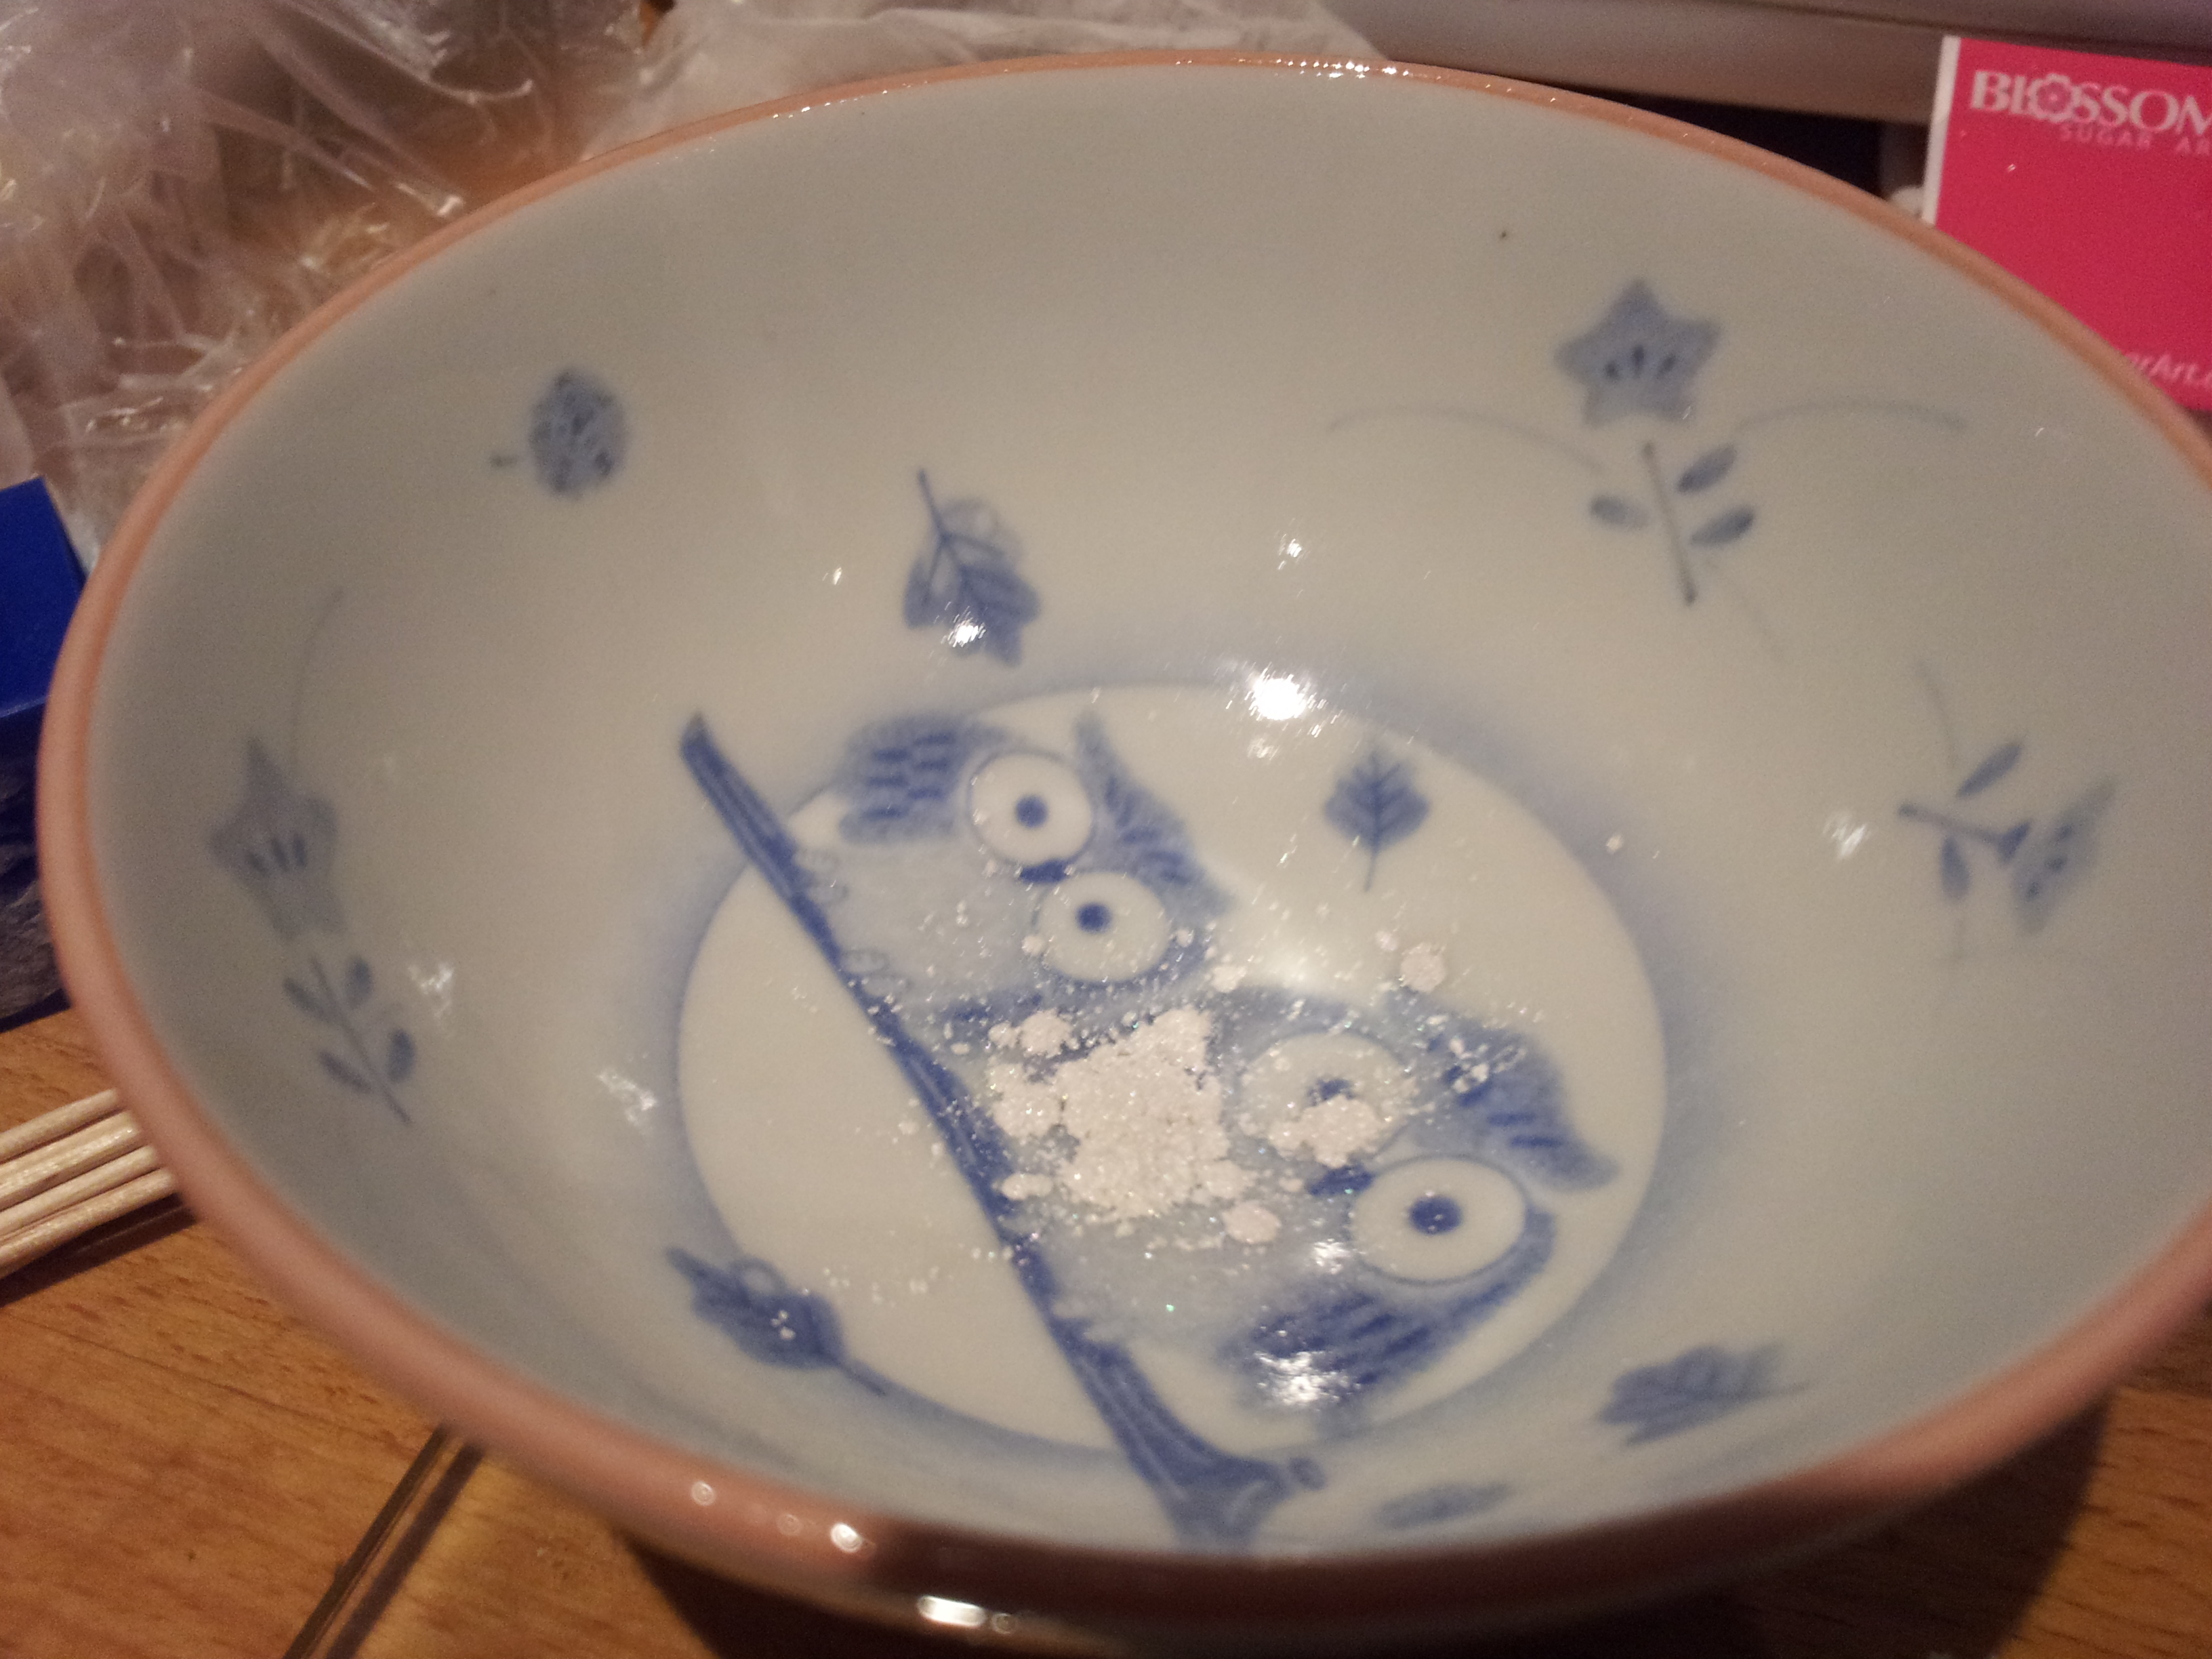
Pearl Lustre Powder makes a great alternative to vegetable fat and icing sugar
Using a brand new clean blusher brush I coated the mould liberally with a combination of edible pearl and baby blue lustre powders.

Dust like your life depends on it
Et voila. I have satisfactorily released flowers with a touch a sparkle and glamour that I was going to have to paint on afterwards. Success and time saved!

Using a clean blusher brush first the mould with lustre powder to stop it sticking. You can use trex but I discovered this saved me a job later on!
The little mould that I loved to hate. The first 50 flowers were a breeze but your fingers do start to ache after so much cutting, folding and pressing! The trick is to fold the mould over carefully so you don’t dislodge the flower inside. Or if the paste is too thick it oozes out of the sides of the mould when pressed…

There is a lot of patience and gentleness required in this process…

The pressed Hydrangea Blossom – look at that beautiful detail
If you’ve lustred up the mould enough it should pop out quite easily but you might need to coax it out if it’s a bit stubborn. (Spot the cocktail sticks in the background). Flipping over the mould allows gravity to do the work for you and release the lovely detailed blossom into your palm.

Gently coax the flower out of the mould by peeling the mould away from the flower or let gravity do it’s job
The final result! I also added a little baby blue edible lustre powder to the mix to ad depth and variation to the blossoms. I was glittering for a week after this!

Hey presto! You have a sugar flower all sparkly and full of lustre which helps bring it to life
I found a good way to make the flowers look more realistic was to gently roll themeach one in my cupped hand before leaving them to dry. This gives more shape to the petals, so they don’t appear too flat and fake. Then repeat times a million… This is probably an extreme exaggeration but I lost count of how many flowers I actually pressed. I used about 2 and half 500g packs of florists paste to create maybe around 150 hydrangea blossoms. Not all of them ended up on the cake however as I dropped some on the floor… Some snapped after they dried. They are quite delicate little flowers! And some flowers just weren’t that pretty (sorry flowers but some had to be prised apart and suffered the consequences) so they didn’t make the cut.

Gently roll the flower in your hand to encourage the edges to bend in slightly and create a bit of variety
The flowers need to be held in shape whilst they dry. You can splash out on a special sugar paste foam mat if you like, or you can wrap an egg box in cling film and pile them all up like me. Crinkled up tin foil works really well too. It may also be a good idea to add layers of cling film to stop the flowers sticking together. I know I’m biased but don’t they look pretty all sparkly and delicate??

Line an egg box with cling film and pop all your pretty flowers in to hold their shape whilst they dry. Repeat repeat repeat…
It takes about a day for the flowers to dry out. I made mine in stages so I could spend an hour or two at a time pressing hydragenas until I thought I had enough. Then all that’s left to do is ice the 5 tiers of fruit cake and assemble it all.

The Final Result! The Wedding Cake
This is part 2 of the 4 stages of wedding cake baking! You can read more about my epic wedding cake adventures here…
Part 1 – My 5 tiers of fruit wedding cake – My biggest booziest cake yet
Part 2 – How many sugar flowers does it take to make a wedding cake?
Part 3 – Where to start icing a 5 tier wedding cake?
Part 4 -The Final Frontier – Decorating & assembling my 5 Tier wedding cake


")