
Danish Rye Bread
My wonderful friends Josh and Mark shared their genuine Danish Rye Bread recipe with me months ago and I’ve been dying to try it! I was going to visit them in Manchester and thought it the perfect occasion to take them some freshly baked Rye bread too to say thank you for letting me stay!

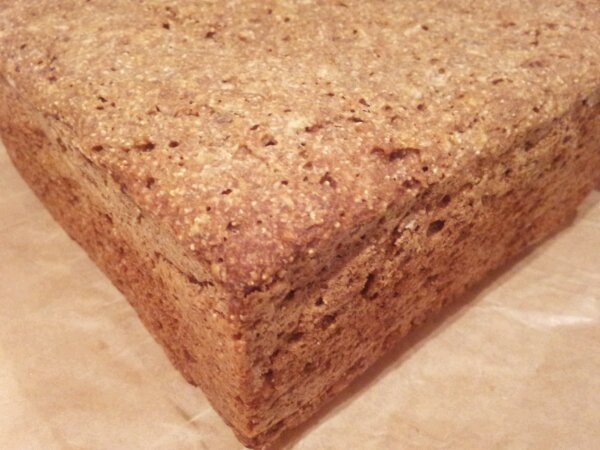
A cross section of Danish Rye Bread
The recipe arrived in 3 photos of hand written sheets so I knew it was going to be good and truly authentic. It requires rather a lot of flour as it is enough for 3 loaves. My brain couldn’t calculate the maths to scale this recipe down so 3 loaves it is!

The Rye Bread Sourdough Starter – porridgey
The recipe calls for a homemade sourdough base. I have attempted to make my own sourdough starter from scratch before following the Fabulous Baker Brothers method of capturing the yeast from the air in flour and water and letting it ferment. Perhaps my house is not particularly yeasty, I’m not sure but for whatever reason I couldn’t get it to bubble. Having made a successful Herman the German Sourdough starter and cake before I know that adding instant yeast is a sure fire success. Therefore, I admit it, I deviated from the rules immediately, before I even began baking pouring in a little cheating instant yeast to get the sourdough started.

Starting the Rye Bread in my massive cake tin
I don’t own a bowl big enough to stir this vast amount of flour in so wielding my largest cake tin I set to work… and consequently ruined said cake tin, bending it out of shape with the cement like dough!
If you were making your own sourdough starter, you could keep some back and carry on feeding it so you can make many more beautiful loves in the future. I was making just enough for this recipe, but may attempt to make my own sourdough rye starter again.
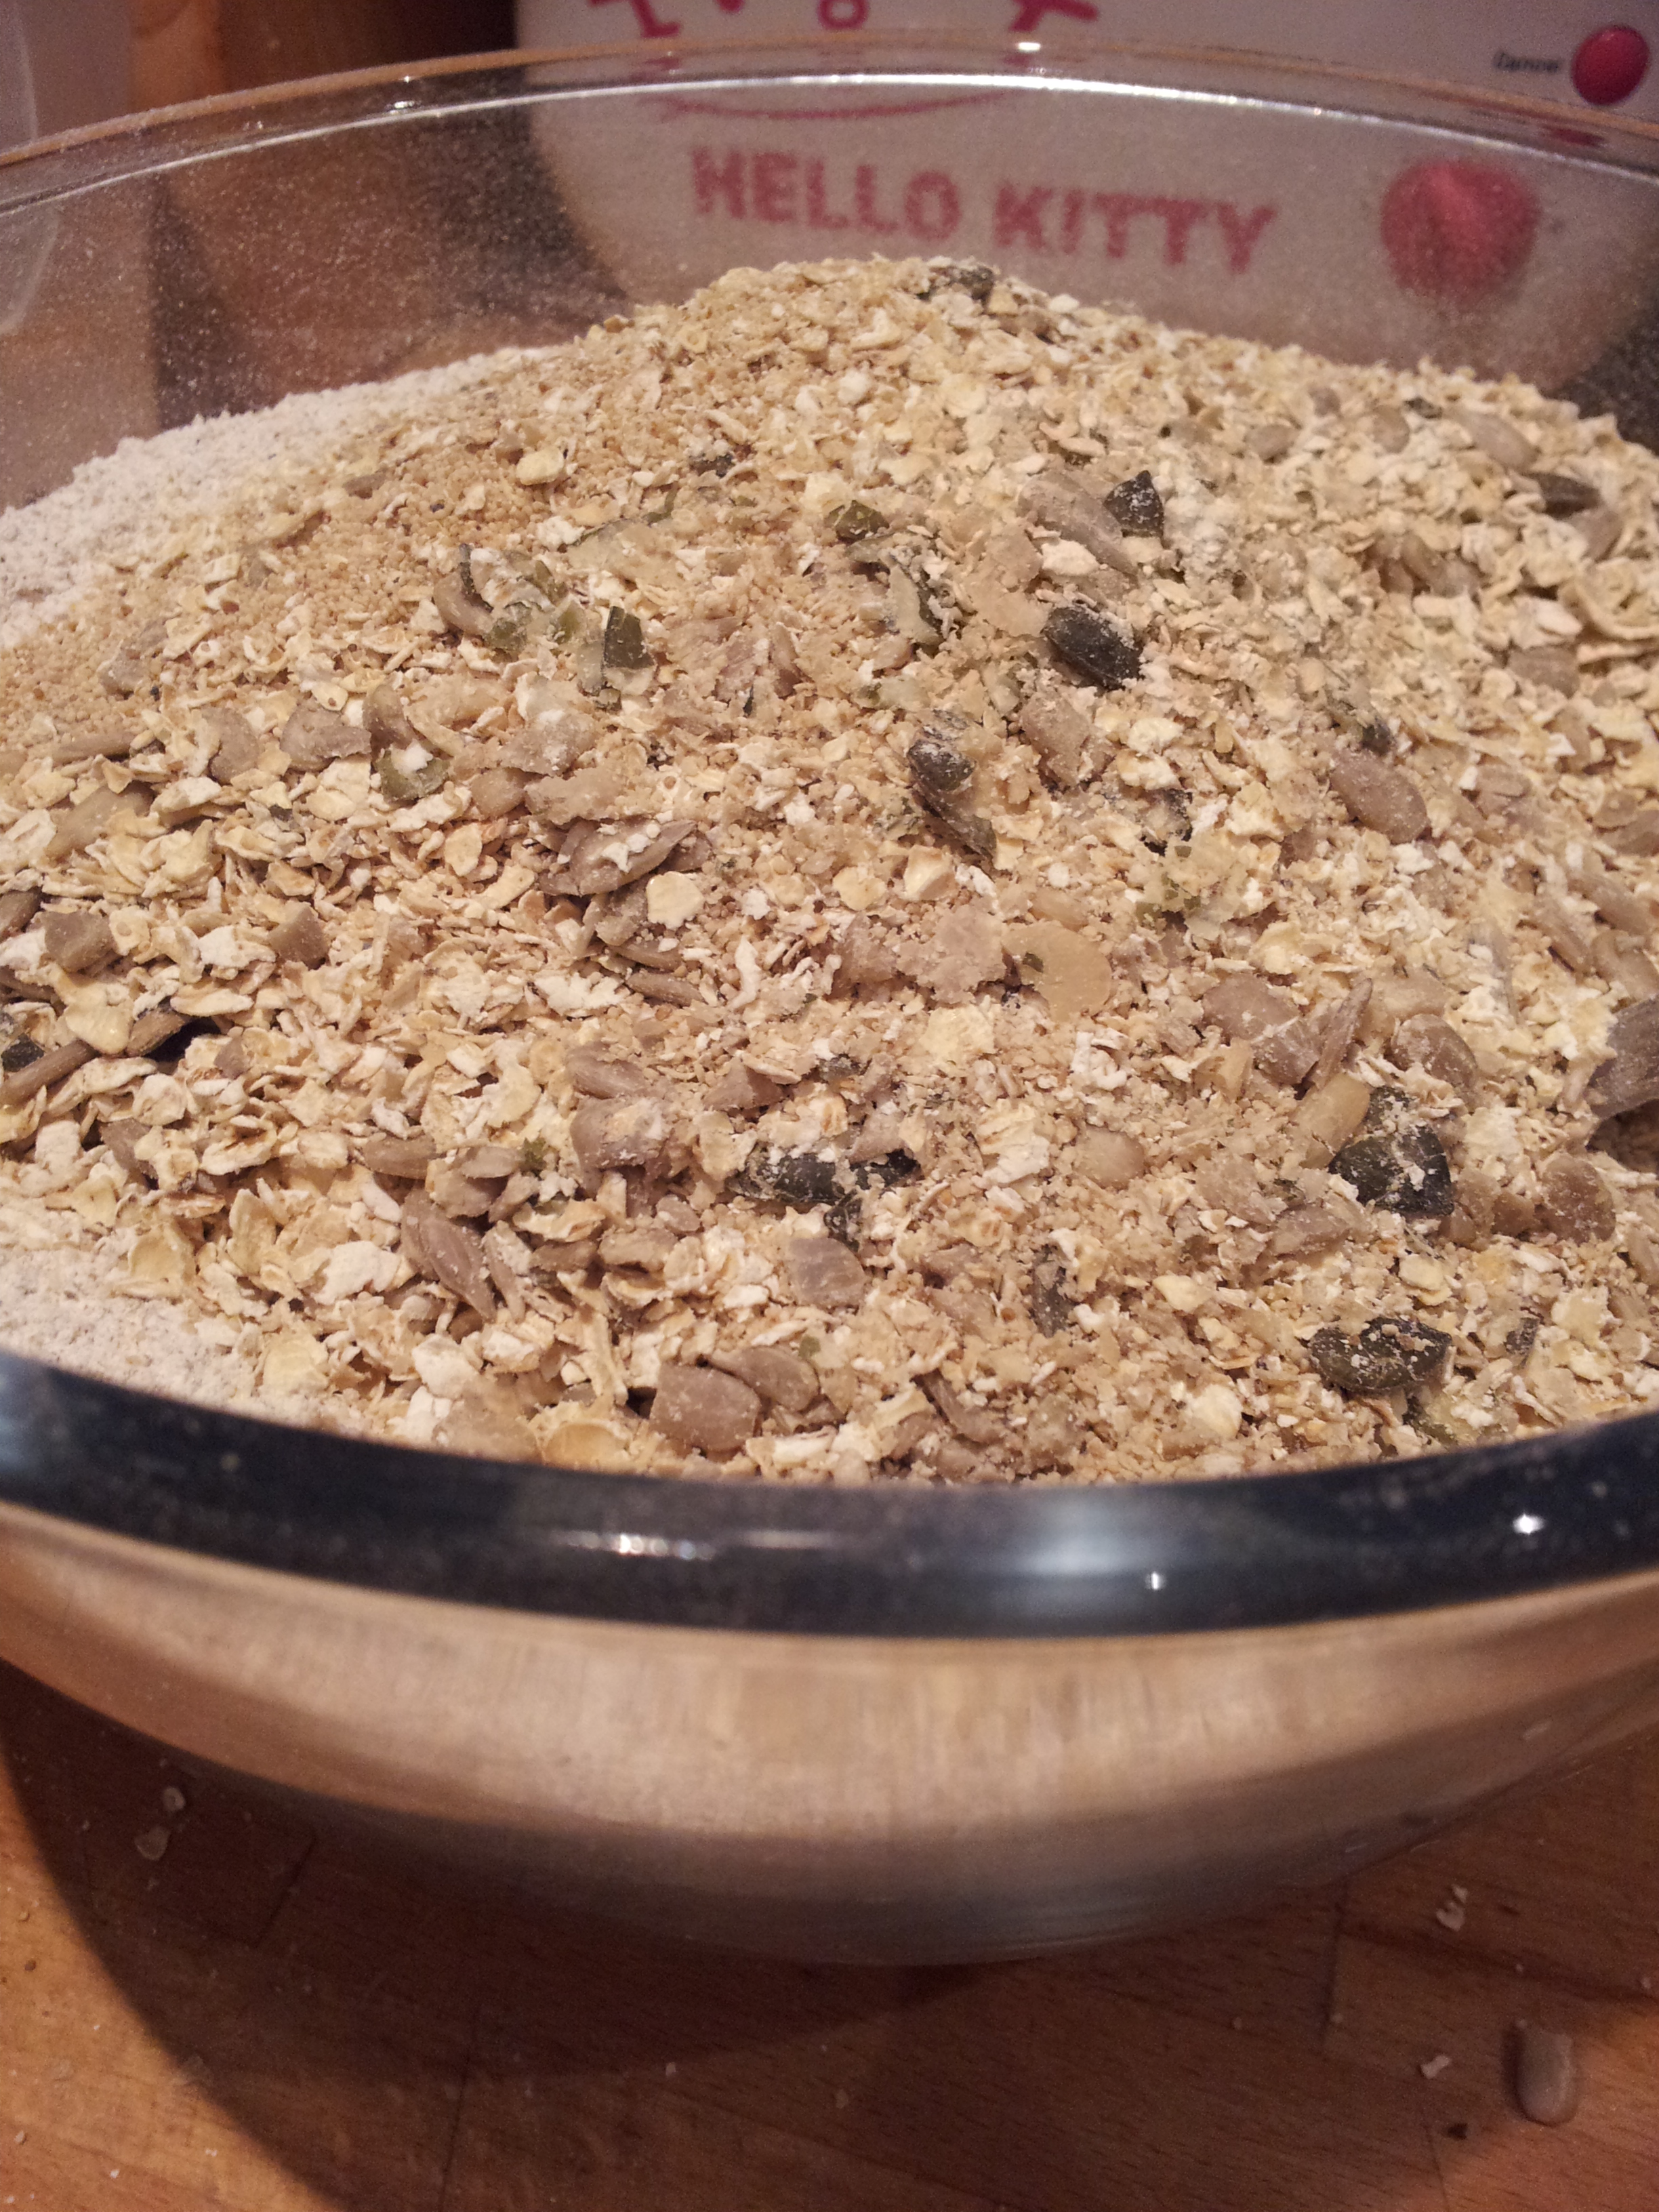
There’s a whole lot of flour, seeds and grains in this Rye Bread
Rye is quite the healthy flour, full of wholesome goodness, as opposed to refined white flour. This means that it has quite a distinct flavour and it is much heavier than white flour. It creates a rather dense loaf. Mixing rye flour with white flour lifts the texture and colour of the bread slightly. The addition of seeds, nuts and grains give it extra texture and nutritious value! This bread is perfect for applying lashings of cream cheese and smoked salmon to. I love the traditional Smørrebrød, or Danish open sandwiches. Rye bread is an essential part of proper Danish sandwich making.
If you plan this in advance you will have plenty of time to allow the starter to ferment. I however did not. You should mix the flour and water together, stirring it into a smooth, thick paste and leave for at least 12 hours to let it bubble. I made my starter but needed it to be ready to go asap so I cheekily added 7g of instant yeast to make sure it rose fully.

Adding the flour and seeds to the sourdough start mix
Once your starter is ready you can save a cup back for future sourdough creations or, whack it all in to the mix like me. The beauty of rye bread is that it doesn’t require kneading! However you do need strong arms for the mixing. My weapon of choice was a wooden spoon to battle the heavy dough with. Combining the sourdough starter with the rest of the rye bread mixture, alternating between the dry ingredients and the water is hard work but you must keep on stirring until everything is combined, including the seeds and grains. Prepare yourself for a good 10 minutes of elbow grease.

How to fit all of this in one bowl… water, flour, seeds and sourdough starter
Unfortunately there were a few ingredients that I didn’t have to hand so improvising to my hearts content, I chose sunflower and sesame seeds to add to the dough. I haven’t been able to find malt powder so I just left it out of the mix, but I bet you can get it in healthfood shops. Rye/barley/wheat grains don’t really feature in my cupboards (other than broth mix and I’m pretty sure dried barley and split lentil is not what we’re looking for here) but oats were an excellent emergency substitute!

Thick and porridgey just how the best Rye breads should be
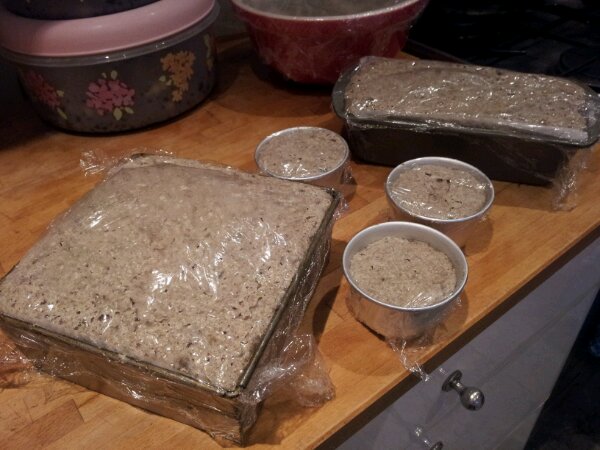
Once the dough is the consistency of thick porridge (lumpy in a good way) it’s ready to pour/scoop into your greased and floured loaf tins. It is quite a stiff liquid so your have to encourage the dough as you pour it into the corners of the tins. Pour in enough dough fill two thirds of the tin, so there’s still space for the dough to expand without overflowing the tin. I had to resort to baking one loaf in a square cake tin (the same size as 2 normal loaf tins) and some mini pudding tins as I only have the one small (500g) loaf tin! Coat each loaf with a nice wash of oil and sprinkle a few oats/seeds on the top. Cover the loaves with greased cling film and leave to prove/mature for 8-12 hours. This time allows the sourdough to mature further and add a deeper tangy flavour to the bread.

Pour your rye bread dough into all of your loaf tins (and every other container you can find…)
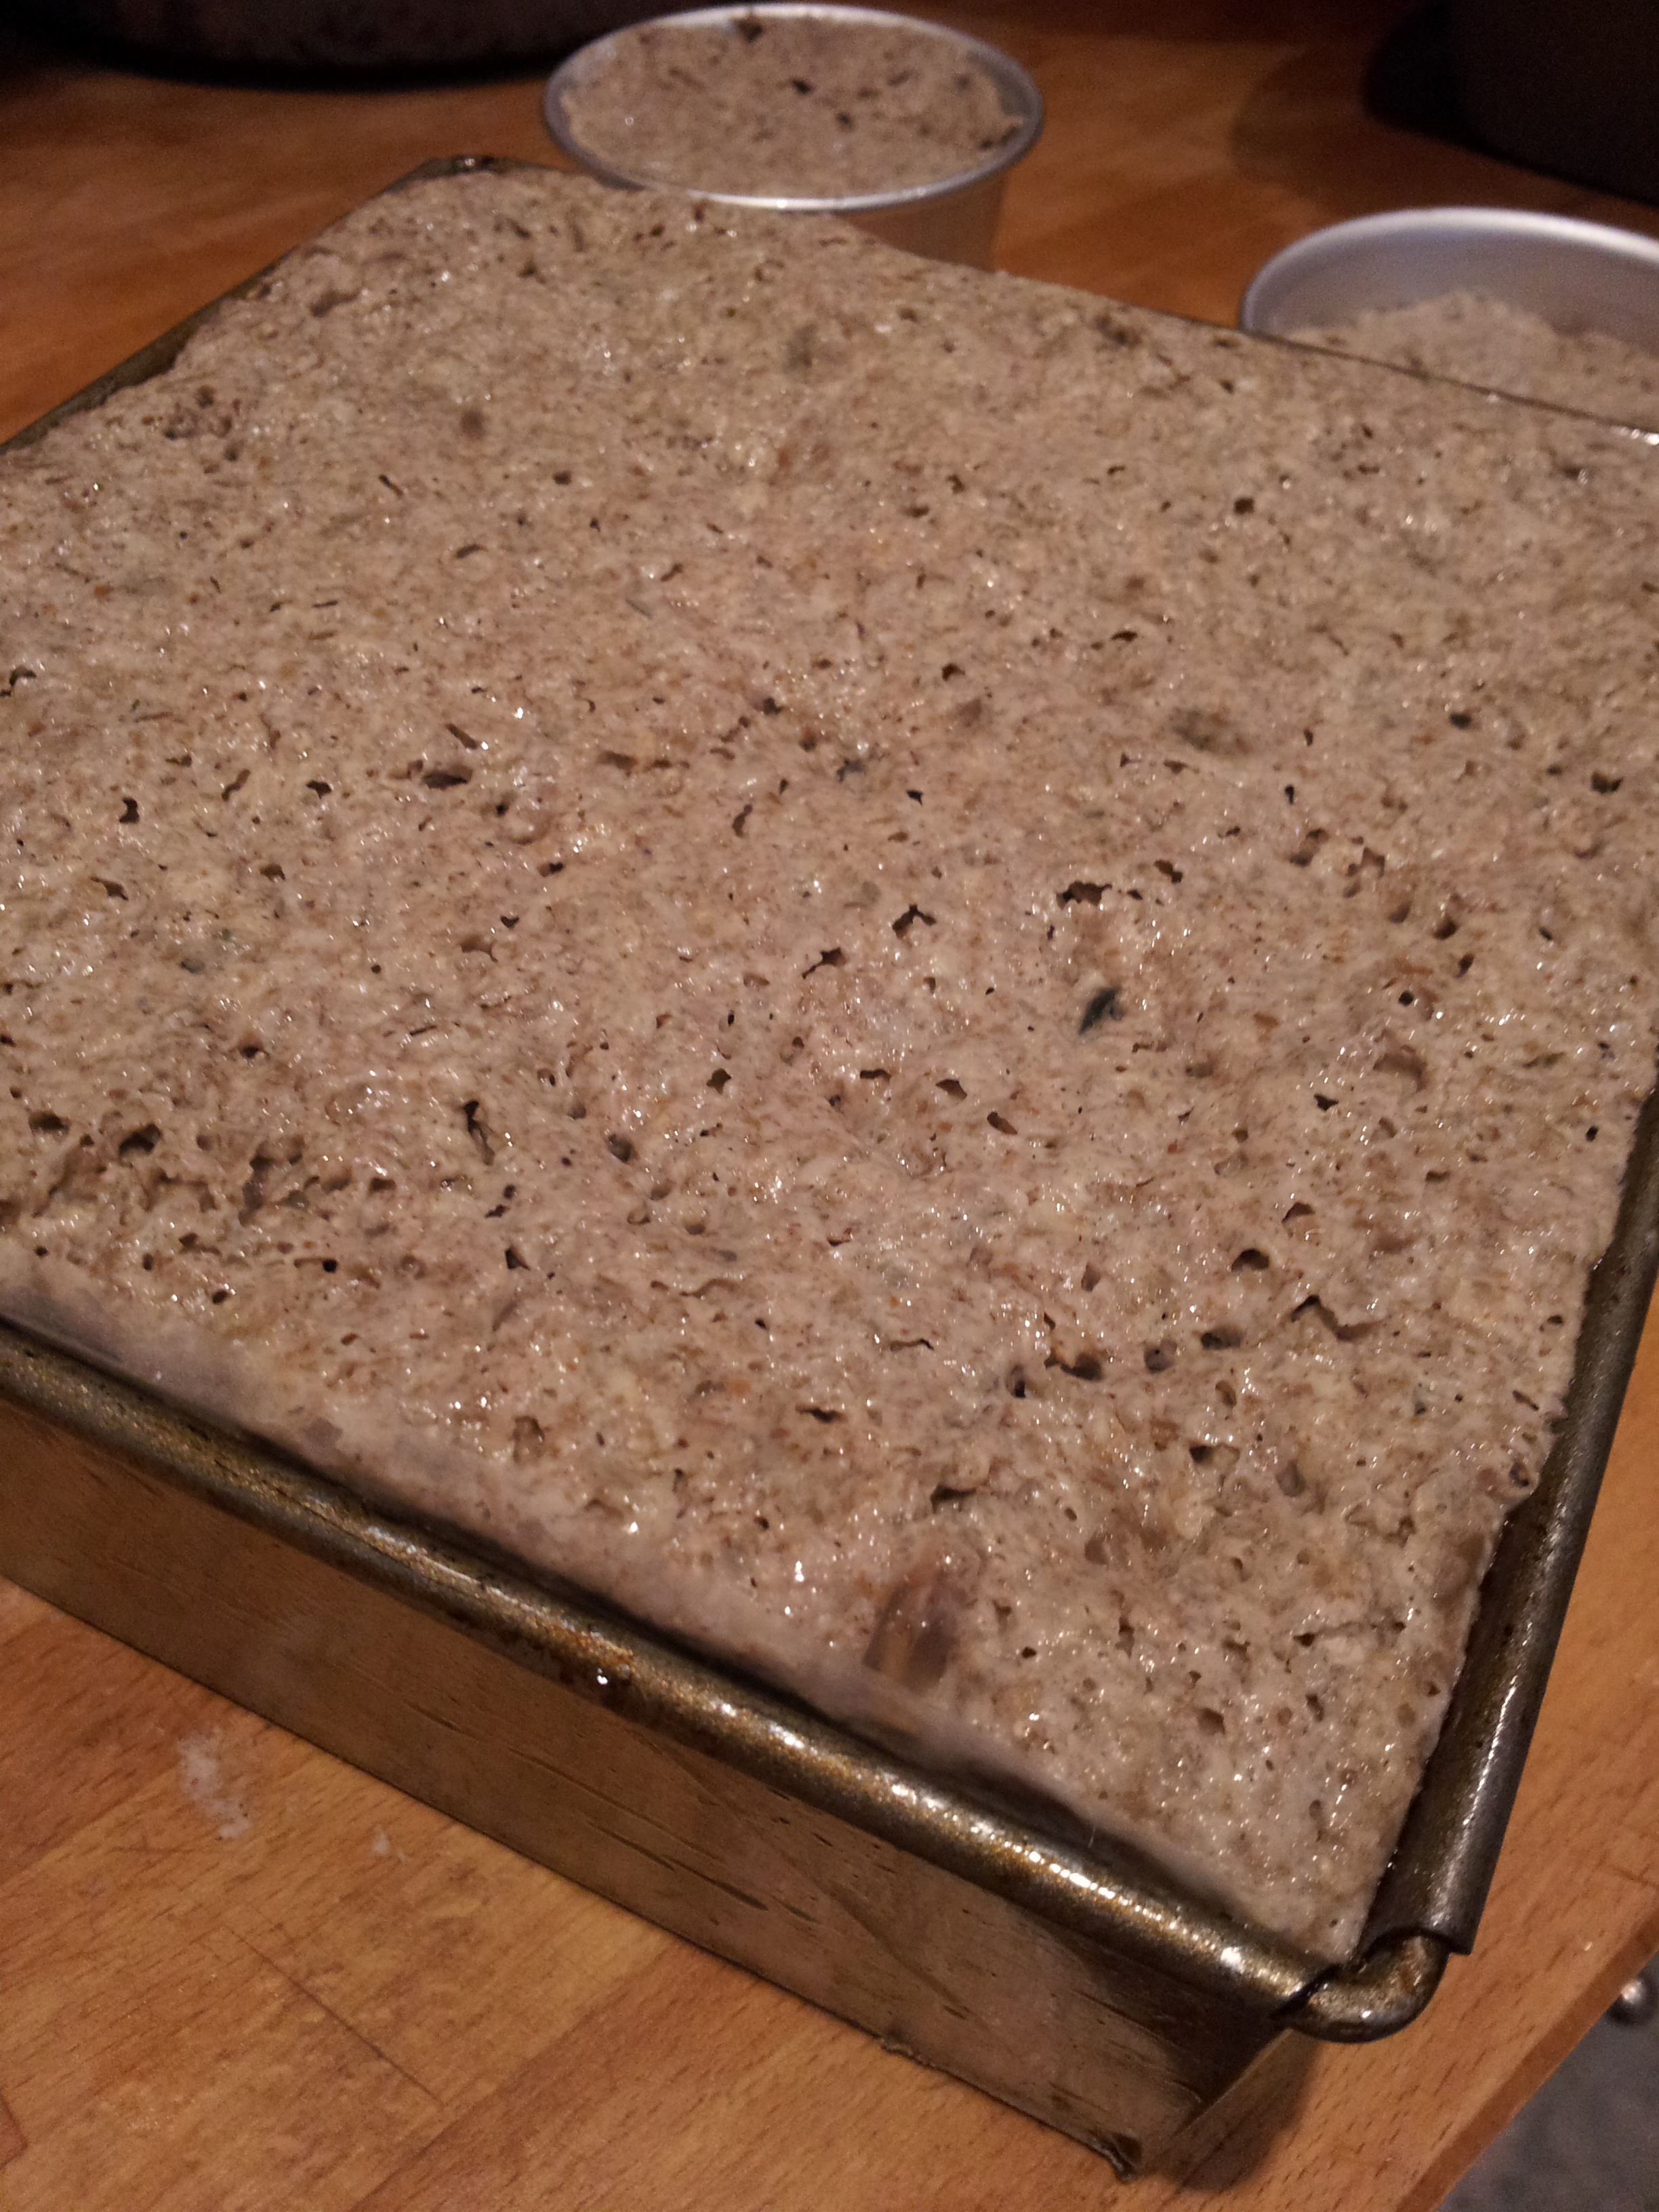
When proved the dough will not double in size like other breads but it will increase in volume and should reach the top of your loaf tins. Prick the tops of the proven loaves all over with a fork, this will help keep your crust intact as it may fall off if left un perforated. It also prevents the loaves from rising and cracking in the oven, maintaining that distinctly symmetrical Danish Rye bread oblong shape.
The cling film covered and proving loaves
Pre heat your oven to 220 degrees C. Bake the loaves at 220 degrees for 10 minutes. This initial blast of heat helps to force the bread to rise and the crust to develop. Lower the temperature to 175 degrees C and bake for a further 75 minutes.

Sometimes pegs come in handy to keep the cling film in place…
If your loaves can be removed easily from the tins at this point do so. if not, leave for another 5-10minutes until they can be removed. Bake the bread for a further 5-10 minutes without the tin directly on the oven shelf to allow the crust to become extra crunchy.
The forked loaf ready for the oven
Once they’ve cooled they’re ready to eat! You should be able to keep them at room temperature for 1-2 weeks or they freeze really well too.

Danish Rye Bread fresh from the oven
I always know when I’ve baked something especially tasty as Super Hans will go out of his way to steal it from me. He was desperate for a bit of my Danish Rye Bread. I love the depth of the flavour in this bread. It radiates health and wellbeing. It’s also rather filling, so thin slices are a must. The sourdough tang cuts through the fantastic texture of the seeds and nuts. Now that I have the Kitchenaid I can dispense with the cake tin mixing method, so I will be purchasing more rye flour very soon and having another go. I would also love to try other dark breads. I can see me attempting many more in the future. Thank you Josh and Mark for sharing your fantastic recipe with me!

Extreme close up of the crunchy crust
Things that I used to make Danish Rye Bread
Sourdough Starter
- 300ml luke warm water
- 250ml rye flour
- 7g of instant yeast (if you’re in a hurry)
Mix together to a thick smooth paste and leave to ferment until bubbly (12-24 hours) or if you’re impatient add 7g of instant yeast to your starter…
Rye Dough
- 1 litre of warm water
- (if you can find it add 1 tablespoon of ground malt -I didn’t)
- 200g sunflower seeds
- 200g sesame seeds
- 400g oats (or whole rye, barley/wheat grains)
- 2 tablespoons salt
- 1 tablespoon honey
- 300g strong white flour
- 900g rye flour

A slice of rye

My pair of rye loaves


")


